How to Crochet a Lion (Beginner Amigurumi)

CrochetMedium13:338 stepsBrowse more →

By CraftingStepByStepPublished

Based on a video by Sharon Ojala.

This little lion sits in the palm of your hand and works up in an evening. Sharon Ojala of Amigurumi To Go walks through the fiddly bits that trip beginners up: the loop-stitch mane, the skinny I-cord tail, and the tuft of color at the tip. You crochet the head and body as one piece in the round, so there is no awkward seam to sew.

You will use single crochet worked in a spiral, plus increases and decreases to shape the round head. The mane is a band of loops you stitch on last, which is what gives the lion its personality. Safety eyes and a stitched nose finish the face. Once you can read your stitches, the whole thing is repetition.

New to shaping in the round? Start with how to crochet a magic ring and the basics in how to crochet amigurumi. When you finish this lion, try a crochet bear next - the body is nearly the same.

Step-by-Step Guide

8 steps · about 14 minutes.Check off each step as you go and your progress saves automatically.

1

Step 1: Gather Your Yarn and Tools

3:20
Step 1: Step 1: Gather Your Yarn and Tools

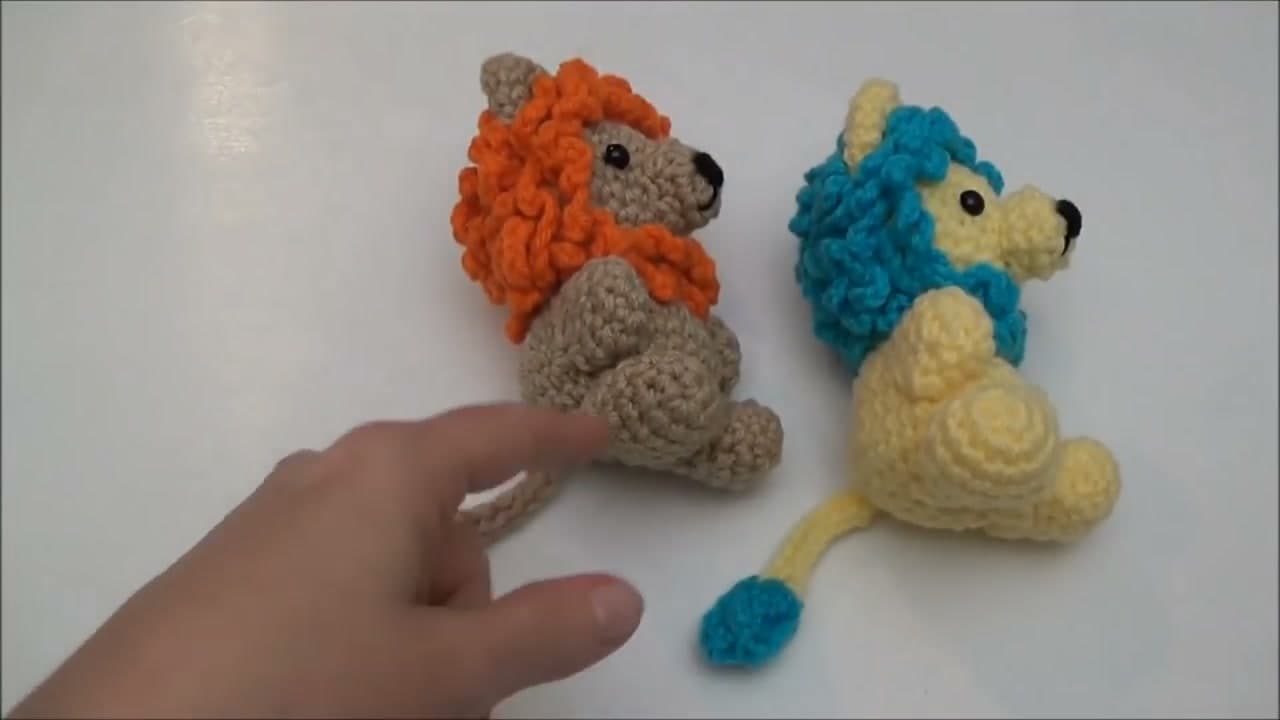
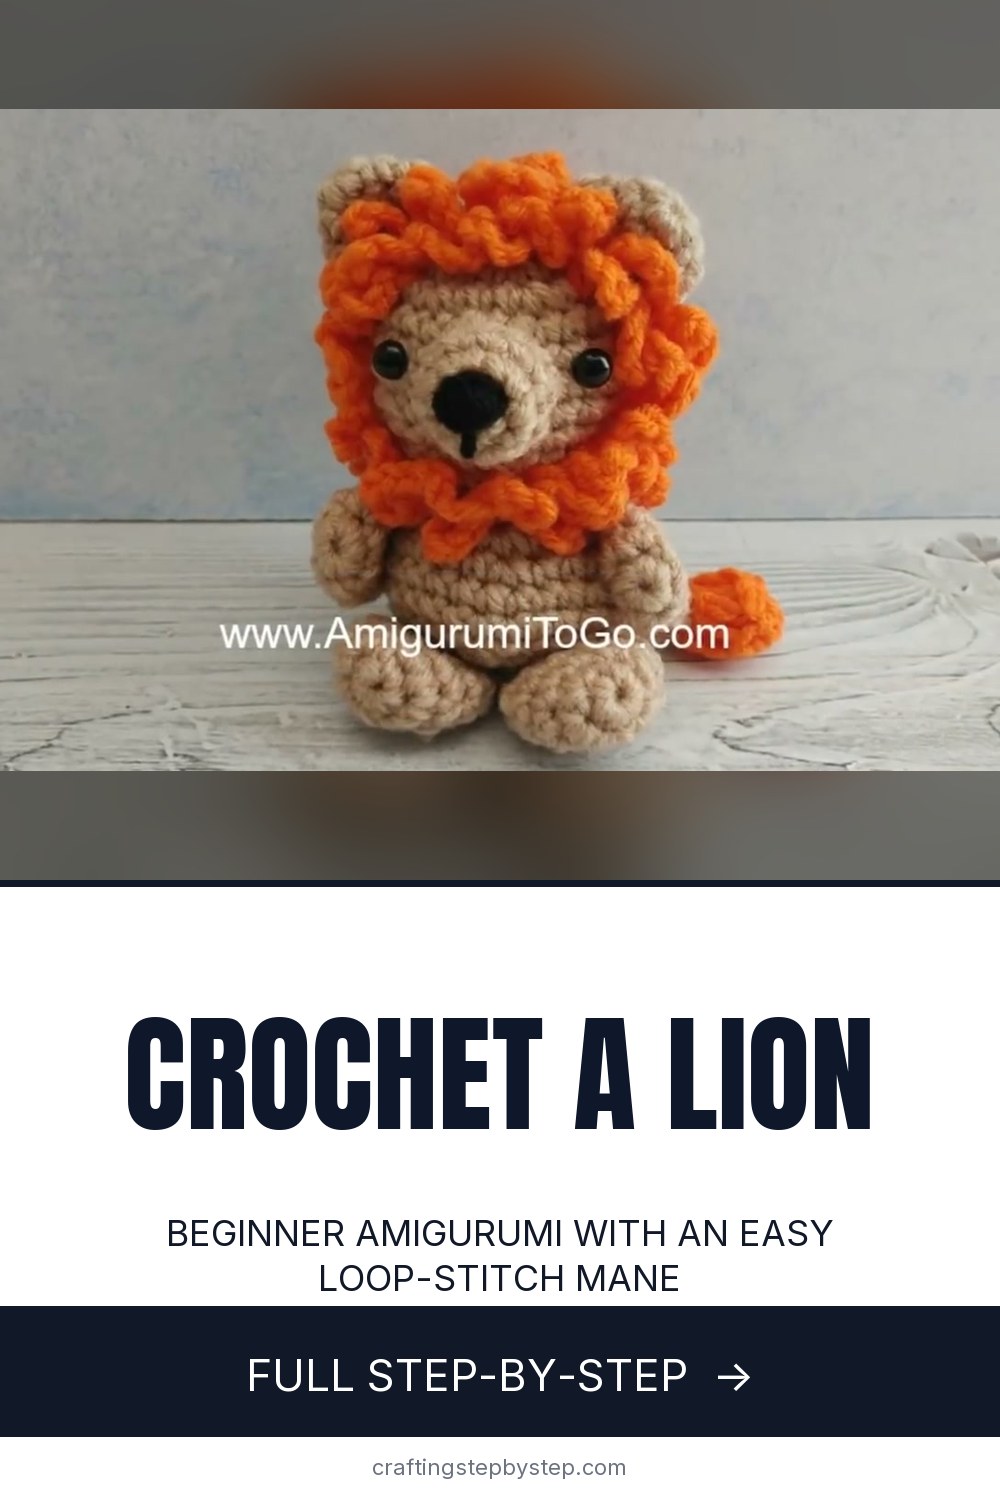
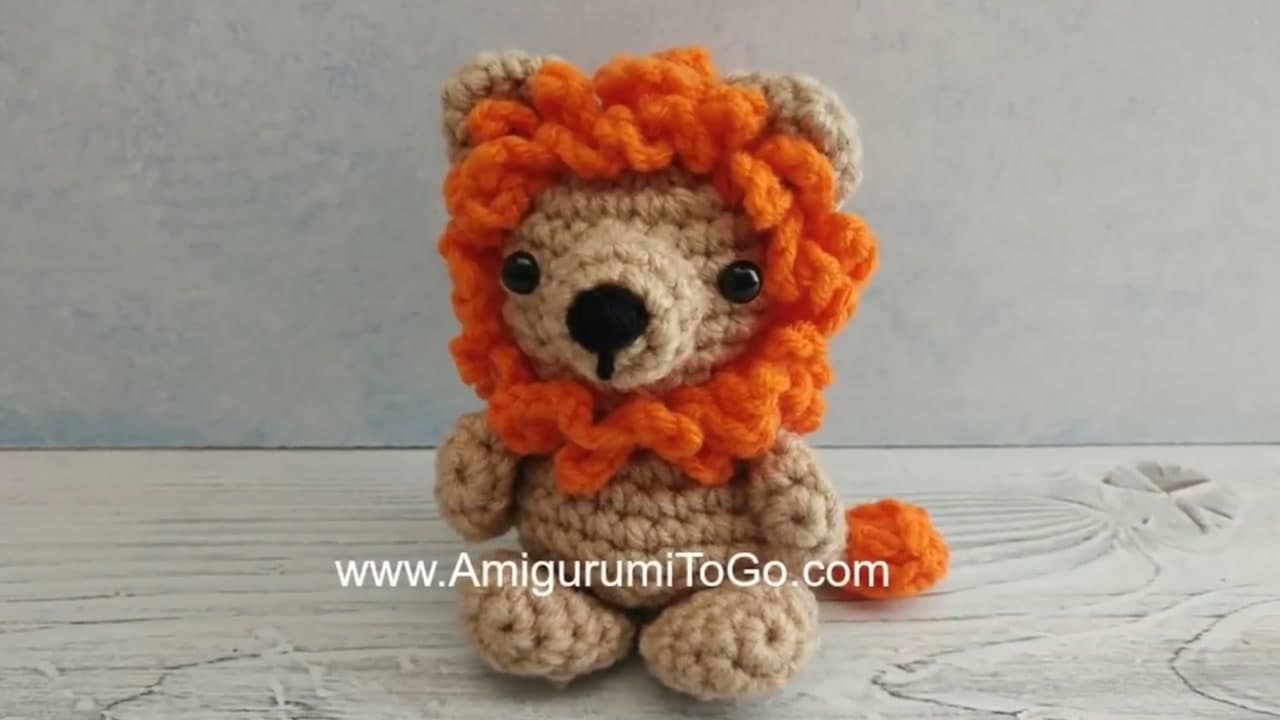
Here is what you are making. Sharon shows the finished lion in two colorways so you can see how the mane and tail come together. You need tan worsted weight yarn for the head and body, and a contrast color like orange or teal for the mane and tail tip. Grab a 3.5mm hook, a pair of safety eyes, a tapestry needle, and fiberfill for stuffing. A stitch marker helps you keep track of where each round starts.

Tip

Watch this step A smooth worsted yarn shows your stitches better than a fuzzy one, which makes counting easier while you learn.
2

Step 2: Crochet the Head and Body in the Round

4:15
Step 2: Step 2: Crochet the Head and Body in the Round

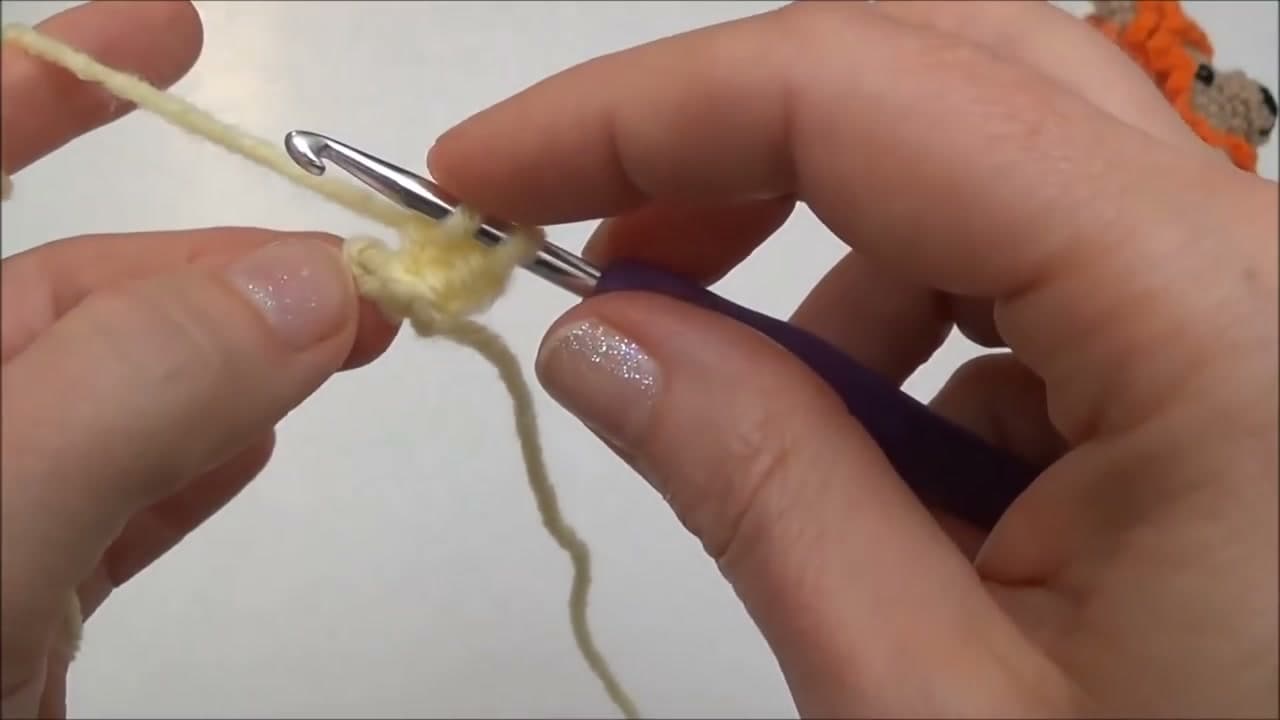
Start with a magic ring and single crochet into it, then work in a continuous spiral. The head and body are one piece, so you increase to round out the head, work a few even rounds, then decrease to pull it back in toward the base. Keep your stitches snug so the stuffing does not peek through. Move your stitch marker up at the start of every round. Stuff the piece firmly as it starts to close so the lion holds its shape.

Tip

Watch this step Count your stitches at the end of each round. Catching an extra or missing stitch early saves you from frogging later.

3

Step 3: Add the Eyes and Stitch the Face

10:20
Step 3: Step 3: Add the Eyes and Stitch the Face

Before you close up the head, push the safety eyes through the fabric and snap the backings on from the inside. Space them evenly and low on the face so the lion looks friendly rather than surprised. Once the eyes are set they do not move, so check the placement first. Use black floss to stitch a small triangle nose and a short line down to the mouth. A couple of stitches is all it takes to give the face its expression.

Tip

Watch this step Set the eyes before you stuff the head. Reaching the backings through a firm ball of fiberfill is a lot harder.

4

Step 4: Crochet the I-Cord Tail

5:00
Step 4: Step 4: Crochet the I-Cord Tail

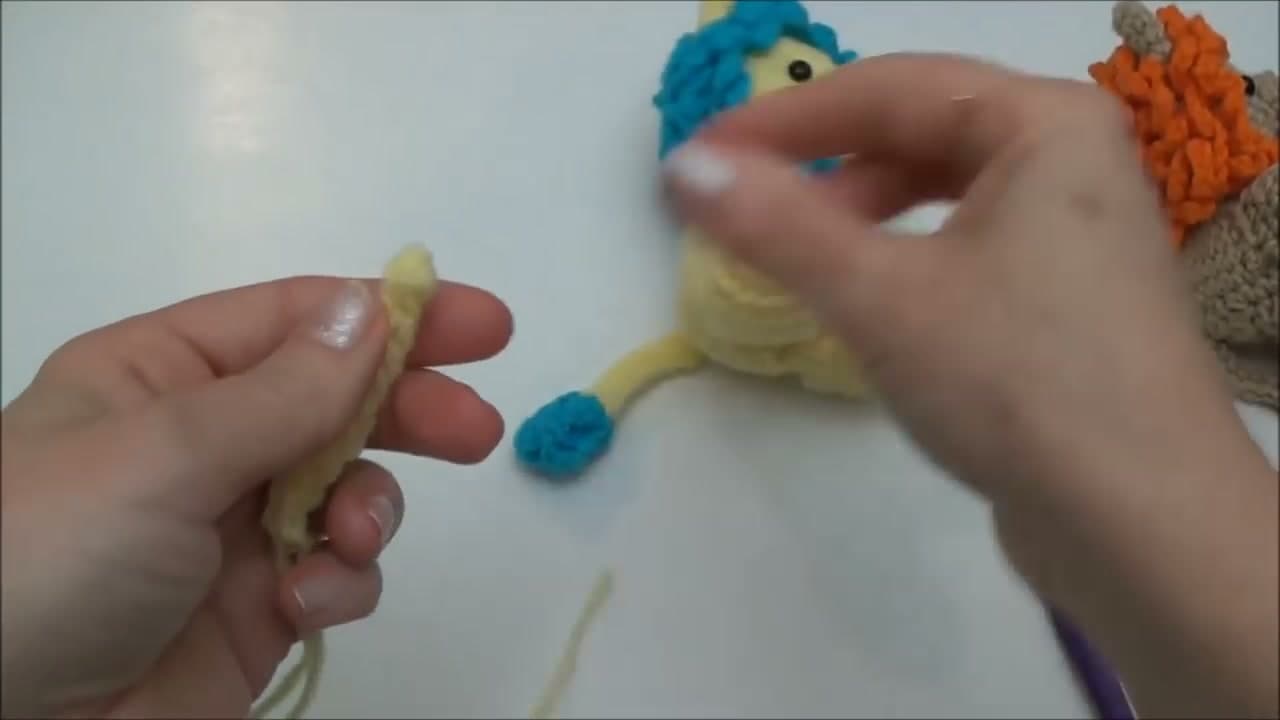
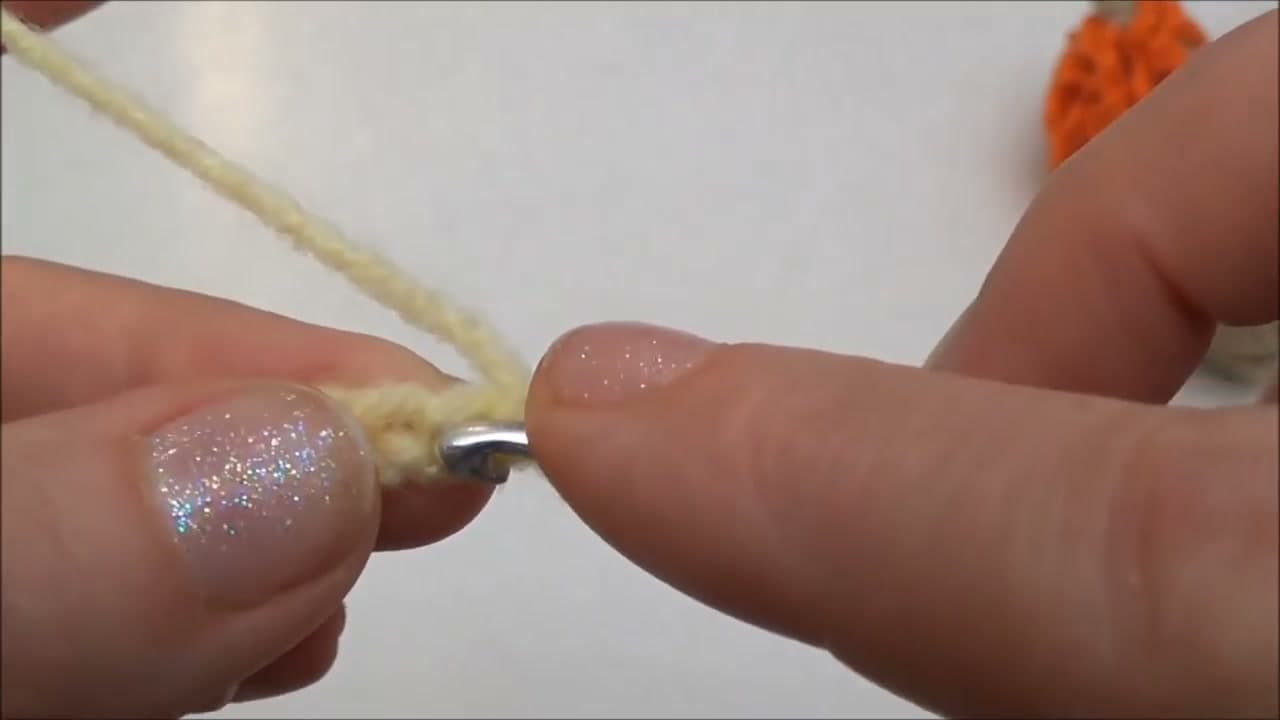
The tail is a slim I-cord, which is a narrow tube that reads like a rope. Chain a few stitches, then work back along them so the cord curls into a round shape on its own. Keep your tension even and the cord stays neat. Sharon shows the hand position that keeps the loops from twisting, which is the part most people find awkward at first. Work it to the length you want the tail, then stop and hold the last loop.

Tip

Watch this step Leave a long tail of yarn when you finish. You will use it to sew the cord onto the body later.

5

Step 5: Add the Contrast Tuft to the Tail

7:00
Step 5: Step 5: Add the Contrast Tuft to the Tail

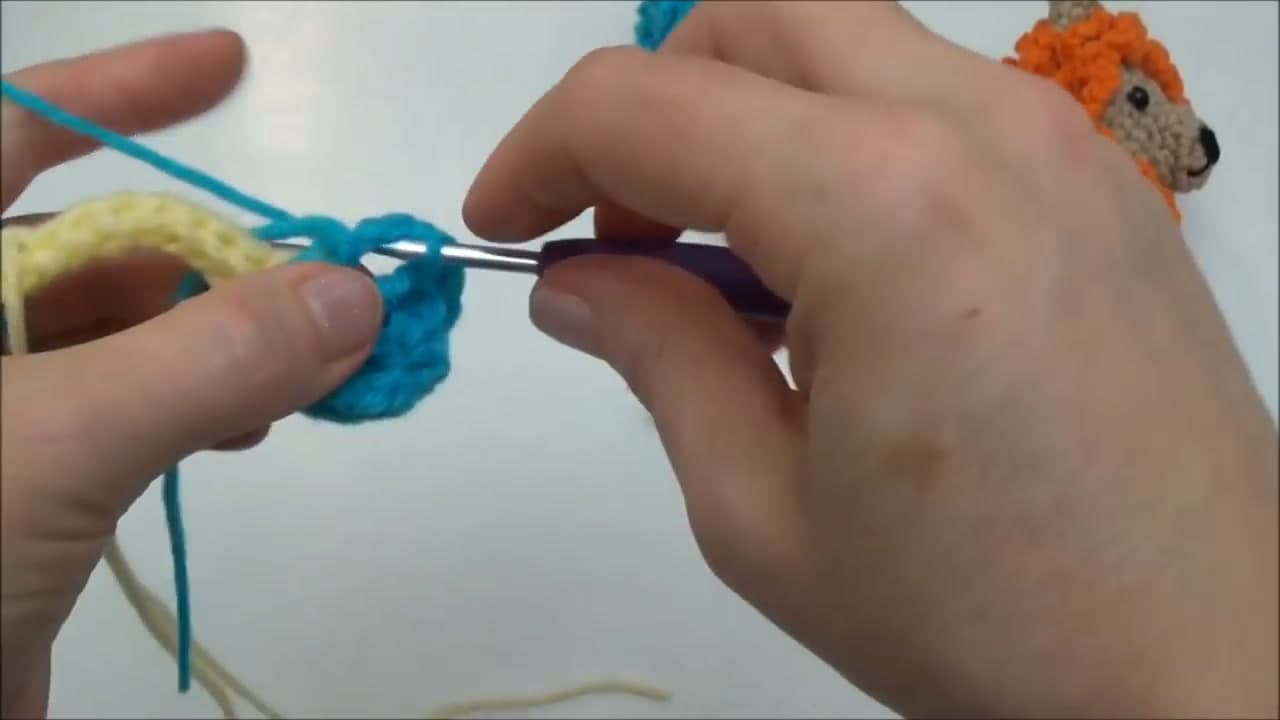
A lion tail needs a tuft at the tip. Switch to your contrast color at the very end of the cord and work a small cluster of stitches, or add a tiny puff, so the color pops against the tan. Sharon walks through the color change so the join sits clean with no gap. This same contrast yarn is the one you use for the mane, so the tail and mane match. Weave in the loose end once the tuft holds its shape.

Tip

Watch this step Make the color change on the wrong side if you can, so the join hides inside the tuft.

6

Step 6: Crochet the Mane

9:00
Step 6: Step 6: Crochet the Mane

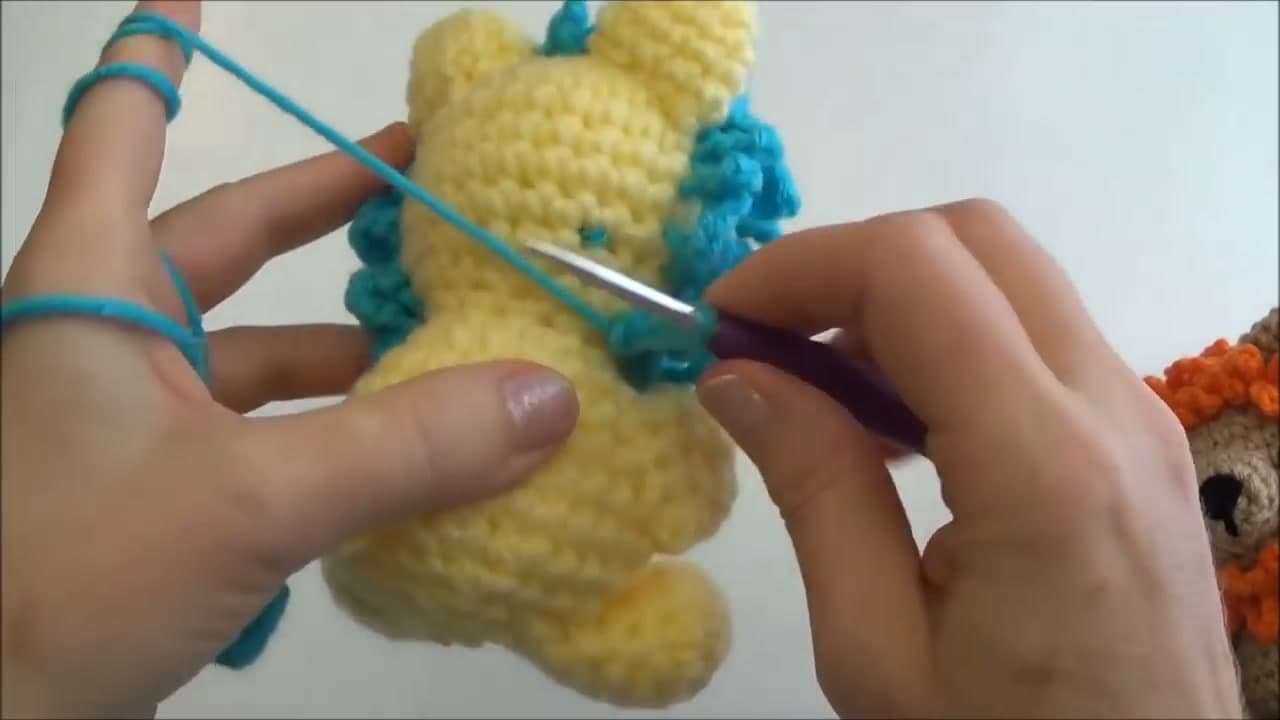
The mane is what turns a round ball into a lion. Work a band of loop stitches, or a row of small bobbles, in your contrast color. Each loop stitch wraps the yarn around a finger before you pull it through, which leaves a raised loop on the front. Do a whole row of them and you get that shaggy ring of fur. Keep the loops a consistent size so the mane looks even all the way around the face.

Tip

Watch this step Wrap every loop around the same finger. Using your fingertip as a gauge keeps the loops matching without measuring.

7

Step 7: Attach the Mane and Tail

12:20
Step 7: Step 7: Attach the Mane and Tail

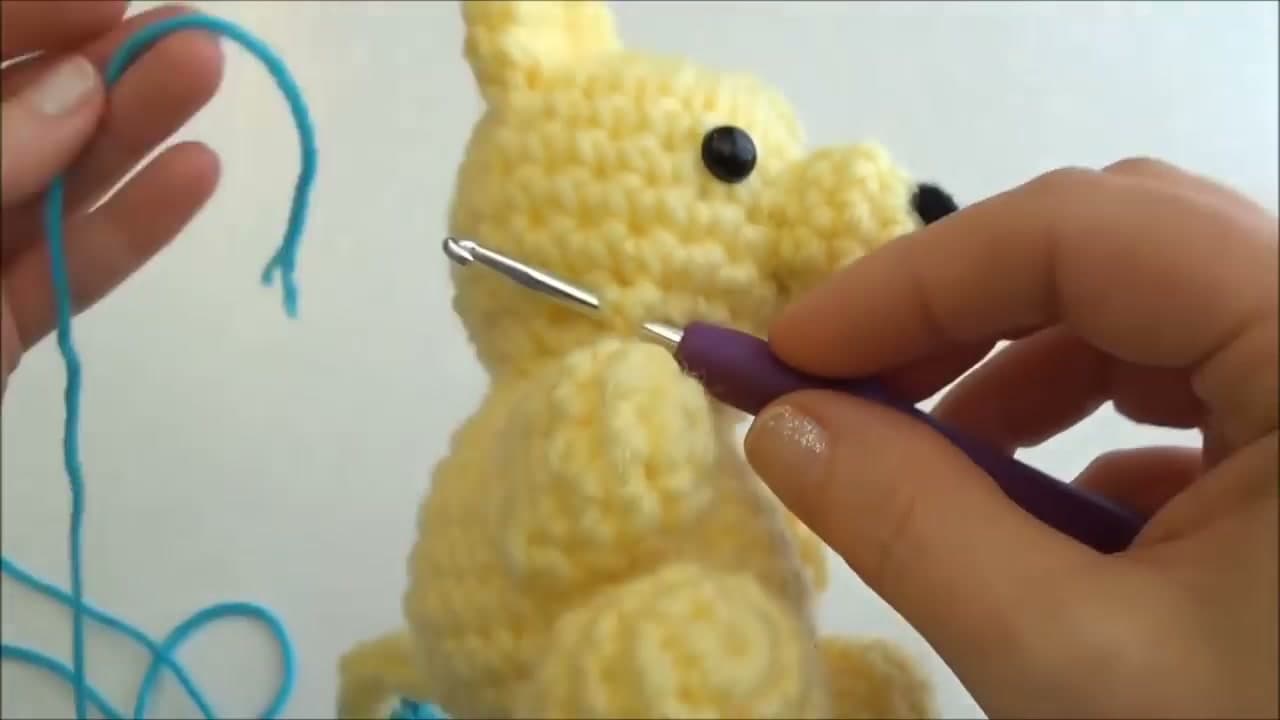
Now bring it all together. Wrap the mane band around the face and sew it down with your tapestry needle, working stitch by stitch so it sits flat against the head. Line the loops up around the front so they frame the eyes. Sew the I-cord tail onto the lower back of the body using the long tail you left earlier. Weave in every loose end and give the loops a gentle fluff. That is your lion.

Tip

Watch this step Pin the mane in place before you sew. A couple of stitch markers hold it steady so it does not shift while you stitch.

8

Step 8: Your Finished Lion

13:28
Step 8: Step 8: Your Finished Lion

Here is the finished mini lion, sitting up with its full mane framing the face and the tuft-tipped tail curling around the side. From here you can make a whole safari set in different colors, or scale up with a bigger hook and chunkier yarn for a larger version. Share yours with Sharon on the Amigurumi To Go community pages. Once you have this one down, the same round body works for plenty of other little animals.

Tip

Watch this step Ready for another? A crochet bear uses the same body, just skip the mane.

Products Used

☐ The Checklist

How to Crochet a Lion (Beginner Amigurumi)

Tools
4
Materials
5
Steps
8
Video
14 min

Tools we recommend

Your Guide

Sharon Ojala

As an Amazon Associate we earn from qualifying purchases. Links on this page may be affiliate links - clicking them and buying doesn't change your price, but helps support ShowMeStepByStep.

Tags

Free printable

Get the Crochet Cheat Sheet

Every basic stitch on one printable page. No spam, one-click unsubscribe.

Did this work for you?

What's next

Related collections

Curated theme pages that include this tutorial.

Weekly Digest

Liked this crochet tutorial?

Pick the categories you want to hear about. Weekly digest of new step-by-step tutorials. No spam, easy unsubscribe.

Send me tutorials about

We only email about new tutorials. Easy unsubscribe anytime.