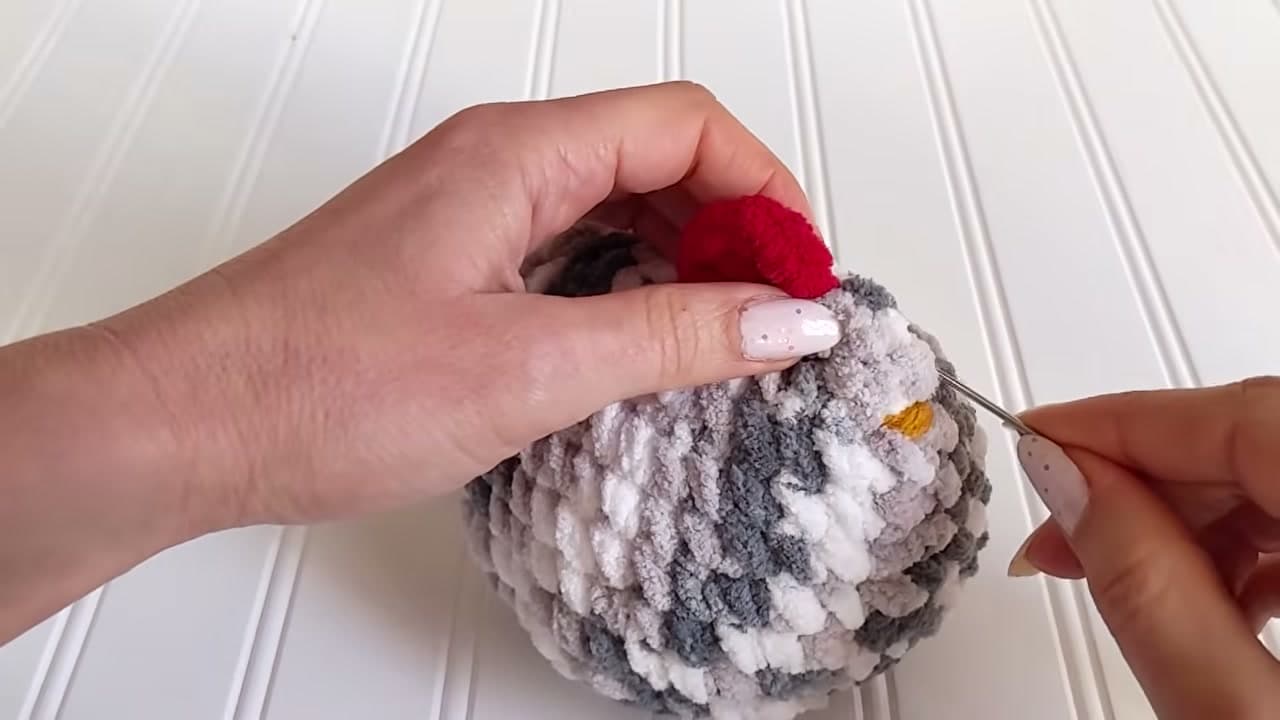
How to Crochet a Chicken (Easy Amigurumi Pattern, Step by Step)

CrochetEasy12:566 stepsBrowse more →

By CraftingStepByStepPublished

Based on a video by StelarCrafts.

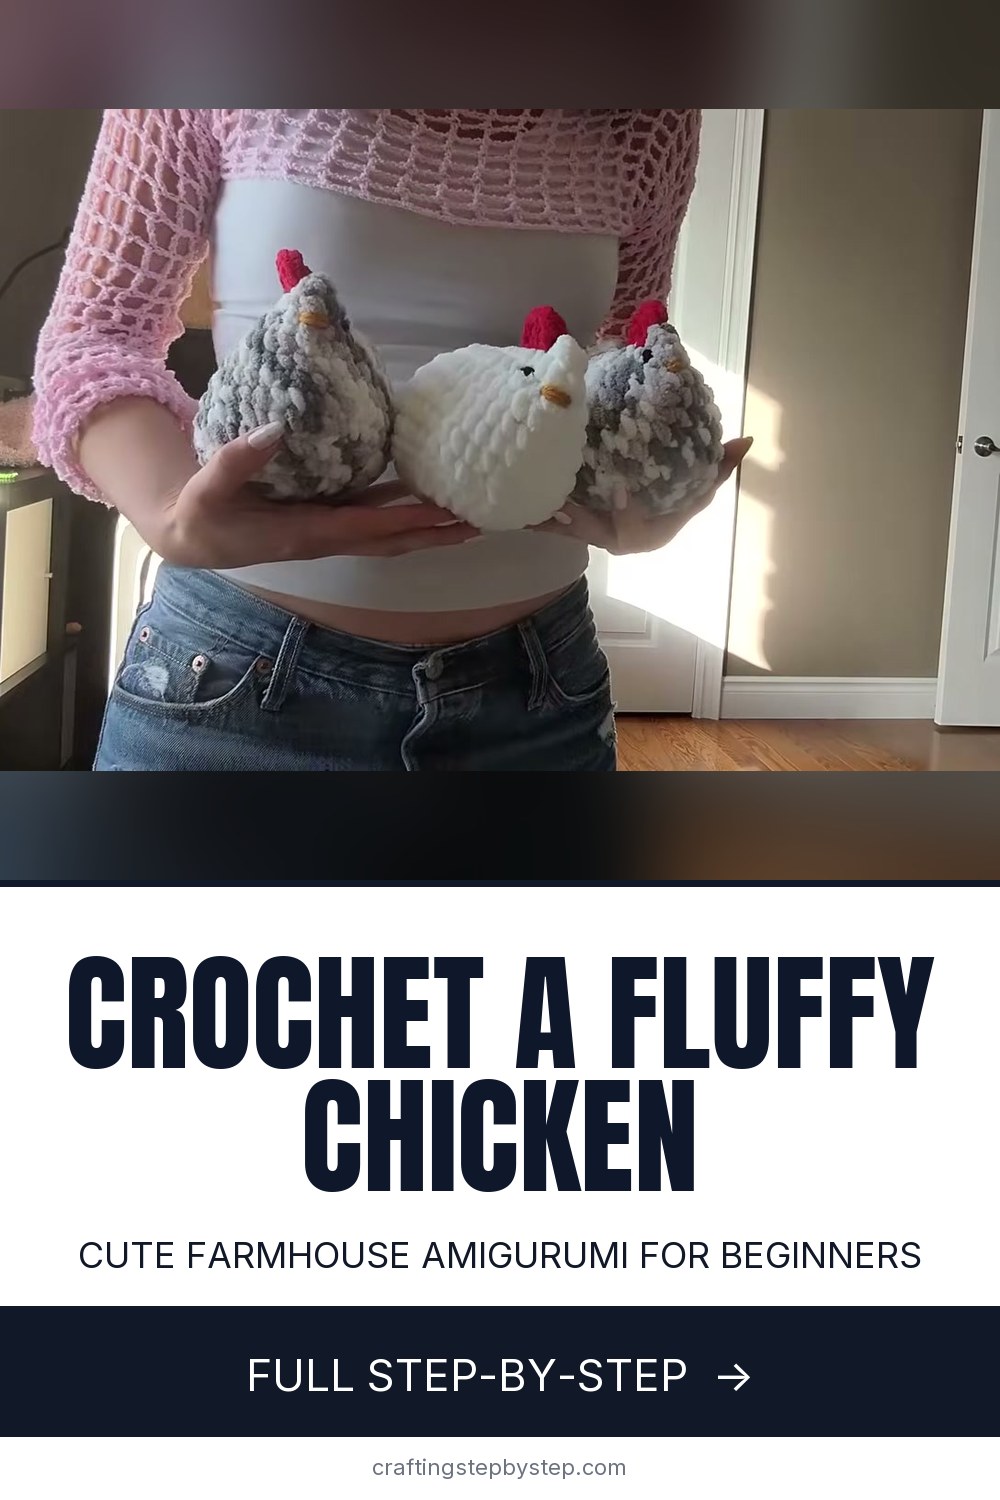
This chunky little chicken is one of the friendliest amigurumi you can start with. StelarCrafts made it from #6 bulky chenille yarn, so the stitches are big, the whole thing works up fast, and the finished bird is soft enough to hand to a toddler. There is no fiddly assembly here either. The body is a single stuffed shape, and the comb, beak, and eyes get added right at the end.

The build is honest and repetitive in the best way. You start with a magic ring, grow a flat disc with increase rounds, work one round into the back loops to set a crisp base, then crochet straight up the sides. A few decrease rounds near the top pinch the shape into a head and a tail, and once it is stuffed and closed you get that round hen silhouette. If you want the mechanics of the base stitch down first, run through how to single crochet before you cast on.

The face is where your chicken gets its personality. A short red comb is crocheted straight onto the head, then the beak and eyes are embroidered with a tapestry needle. Prefer a firmer, more finished look for the eyes? You can swap in safety eyes instead, which is the same trick used in this guide on attaching safety eyes to amigurumi. Once you have one chicken done, the same round-body method carries straight over to a crochet bunny or a crochet pumpkin.

Step-by-Step Guide

6 steps · about 13 minutes.Check off each step as you go and your progress saves automatically.

1

Step 1: Start the Body with a Magic Ring

1:35
Step 1: Step 1: Start the Body with a Magic Ring

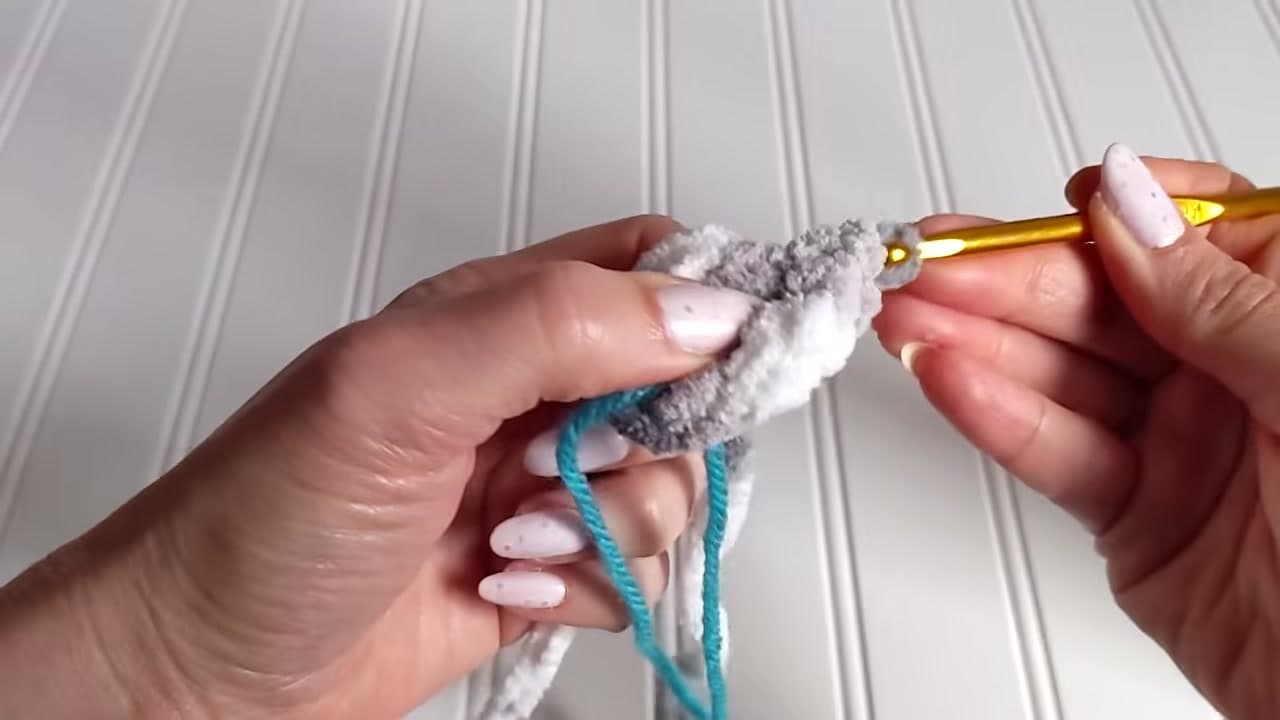
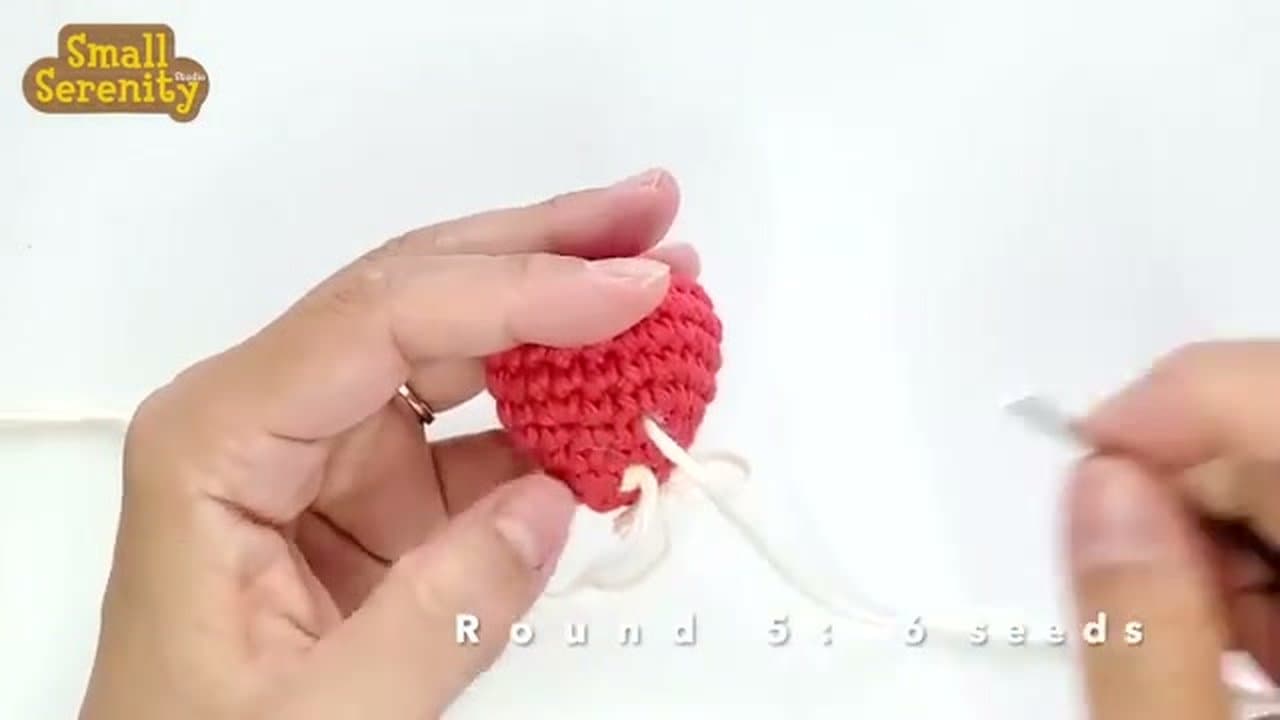
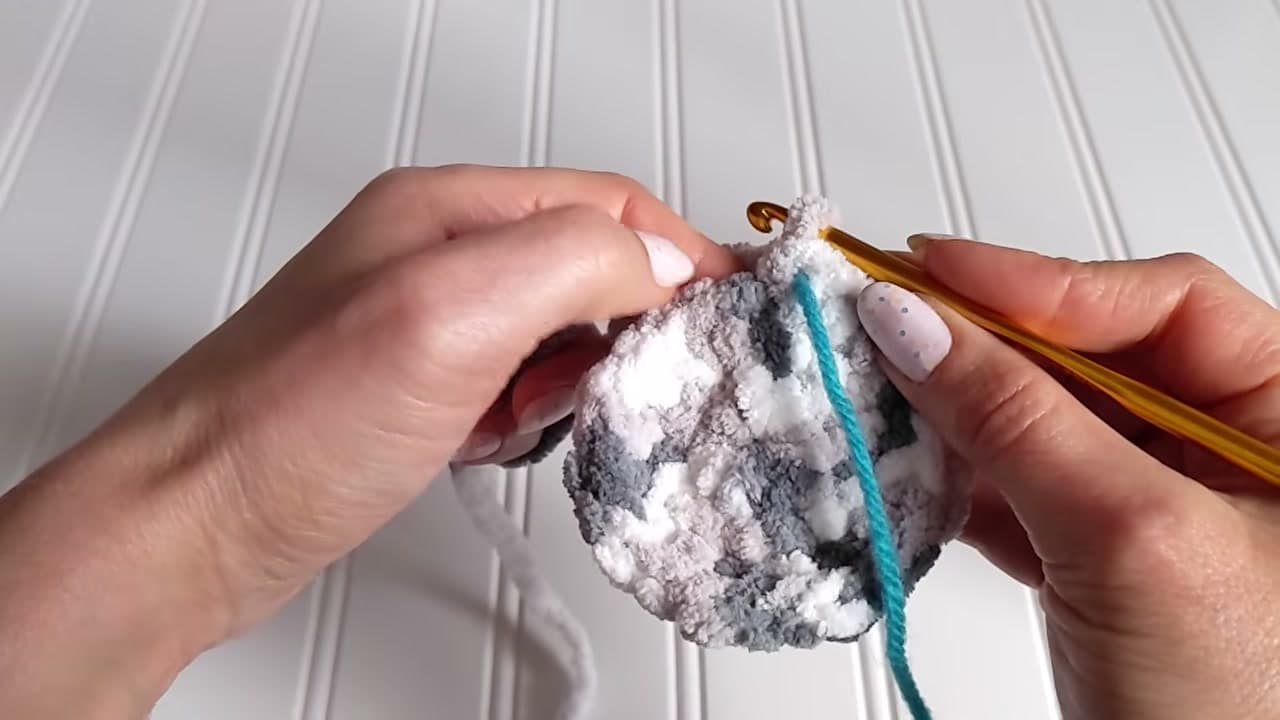
The chicken starts as a small flat disc. Make a magic ring in your bulky body color and work eight single crochet inside it, then pull the ring closed so there is no hole in the middle. This is round one, and it is the base the whole bird grows out of.

Drop a scrap of contrast yarn between two stitches to act as a marker. You are crocheting in a continuous spiral with no join, so that little marker is the only thing telling you where each new round begins.

Tip

Watch this step Chenille yarn hides your stitches, so a contrast-color scrap works far better as a marker than a plastic ring you will lose in the fuzz.
2

Step 2: Work the Increase Rounds

2:35
Step 2: Step 2: Work the Increase Rounds

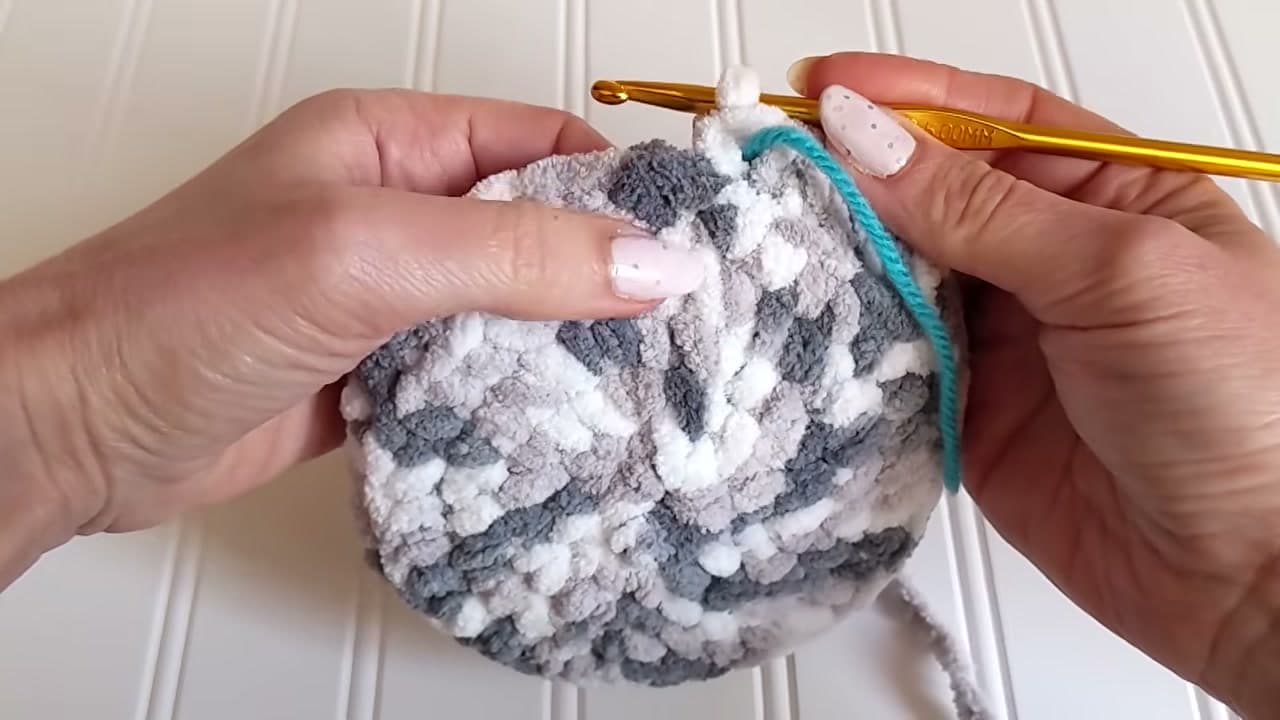
Now turn that disc into a shallow bowl. Round two is an increase in every stitch, which takes you from eight up to sixteen. In the rounds that follow you space the increases out, one single crochet then an increase, then two single crochet then an increase, and so on, until you reach forty stitches around.

Pull each stitch snug as you go. Bulky chenille wants to stay loose, and tight stitches are what keep the fabric dense so the stuffing does not peek through later.

Tip

Watch this step Count your stitches at the end of every round. On fuzzy yarn it is easy to miss an increase, and one skipped stitch throws the whole count off.

3

Step 3: Back-Loop Round and Straight Sides

4:40
Step 3: Step 3: Back-Loop Round and Straight Sides

Once you are at forty stitches, work the next round into the back loops only. Look at the top of a stitch and you will see two loops. Skip the front one and hook into the back loop for the whole round. That leaves a neat ridge that marks where the flat base ends.

After the back-loop round, crochet five plain rounds of forty stitches straight up. No increasing, no decreasing. This is what builds the tall, rounded body your chicken sits in.

Tip

Watch this step The back-loop ridge also gives the base a flatter bottom, so your finished chicken stands up on a shelf instead of rolling over.

4

Step 4: Shape the Head, Stuff, and Close

7:36
Step 4: Step 4: Shape the Head, Stuff, and Close

Now pinch the top in. Work three single crochet then an invisible decrease all the way around, which brings you down to thirty-two stitches, then crochet one plain round at thirty-two. Those decreases are what start to form the head and tail.

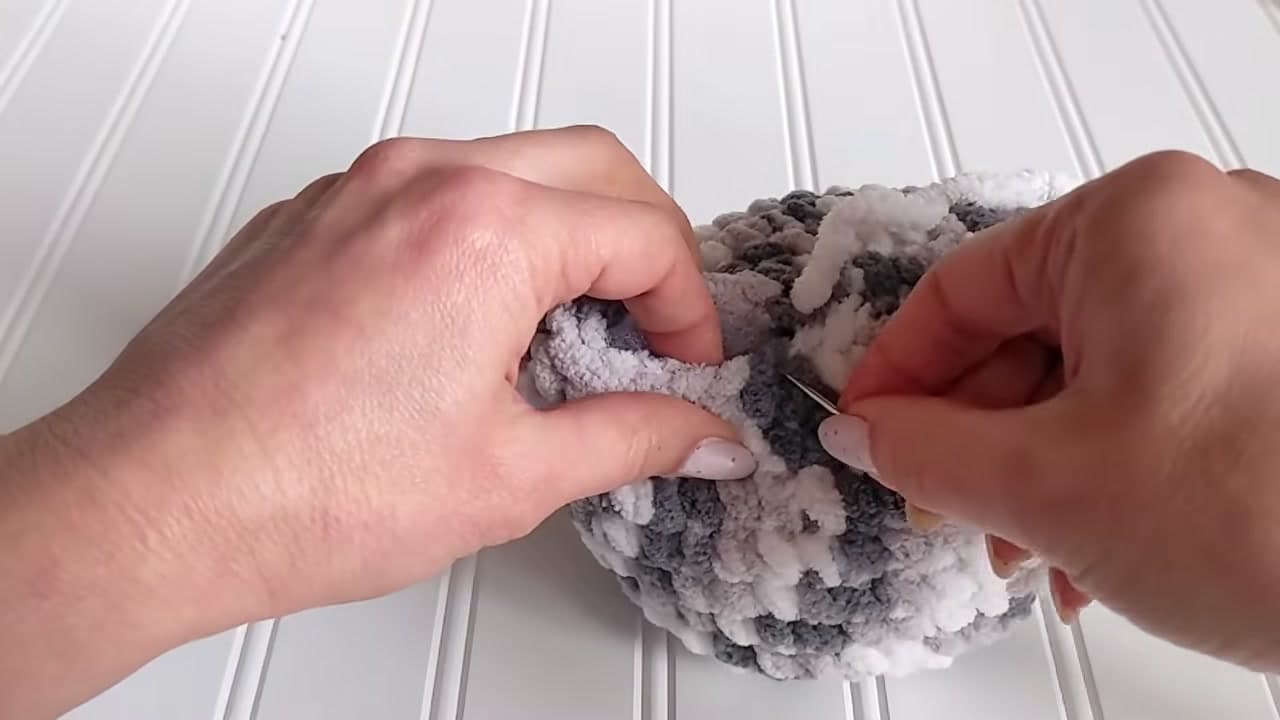
Stuff the body firmly with fiberfill, pushing it into the corners so the chicken holds its shape. Thread a long tail onto your tapestry needle and close the opening by stitching side to side across the gap. Cinch it up and you get that pointed head-and-tail hen shape.

Tip

Watch this step Stop stuffing halfway through closing and check the firmness with a squeeze. It is much easier to add a little more filling now than after the seam is shut.

5

Step 5: Crochet the Red Comb

8:24
Step 5: Step 5: Crochet the Red Comb

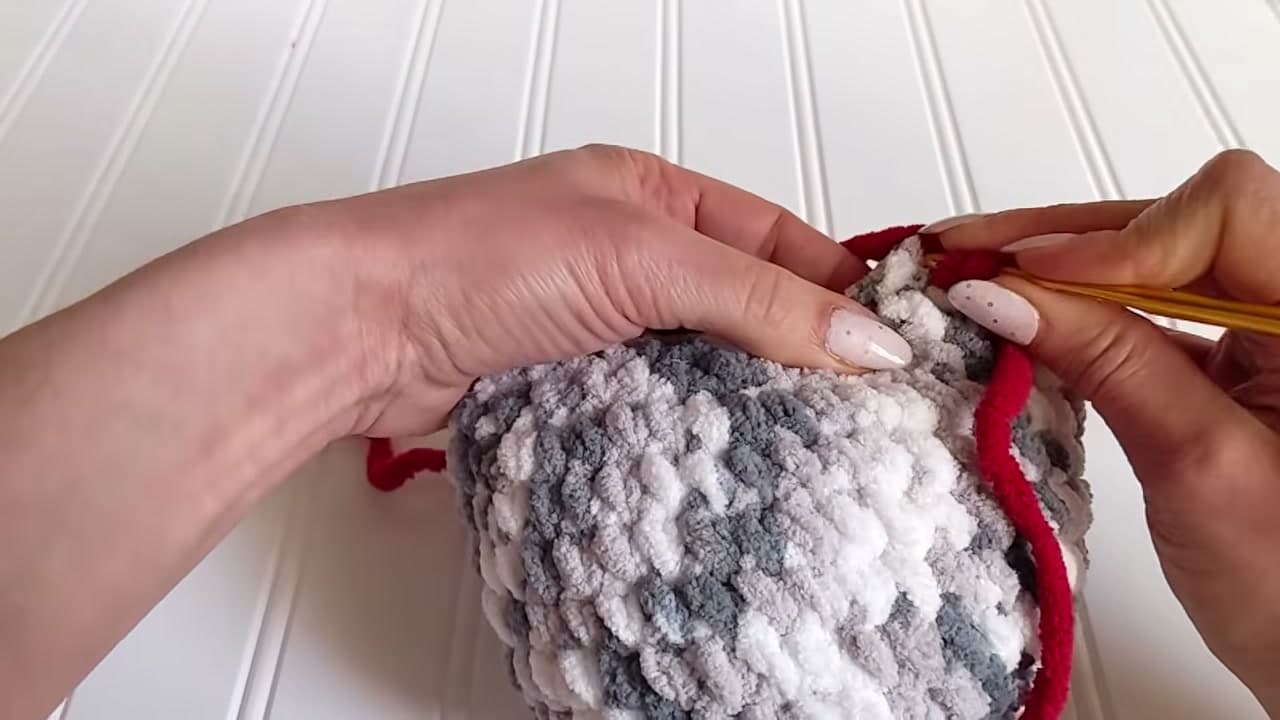
Time to top the chicken off. Insert your hook into a stitch about three rows down from the tip of the head, join the red yarn, and chain two. Turn the chicken around, then work three double crochet into the next stitch beside the chains, add one single crochet, and slip stitch to close the little comb.

Pull the yarn tail through the slip stitch to lock it. Thread both tails onto your needle, run them through the base of the comb, tie a knot, and hide the ends inside the body.

Tip

Watch this step A brighter red pops against grey or white chenille. Bulky red yarn gives the fullest comb, but a doubled strand of medium yarn works if that is what you have.

6

Step 6: Embroider the Beak and Eyes

11:36
Step 6: Step 6: Embroider the Beak and Eyes

The face brings your chicken to life. Start with the beak. Using yellow yarn on your tapestry needle, wrap the same spot just under the comb about three times, then make one turn across the wraps to give the beak a small point.

Switch to black yarn for the eyes. Stitch a small dot on each side of the beak, going around three or four times so it reads clearly. Bury both yarn tails inside the body, and your soft little chicken is finished.

Tip

Watch this step Want the simplest version? Skip the embroidered eyes and push in a pair of 6mm safety eyes before you stuff and close the body in Step 4 instead.

Products Used

☐ The Checklist

How to Crochet a Chicken (Easy Amigurumi Pattern, Step by Step)

Tools
4
Materials
5
Steps
6
Video
13 min

Tools we recommend

Your Guide

StelarCrafts

As an Amazon Associate we earn from qualifying purchases. Links on this page may be affiliate links - clicking them and buying doesn't change your price, but helps support ShowMeStepByStep.

Tags

Free printable

Get the Crochet Cheat Sheet

Every basic stitch on one printable page. No spam, one-click unsubscribe.

Did this work for you?

What's next

Related collections

Curated theme pages that include this tutorial.

Weekly Digest

Liked this crochet tutorial?

Pick the categories you want to hear about. Weekly digest of new step-by-step tutorials. No spam, easy unsubscribe.

Send me tutorials about

We only email about new tutorials. Easy unsubscribe anytime.