How to Attach Safety Eyes to Amigurumi

CrochetEasy8:389 stepsBrowse more →

By CraftingStepByStepPublished

Based on a video by The Pudgy Rabbit.

Once your pieces are crocheted, the face is what brings an amigurumi to life. This tutorial from The Pudgy Rabbit walks through the last stretch: seating plastic safety eyes and a nose, snapping the washers in place, and stitching the finished pieces onto the body.

Safety eyes are the finishing move on almost every crochet animal, so it helps to nail the technique once. If you are still working on the parts, start with the shape that everything begins from and read how to crochet a magic ring. Come back here when you are ready to give your creature a face.

Grab a set of safety eyes, matching noses, a yarn needle, and some pins. Work slowly on placement, because eyes and noses lock in and do not come back out once the washer is on.

Step-by-Step Guide

1

Step 1: Get to Know the Hardware

5:20
Step 1: Step 1: Get to Know the Hardware

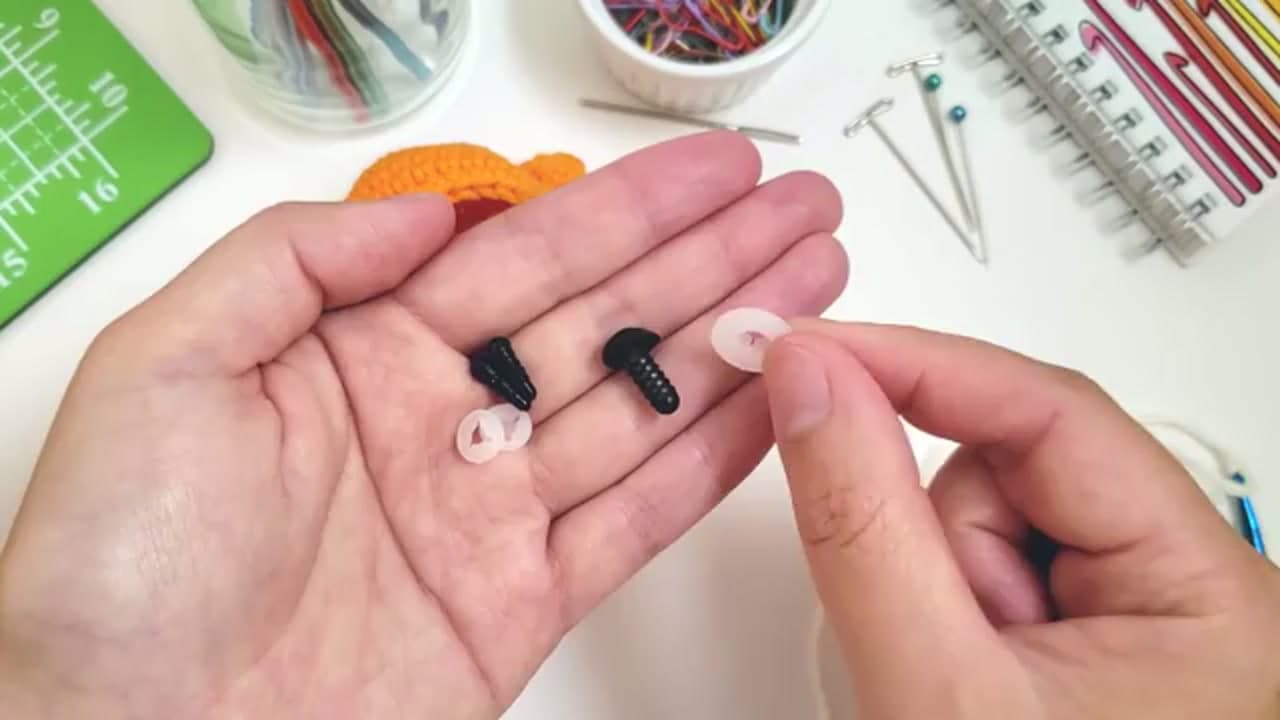
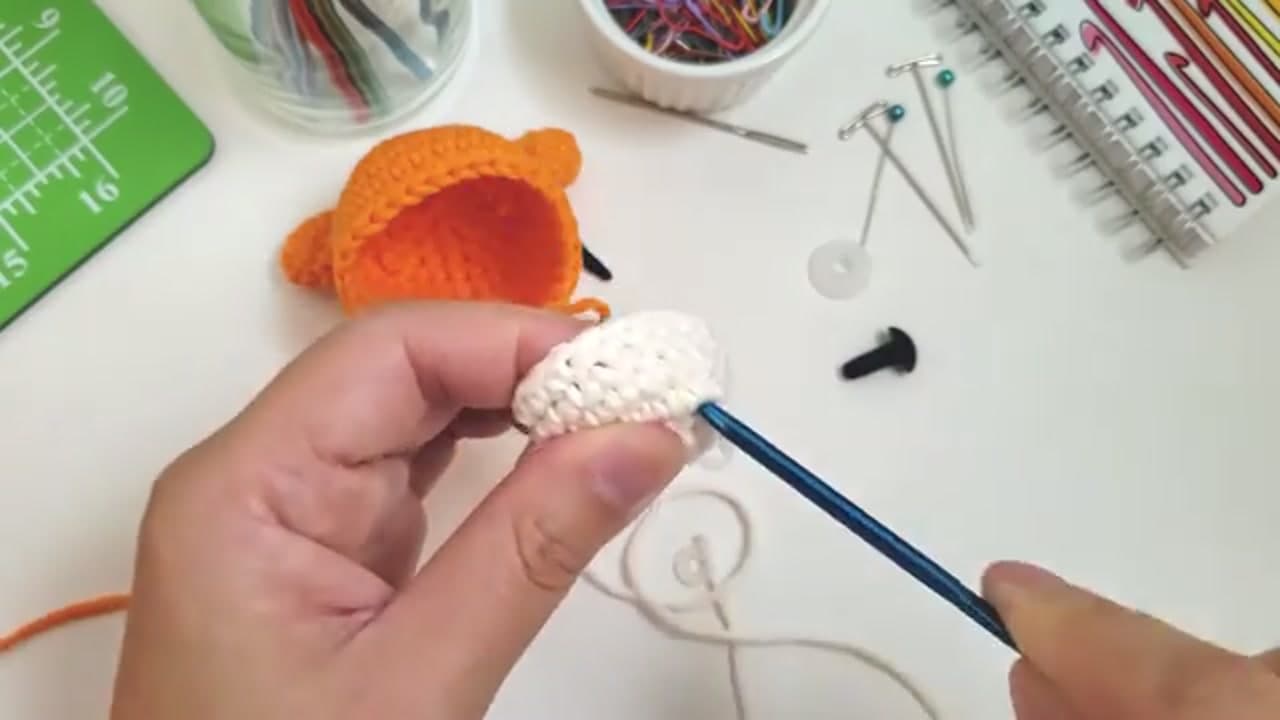
A safety eye is two parts. The front is the shiny black dome you see. The back is a ridged post that pushes through the crochet, plus a plastic washer that slides down the post and locks everything tight. Noses work the same way. Lay a few out and match each eye or nose to its washer so you are not hunting for parts mid-project. Once a washer is pressed on, it does not come off, so this is the moment to double-check sizes.

Tip

Bigger safety eyes read as friendlier and younger. Hold a couple of sizes against your piece before you commit.
2

Step 2: Open a Spot for the Post

5:40
Step 2: Step 2: Open a Spot for the Post

Pick where the eye will sit, then gently spread two stitches apart to make a small gap. A crochet hook or a blunt awl works well for this. You are not cutting the yarn, only easing the strands aside so the post has somewhere to go. On a stuffed piece you would do this before stuffing, since you need to reach the back to add the washer. Keep the hole small so the eye sits snug.

Tip

Count stitches from the center on both sides so the two eyes end up level.

Products used in this step

3

Step 3: Push the Eye Through

5:50
Step 3: Step 3: Push the Eye Through

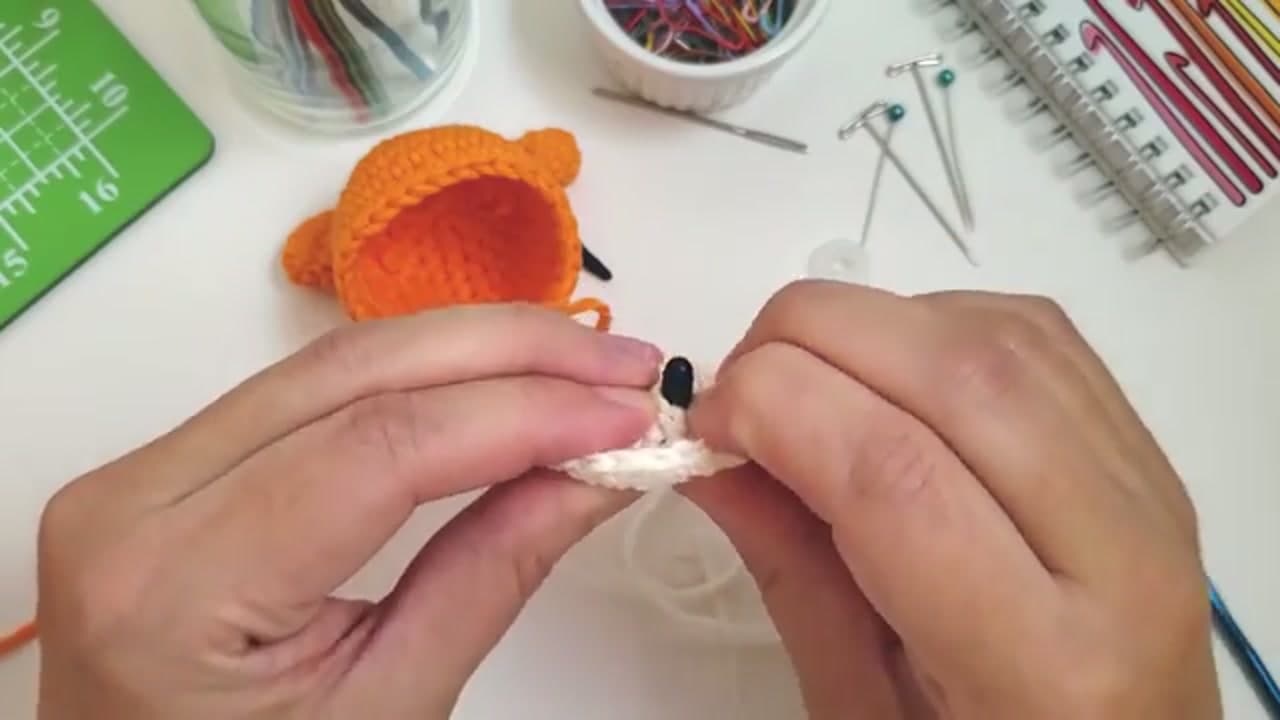
Hold the eye by its dome and press the post through the gap from the front. The flat black eye should end up flush against the outside of the crochet, with the post poking out the back. Wiggle it a little if it resists, but do not force a post through a hole that is too tight or you will stretch the stitches out of shape. Once it is through, the eye should sit flat and face straight ahead.

4

Step 4: Check Spacing Before You Lock

6:40
Step 4: Step 4: Check Spacing Before You Lock

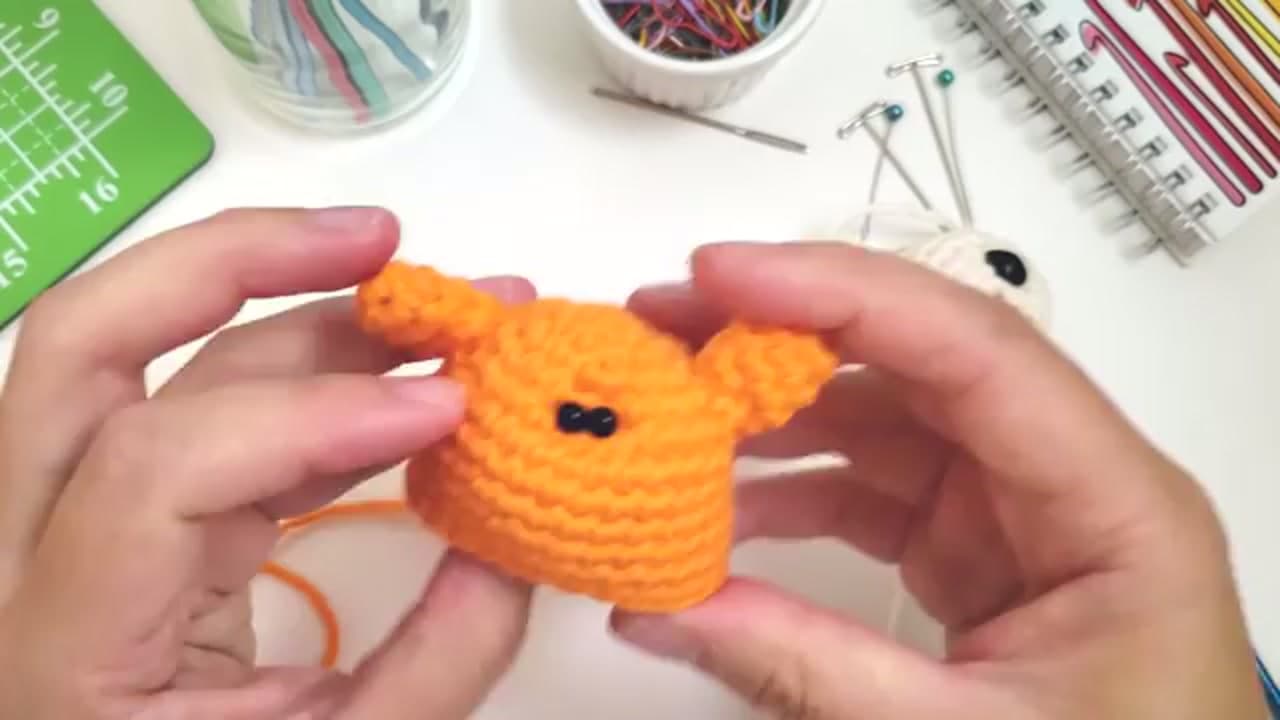
Set the second eye and then stop. This is the last chance to move anything. Hold the face up at arm's length and look at it head-on. Are the eyes level? Is the gap between them even? Amigurumi faces live or die on symmetry, and even a stitch of difference reads as off. Slide the eyes to nudge the spacing until it looks right. When you are happy, you are ready to make it permanent.

Tip

Snap a phone photo. Problems that hide in your hands jump out on screen.

Products used in this step

5

Step 5: Lock the Washer From Inside

7:10
Step 5: Step 5: Lock the Washer From Inside

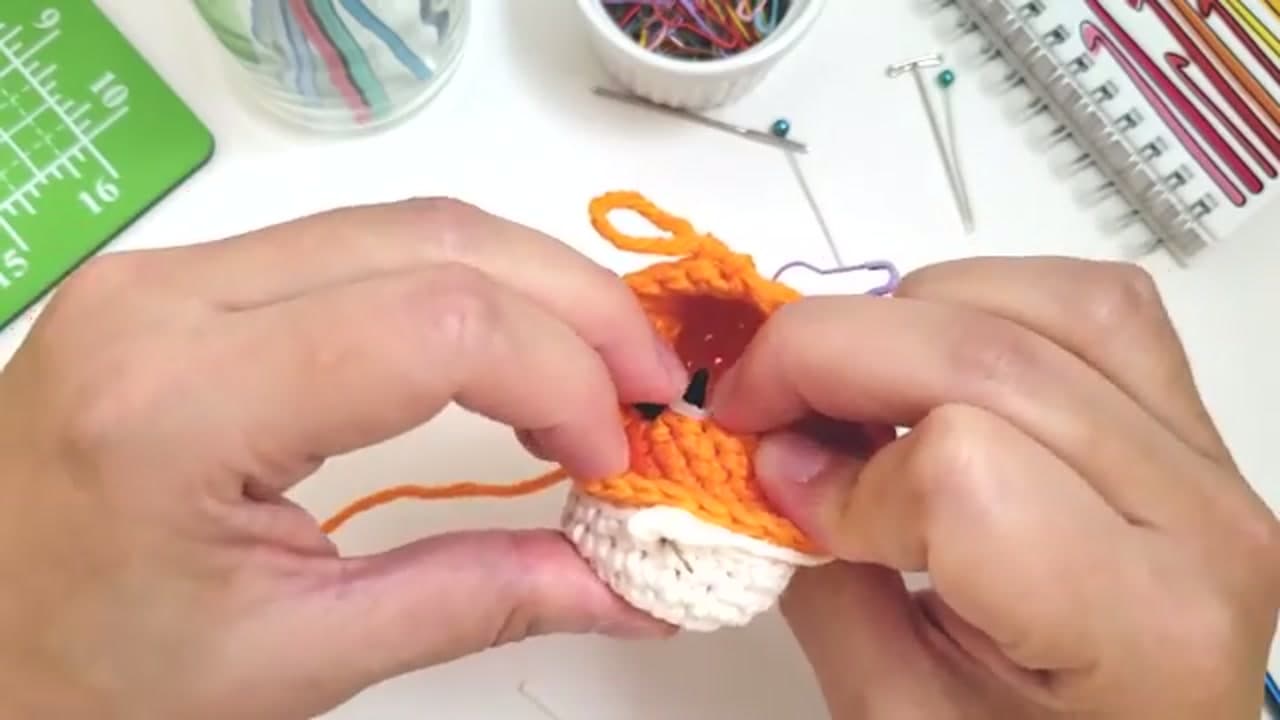
Turn the piece so you can reach the posts from the back. Line the washer up flat side out and push it straight down the post. You will feel it click over the ridges. Keep pressing until it is snug against the crochet with no gap. Needle-nose pliers give you extra squeeze if a washer is stubborn. This is the point of no return, so give the eye one last look from the front before you commit to the push.

Tip

Push the washer on square, not tilted, or it can stop halfway and leave the eye loose.

Products used in this step

6

Step 6: Add the Nose the Same Way

8:10
Step 6: Step 6: Add the Nose the Same Way

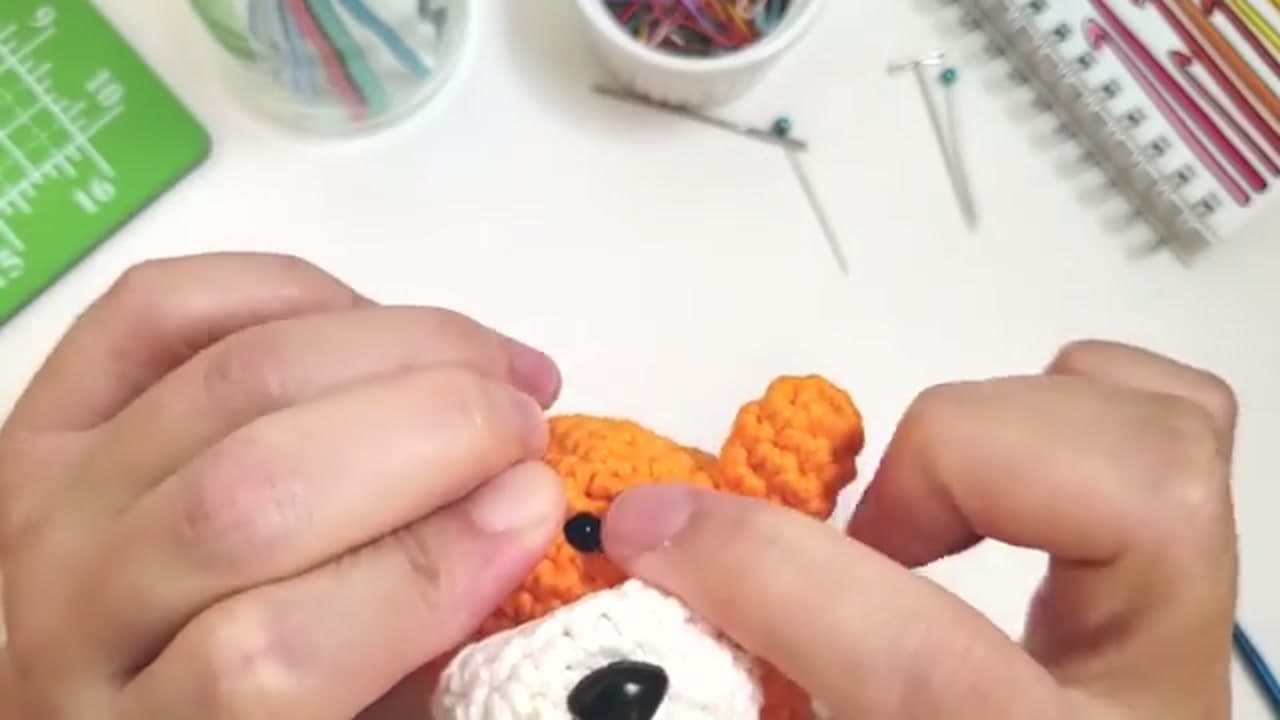
The nose goes on exactly like the eyes. Open a gap on the muzzle, push the post through from the front, and lock the washer on the back. Center it below and between the eyes for that classic animal look. If your creature has a separate muzzle piece, add the nose before you sew the muzzle down so you can still reach behind it. Step back and check the whole face reads the way you want.

Products used in this step

7

Step 7: Pin the Pieces in Place

2:10
Step 7: Step 7: Pin the Pieces in Place

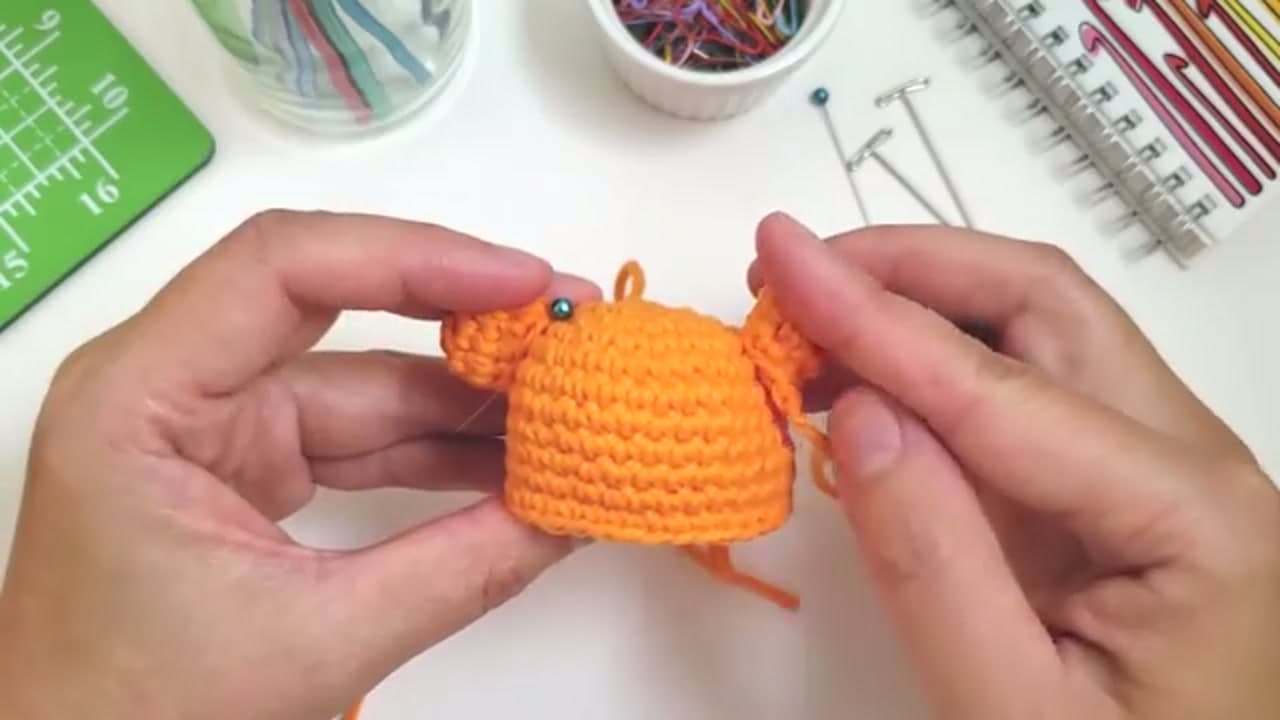
Before you sew a single stitch, pin. Position the ears, muzzle, or limbs on the body and hold each one with a straight pin or a locking stitch marker. Pinning lets you slide pieces around and step back to judge placement without any commitment. Ears especially like to creep out of symmetry, so pin both, then look at the piece straight on and adjust until it feels balanced.

Tip

Locking stitch markers hold better than pins on a rounded, stuffed piece.

8

Step 8: Sew the Pieces On

4:00
Step 8: Step 8: Sew the Pieces On

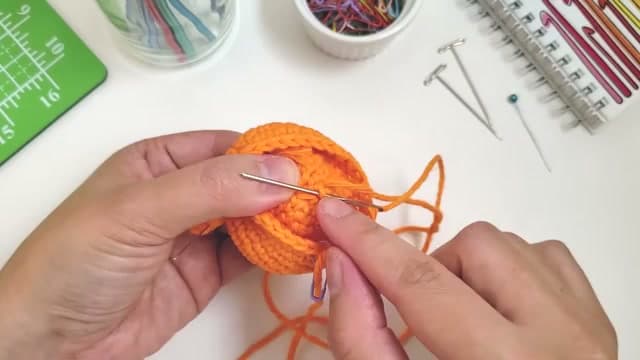
Thread a yarn needle with a tail that matches the piece you are attaching. Work around the seam with small whipstitches, catching a strand from the body and a strand from the piece each pass. Keep your stitches close and even so the join looks clean and holds up to handling. Take out each pin as you reach it. When you close the loop, weave the tail inside to hide it.

Tip

Use the yarn color of the piece being sewn on, not the body, so the stitches disappear into the edge.

9

Step 9: Admire the Finished Face

8:25
Step 9: Step 9: Admire the Finished Face

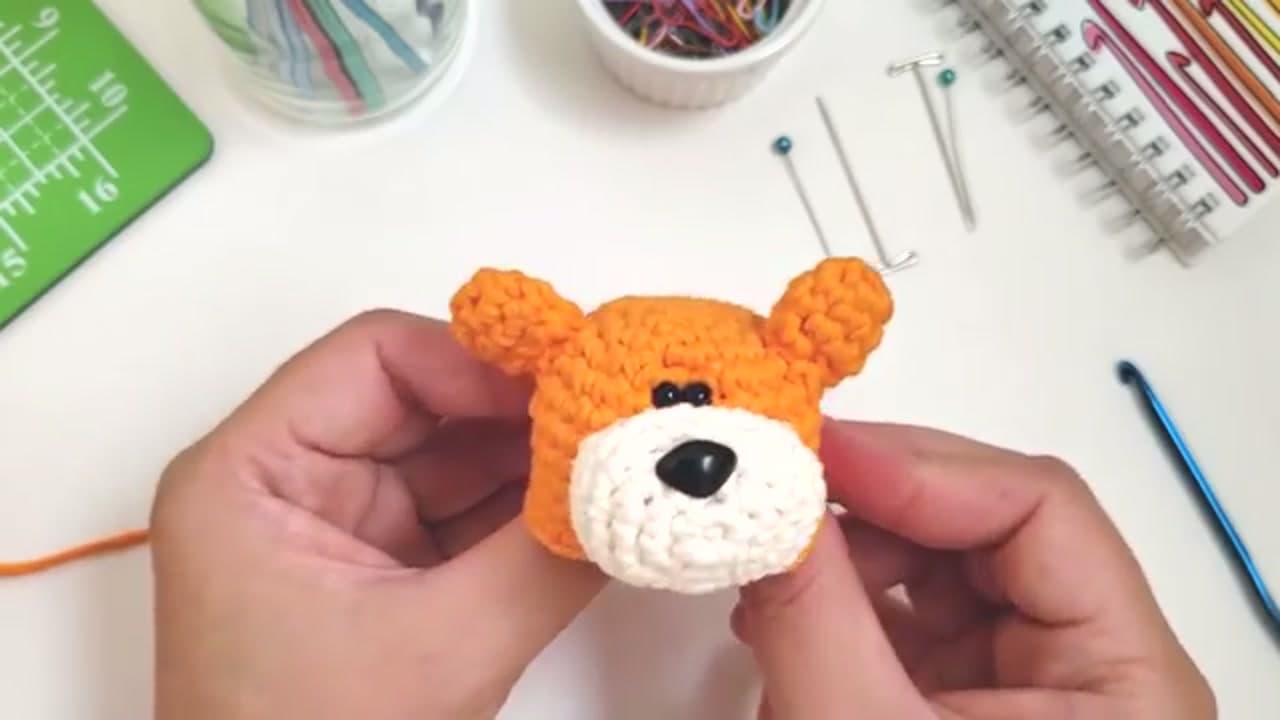
Eyes locked, nose centered, ears sewn on. That is a finished amigurumi face. The same three moves work on a bear, a tiger, a bunny, or whatever you dream up next. Once you have done it a few times, seating safety eyes takes minutes and becomes the satisfying last step that turns a bag of crochet parts into a character.

Products used in this step

Products Used

☐ The Checklist

How to Attach Safety Eyes to Amigurumi

Tools
6
Materials
4
Steps
9
Video
9 min

Your Guide

The Pudgy Rabbit

As an Amazon Associate we earn from qualifying purchases. Links on this page may be affiliate links - clicking them and buying doesn't change your price, but helps support ShowMeStepByStep.

Tags

Free printable

Get the Crochet Cheat Sheet

Every basic stitch on one printable page. No spam, one-click unsubscribe.

Did this work for you?

What's next

Related collections

Curated theme pages that include this tutorial.

Weekly Digest

Liked this crochet tutorial?

Pick the categories you want to hear about. Weekly digest of new step-by-step tutorials. No spam, easy unsubscribe.

Send me tutorials about

We only email about new tutorials. Easy unsubscribe anytime.