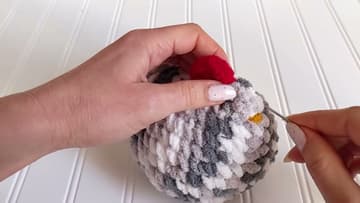
How to Crochet a Chicken (Easy Amigurumi Pattern, Step by Step)
Source: StelarCrafts • Full tutorial: www.craftingstepbystep.com/crochet/how-to-crochet-a-chicken
- Difficulty
- Easy
- Hands-on time
- About 2 hours 30 minutes
- Cost
- About $10 to $18
- Makes
- 1 crochet chicken

Tools
- 5mm crochet hook
- tapestry needle
- stitch marker
- scissors
Materials
- #6 bulky chenille yarn for the body
- small amount of red bulky yarn for the comb
- #4 medium yarn in yellow for the beak
- #4 medium yarn in black for the eyes
- polyester fiberfill stuffing
Steps
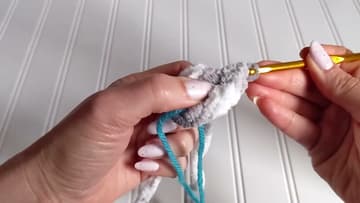
1. Start the Body with a Magic Ring
The chicken starts as a small flat disc. Make a magic ring in your bulky body color and work eight single crochet inside it, then pull the ring closed so there is no hole in the middle.
Tip: Watch this step Chenille yarn hides your stitches, so a contrast-color scrap works far better as a marker than a plastic ring you will lose in the fuzz.
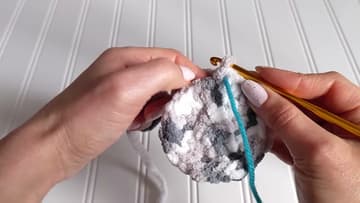
2. Work the Increase Rounds
Now turn that disc into a shallow bowl. Round two is an increase in every stitch, which takes you from eight up to sixteen.
Tip: Watch this step Count your stitches at the end of every round. On fuzzy yarn it is easy to miss an increase, and one skipped stitch throws the whole count off.
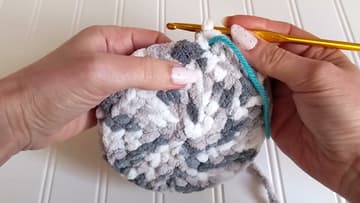
3. Back-Loop Round and Straight Sides
Once you are at forty stitches, work the next round into the back loops only. Look at the top of a stitch and you will see two loops.
Tip: Watch this step The back-loop ridge also gives the base a flatter bottom, so your finished chicken stands up on a shelf instead of rolling over.
4. Shape the Head, Stuff, and Close
Now pinch the top in. Work three single crochet then an invisible decrease all the way around, which brings you down to thirty-two stitches, then crochet one plain round at thirty-two.
Tip: Watch this step Stop stuffing halfway through closing and check the firmness with a squeeze. It is much easier to add a little more filling now than after the seam is shut.
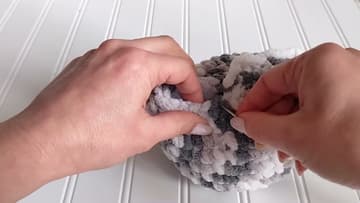
5. Crochet the Red Comb
Time to top the chicken off. Insert your hook into a stitch about three rows down from the tip of the head, join the red yarn, and chain two.
Tip: Watch this step A brighter red pops against grey or white chenille. Bulky red yarn gives the fullest comb, but a doubled strand of medium yarn works if that is what you have.
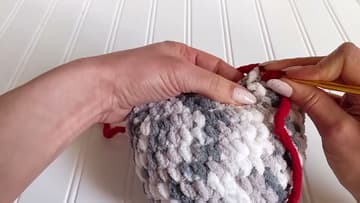
6. Embroider the Beak and Eyes
The face brings your chicken to life. Start with the beak.
Tip: Watch this step Want the simplest version? Skip the embroidered eyes and push in a pair of 6mm safety eyes before you stuff and close the body in Step 4 instead.