How to Crochet a Cat (No-Sew Beginner Amigurumi)

CrochetEasy26:209 stepsBrowse more →
Also in:Crafts

By CraftingStepByStepPublished Updated

Based on a video by Little Crochet Farm.

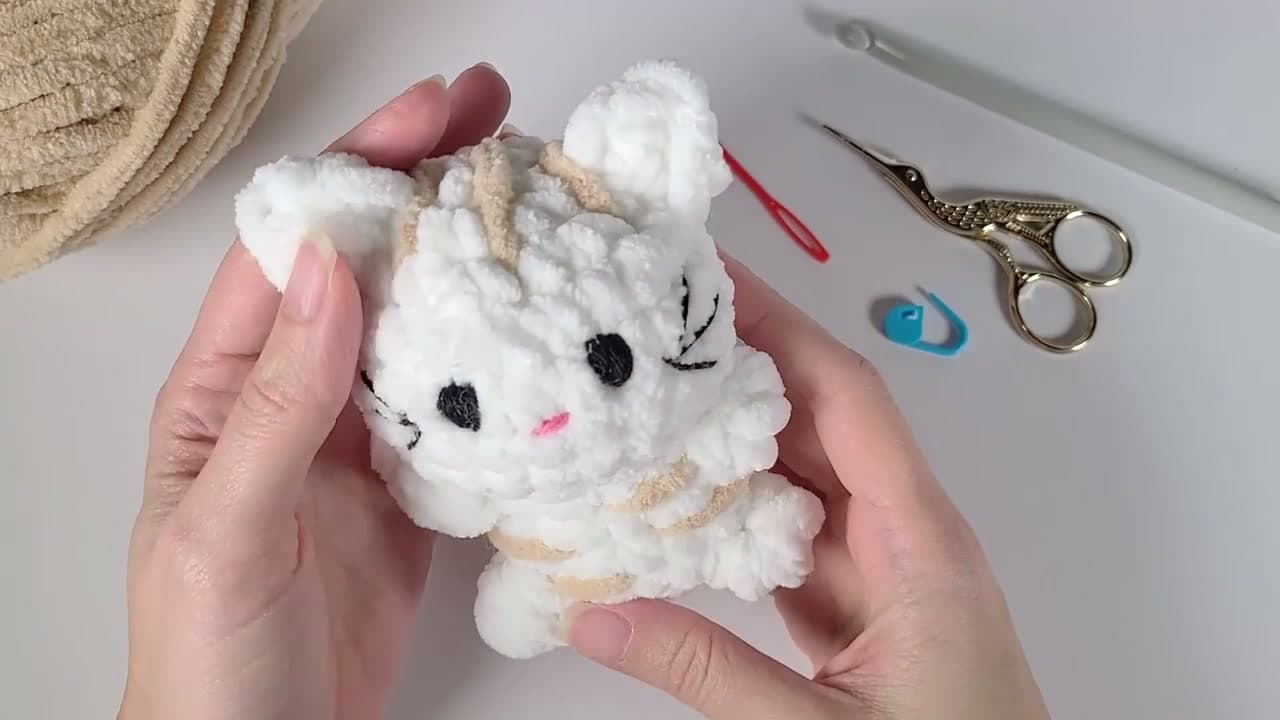
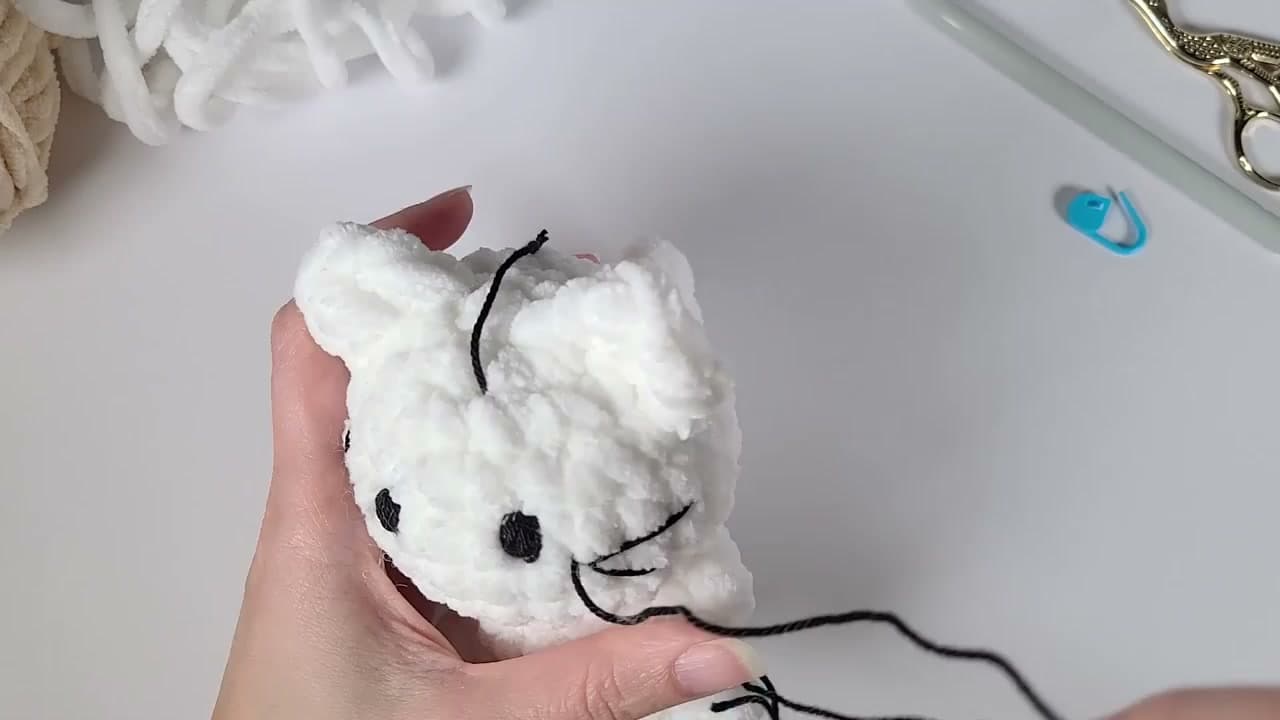
This little chenille cat is the easiest amigurumi you can make. The entire body works up in one continuous piece - head, paws, tail, and body - so there is no sewing at all. The eyes are embroidered with black yarn, which means no plastic safety eyes to track down and no choking hazard if it ends up in a kid's room. The whole project takes one quiet afternoon.

Ana from Little Crochet Farm designed it for total beginners. The chenille yarn does most of the heavy lifting - it is so fluffy that uneven stitches disappear into the texture and the finished cat looks polished even on a first attempt. If you have ever struggled with how stiff and lumpy first amigurumi can look, this is the project that changes that.

The pattern uses six techniques: the magic ring, single crochet, increases, invisible decreases, the bobble stitch (the only one that is new for most beginners), and basic embroidery. If amigurumi is new, read amigurumi basics first - the same techniques carry through every other amigurumi project on the site.

Want a sibling project once your cat is finished? Try a no-sew octopus or a chunky turtle - same skill set, same one-afternoon timeline. New to crochet entirely? The essential crochet supplies guide covers what to buy first.

Step-by-Step Guide

1

Step 1: Gather Your Supplies

0:20
Step 1: Step 1: Gather Your Supplies

Lay out an 8 mm crochet hook, super-chunky chenille yarn for the body (Ana uses Alize Velluto - any chunky chenille works), black sport-weight yarn for the embroidered eyes and whiskers, a small amount of contrast chenille if you want stripes, polyester fiberfill stuffing, a yarn needle with an eye large enough for the chunky yarn, scissors, and a stitch marker.

No safety eyes. No separate ear or tail pieces to sew on later. That is the whole list. The chenille hides every uneven stitch, which is why this works as a first amigurumi - the texture forgives anything a beginner does to it.

Tip

If 8 mm sounds large, that is on purpose. Chunky yarn needs a chunky hook. A smaller hook would make the stitches too tight to work into on the second pass for the ears.
2

Step 2: Magic Ring and Round 1 (6 Single Crochets)

1:35
Step 2: Step 2: Magic Ring and Round 1 (6 Single Crochets)

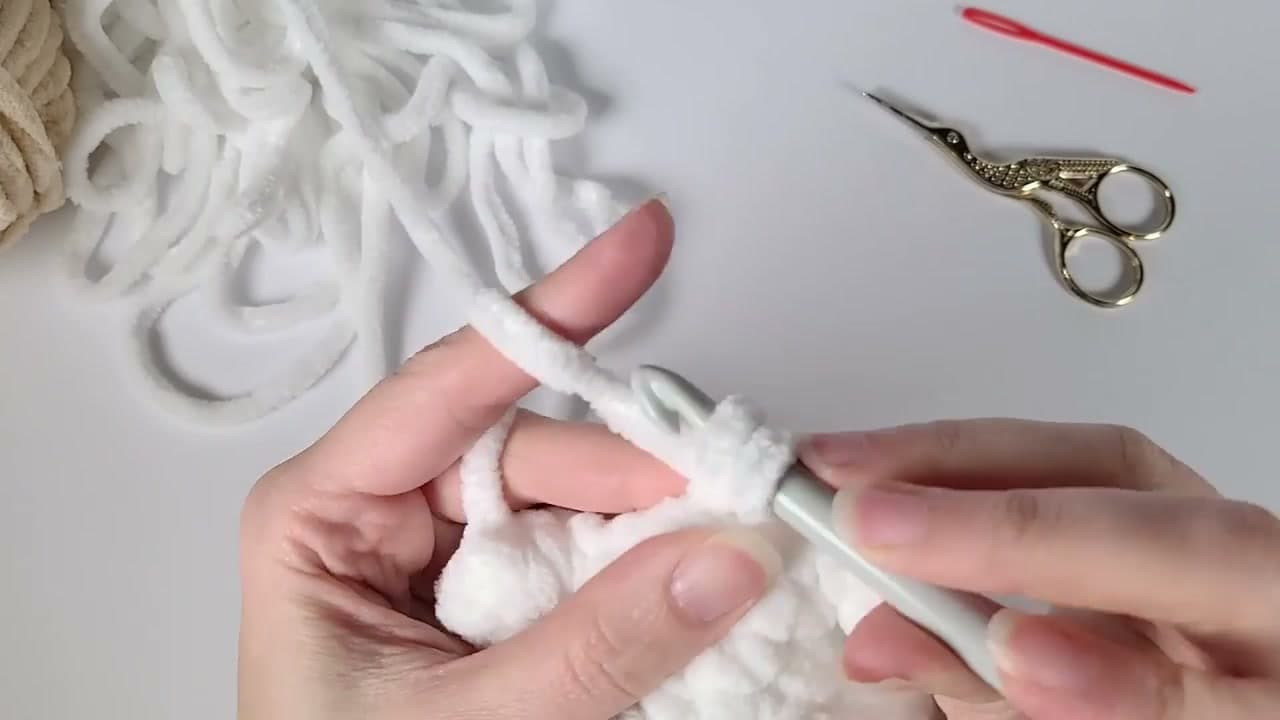
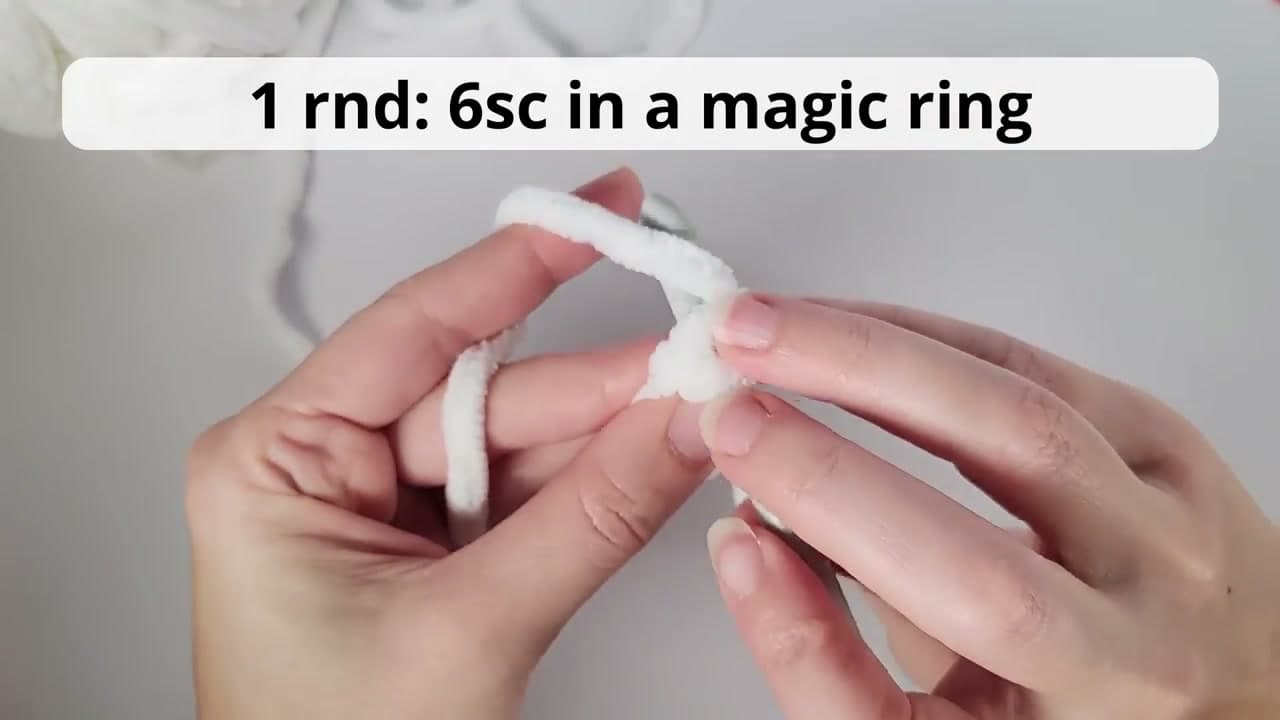
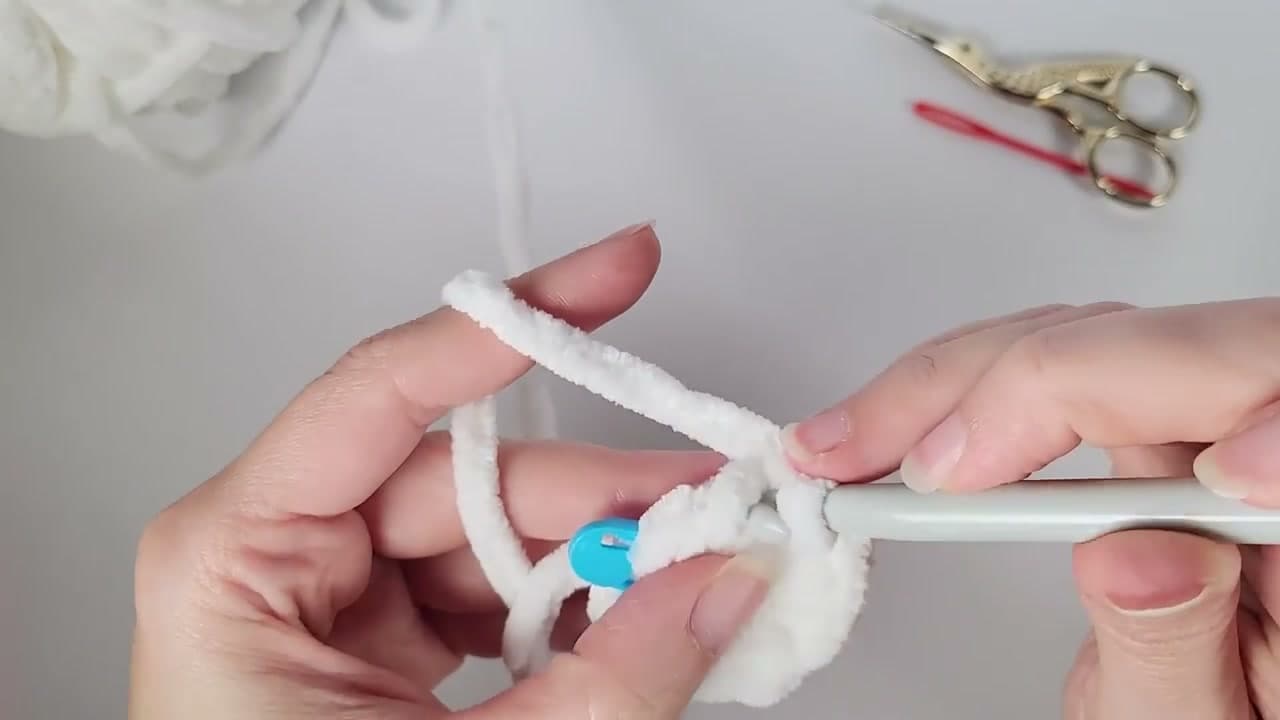
Start with the main chenille yarn. Pinch the tail between your thumb and pointer finger, wrap the working strand around your fingers to form a small loop, slip the hook through, and pull a loop. That is the magic ring.

Work 6 single crochets into the ring with yarn-over-the-needle (the standard way). Once round 1 is done, pull the short tail to cinch the ring closed. Drop a stitch marker into the last stitch so you can find the start of round 2.

Tip

If the magic ring keeps unraveling on the first try, work the first single crochet into both strands of the ring (the tail loop and the working loop). That extra grip stabilizes it. The next round will tighten everything up.

3

Step 3: Build the Head (Rounds 2 Through 7)

3:50
Step 3: Step 3: Build the Head (Rounds 2 Through 7)

Round 2 is two single crochets in every stitch around - 12 stitches total. Round 3 alternates one single crochet and one increase, repeating six times around for 18 stitches.

Rounds 4 through 7 keep adding increases at the corners only - two single crochets and one increase, then three single crochets and one increase, and so on. By the end of round 7 you should be holding a soft chenille dome roughly the size of a clementine. Move the stitch marker into the last stitch of every round so you do not lose your place.

Tip

Chenille yarn loves to swallow your hook. Grab the whole stitch (both loops) every time and pull slowly. If the hook keeps sliding through extra strands of the chenille fluff, slow your hand down rather than tightening your grip.

4

Step 4: Round 8 - Invisible Decreases to Shape the Head

7:05
Step 4: Step 4: Round 8 - Invisible Decreases to Shape the Head

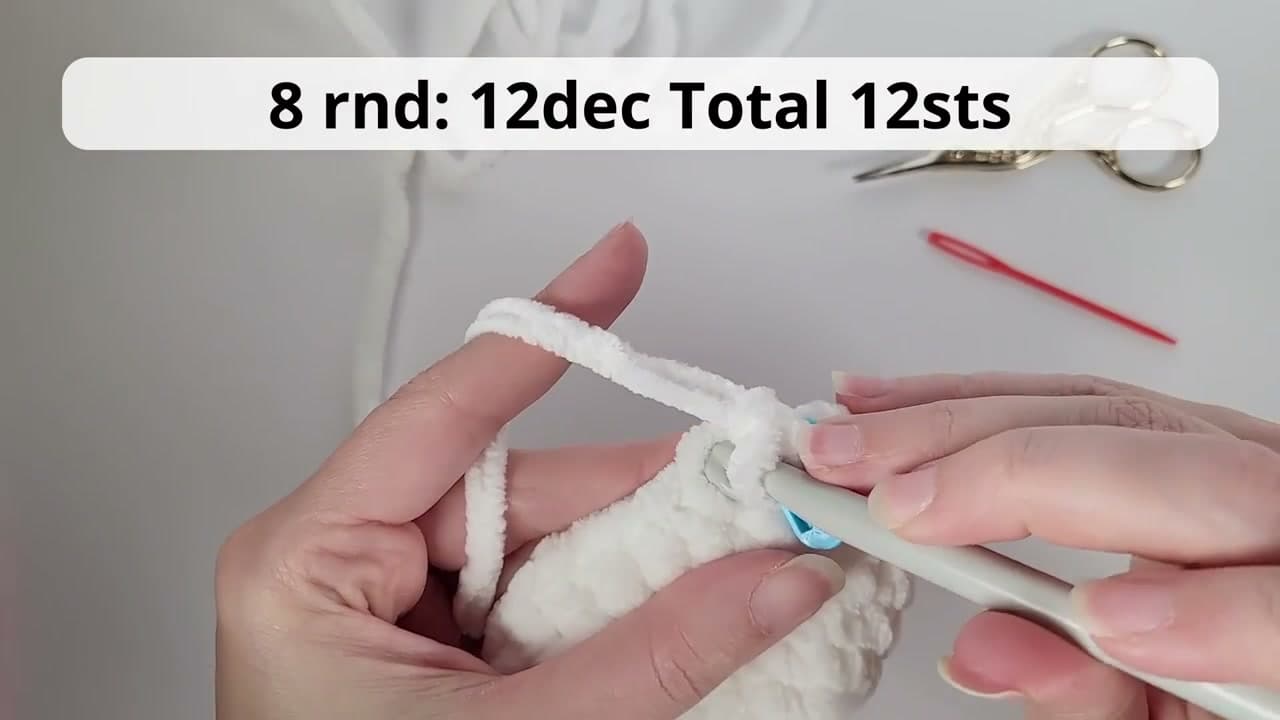
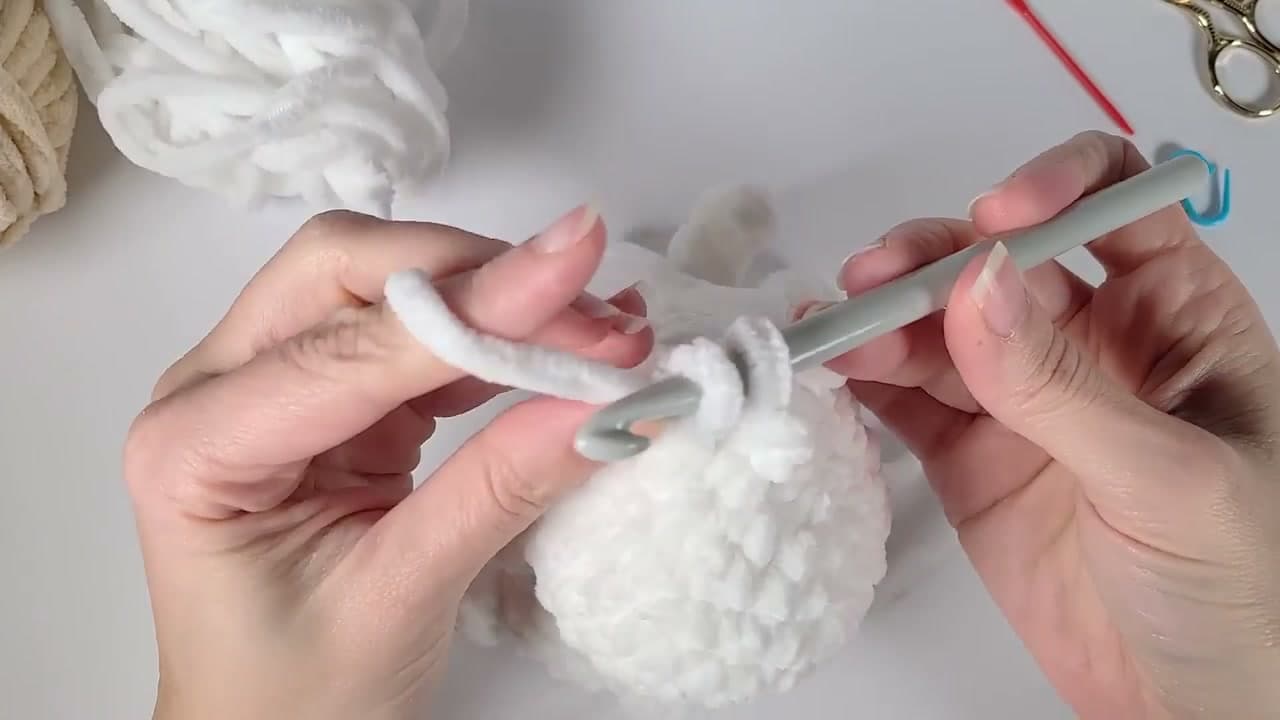
Round 8 is where the head starts to close up. Work 12 invisible decreases across the round to bring the count back down to 12 stitches.

An invisible decrease grabs only the front loop of the next two stitches. Insert the hook through the front loop of the first stitch, then through the front loop of the next stitch (three loops on the hook), yarn over, and pull through everything at once. Repeat all the way around. The top of the head curls inward and starts to look like a cat skull from underneath.

Tip

Regular decreases leave a visible bumpy line. Invisible decreases hide it - that is why they are the standard for amigurumi. If you have ever made a lumpy-looking amigurumi, the regular decrease was likely the culprit. Take the extra second to do the invisible version.

5

Step 5: Round 9 - the Front Paws as Bobble Stitches

8:10
Step 5: Step 5: Round 9 - the Front Paws as Bobble Stitches

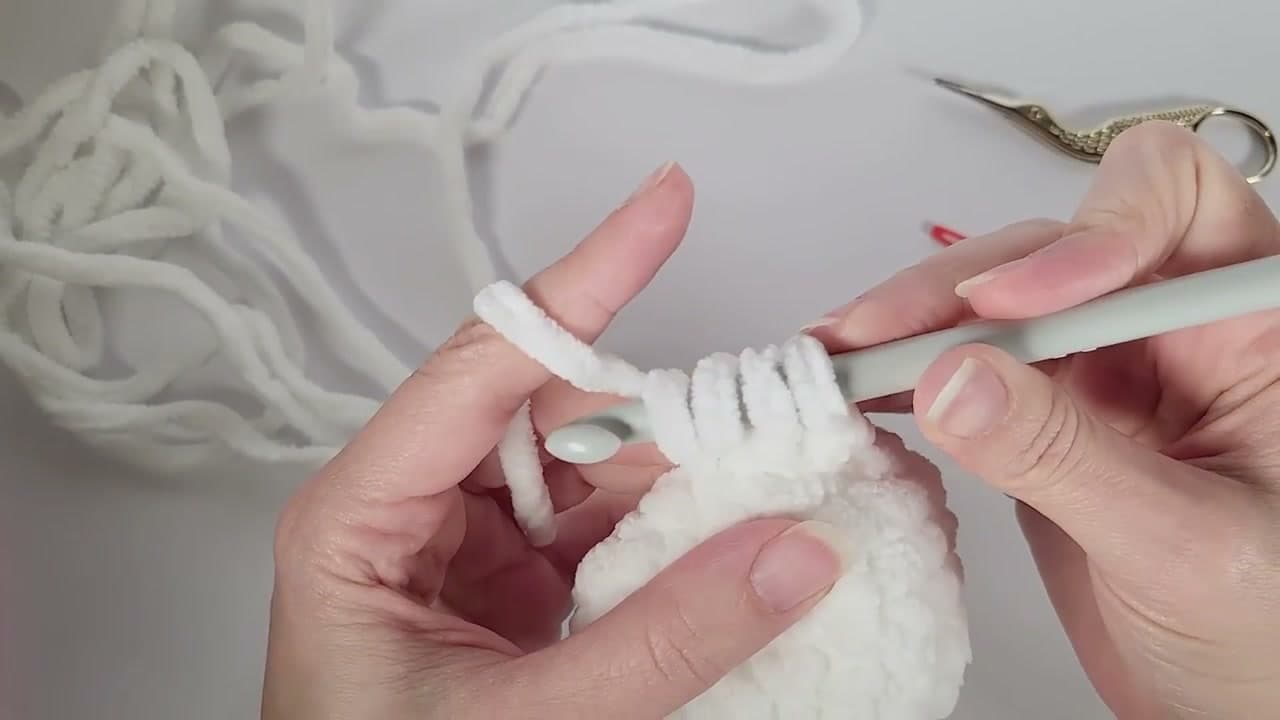
Round 9 is the bobble round, and the two bobbles become the cat's front paws. Work three single crochets, then one bobble, then four single crochets, then one bobble, then three single crochets - all in the front loop only.

To make a bobble: yarn over, pull up a loop in the next stitch, yarn over and pull through one loop, then repeat that sequence three more times into the same stitch. You will end with five loops on the hook. Yarn over one last time and pull through all five loops together. The bobble puffs out from the body. The two bobbles end up sitting at the chest where front paws would be, separated by the four sc that becomes the chin and tummy.

Tip

The first bobble feels fiddly because you are juggling five loops on the hook. Keep your tension firm and the loops on the wider part of the hook (not the slim throat) - they pull through cleanly that way. The second bobble always feels easier.

6

Step 6: Round 12 - the Tail and Back Paws

12:35
Step 6: Step 6: Round 12 - the Tail and Back Paws

This is the most fiddly round in the pattern. Slow down and work it once at full speed in the video before you start.

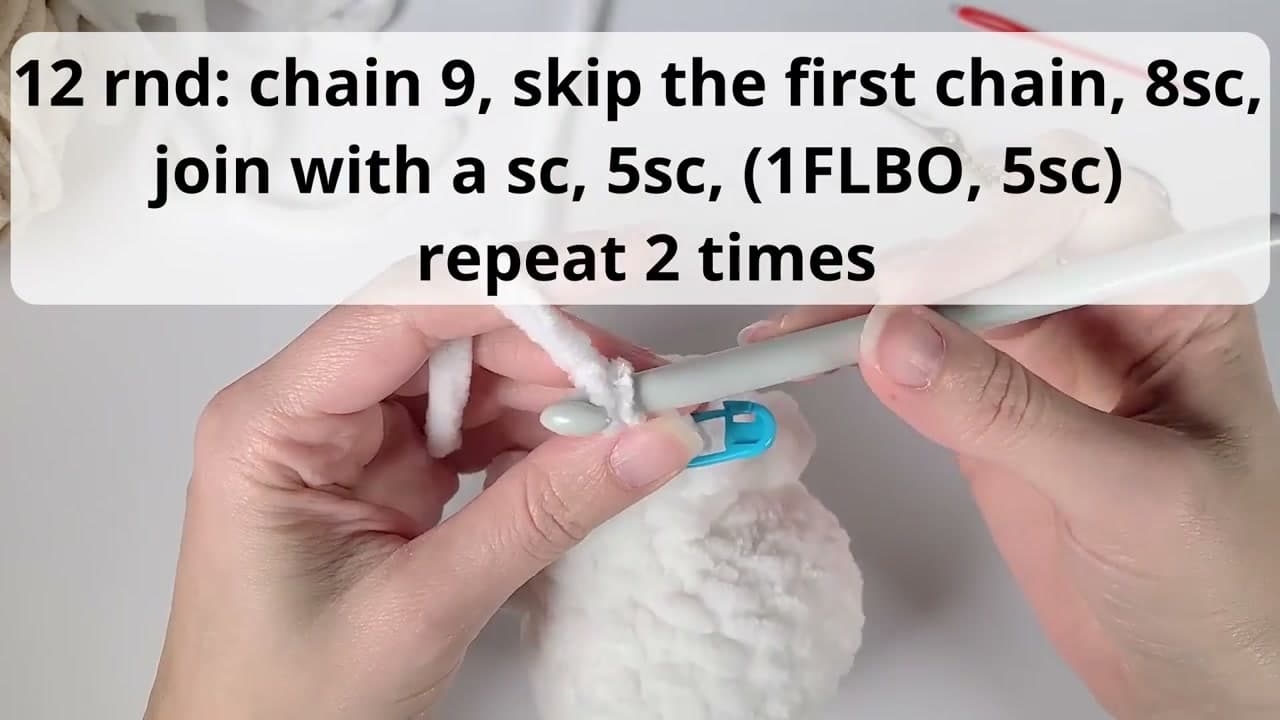
Chain nine for the tail. Skip the first chain and work eight single crochets back along the chain (working into the third loop is optional - work into whichever loop your hook can find). That gives you a skinny tube hanging off the body. Join the tail back into the round with a single crochet, then work five more single crochets around the body. Now repeat the bobble-then-five-sc pattern twice for the back paws. The tail dangles, the back paws sit at the bottom, and the cat shape is essentially built.

Tip

If the tail tube comes out too thin, work the eight single crochets a little looser. If it comes out too thick, work them tighter. The first attempt is the calibration pass - your second cat will have a perfect tail.

7

Step 7: Stuff the Body and Fasten Off

14:55
Step 7: Step 7: Stuff the Body and Fasten Off

Stuff the body firmly through the open bottom. Push the polyester fiberfill all the way up into the head with a stuffing tool or chopstick. The chenille hides any uneven lumps, so pack it generously - a slightly over-stuffed amigurumi holds its shape better than an under-stuffed one.

For the last decrease round, switch to yarn-under-the-needle so the stitches are extra tight and the stuffing cannot poke through. Fasten off by threading the yarn tail through the front loop of the final 12 stitches with your yarn needle, then pull the tail tight to cinch the bottom closed. Bury the tail inside the body so nothing shows.

Tip

Stuff in small pinches, not big handfuls. Small pinches give a smoother shape and let you push the filling exactly where you need it - up into the crown of the head where the magic ring is, then down into the body cavity.

8

Step 8: Crochet the Ears Directly onto the Head

17:00
Step 8: Step 8: Crochet the Ears Directly onto the Head

This is the magic of the no-sew design. The ears get worked directly onto the head - no separate pieces, no sewing.

Push your hook between rounds 1 and 2 at the top of the head, pull up a loop of the same main yarn, and chain 1. Work one single crochet in the same spot, chain 1, work one double crochet into the stitch in the round just below, chain 1, then work one single crochet in the next stitch over. That five-stitch shell is one ear. Fasten off, thread the tail through the base of the ear with your needle, and pull it tight so the ear stands up on its own. Repeat on the other side of the head for the second ear, leaving roughly six stitches between them.

Tip

The ear pinches up automatically when you pull the fasten-off tail through the base. If it stays floppy, run the needle through the base one extra time before knotting. Aim for the two ears to mirror each other - the second one is usually a little better than the first.

9

Step 9: Embroider the Eyes, Nose, Whiskers, and Stripes

20:15
Step 9: Step 9: Embroider the Eyes, Nose, Whiskers, and Stripes

Thread your yarn needle with black sport-weight yarn. Bring the needle up where you want the first eye to sit (between rounds 5 and 6 of the head, roughly two stitches off the centerline) and stitch a lot of short straight lines over and over in the same spot until they build up into a round black eye. Knot off inside the head. Repeat on the other side for the second eye, four stitches over.

For the whiskers, stitch three small horizontal lines out from each side of the face just beside the eye. For the nose, switch to a fresh length of black yarn (or pink embroidery floss if you prefer) and stitch three tiny straight lines stacked in the center between the eyes. For stripes like Ana's, run two or three short tan lines across the top of the head and along the tail. Weave in every loose end on the inside of the head and the cat is done.

Tip

Building an eye out of straight lines feels wrong until it works. The trick is to let the stitches overlap on top of each other rather than fan out from a center point. Three or four passes is usually enough. Stand back and look at the cat at arm's length - it is easier to see if the eyes are even from that distance than up close. Looking for what to make next? Browse easy crochet projects for beginners.

Products Used

☐ The Checklist

How to Crochet a Cat (No-Sew Beginner Amigurumi)

Tools
5
Materials
5
Steps
9
Video
26 min

Your Guide

Little Crochet Farm

As an Amazon Associate we earn from qualifying purchases. Links on this page may be affiliate links - clicking them and buying doesn't change your price, but helps support ShowMeStepByStep.

Tags

What's next

Related collections

Curated theme pages that include this tutorial.

Weekly Digest

Liked this crochet tutorial?

Pick the categories you want to hear about. Weekly digest of new step-by-step tutorials. No spam, easy unsubscribe.

Send me tutorials about

We only email about new tutorials. Easy unsubscribe anytime.