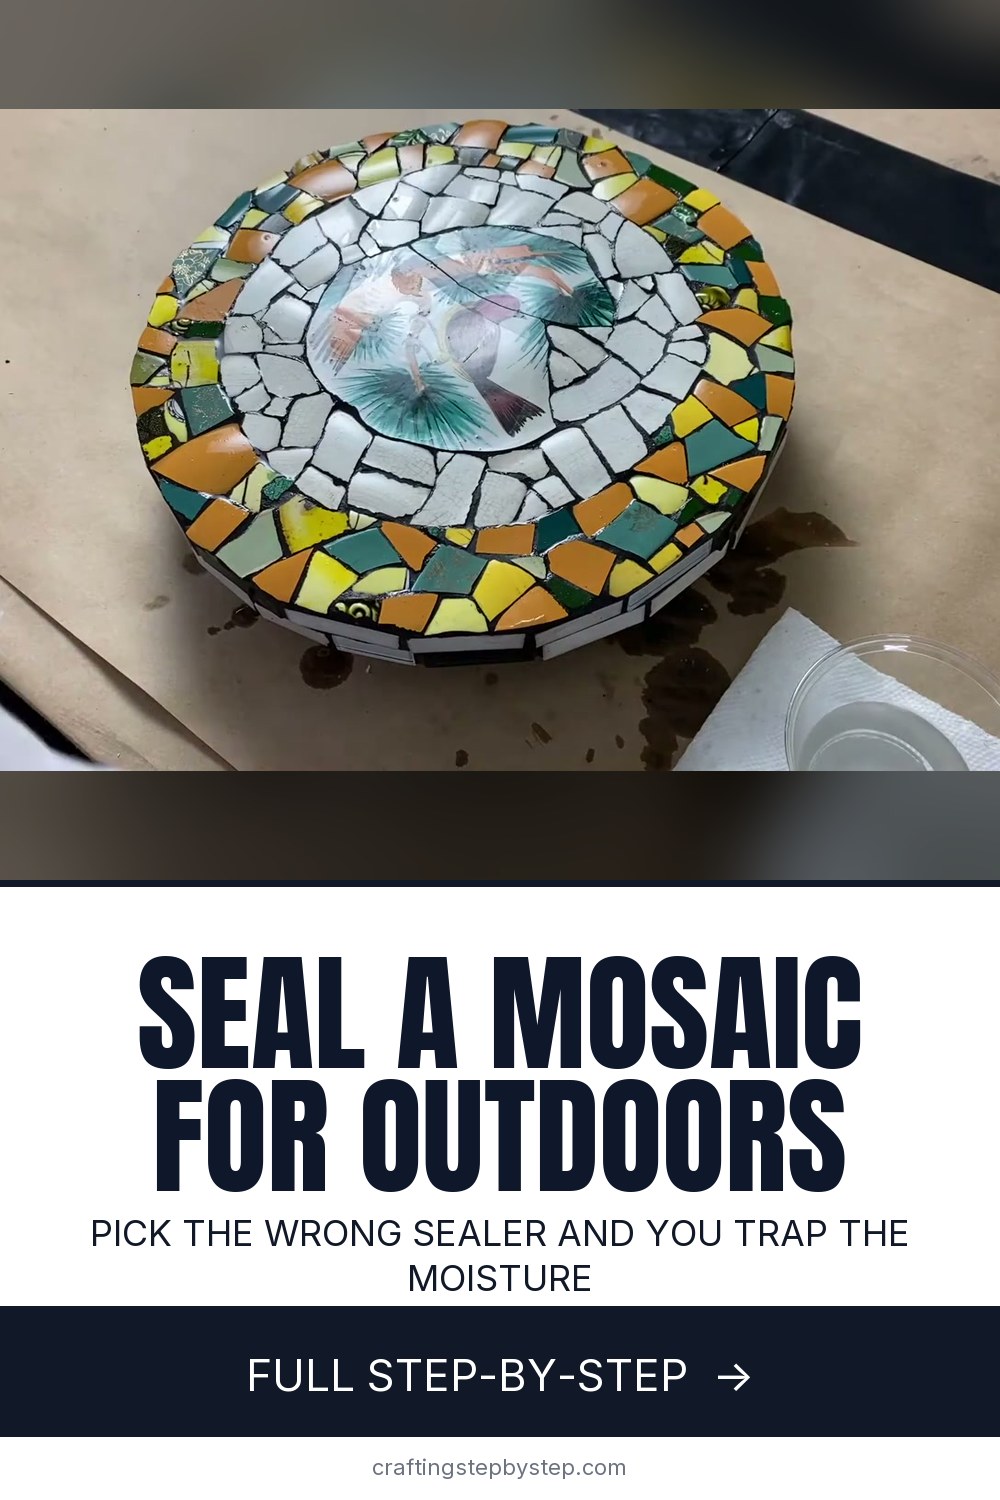
How to Seal a Mosaic for Outdoor Use

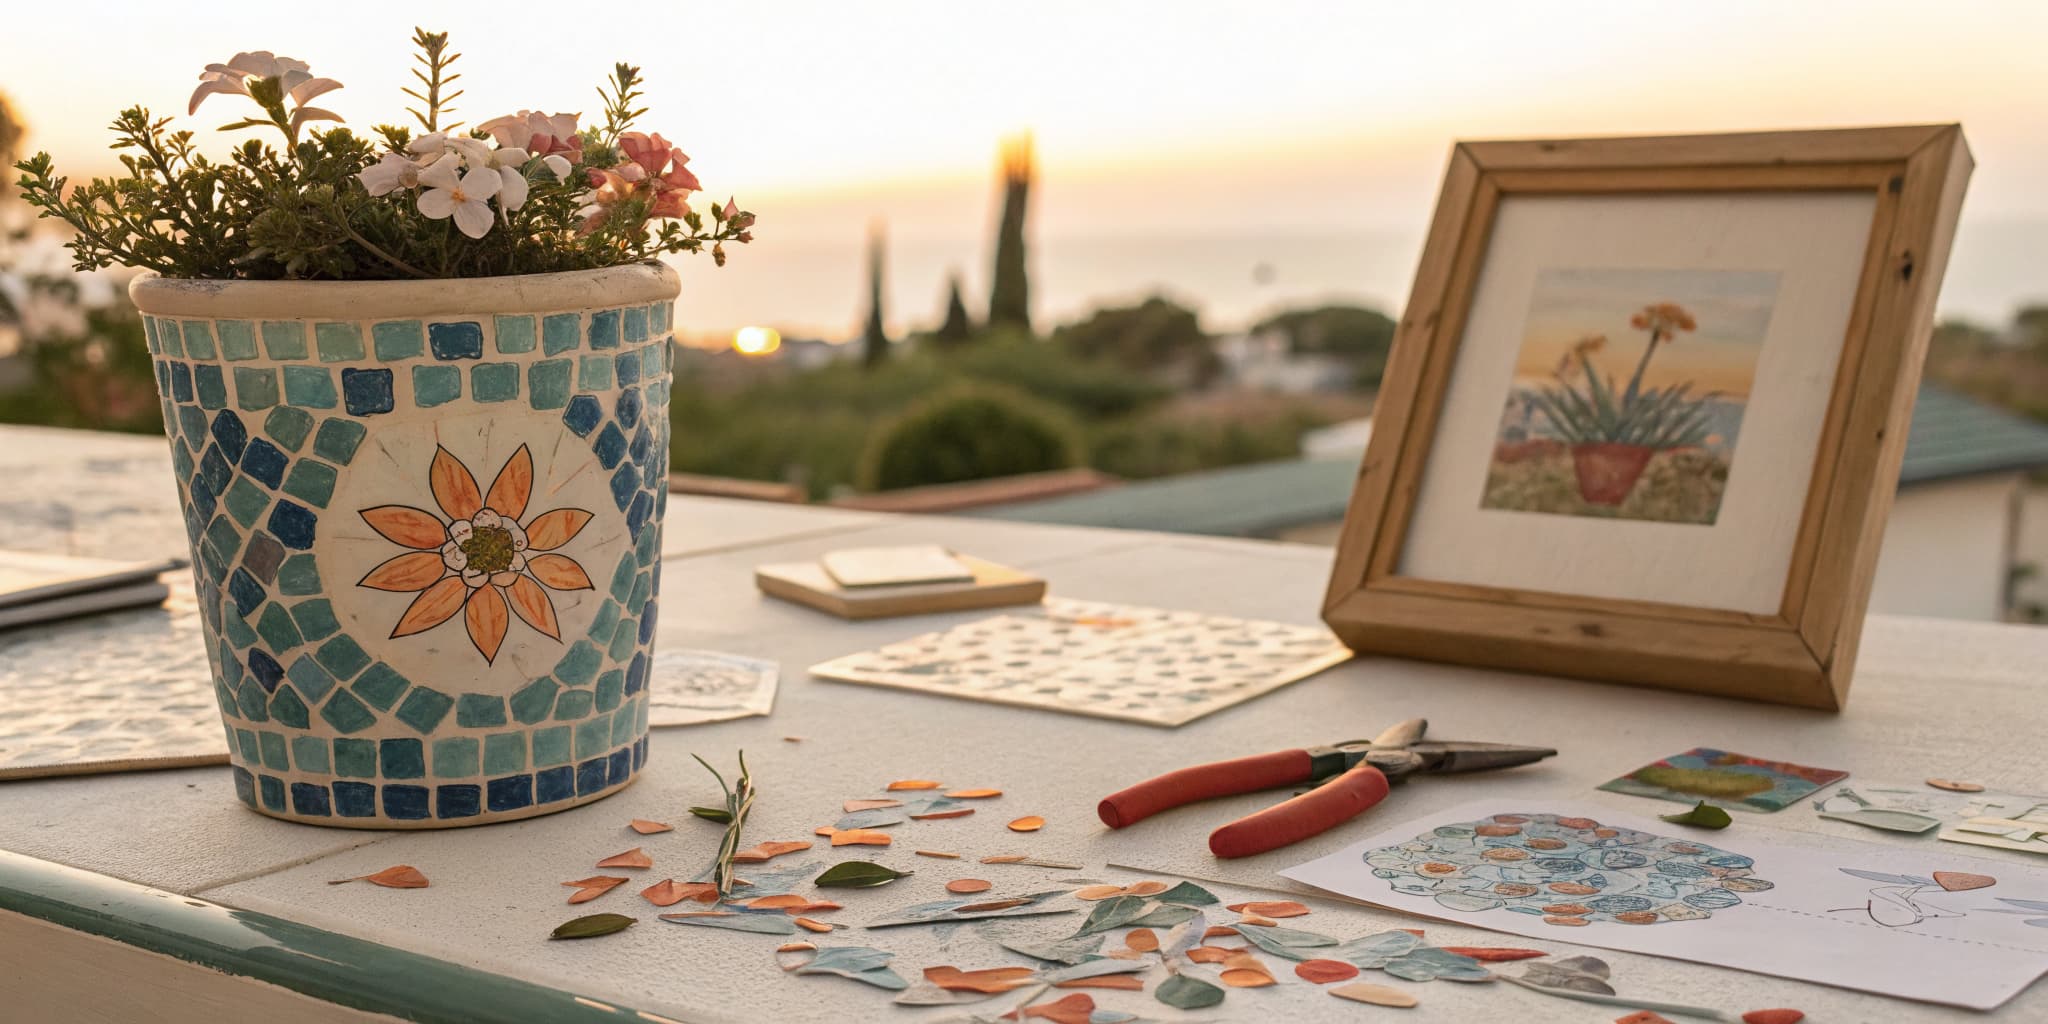
The finished result: How to Seal a Mosaic for Outdoor Use
  • Difficulty: Easy
  • About 30 minutes, plus 24 hours to dry or set
  • 6 steps

You tapped Save

Save this project for later

We'll email you a link, no password.

How to Seal a Mosaic for Outdoor Use

  • Your saved projects in one list
  • Your ticked steps on any device

Check your inbox for an email from us. Not there? Look in your spam folder.

Print

Steps written out by Crafting Step by Step from Julie Weilbacher's video (opens YouTube) (10:49). Published .

Grout is porous. Outdoors that means it absorbs water, holds stains, and gives up its color, so a mosaic that took a weekend to make looks tired by its first spring. Sealing the grout prevents that, and it takes about twenty minutes.

This follows Julie Weilbacher's method, shown on garden stakes and a stepping stone. Indoors, sealing is a matter of preference. Outdoors it is not.

What you need

  • Penetrating grout sealer, silane or siloxane based
  • Sponge brush or an old paintbrush
  • Nitrile gloves
  • Lint-free cloth and paper towels
  • A mosaic grouted at least three days ago

Which sealer survives outdoor weather

Two families, and only one belongs in a garden. A penetrating sealer soaks into the grout and lines the pores from the inside: rain beads off, water vapor still escapes. Silane and siloxane are the usual chemistries.

A membrane sealer dries as a film on the surface. On a kitchen backsplash that is fine. Outside, the film traps moisture underneath, and moisture that cannot evaporate grows mold behind the sealer and a milky haze on top. Wet look and color enhancing products are almost always membranes, so read the back of the bottle, not the shelf tag.

Seal the grout, not the tesserae

Glazed ceramic and glass gain nothing from sealer, which is why it gets wiped back off them. Unglazed tile and natural stone go the other way and drink it in unevenly, so leave those pieces alone.

Sealer does nothing for the layer below. A mosaic that winters outside has to be set in thinset or exterior adhesive on a frost-proof base, with sanded grout in the joints - white craft glue softens every time it gets wet. That is decided at the grouting stage, and a concrete-backed piece wants its own sealer on the back and edges.

How many coats, and how long between them

Two coats about 15 minutes apart suits most brands and a few ask for three; past that you are leaving residue where it cannot soak in. The number bottles are quieter about is the outdoor cure - 24 to 72 hours indoors before the piece meets rain. A coat applied the morning it goes into the garden washes out of the joints before it bonds.

Freeze-thaw, rain, and sun

Freeze-thaw is what destroys garden mosaics. Water soaks into open grout, freezes, expands by about nine percent, and pushes outward from inside the joint. One cycle does nothing you can see. Forty of them over a winter crumble the grout line and lift tesserae off the edges. Keeping water out of the pores is the whole reason a penetrating sealer works.

Rain alone is a staining problem, not a structural one. Sun is slower still: glass keeps its color for years and the grout is what goes chalky, so gray hides UV fade better than a strong pigment.

Standing water beats all three. A flat stepping stone holding a puddle, or a bird bath basin that never dries, stays wet for days and no sealer is rated for that. Bed stones so they drain, and empty a bird bath before a hard freeze.

How often to re-seal

Once a year for anything horizontal or rained on, every two or three years for a sheltered vertical piece. Test rather than guess: drop water on a grout line. Beads and sits, the sealer is working. Darkens and soaks in within half a minute, re-seal - after cleaning and drying it, because sealing over dirt locks the dirt in.

Where it goes wrong

  • Sealing too early. Three days is the floor, not the goal, and a repaired crack resets the clock.
  • Letting it haze. Sealer left to dry on glass is much harder to remove than it was to wipe, so work in sections.
  • Treating sealed as weatherproof. Sealer slows absorption; it does not survive a hard freeze for you. Bring suncatchers and mosaic pots into a shed over winter.

Free printable

Print the steps and supply list for this project

One page you can take to the table. Free with a free account, no password.

Get the free printable

What you'll need

Free, for this project

Get this checklist by email

  • All 5 tools and materials, with tick boxes
  • A link to print all 6 steps on paper, to keep by you while you craft

No password. The whole tutorial stays free on this page.

Quick answer

Keep your outdoor mosaic looking new. Which grout sealer to buy, two easy ways to apply it, and why you shouldn't wait a season to seal it. An easy project: about 30 minutes, plus 24 hours to dry or set. Materials cost about $10 to $18. You need 5 things, including penetrating grout sealer, paper towels and sponge brush or old paintbrush. The 6 steps start with check the Piece Is Ready to Seal and use a Penetrating Sealer.

Step-by-step guide

6 steps, about 11 minutes. Tap a picture to jump to that step. Your progress saves automatically.

Tick each step off as you go.

  1. Step 1: Check the Piece Is Ready to Seal

    Watch this step · 3:20

    Three things have to be true before any sealer comes out. The grout must have fully cured for at least three days. Any cracks must already be repaired - and then you wait another three days.

    And do not seal unglazed or natural stone. It is porous enough that it drinks the sealer straight in, and you will not get it back off.

    Watch this step

    Tip:

    Three days is a minimum, not a target. Grout that still smells damp is not cured, whatever the calendar says.

    Back to all steps

  2. Step 2: Use a Penetrating Sealer

    Watch this step · 5:30

    There are two kinds of grout sealer and the choice matters. A penetrating sealer soaks into the porous grout and stays inside it. A membrane-forming sealer sits on top as a film.

    The membrane is the one to avoid outdoors: it can trap moisture underneath instead of letting it evaporate, and trapped moisture grows mould. A sponge brush is the easiest applicator, though an old paintbrush is fine.

    Watch this step

    Tip:

    Read the bottle rather than the shelf label. Plenty of products described as grout sealer on the front are membrane formers on the back.

    Back to all steps

  3. Step 3: Method One - Paint the Grout Lines Only

    Watch this step · 6:00

    The careful approach is to run the brush along the grout lines alone, slowly and deliberately, keeping the sealer off the glass entirely.

    It gives the tidiest result and there is nothing to clean up afterwards. It is also considerably slower, and on a busy design with a lot of small tesserae it is genuinely tedious.

    Watch this step

    Tip:

    Load the brush lightly. A heavy brush floods the joint and runs straight out over the tile you were trying to avoid.

    Back to all steps

  4. Step 4: Method Two - Coat Everything, Then Wipe Back

    Watch this step · 6:40

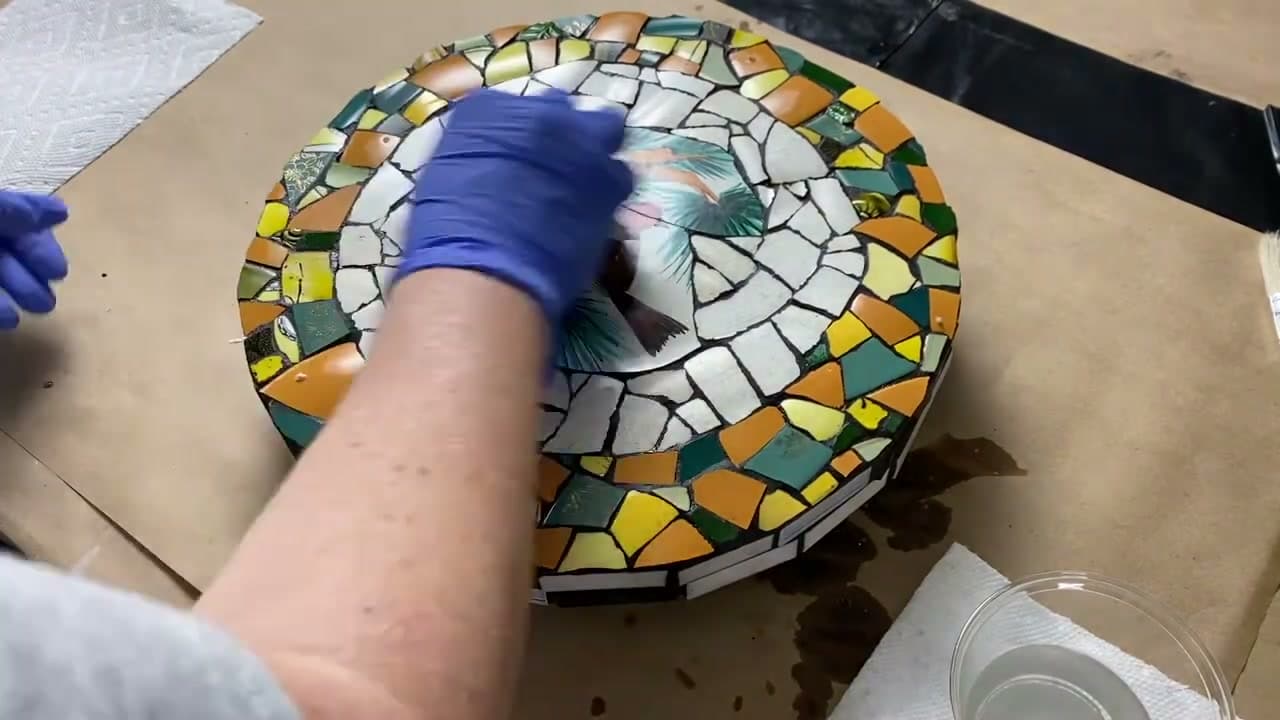
    The faster approach is to stop being precious about it: brush sealer over the whole surface, glass included, then go back and wipe it off every tile.

    Pick one method or the other. Aiming for the grout lines, missing, and then wiping anyway is the worst of both - all the slowness of the first method and all the cleanup of the second.

    Watch this step

    Tip:

    On a piece with hundreds of small pieces, method two is almost always quicker overall even counting the wiping.

    Back to all steps

  5. Step 5: Wipe the Sealer Off the Glass

    Watch this step · 7:30

    However you applied it, get the sealer off the tesserae before it has time to sit.

    Left on the tile surface it dries to a haze, and hazed sealer is far more work to remove than wet sealer was to wipe. Work in sections so nothing is drying while you are still brushing somewhere else.

    Watch this step

    Tip:

    A dry cloth lifts wet sealer better than a damp one. Water just spreads it around.

    Back to all steps

  6. Step 6: Second Coat, Then Cure Indoors

    Watch this step · 8:00

    Wait about 15 minutes and apply a second coat. Some brands want more than two, so check the label for the actual number.

    Then leave the piece indoors to cure before it goes outside. And seal a mosaic before it ever goes out - seal one that has already spent a season in the garden and all you are doing is sealing in the dirt.

    Watch this step

    Tip:

    This is the step people skip when they are already happy with how it looks. Sealing is what decides whether it still looks like that in three winters.

    Back to all steps

How to Make an Autumn Leaf Lantern

Keep going

How to Make an Autumn Leaf Lantern

Keep going with crafts

More on this topic, picked for this mosaic for outdoor use.

You reached the last step

Save this project to come back to it

Your ticked steps, the free printable and your other saved makes, together in My Projects. Free, no password.

You tapped Save

Save this project for later

We'll email you a link, no password.

How to Seal a Mosaic for Outdoor Use

  • Your saved projects in one list
  • Your ticked steps on any device

Check your inbox for an email from us. Not there? Look in your spam folder.

Free printable

Printable sheet for this project

The bonus is hidden until you sign up.

Free with a free account, no password. Every step above stays open to everyone.

Common problems

Which type of sealer should you use on an outdoor mosaic?

Choose a penetrating sealer, silane or siloxane based, not a membrane forming one. A penetrating sealer soaks into the grout pores so rain beads off while moisture still escapes, while a membrane sealer dries as a film that traps moisture underneath and grows mold and a milky haze. Read the back of the bottle rather than the shelf tag.

How soon after grouting can you seal a mosaic?

Wait at least three days after grouting, and three more days after any crack repair, before you seal. That is a floor, not a target, since grout that still smells damp is not cured, and sealing too early is the most common mistake.

Why does outdoor mosaic grout crack and crumble over winter?

Freeze thaw is the cause. Water soaks into open grout, freezes, expands, and pushes outward from inside the joint, and forty cycles over a winter can crumble the line and lift tiles off the edges. A penetrating sealer keeps water out of the pores in the first place, so seal before the piece ever goes outside.

How often do you need to reseal an outdoor mosaic?

Reseal yearly for anything horizontal or rained on, and every two to three years for a sheltered vertical piece. Test instead of guessing: drop water on a grout line. If it beads and sits, the sealer still works; if it darkens and soaks in within half a minute, clean, dry and reseal.

Should you seal the glass or ceramic tiles themselves, not just the grout?

No, seal the grout only. Glazed ceramic and glass gain nothing from sealer, which is why it gets wiped back off them, and unglazed tile or natural stone drinks it in unevenly, so leave those pieces alone and keep the sealer on the joints.

Products Used

The Checklist

How to Seal a Mosaic for Outdoor Use

Tools
3
Materials
2
Steps
6
Video
11 min

Tools we recommend

As an Amazon Associate we earn from qualifying purchases. Links on this page may be affiliate links - clicking them and buying doesn't change your price, but helps support Crafting Step by Step.

Tags

The Crafter's Weekly

New crafts tutorials, every Sunday

One short email with the week's best step-by-step guides. Free, no spam, unsubscribe anytime.

Test your knowledge

Did the lesson stick? Start with this one.

5 questions covering what you just read. No signup, no score saved, and you can stop after this one.

Question 1 of 5

How long must grout cure before any sealer goes on?

Quick reference

Key takeaways from How to Seal a Mosaic for Outdoor Use

5 questions, answers, and one-line explanations. Tap to expand.

  1. 1.How long must grout cure before any sealer goes on?

    Answer: At least three days

    Three days minimum, and another three if you had to repair a crack.

  2. 2.Which sealer type should be avoided outdoors?

    Answer: Membrane-forming, it traps moisture

    A film on top holds water in, and trapped moisture is what grows mould.

  3. 3.Which surface should not be sealed at all?

    Answer: Unglazed tile and natural stone

    Porous stone drinks the sealer straight in, so you never get an even finish.

  4. 4.What is the worst way to apply the sealer?

    Answer: Aiming at the lines, missing, wiping anyway

    That is the slowness of the careful method plus the cleanup of the fast one.

  5. 5.When should a garden mosaic be sealed?

    Answer: Before it ever goes outside

    Seal it after a season out and you are sealing dirt into the grout.

Did this work for you?

What's next

Related collections

Curated theme pages that include this tutorial.

Similar tutorials

Hand-picked next reads based on the one you just finished.

Liked this crafts tutorial?

Pick the crafts you want to hear about. One email every Sunday with new step-by-step tutorials. No spam, easy to unsubscribe.

Get more like this in your inbox

Weekly digest. Pick the categories you want. Unsubscribe anytime.

Send me tutorials about

We only email about new tutorials. Easy unsubscribe anytime.