How to Lay Out a Mosaic Design

CraftsMedium8:329 stepsBrowse more →
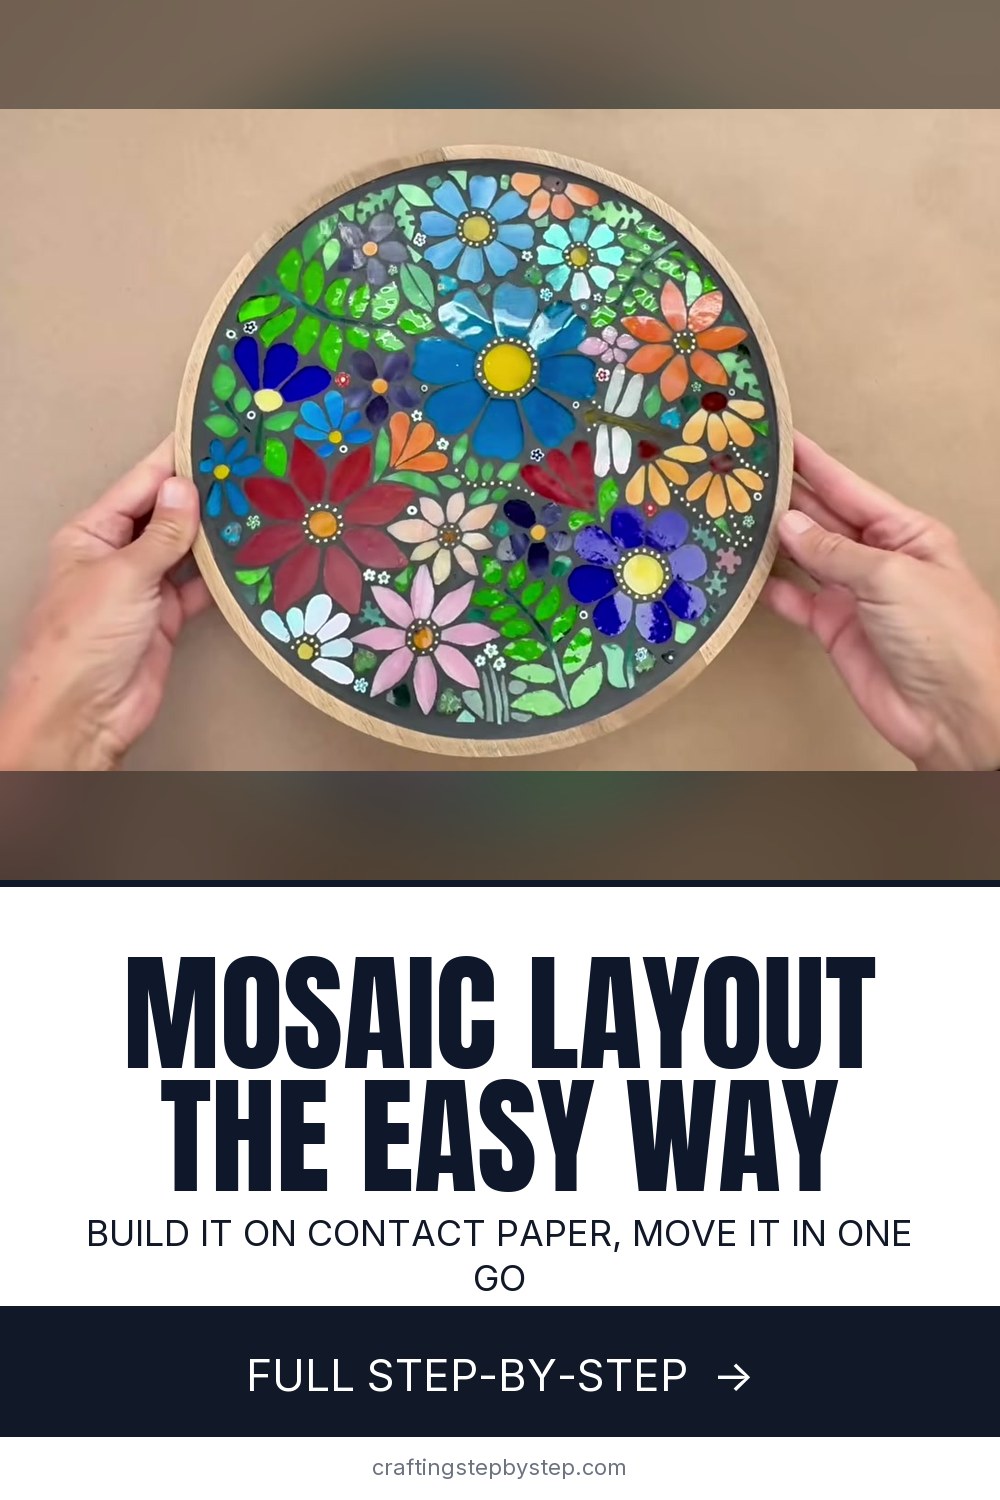
The finished result: How to Lay Out a Mosaic Design

By CraftingStepByStepPublished

Based on a video by mosaicsbymaricela.

The hardest part of a mosaic is not cutting glass, it is that the layout falls apart the moment you try to move it onto the base. This is the method that solves it: build the whole design on clear contact paper, then transfer it in one piece.

It is sometimes called the double direct method, and it changes how the work feels. Because the contact paper holds every piece, you can lay out over several sittings instead of racing to finish before something gets bumped. Then the transfer takes about two minutes.

This follows mosaicsbymaricela's build of a botanical tray, but the technique is substrate-agnostic - a trivet, a table top, a stepping stone, anything flat.

Step-by-Step Guide

9 steps · about 9 minutes.Check off each step as you go and your progress saves automatically.

1

Step 1: Tape Contact Paper Over Your Design

0:58
Step 1: Tape Contact Paper Over Your Design - How to Lay Out a Mosaic Design

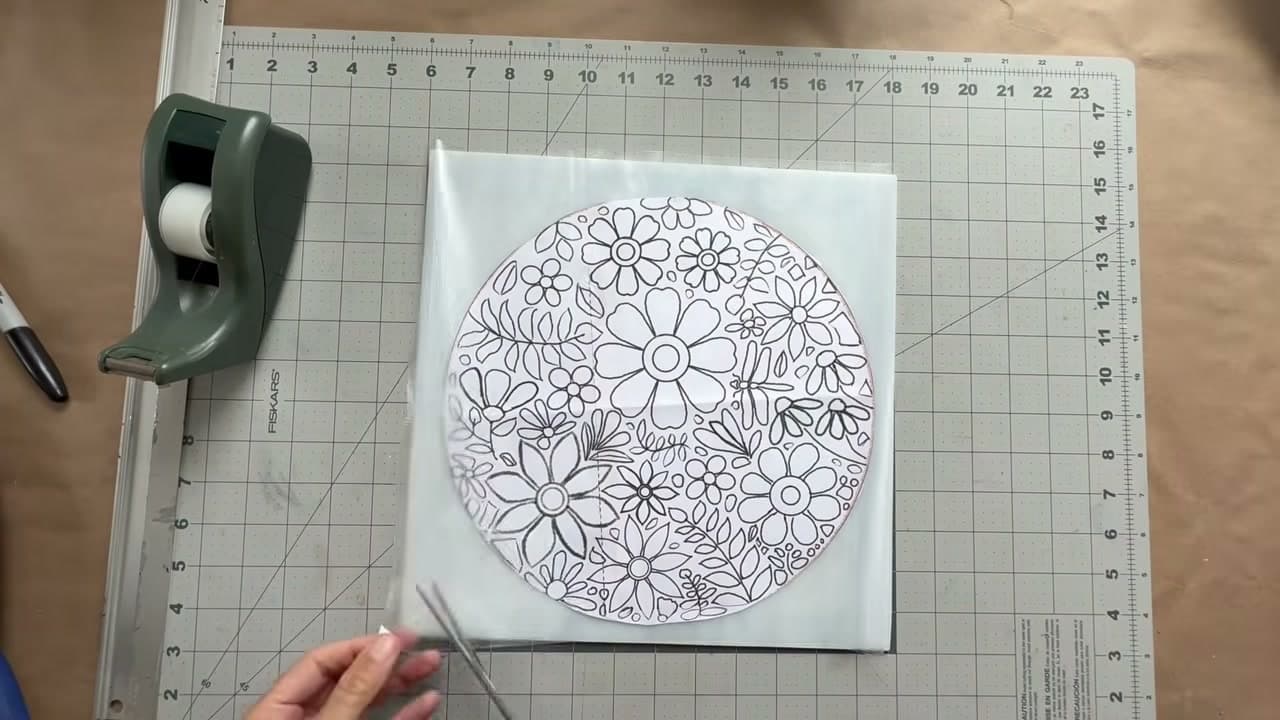
Print the design you want to work to, then lay a sheet of clear contact paper over it sticky side up and tape all four corners down.

Everything gets built on top of this. The sticky surface holds each piece exactly where you put it, which means a knocked table no longer destroys an afternoon of careful placing.

Watch this step

Tip

Cut the contact paper a little larger than the printed design so you have room to tape the corners without covering any of the pattern.
2

Step 2: Place the Glass on the Sticky Surface

2:25
Step 2: Place the Glass on the Sticky Surface - How to Lay Out a Mosaic Design

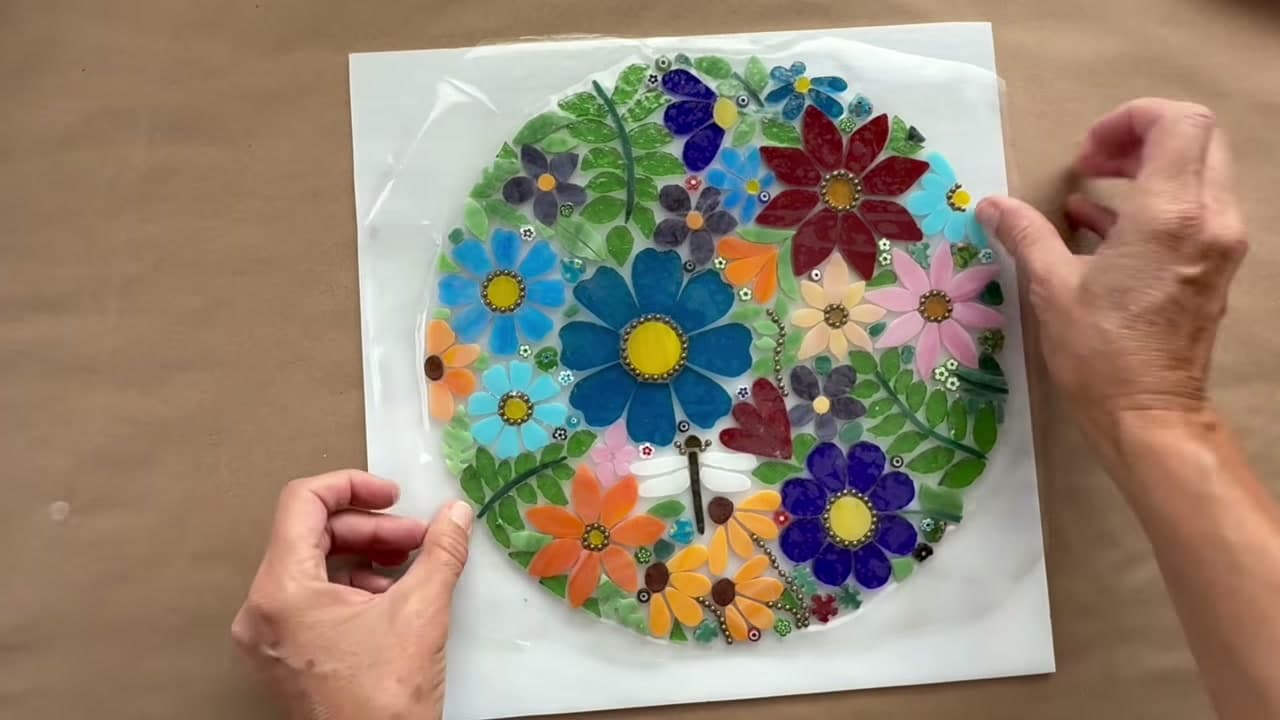
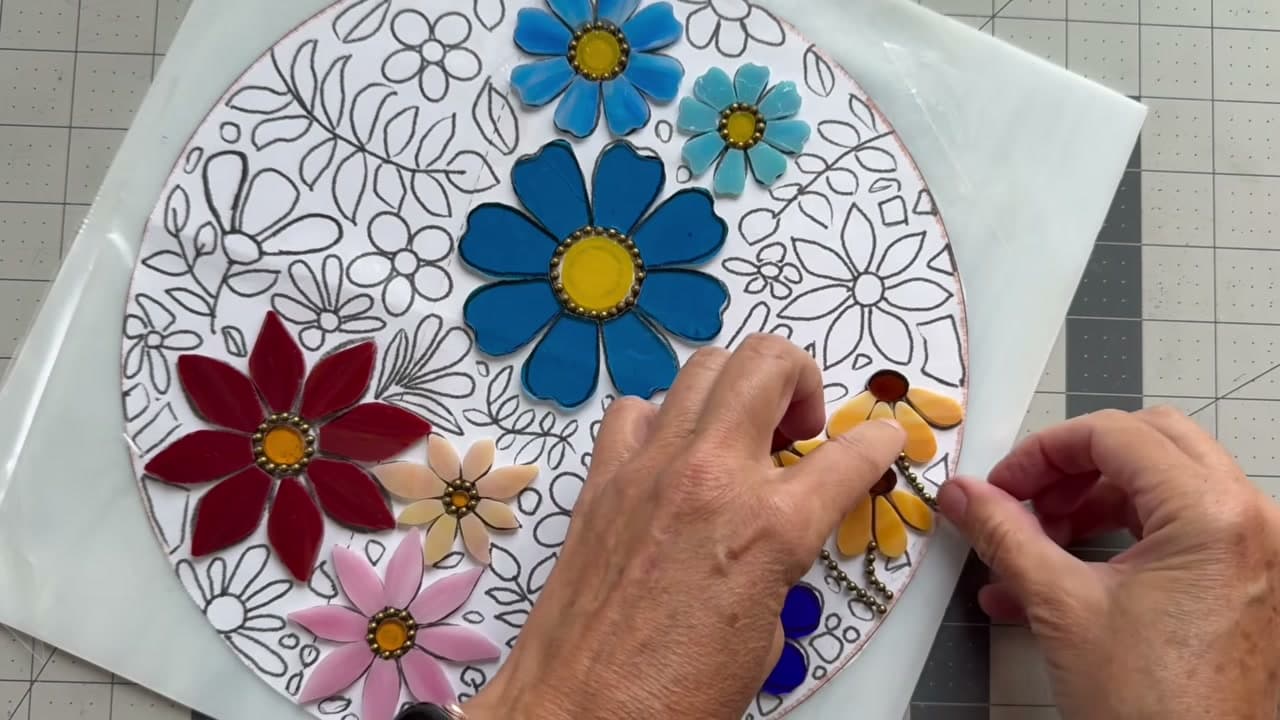
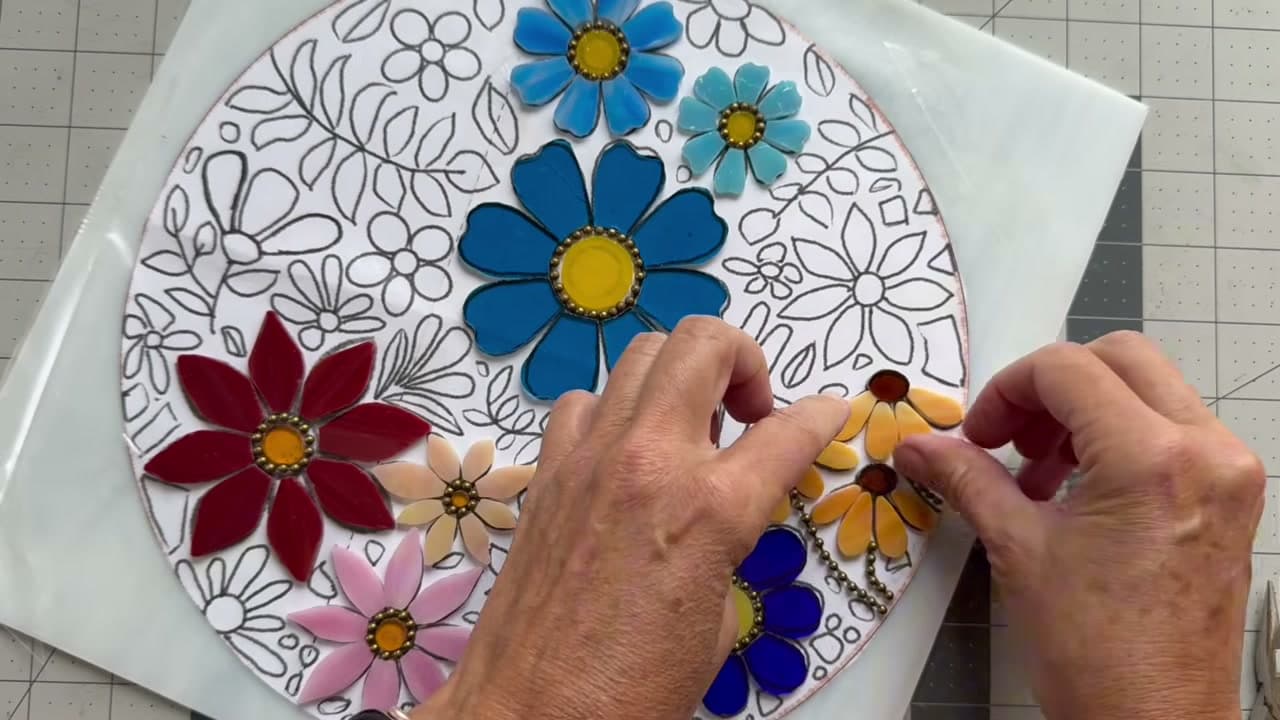
Set each cut piece of glass down onto the contact paper, following the printed design showing through underneath.

This is the part that usually has to be done in one nervous sitting. Here it does not: the adhesive stays tacky for days, so you can stop halfway through, walk away, and come back to a layout that has not moved a millimetre.

Watch this step

Tip

Work from the largest shapes inward. Big pieces set the spacing and the small fillers adapt around them, not the other way round.

3

Step 3: Add the Small Accents

2:52
Step 3: Add the Small Accents - How to Lay Out a Mosaic Design

Work in the fine details now rather than after grouting. Ball chain makes flower centres and stems, and micro beads fill the awkward slivers between petals that no cut piece of glass will fit.

These details are most of what separates a mosaic that looks finished from one that looks like coloured shapes on a board.

Watch this step

Tip

Anything you add has to be roughly the same height as the glass. A bead that sits proud will not grout flat and will catch on everything.

4

Step 4: Prepare the Substrate

3:48
Step 4: Prepare the Substrate - How to Lay Out a Mosaic Design

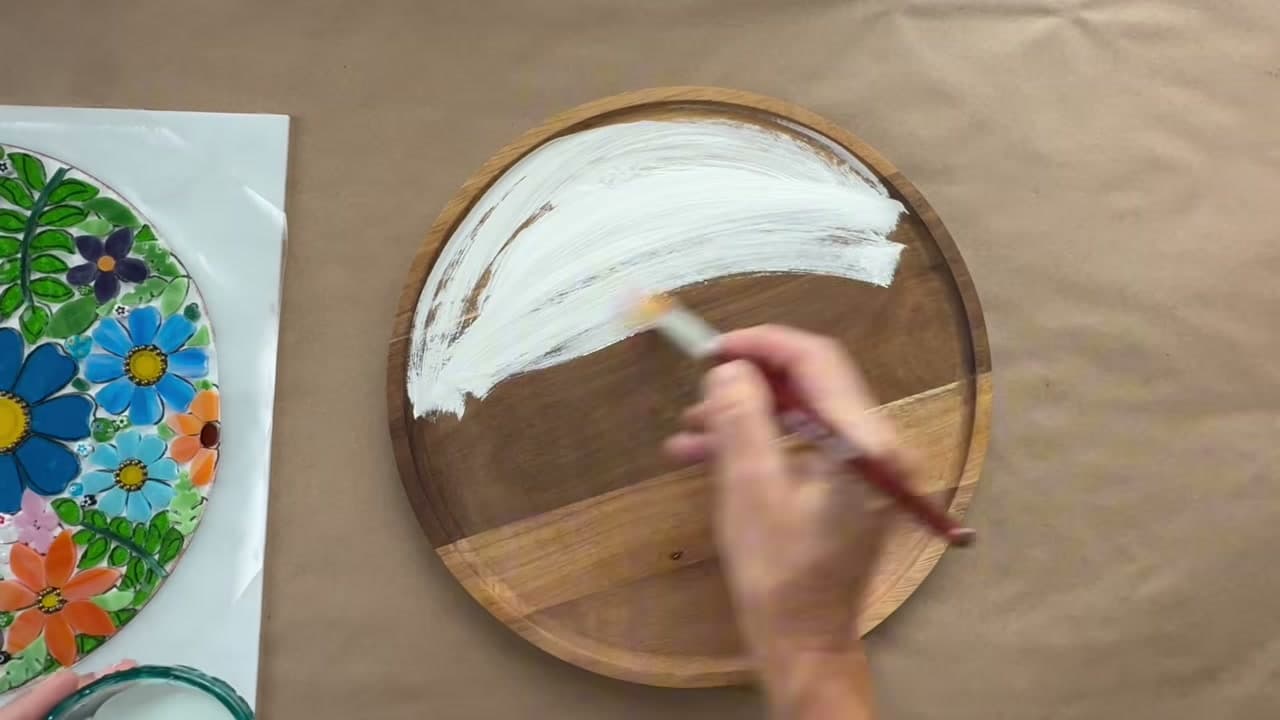
Score the surface all over in a crisscross pattern with a utility knife so the adhesive has something mechanical to grip, sand it back to remove rough spots and any factory coating, wipe the dust off, then paint the whole area white.

White matters if you are using transparent or translucent glass. A dark base underneath drains the colour straight out of it, which undoes all the work you did choosing shades.

Watch this step

Tip

Let the paint dry completely before anything else touches it. Adhesive over tacky paint fails at the paint layer, not the glue layer.

5

Step 5: Press a Second Sheet on Top

4:40
Step 5: Press a Second Sheet on Top - How to Lay Out a Mosaic Design

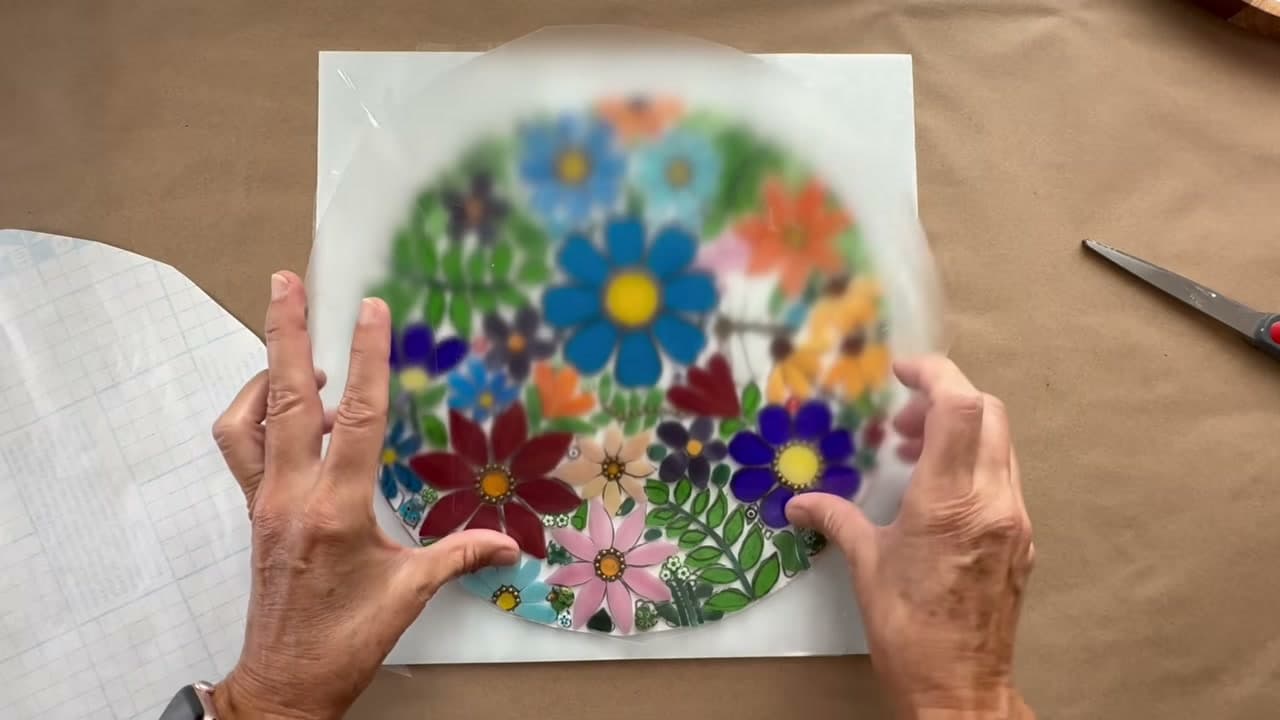
Cut a second piece of contact paper, this time trimmed closer to the size of the substrate so it will not stick to the taped-down bottom sheet.

Lay it sticky side down onto your finished layout and press firmly over every piece, including the tiniest ones. Anything you miss will stay behind in the next step.

Watch this step

Tip

Press with the flat of your fingers, working outward from the centre so you push air out rather than trapping it.

6

Step 6: Flip It and Peel the Bottom Sheet

5:10
Step 6: Flip It and Peel the Bottom Sheet - How to Lay Out a Mosaic Design

Turn the whole sandwich over, then slowly peel away the original bottom sheet.

Go gently and watch for pieces wanting to lift with it - if one does, press it back onto the top sheet and carry on. What you are left with is the entire layout locked to a single sheet, upside down and ready to move in one go.

Watch this step

Tip

Peel back on itself at a low angle rather than pulling upward. A steep pull takes glass with it.

7

Step 7: Glue the Mosaic Down

5:45
Step 7: Glue the Mosaic Down - How to Lay Out a Mosaic Design

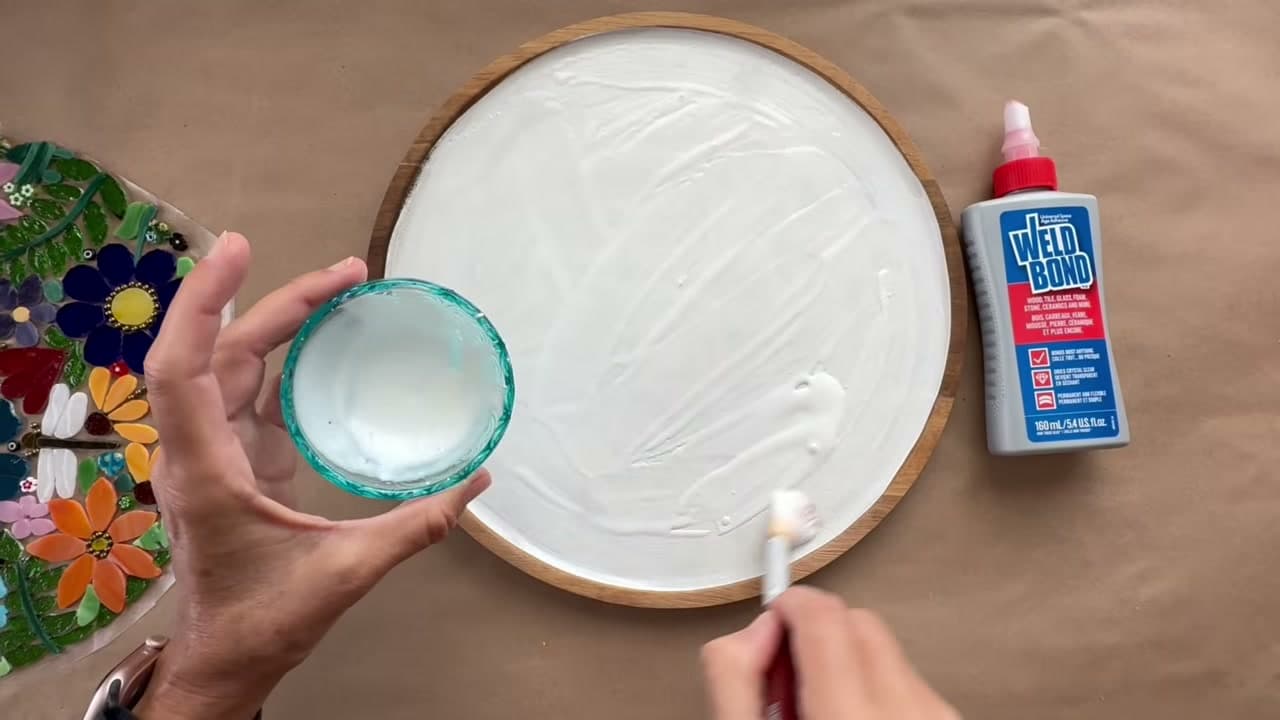
Dry-fit the sheet on the substrate first to confirm it sits where you want it. If it does, spread adhesive evenly across the whole surface and lower the mosaic on.

Miss a patch of adhesive and you will not find out today - you will find out in a month, when a tile lifts.

Watch this step

Tip

Spread the adhesive right out to the edge. The perimeter pieces are the ones that get knocked, so they are the ones that most need full contact.

Used in this stepmosaic tile adhesive
8

Step 8: Press, Weight It and Leave It Overnight

6:05
Step 8: Press, Weight It and Leave It Overnight - How to Lay Out a Mosaic Design

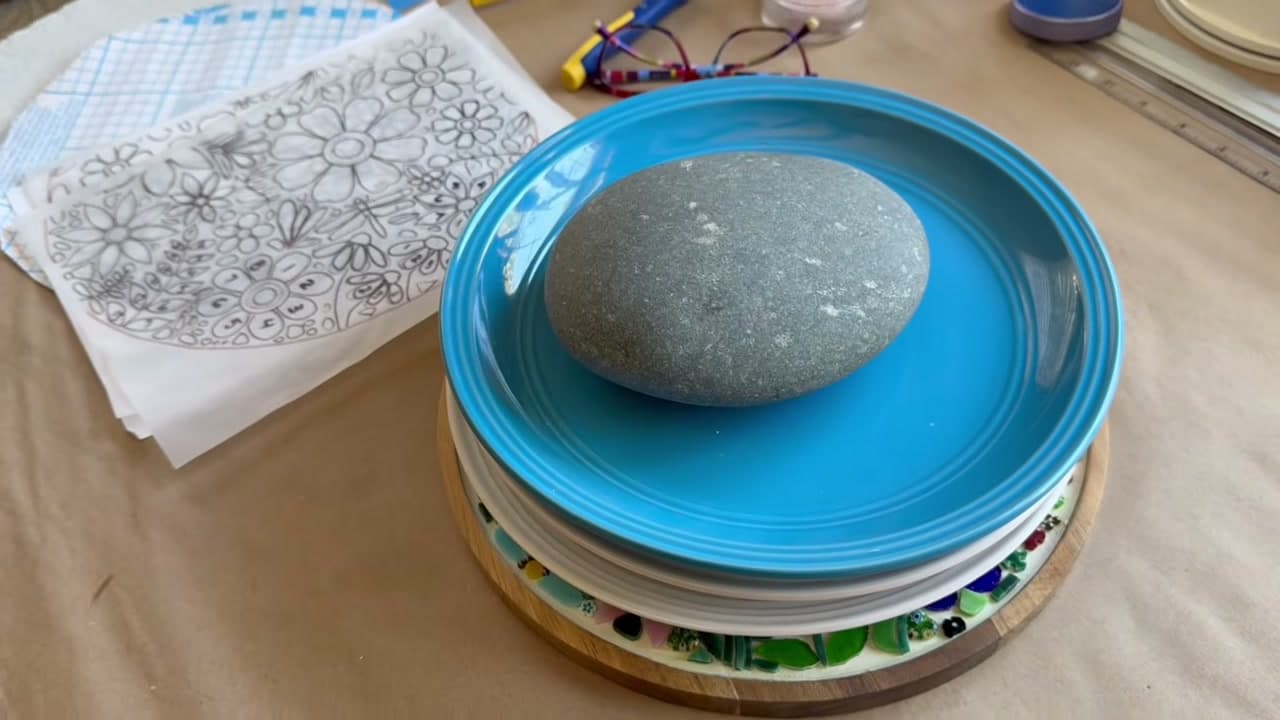
Press gently over every piece so each one makes full contact, then stack something heavy on top and leave it overnight.

The weight is not only about adhesion. A wooden base will warp as the moisture in the glue moves through it, and weight is what stops that. Once it is dry, peel the top contact paper off slowly.

Watch this step

Tip

Spread the weight across the whole piece rather than piling it in the middle, or you will cure a shallow dish into the base.

9

Step 9: Grout and Seal

7:00
Step 9: Grout and Seal - How to Lay Out a Mosaic Design

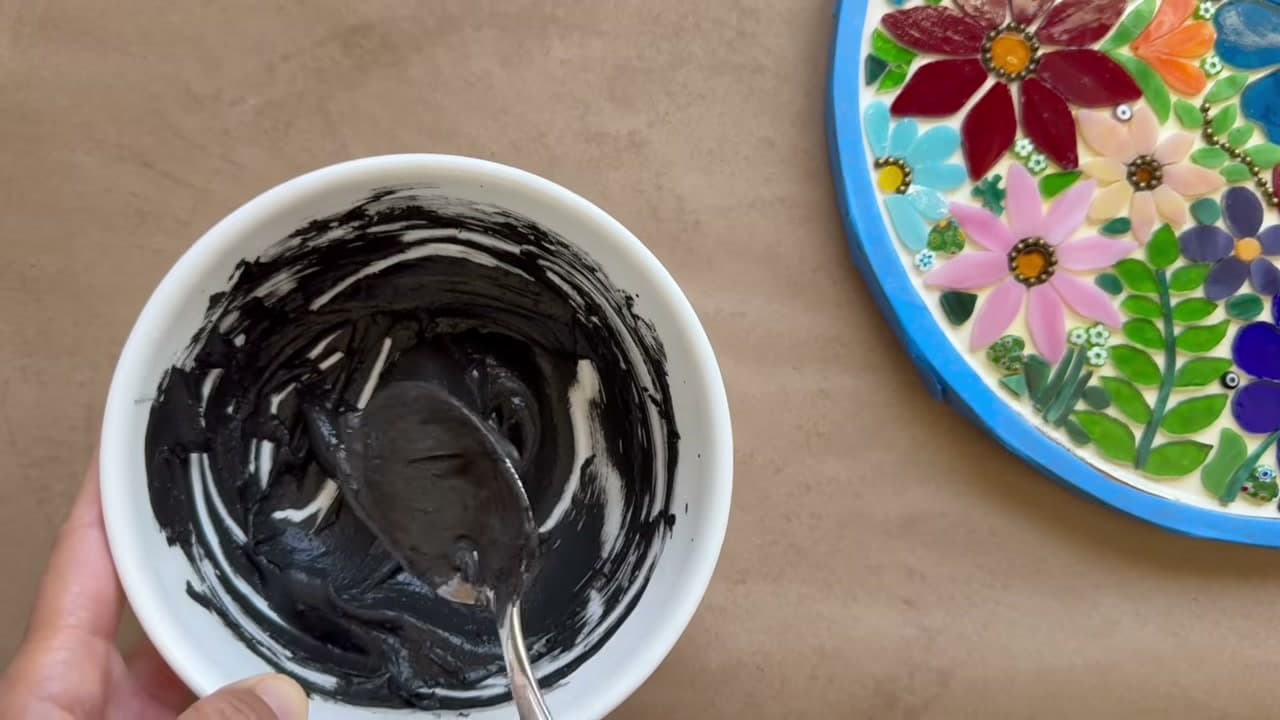
Mask the edges, put on gloves and a mask, and mix grout with water to a peanut butter consistency. Let it slake for 5 to 10 minutes, then press it into every gap and scrape the excess back.

Buff the haze off after about 30 minutes and again the next day. Then seal the grout - it protects against moisture and stains and keeps a dark grout from fading.

Watch this step

Tip

Black grout makes colours jump; white grout softens them. Decide before you mix, because there is no changing your mind afterwards.

Keep going

How to Make a Thanksgiving Centerpiece

Products Used

The Checklist

How to Lay Out a Mosaic Design

Tools
5
Materials
10
Steps
9
Video
9 min

Tools we recommend

Your Guide

mosaicsbymaricela

As an Amazon Associate we earn from qualifying purchases. Links on this page may be affiliate links - clicking them and buying doesn't change your price, but helps support CraftingStepByStep.

Tags

Sunday How-To

New crafts tutorials, every Sunday

One short email with the week's best step-by-step guides. Free, no spam, unsubscribe anytime.

Did this work for you?

What's next

Related collections

Curated theme pages that include this tutorial.

Weekly Digest

Liked this crafts tutorial?

Pick the categories you want to hear about. Weekly digest of new step-by-step tutorials. No spam, easy unsubscribe.

Send me tutorials about

We only email about new tutorials. Easy unsubscribe anytime.