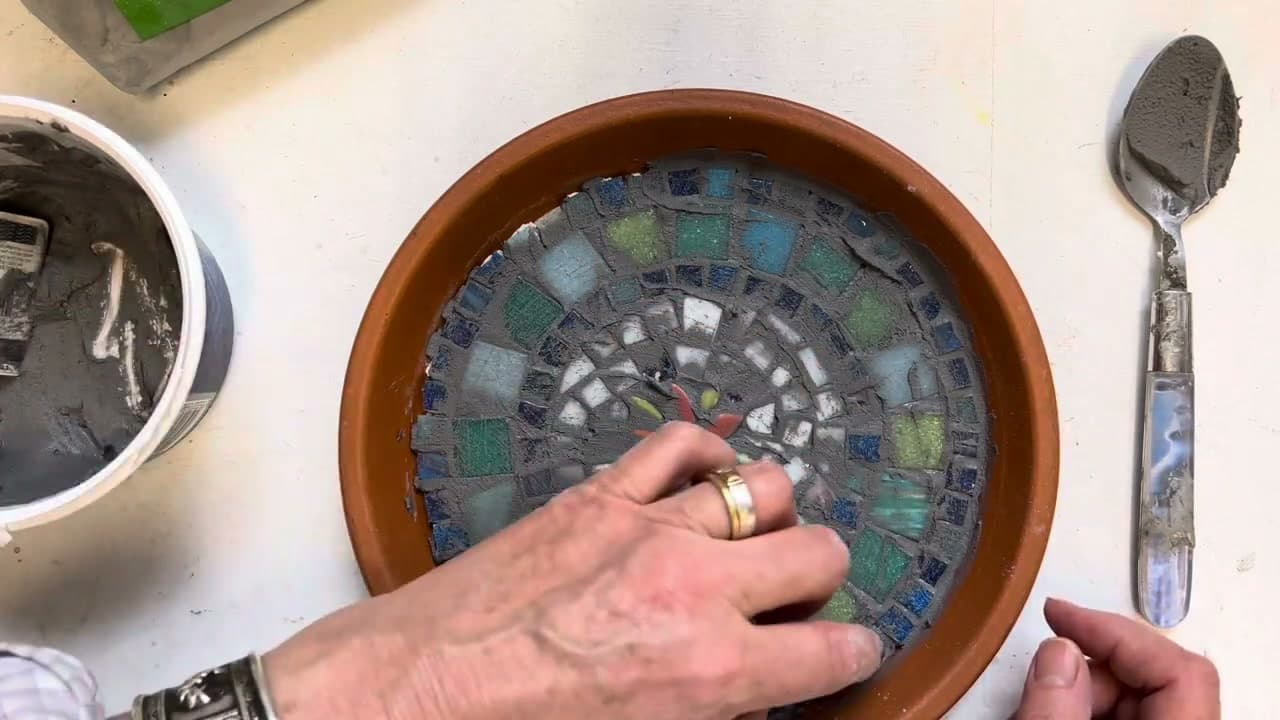
How to Make a Mosaic Bird Bath

CraftsEasy12:109 stepsBrowse more →
The finished result: How to Make a Mosaic Bird Bath
Also in:Gardening

By CraftingStepByStepPublished

Based on a video by Helen Miles Mosaics.

A bird bath is one of those garden projects that looks far harder than it is. Helen Miles builds this one on an ordinary terracotta saucer from the garden centre, and the whole thing is a no-cut mosaic - you work with pre-cut squares and ready-made ceramic shapes, so there are no tile nippers and no shaping to get wrong.

The build is simple. Seal the saucer, mix your adhesive, lay a motif in the middle, then work outward in rings. Grout it, rub it back, done. The one thing worth buying carefully is the saucer itself: ask for one rated for outdoors if you get freeze-thaw winters, or it will crack on you.

Step-by-Step Guide

9 steps · about 12 minutes.Check off each step as you go and your progress saves automatically.

1

Step 1: Choose Your Saucer and Lay Out the Tiles

1:24
Step 1: Choose Your Saucer and Lay Out the Tiles - How to Make a Mosaic Bird Bath

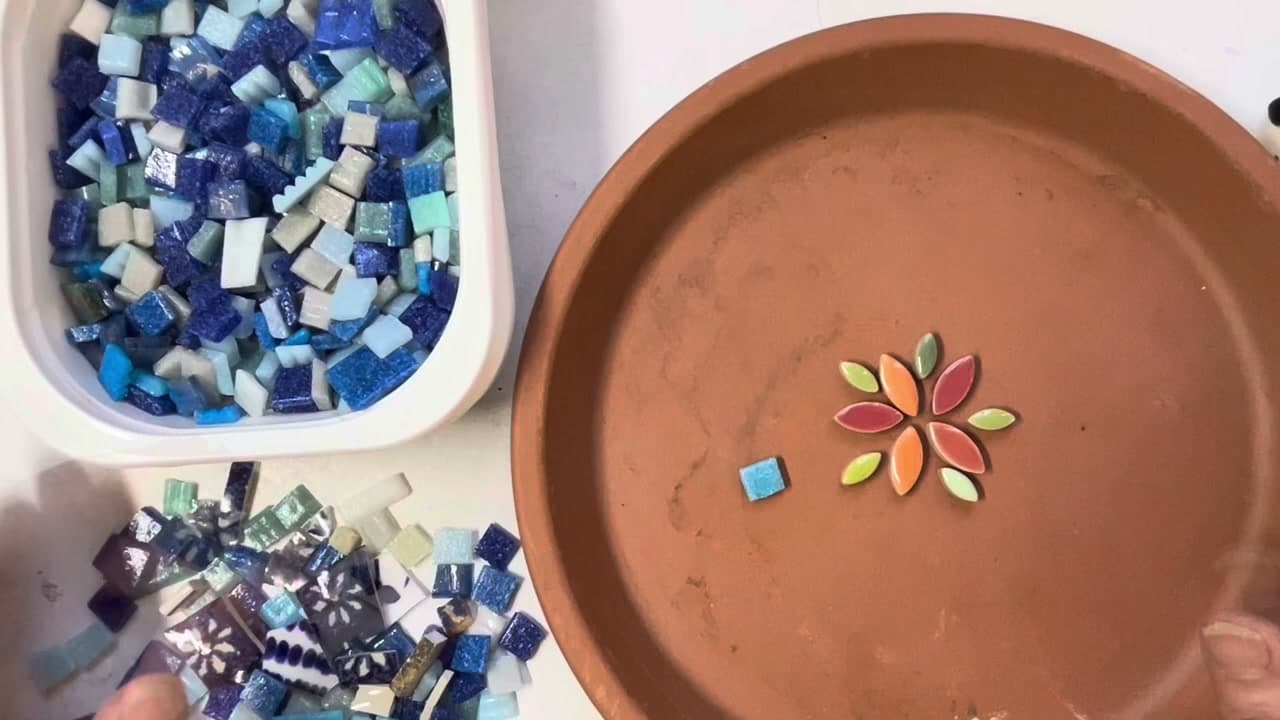
Start with a terracotta saucer from any garden centre. If you live somewhere that freezes, ask for one rated for outdoor use - an indoor saucer will crack over winter.

Spread your tiles out where you can see them. Pre-cut 1cm squares, larger 2cm squares and ready-made ceramic shapes all work, and mixing sizes is what gives the finished bath its rings.

Tip

Broken plates work too, but that stops being a no-cut project - you would need to nip the pieces down first.
2

Step 2: Seal the Saucer

3:02
Step 2: Seal the Saucer - How to Make a Mosaic Bird Bath

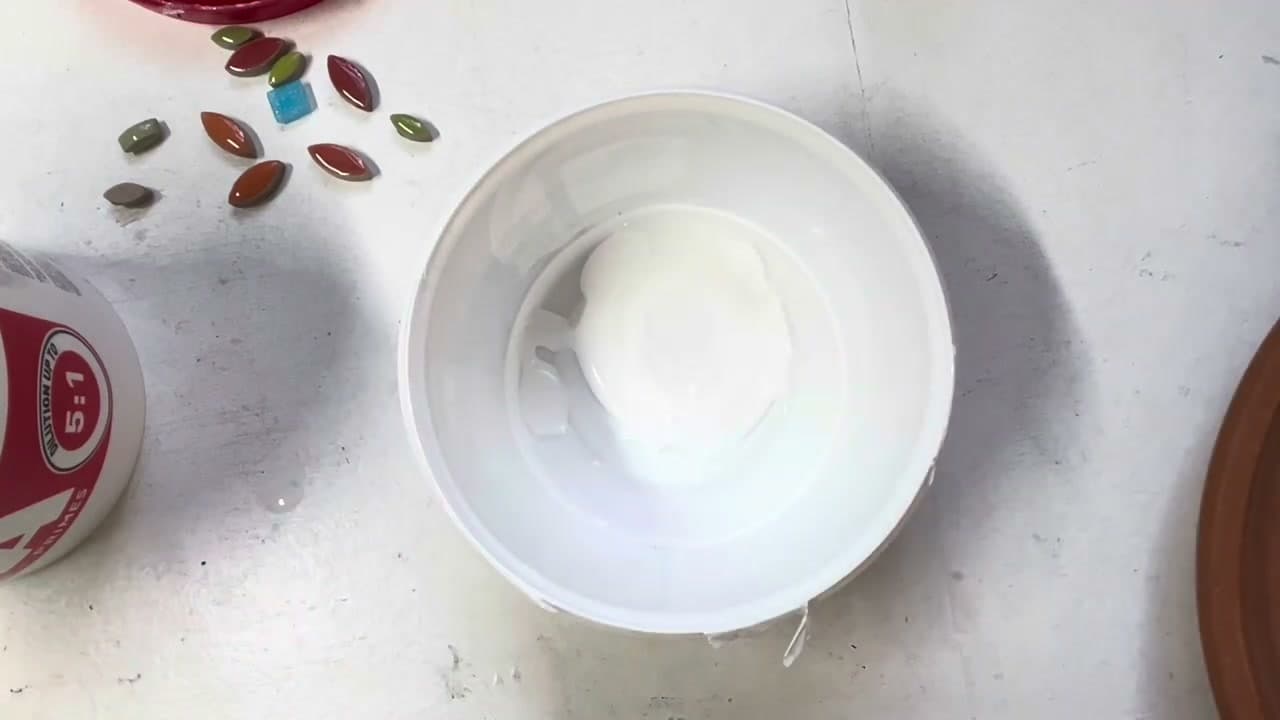
Terracotta is thirsty. If you skip this, it pulls the water straight out of your adhesive and the bond suffers.

Mix PVA glue and water roughly half and half in an old yogurt pot - one spoon of glue is plenty - and paint it over the inside of the saucer. Let it dry before you move on, though a little dampness will not hurt anything.

Tip

Use a pot you can throw away. Tile adhesive is cement-based and hardens, so it must never go near your drains.

3

Step 3: Mix the Tile Adhesive

4:12
Step 3: Mix the Tile Adhesive - How to Make a Mosaic Bird Bath

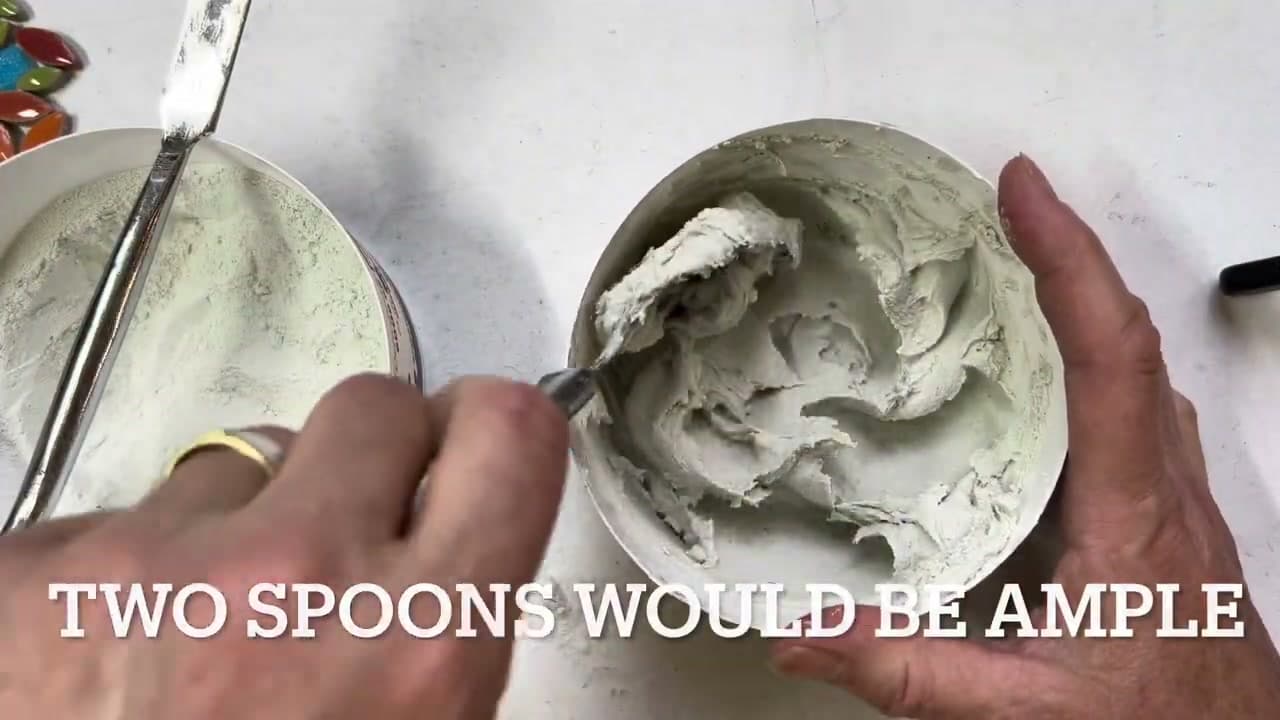
Any outdoor-rated tile adhesive will do. Brand matters far less than making sure the tub says it suits exterior use.

Add water a little at a time until you have a thick paste that holds its shape on the spoon. Too runny and it squeezes up between the tiles when you press them down.

4

Step 4: Set the Centre Motif

5:26
Step 4: Set the Centre Motif - How to Make a Mosaic Bird Bath

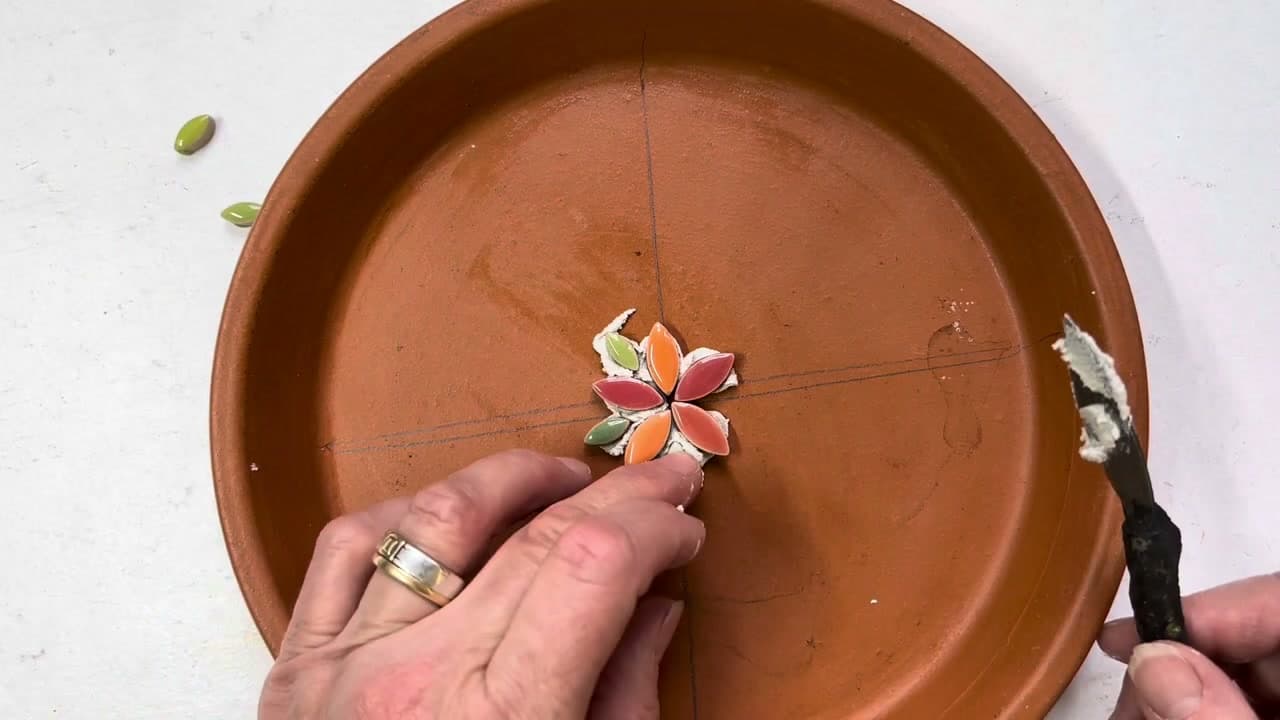
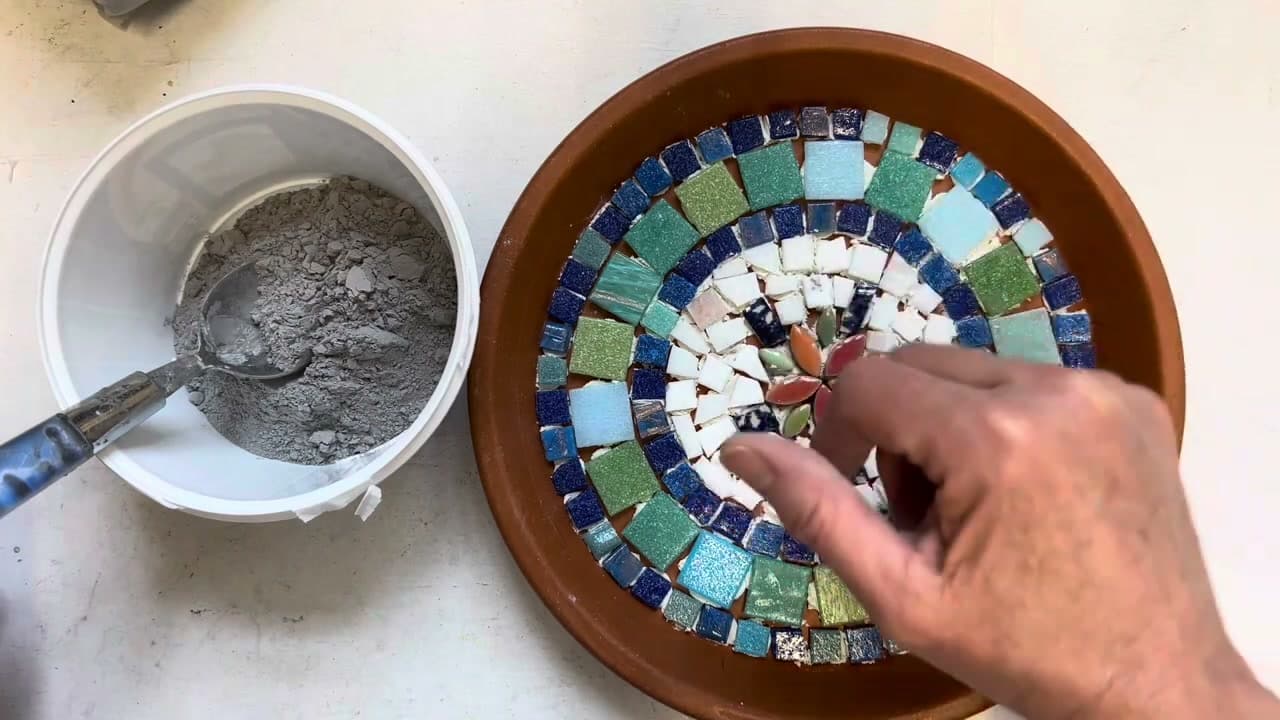
Butter the back of each piece with a little adhesive and press it into place. Helen builds a small flower in the middle from ready-made ceramic petals.

Lay the motif out dry first so you know where everything goes. Once these pieces are down you can nudge them slightly, but you cannot make real adjustments.

Tip

If adhesive squeezes up to the top of a piece, pick it off while it is still wet. Dried, it is a nuisance.

5

Step 5: Work the Outer Rim

6:28
Step 5: Work the Outer Rim - How to Make a Mosaic Bird Bath

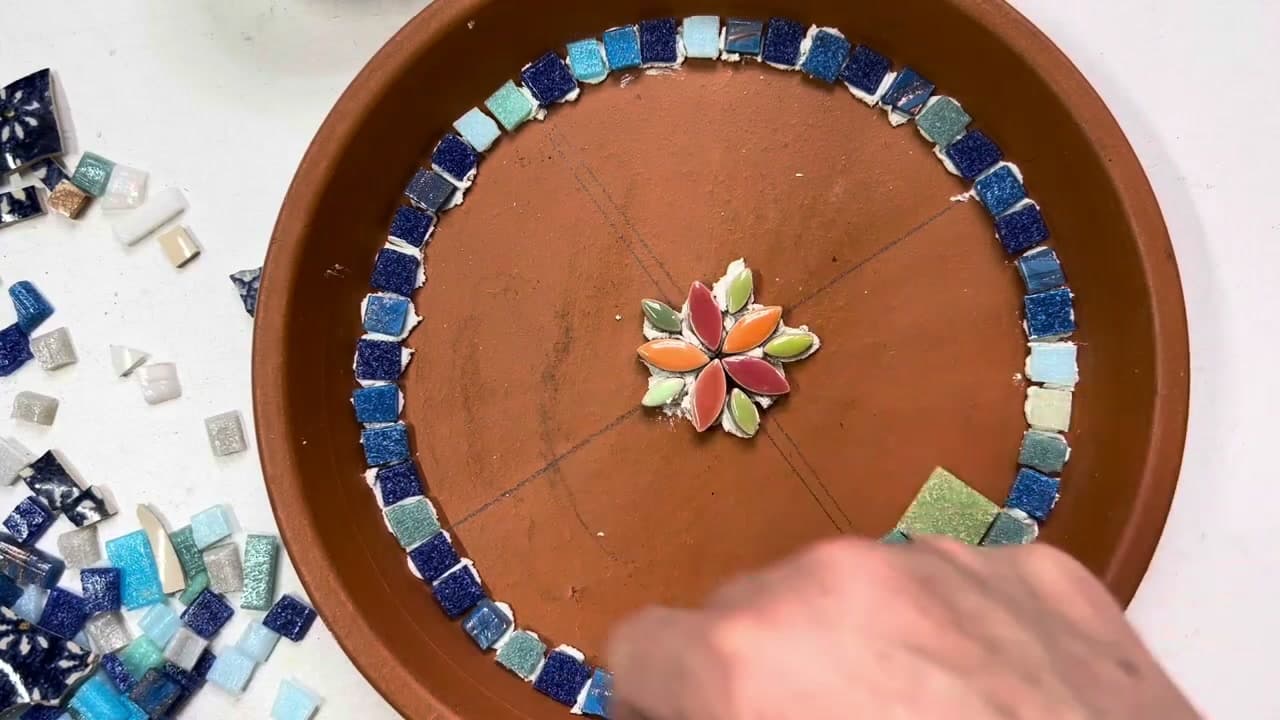
Jump out to the perimeter next rather than working straight out from the middle. Running the outer ring early gives you a clean, deliberate edge around the rim of the saucer.

Keep the adhesive off the sides of the saucer while you go - anything that squeezes out there will set hard and spoil the edge.

Products used in this step

6

Step 6: Add a Ring of Larger Squares

8:20
Step 6: Add a Ring of Larger Squares - How to Make a Mosaic Bird Bath

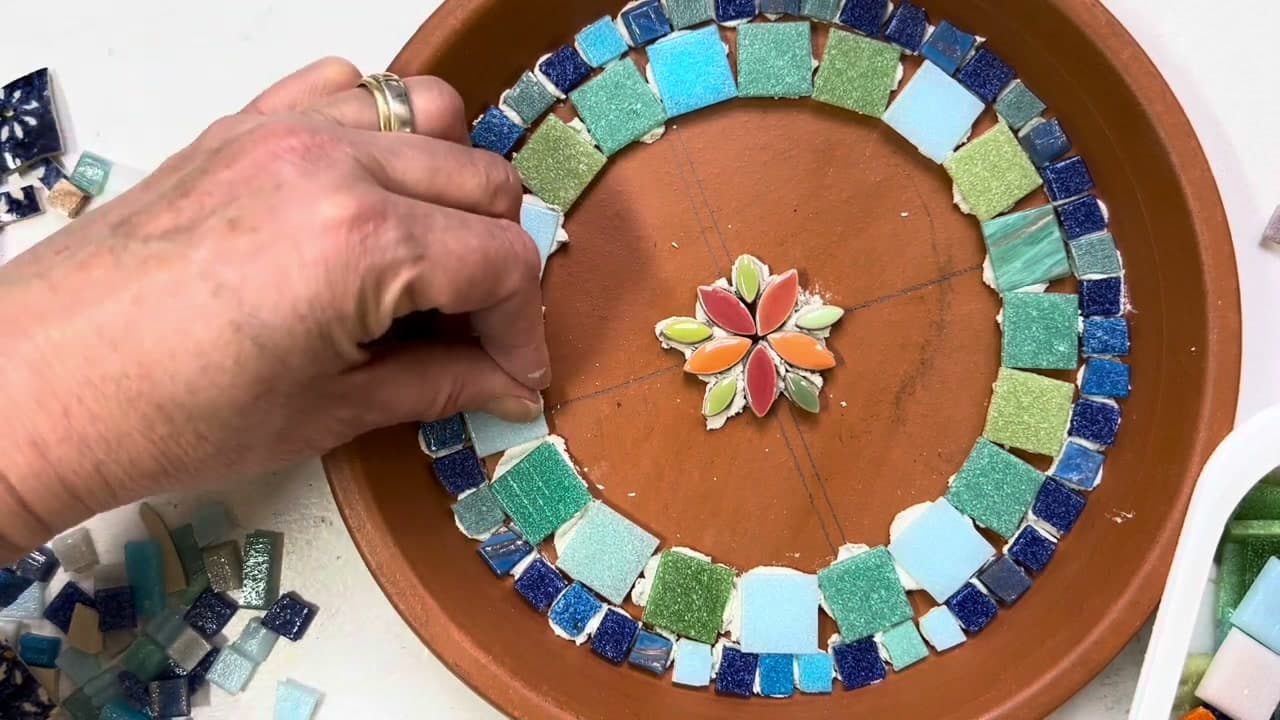
Switch to the bigger 2cm squares for the next ring inward. The size contrast against the small pieces is what makes the bath look designed rather than random.

Spacing will not be perfect - that is the trade-off with no-cut mosaic, since you cannot shape pieces to the curve. Nudge the whole ring along to spread any wide gap out.

Products used in this step

7

Step 7: Fill the Centre

9:38
Step 7: Fill the Centre - How to Make a Mosaic Bird Bath

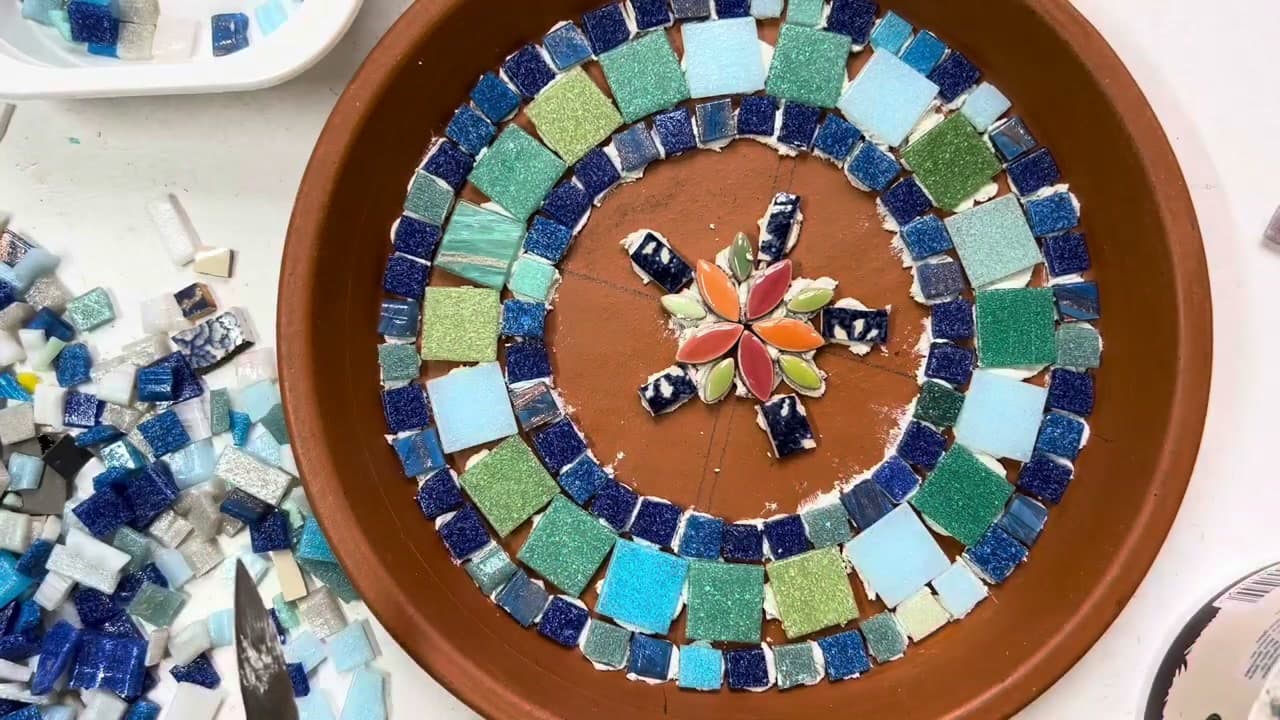
Fill what is left between the motif and the rings with lighter pieces. Keeping this band paler separates the three parts of the design so the flower still reads from a distance.

Then leave the whole thing overnight. The adhesive needs to go off properly before grout goes anywhere near it.

Products used in this step

8

Step 8: Grout the Mosaic

10:25
Step 8: Grout the Mosaic - How to Make a Mosaic Bird Bath

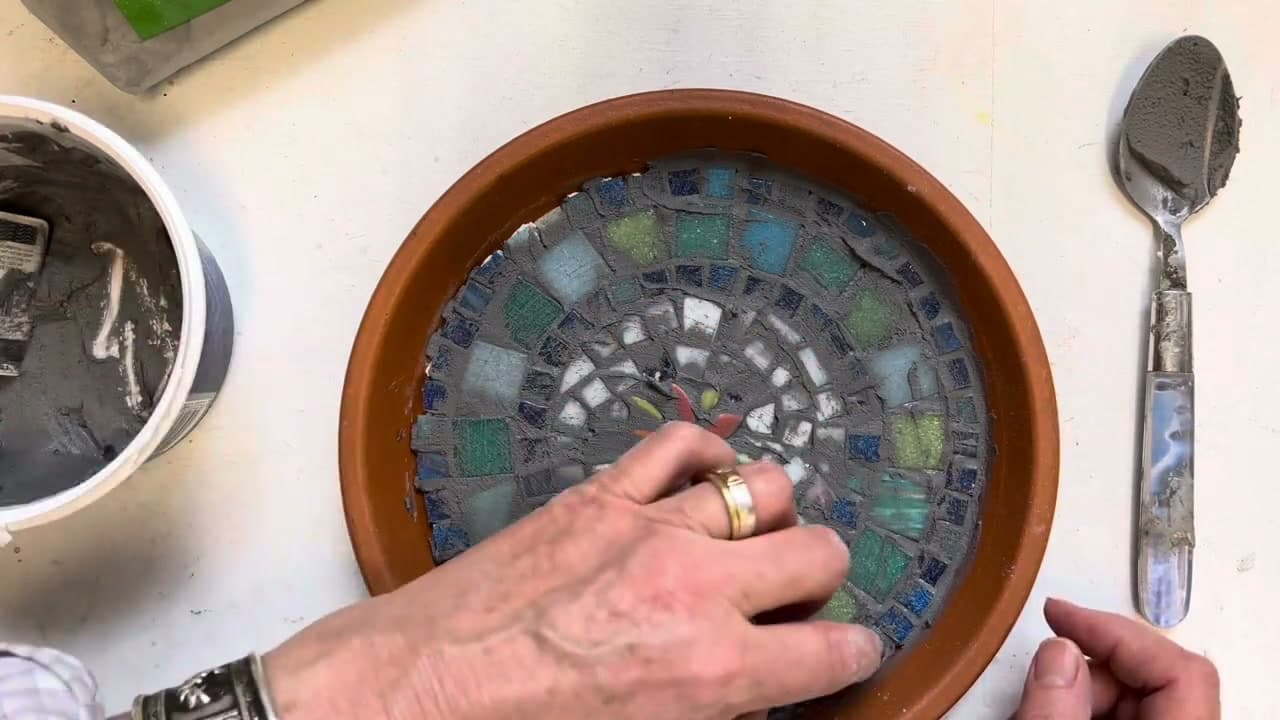
Mix up a mid-grey grout and work it across the whole surface, pushing it down into every gap between the tiles.

Do the edges too, filling the gap between the outer tiles and the saucer rim. A mid-grey suits almost any tile colour, which is why it is the safe pick for a first mosaic.

Tip

Grout colour changes the whole look. Grey recedes and lets the tiles carry it; white brightens but shows dirt outdoors.

9

Step 9: Rub It Back Clean

10:55
Step 9: Rub It Back Clean - How to Make a Mosaic Bird Bath

Give the grout a few minutes to firm up, then rub the surface back with a damp sponge until the tiles come up clean.

Get the excess off the inner rim while it is still damp - it lifts easily now and fights you once it cures. Then leave it to set fully before you fill it and put it out.

Tip

An ordinary kitchen cloth does the job as well as a proper grouting sponge.

Products used in this step

Keep going

How to Fix Air Bubbles in Concrete Crafts

Products Used

☐ The Checklist

How to Make a Mosaic Bird Bath

Tools
6
Materials
6
Steps
9
Video
12 min

Tools we recommend

Your Guide

Helen Miles Mosaics

As an Amazon Associate we earn from qualifying purchases. Links on this page may be affiliate links - clicking them and buying doesn't change your price, but helps support ShowMeStepByStep.

Tags

Sunday How-To

New crafts tutorials, every Sunday

One short email with the week's best step-by-step guides. Free, no spam, unsubscribe anytime.

Did this work for you?

What's next

Related collections

Curated theme pages that include this tutorial.

Weekly Digest

Liked this crafts tutorial?

Pick the categories you want to hear about. Weekly digest of new step-by-step tutorials. No spam, easy unsubscribe.

Send me tutorials about

We only email about new tutorials. Easy unsubscribe anytime.