How to Make an Autumn Leaf Lantern

CraftsEasy4:097 stepsBrowse more →
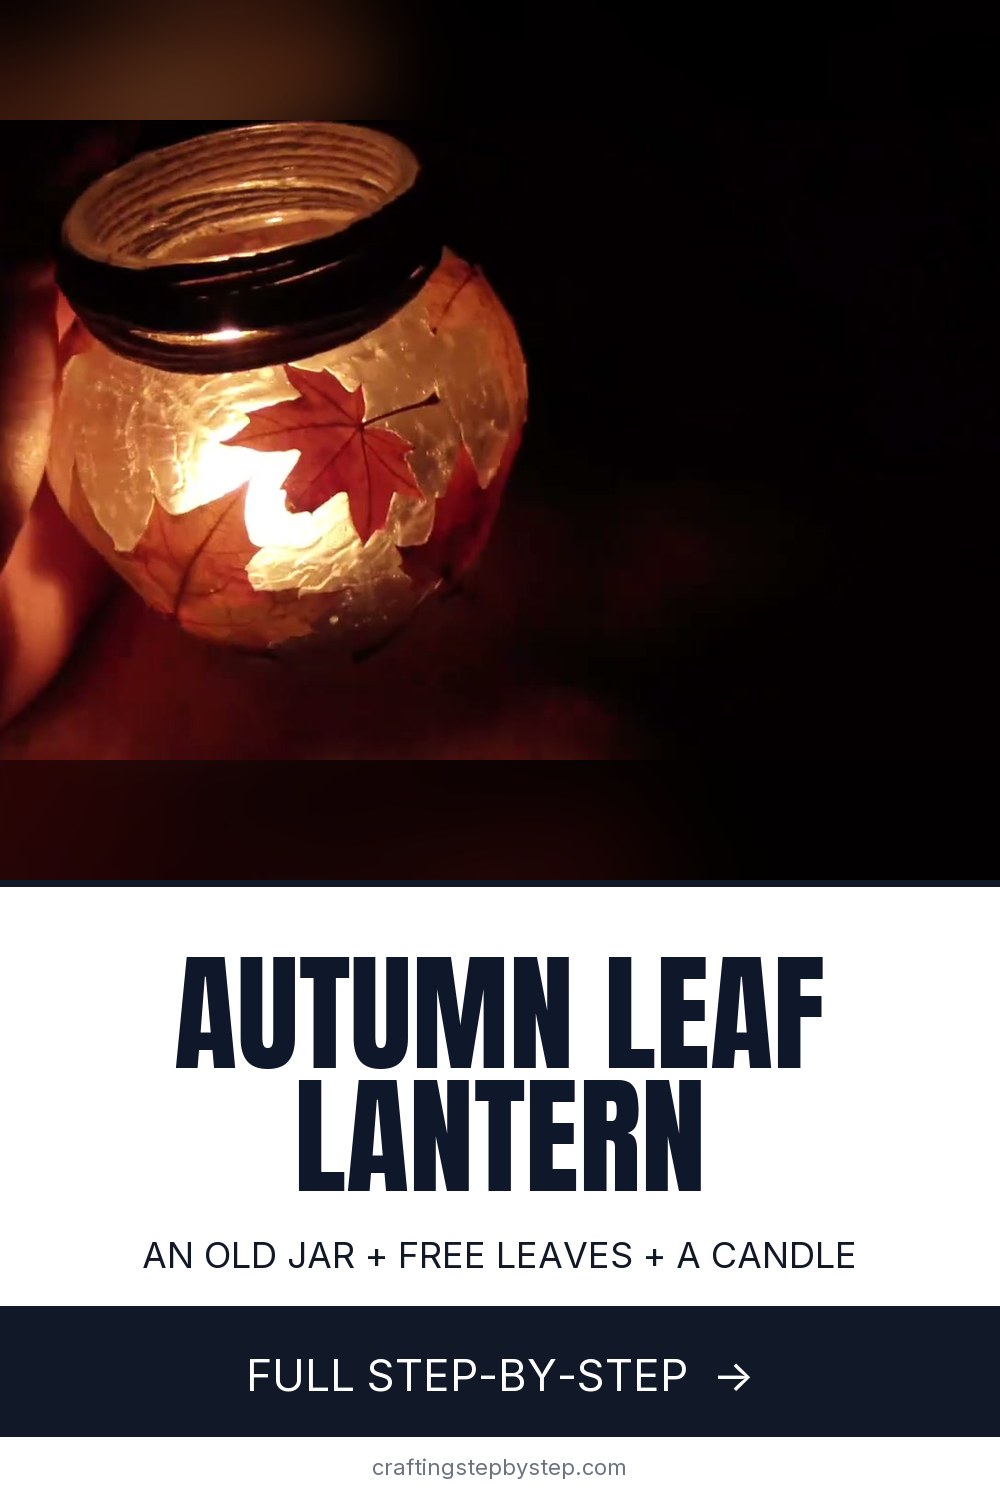
The finished result: How to Make an Autumn Leaf Lantern

By CraftingStepByStepPublished

Based on a video by makoccino.

An autumn lantern made from an empty jar and a handful of leaves off the pavement. Mod Podge holds the leaves onto the glass, a messy layer of white glue gives the surface its texture, and a candle inside lights the whole thing from behind.

This follows makoccino's method. Any glass jar works - a mason jar, a jam jar, whatever you have washed out. Straighter sides are easier than a round jar, and smaller leaves are easier than large ones, but neither is a requirement.

Total cost is close to nothing. The only thing you actually have to buy is the Mod Podge, and the leaves are free if you walk anywhere in October.

Step-by-Step Guide

7 steps · about 4 minutes.Check off each step as you go and your progress saves automatically.

1

Step 1: Gather the Jar, Leaves and Glue

0:30
Step 1: Gather the Jar, Leaves and Glue - How to Make an Autumn Leaf Lantern

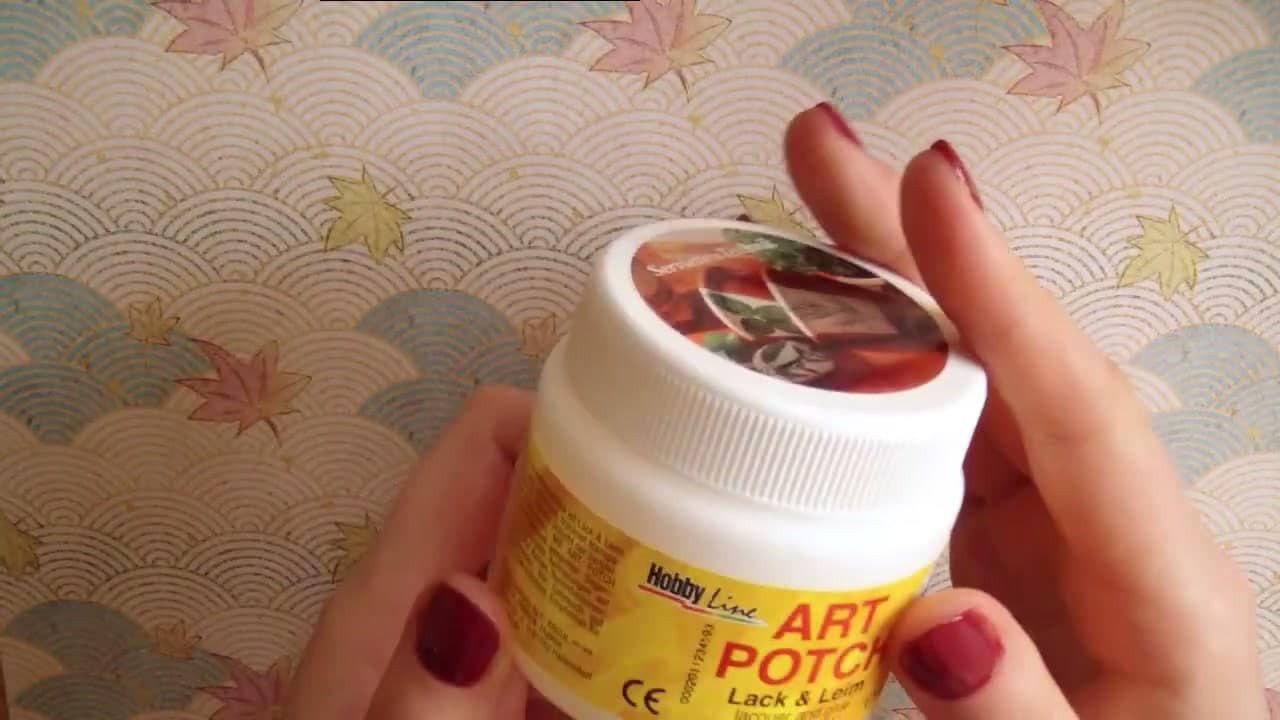
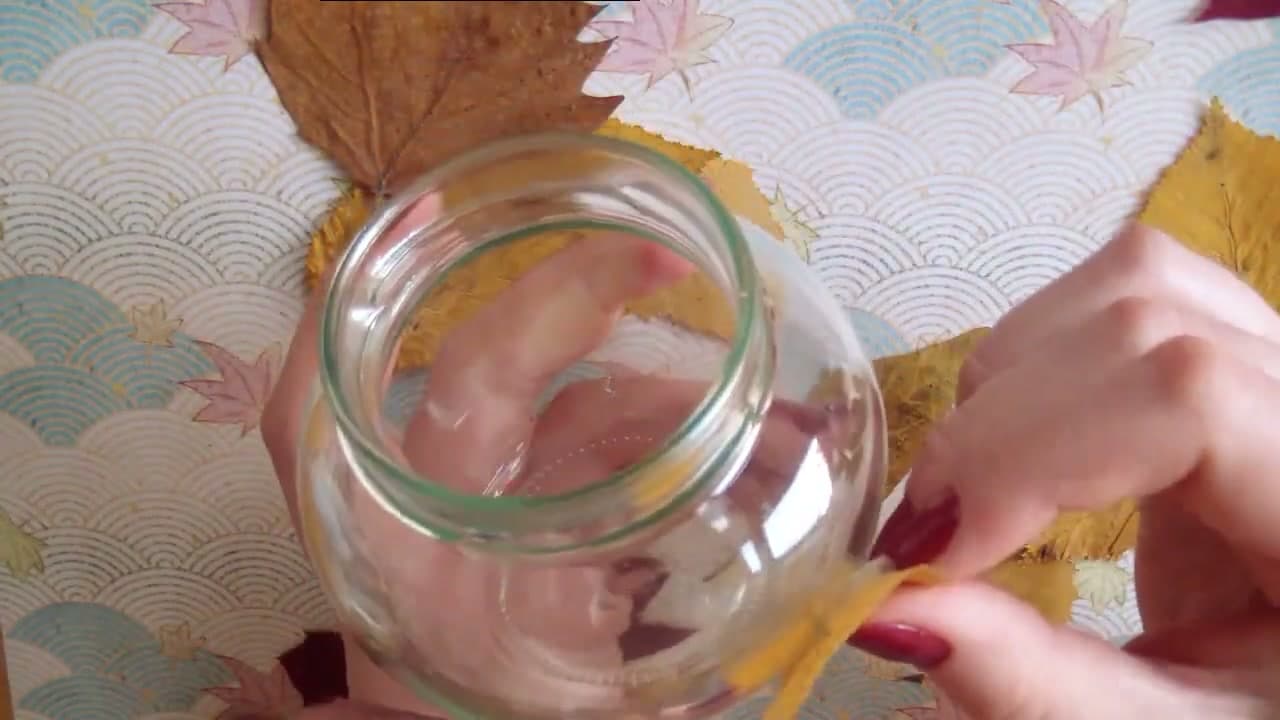
You need an empty glass jar, a handful of leaves, Mod Podge, ordinary white craft glue, some packaging string and a candle for the inside.

A jar with straighter sides is easier to work on than a round one, though a round jar does work - it just fights you a bit more on the curve. A mason jar is fine. So is whatever the marmalade came in.

Watch this step

Tip

Press the leaves flat in a heavy book for a few days first. A curled dry leaf will not sit down against glass no matter how much glue you put under it.
2

Step 2: Plan the Layout with Tape

1:14
Step 2: Plan the Layout with Tape - How to Make an Autumn Leaf Lantern

Hold each leaf against the jar and fix it with a small piece of tape. Do the whole arrangement this way before any glue comes out.

It lets you shuffle things around while nothing is committed, and it means you will not forget which leaf was supposed to go where once your hands are covered in Mod Podge.

Watch this step

Tip

It is fine if a leaf is only just holding. You are marking positions, not building anything yet.

Used in this stepwashi tape
3

Step 3: Brush On a Thick Layer of Mod Podge

1:38
Step 3: Brush On a Thick Layer of Mod Podge - How to Make an Autumn Leaf Lantern

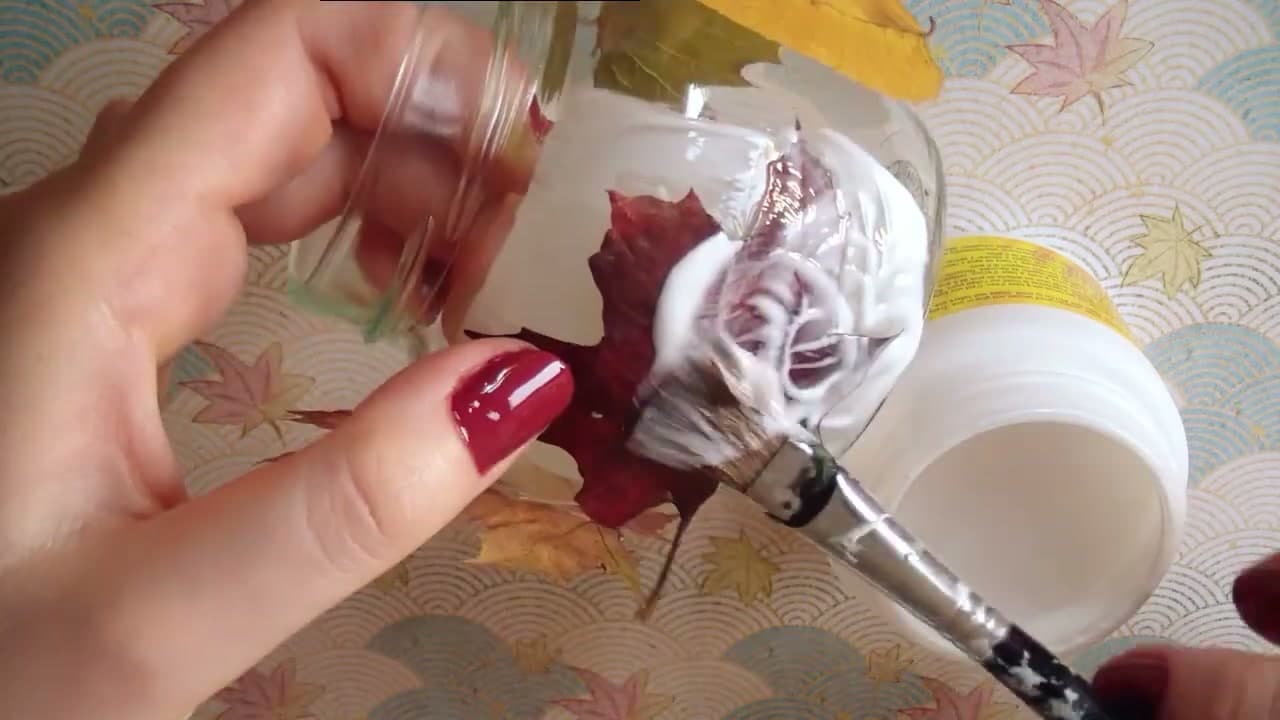
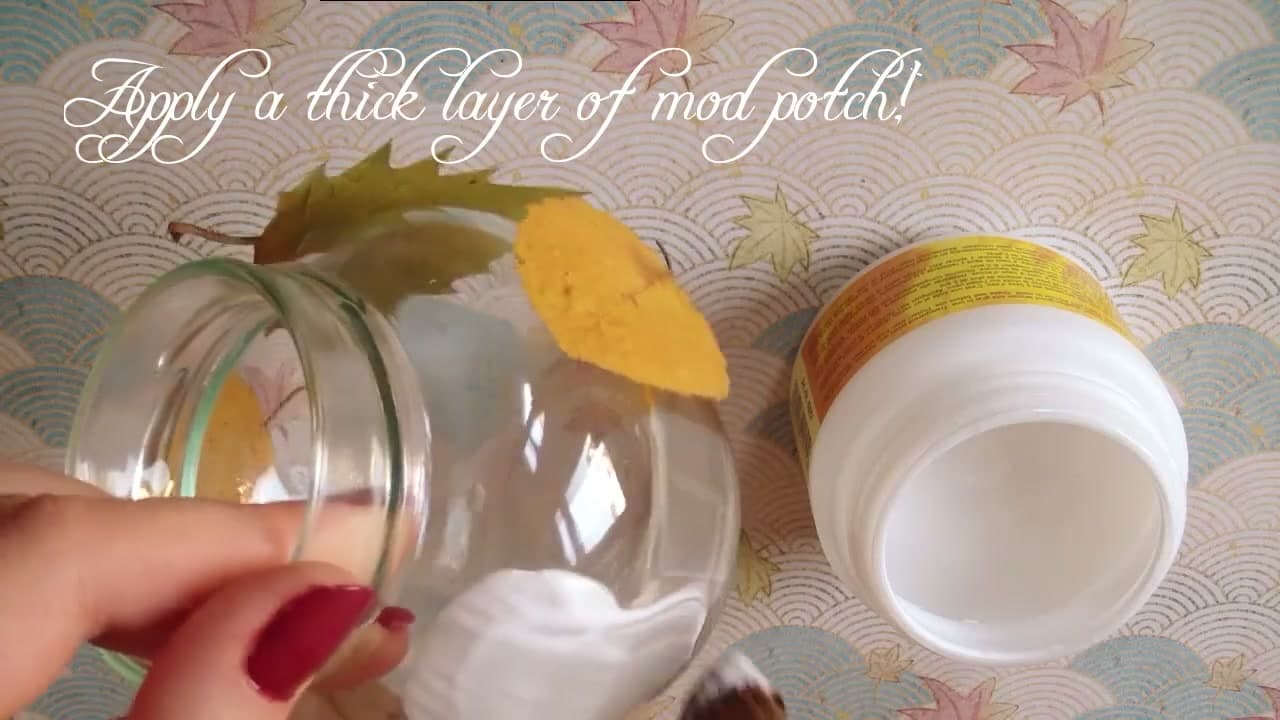
Load a soft, fluffy brush and paint a thick layer of Mod Podge onto the glass where the first leaf is going to sit.

Thick is deliberate here. A thin coat will not hold a dry leaf down against a curved surface, and you will spend the next ten minutes pressing the same edge back down.

Watch this step

Tip

Work one leaf at a time. Mod Podge skins over faster than you expect and a coat that has started to set will not grab.

Used in this stepfoam craft brushes
4

Step 4: Press the Leaf On and Coat It

1:55
Step 4: Press the Leaf On and Coat It - How to Make an Autumn Leaf Lantern

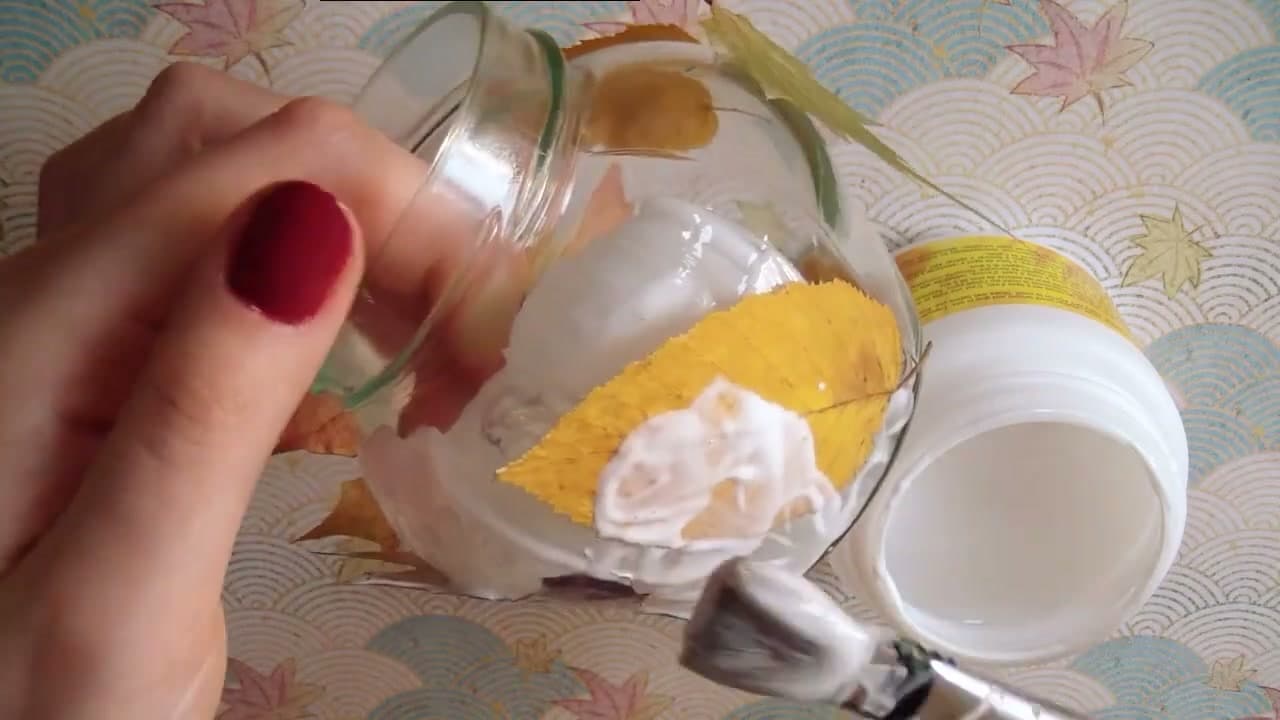
Lay the leaf onto the wet Mod Podge, then paint straight over the top of it with another thick layer.

Cover every part of the leaf - right out to the edges and into the points. Any spot you leave uncoated is precisely the spot that lifts away once it dries.

Watch this step

Tip

The leaf will look ruined and cloudy while it is wet. Mod Podge dries clear, so ignore it.

5

Step 5: Work Around the Jar

2:12
Step 5: Work Around the Jar - How to Make an Autumn Leaf Lantern

Carry on leaf by leaf around the jar.

The curve is the difficult part, especially low down near the base, and leaves will keep springing back off. Keep brushing more Mod Podge over the top and they settle eventually. Smaller leaves are far easier to manage on a round jar than big ones.

Watch this step

Tip

If a leaf simply will not sit, tear it rather than fight it. Overlapping torn pieces read as one leaf once the candle is lit.

6

Step 6: Add the Textured Glue Layer

2:28
Step 6: Add the Textured Glue Layer - How to Make an Autumn Leaf Lantern

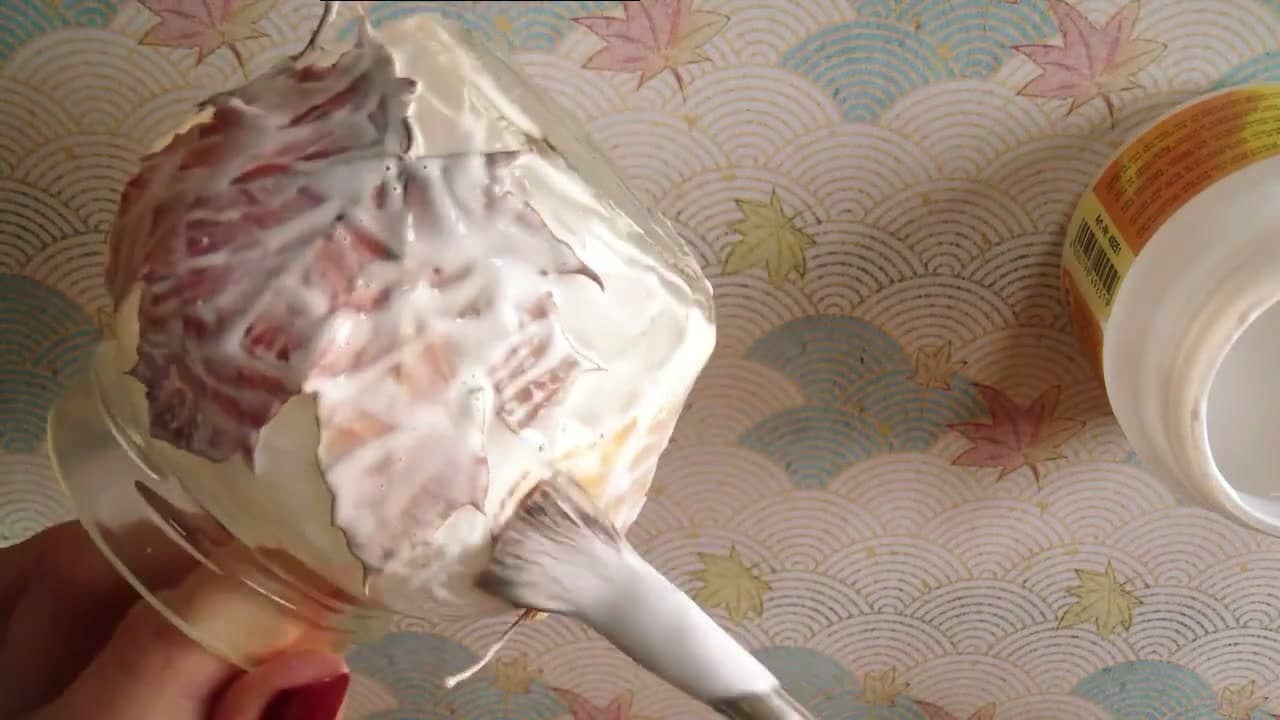
Dab white craft glue over the remaining bare glass in irregular dots and streaks.

Being messy is the entire point of this step. The uneven, slightly lumpy surface is what catches the candlelight, and lit from inside it looks like rain running down the outside of the jar.

Watch this step

Tip

Do not try to make this even. A smooth coat here just looks like a smeared jar.

Used in this stepwhite craft glue
7

Step 7: String the Rim and Light It

3:22
Step 7: String the Rim and Light It - How to Make an Autumn Leaf Lantern

Let the whole thing dry completely. The glue is slow, so give it overnight rather than an hour.

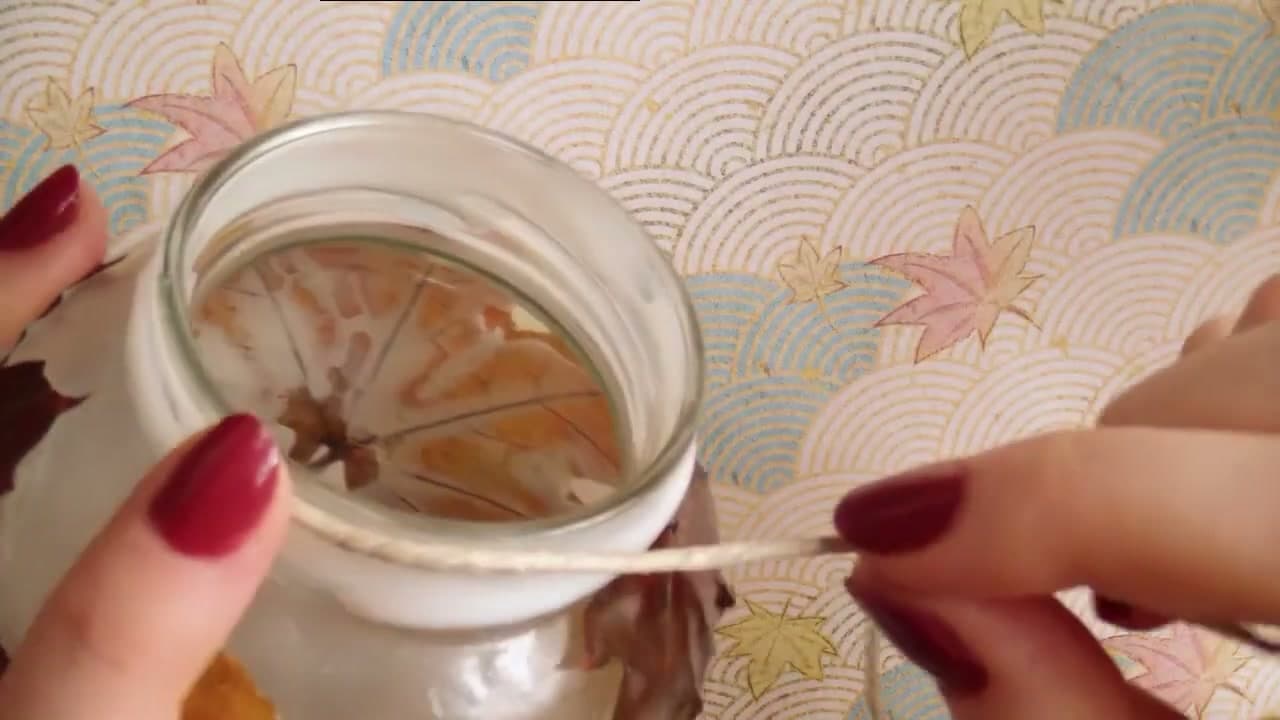
Then run a line of glue around the neck of the jar and wind the packaging string around it a few times. Drop a candle inside and it is done.

Watch this step

Tip

Use a battery tea light if the jar is going somewhere with fabric nearby, or if it is going outside where a flame will not survive. The glow through the leaves looks the same.

Used in this stepjute twine

Keep going

How to Preserve Fall Leaves

8 steps · about 8 minutes

Products Used

The Checklist

How to Make an Autumn Leaf Lantern

Tools
2
Materials
7
Steps
7
Video
4 min

Tools we recommend

Your Guide

makoccino

As an Amazon Associate we earn from qualifying purchases. Links on this page may be affiliate links - clicking them and buying doesn't change your price, but helps support CraftingStepByStep.

Tags

Sunday How-To

New crafts tutorials, every Sunday

One short email with the week's best step-by-step guides. Free, no spam, unsubscribe anytime.

Did this work for you?

What's next

Related collections

Curated theme pages that include this tutorial.

Weekly Digest

Liked this crafts tutorial?

Pick the categories you want to hear about. Weekly digest of new step-by-step tutorials. No spam, easy unsubscribe.

Send me tutorials about

We only email about new tutorials. Easy unsubscribe anytime.