How to Make a Stained Glass Suncatcher

CraftsMedium4:579 stepsBrowse more →
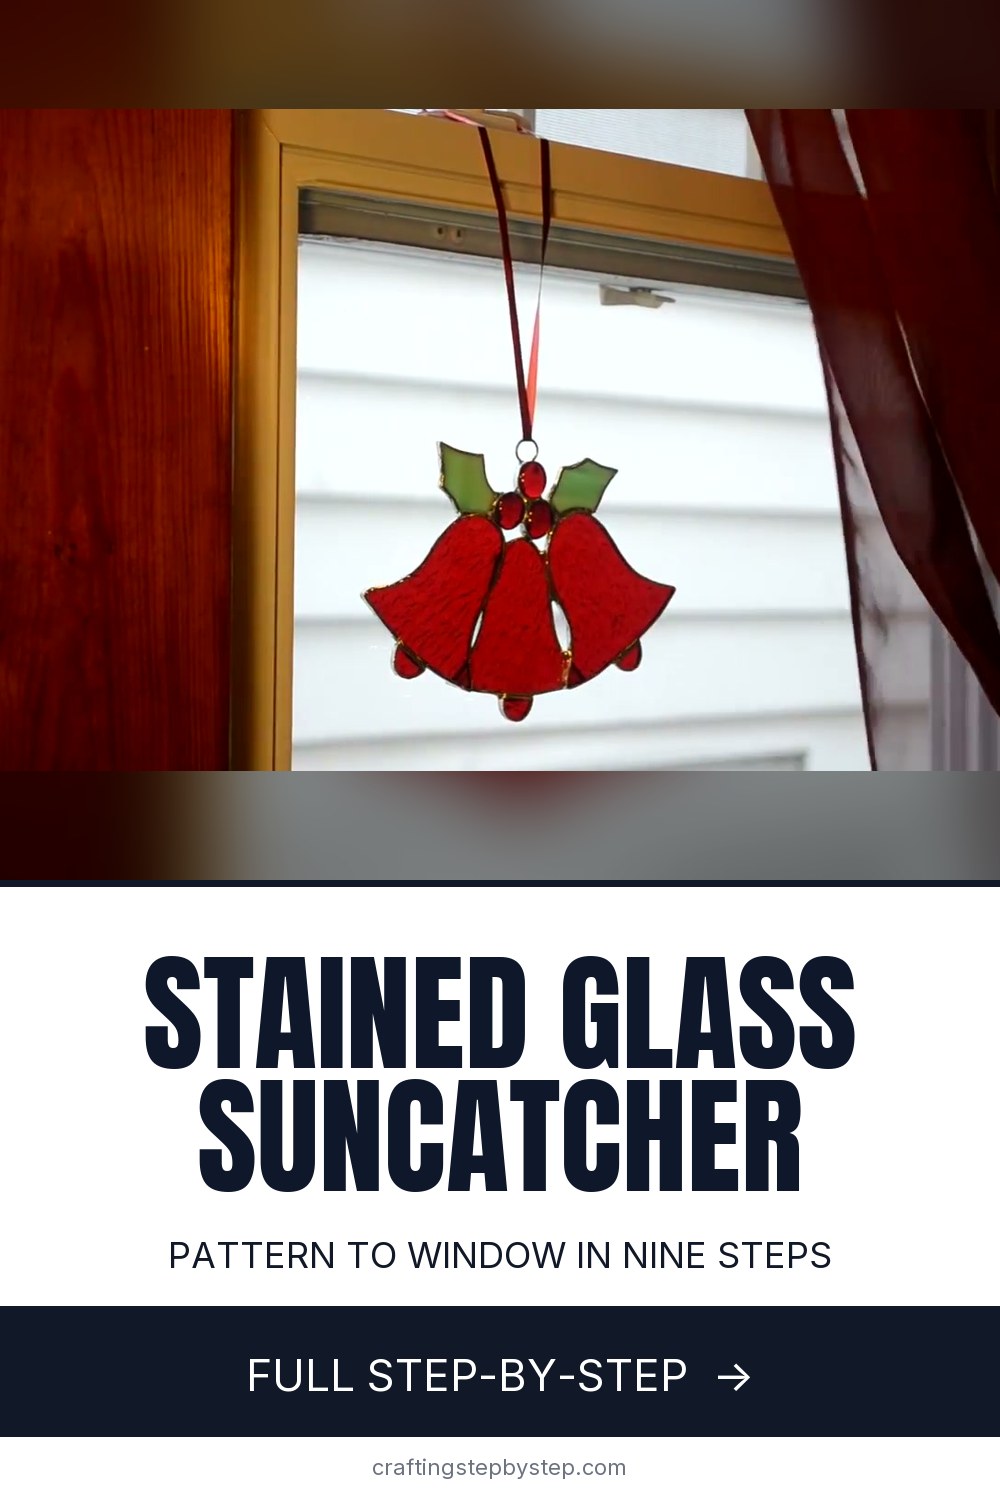
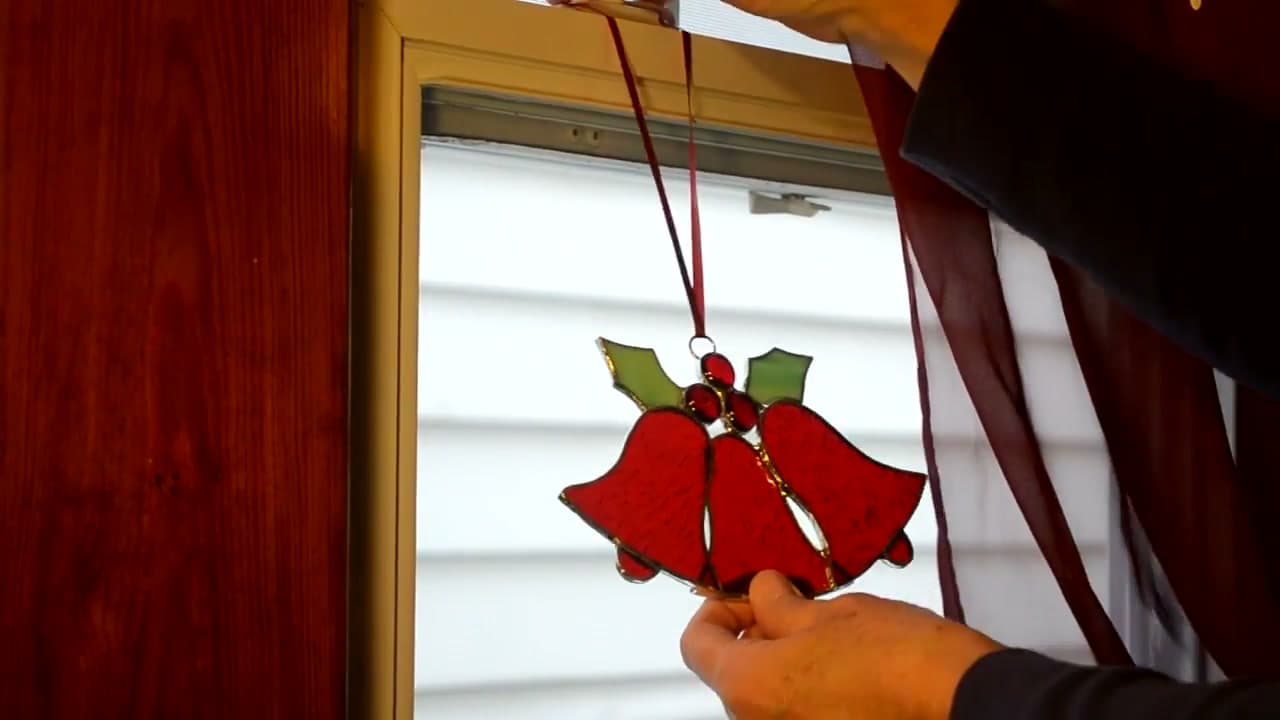
The finished result: How to Make a Stained Glass Suncatcher

By CraftingStepByStepPublished

Based on a video by turgenstine.

A suncatcher is the right first stained glass project. It is small enough to finish in an afternoon, it uses every core technique, and if a piece breaks you have lost one scrap of glass rather than a week of work.

Susie from Susie's Stained Glass walks the full copper foil process here on a Christmas bell design. Every step transfers to any pattern you pick.

Set up before you start: a clean flat surface covered with newspaper, and everything within reach. Glass cutting produces splinters, and hunting for a tool with fluxy gloves on is how things get knocked over.

Two techniques get their own deeper walkthrough if you want them: using a glass cutter and soldering stained glass.

Step-by-Step Guide

9 steps · about 5 minutes.Check off each step as you go and your progress saves automatically.

1

Step 1: Trace the Pattern onto the Glass

1:52
Step 1: Trace the Pattern onto the Glass - How to Make a Stained Glass Suncatcher

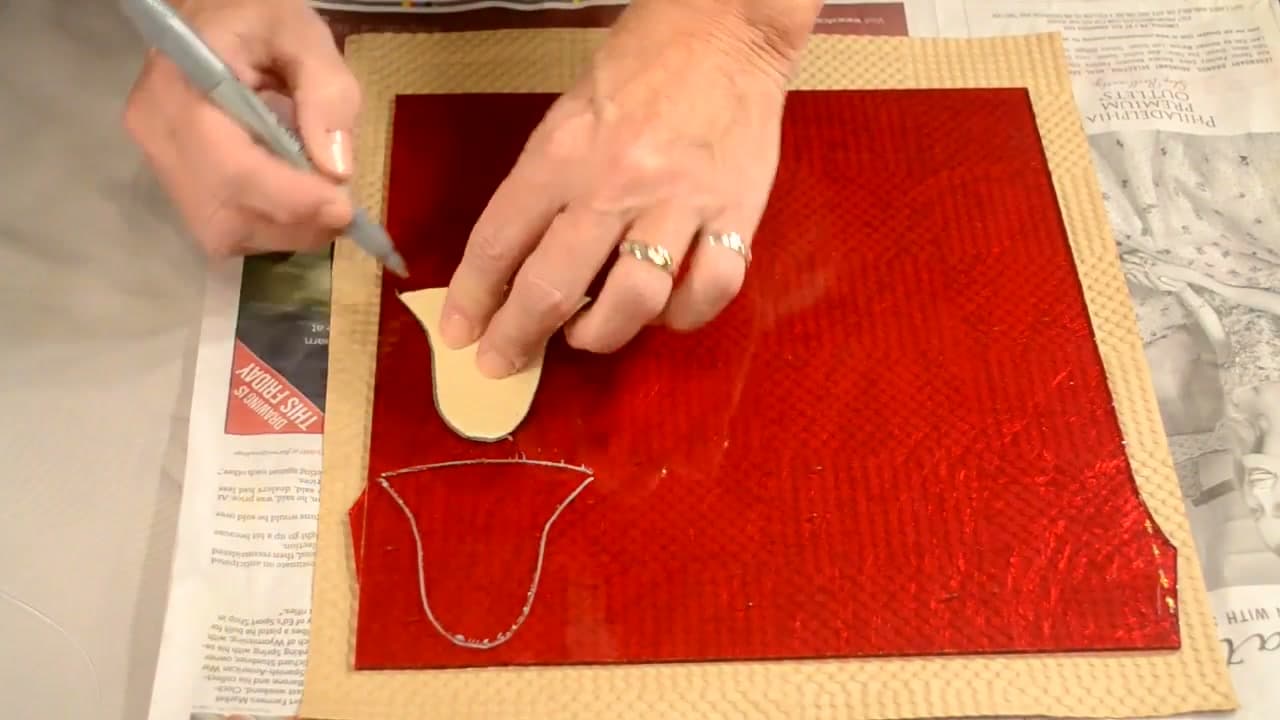
Cut your paper pattern apart into its individual pieces. Patterns come from books, from online, or you can draw your own once you have a feel for what cuts cleanly.

Lay each paper piece on the glass you have chosen for it and draw around it with a Sharpie. Think about where the colour and texture fall - on a bell, the grain running down the bell reads better than across it.

Tip

Trace on the side you will cut from and keep the marker line thin. A fat line loses you a millimetre of accuracy on every piece, and it adds up across a whole panel.
2

Step 2: Score and Break the Glass

2:04
Step 2: Score and Break the Glass - How to Make a Stained Glass Suncatcher

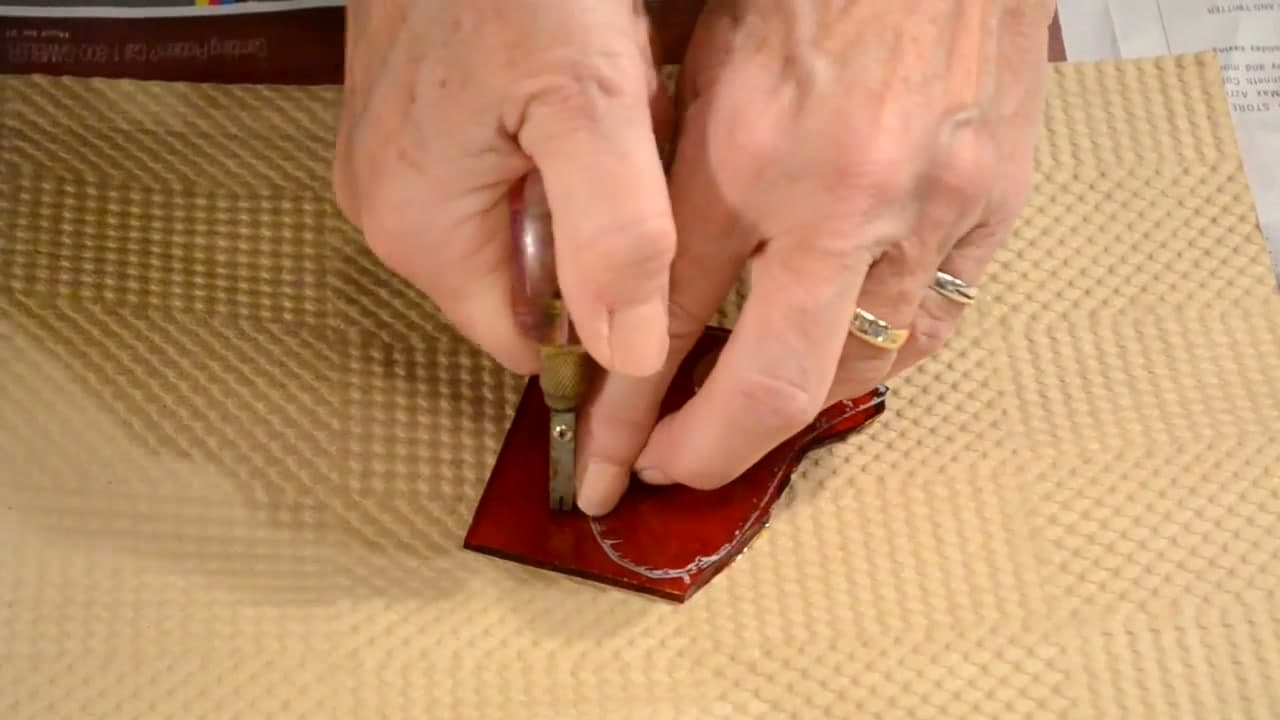
Run the glass cutter along the traced line in one continuous pass. One pass only - going over a score twice ruins the edge and the break.

Then break along the score with grozing pliers. Line the jaws up with the score, hold the glass firmly, and apply steady pressure rather than a snap.

Curves come out in several cuts, not one. Take the waste away in slices.

3

Step 3: Grind the Edges

2:26
Step 3: Grind the Edges - How to Make a Stained Glass Suncatcher

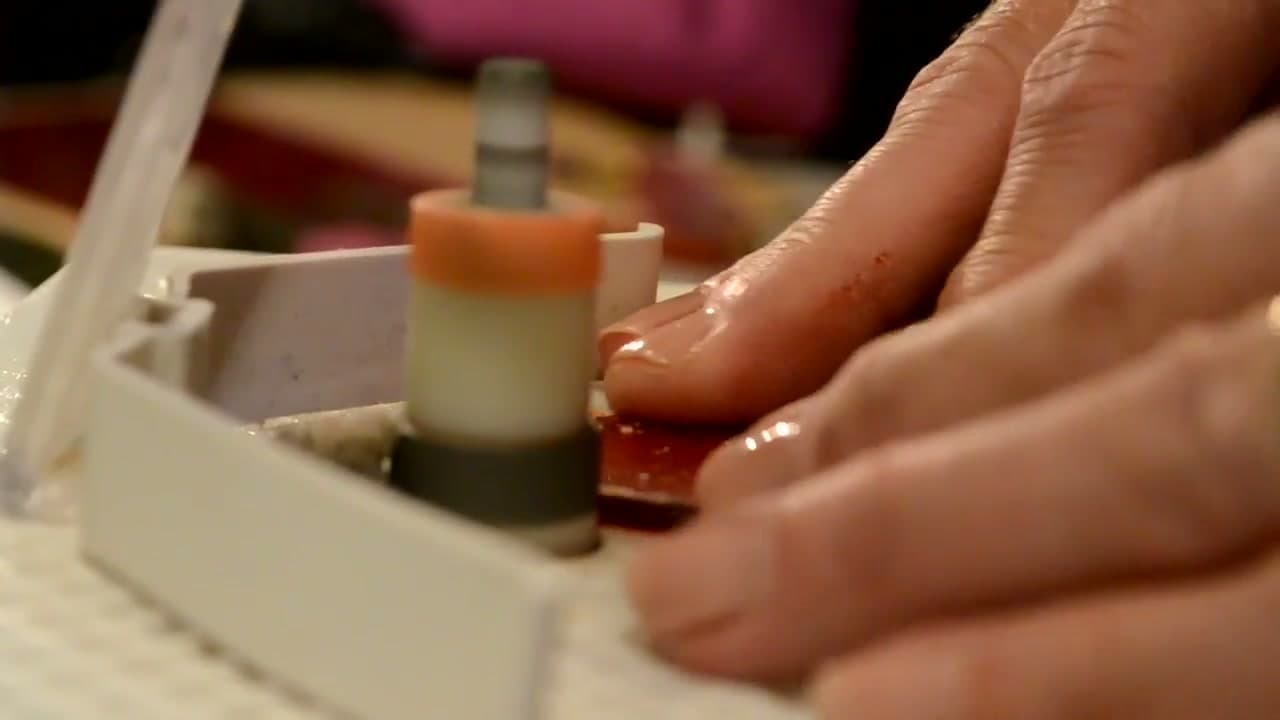
Every piece goes to the grinder. This is what takes the piece from roughly the right shape to exactly the right shape, and it is where a tight-fitting panel is actually made.

Wear safety glasses. Feed the piece against the grinding head with light pressure and keep the water reservoir topped up.

Check each piece against the paper pattern as you go, not at the end.

Tip

Grinding also takes the razor edge off the glass. Even pieces that fit perfectly are worth a quick pass so they are safe to handle while you foil.

4

Step 4: Wrap Every Piece in Copper Foil

2:34
Step 4: Wrap Every Piece in Copper Foil - How to Make a Stained Glass Suncatcher

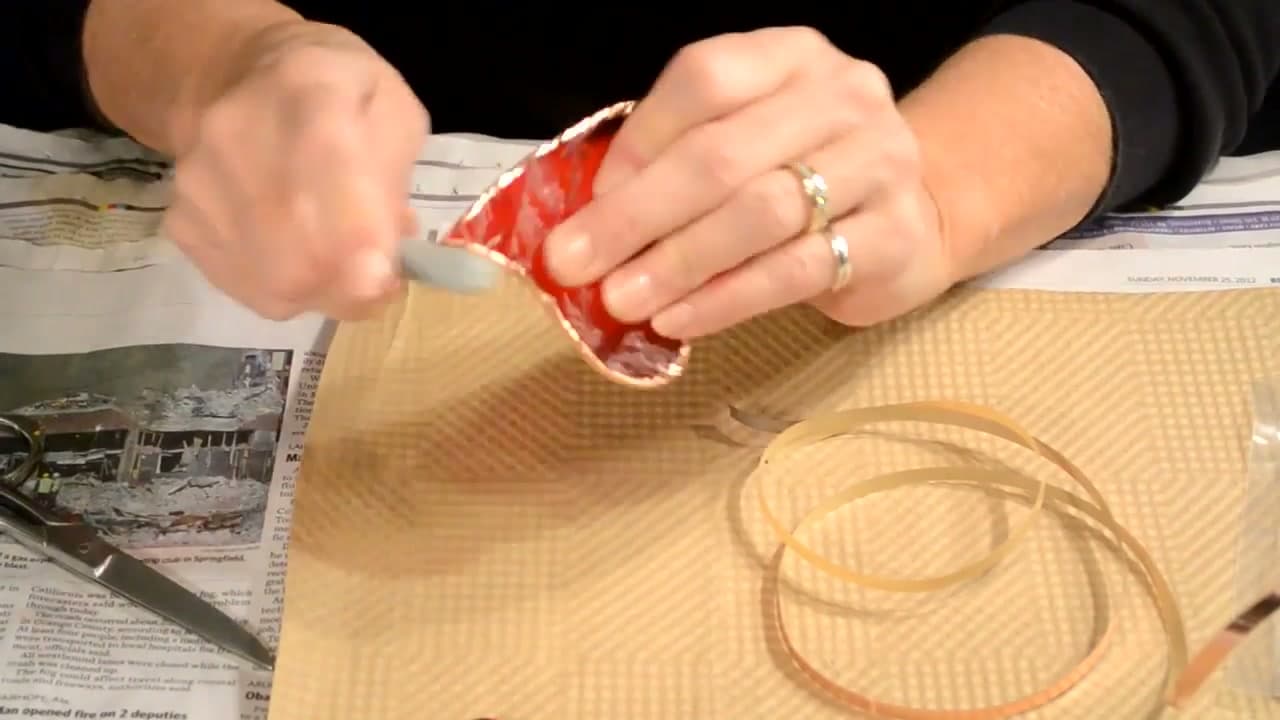
Copper foil tape goes around the edge of each piece with the glass centred so equal foil folds over each face.

Fold the overlap down on both sides and burnish it flat with a fid or the back of a marker. Loose foil lifts when the solder hits it.

Wrap the glass nuggets too. They foil exactly like a flat piece, just around a curve.

5

Step 5: Flux and Tin the Foil

2:46
Step 5: Flux and Tin the Foil - How to Make a Stained Glass Suncatcher

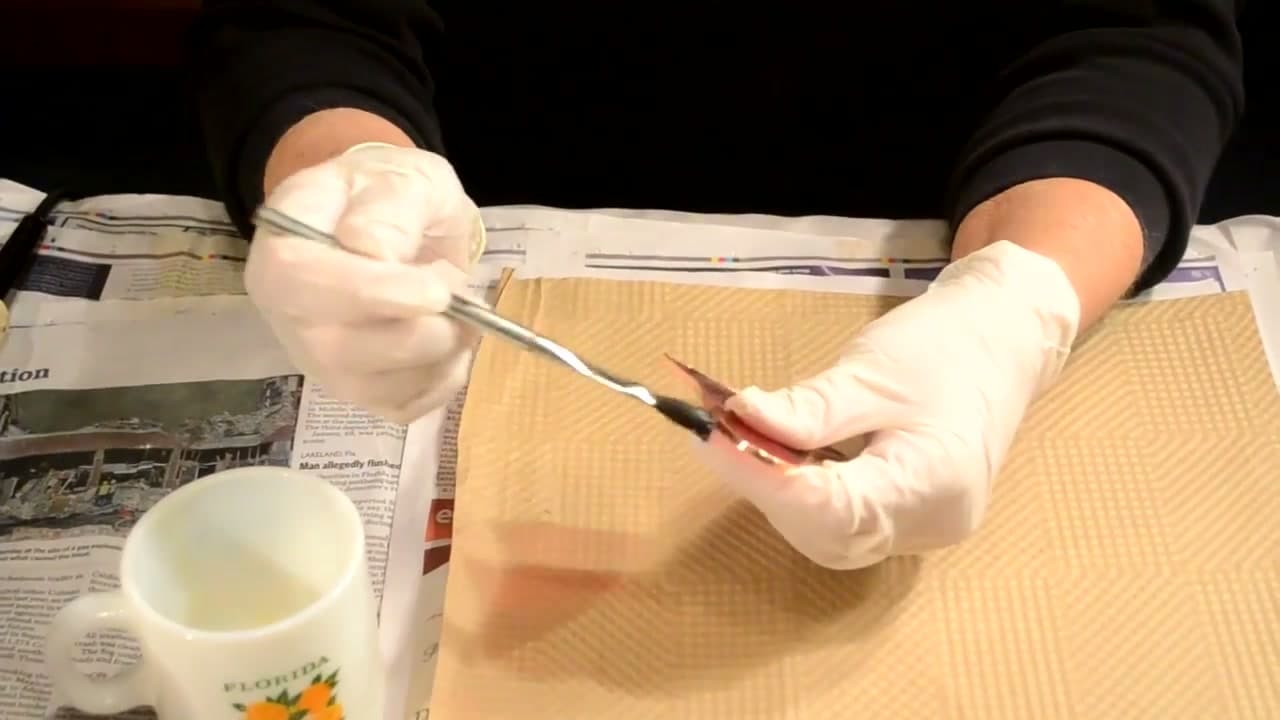
Brush gel flux over the copper foil, then run solder over the foil on every side of every piece.

This tinning pass coats the copper and is what lets the pieces join to each other in the next step. Skip it and you will be fighting bare copper in the middle of assembly.

6

Step 6: Assemble and Solder the Pieces Together

3:02
Step 6: Assemble and Solder the Pieces Together - How to Make a Stained Glass Suncatcher

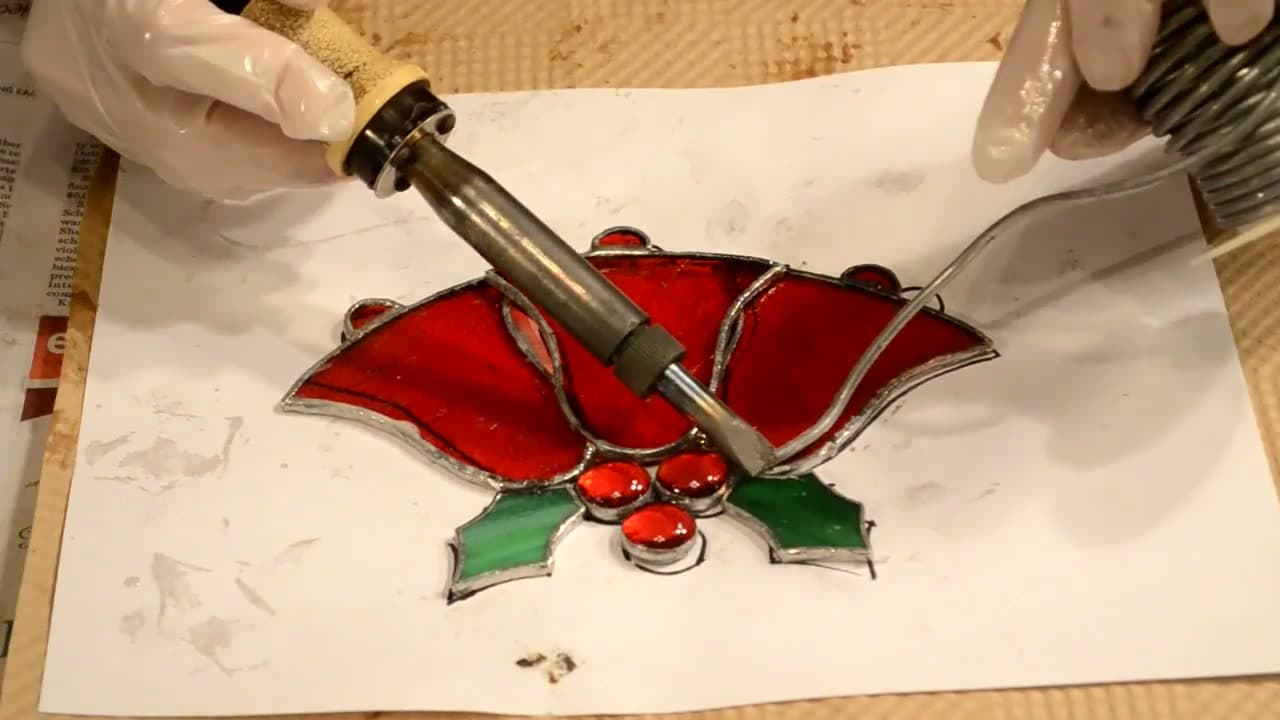
Lay the tinned pieces back onto the paper pattern in position. Solder the bells to each other first, then add the holly leaves and the nuggets.

Working on the pattern keeps the shape honest. It is easy to drift a few millimetres while joining and end up with a piece that does not match the design.

Tip

Tack each joint with a small blob first and check the whole layout before running full beads. Adjusting a tack is easy; adjusting a finished bead is not.

7

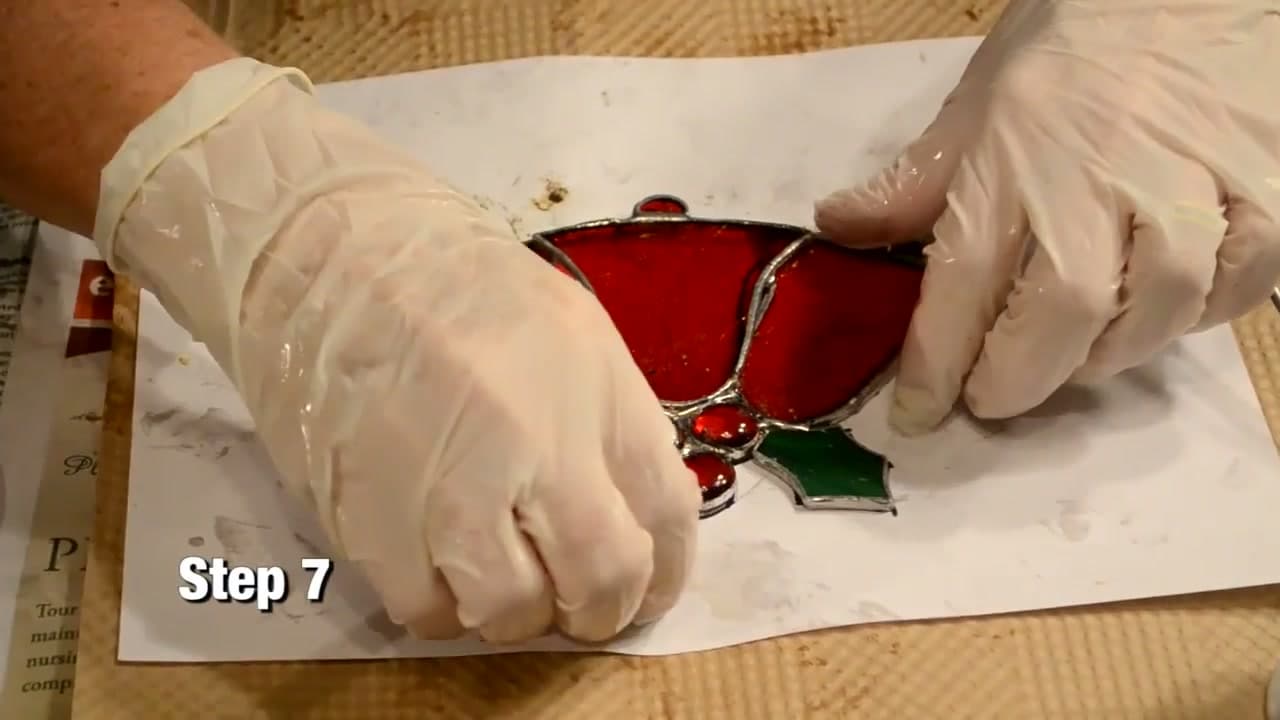
Step 7: Solder On the Hanging Ring

3:07
Step 7: Solder On the Hanging Ring - How to Make a Stained Glass Suncatcher

Put the wire ring on a joint at the top of the piece, where two or more sections meet.

A joint has more solder mass and more foil around it, so it holds the weight. A ring soldered into the middle of a single foil run will pull off.

Hold the ring in place, heat the joint, and feed solder around the base of the ring.

8

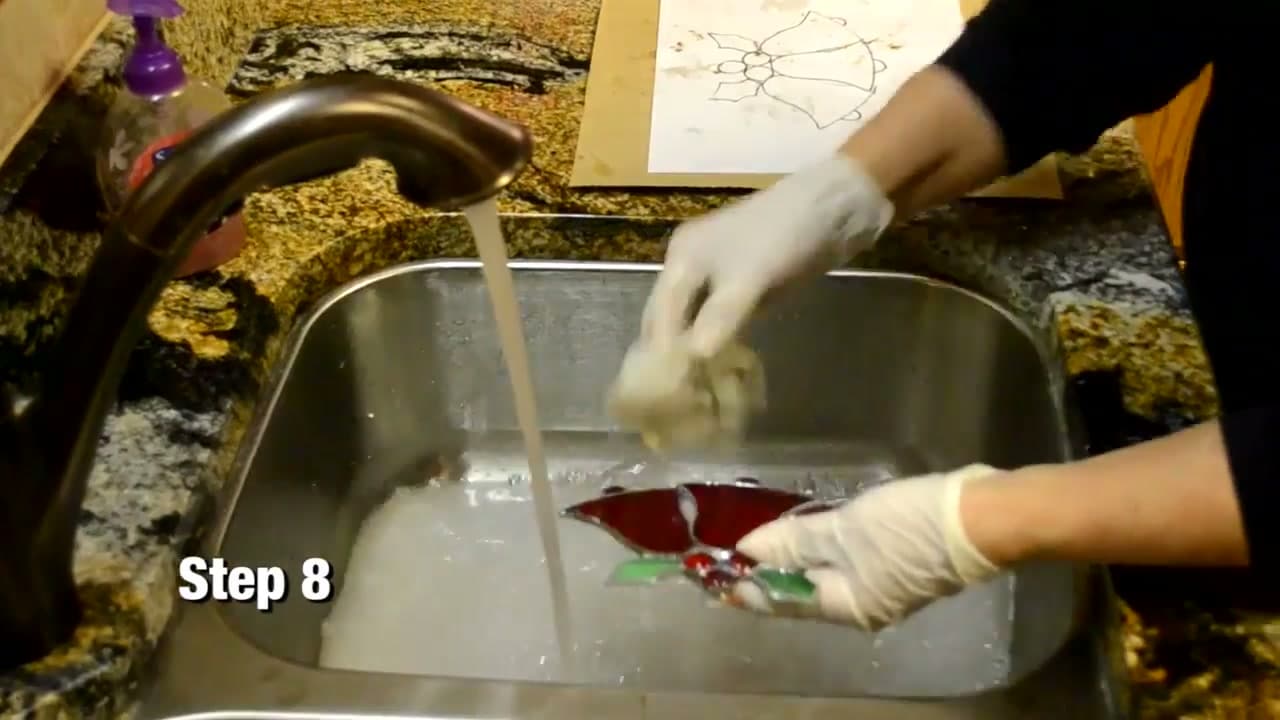
Step 8: Wash Off the Flux

3:12
Step 8: Wash Off the Flux - How to Make a Stained Glass Suncatcher

Flux residue is corrosive and it will haze the glass and dull the solder lines if it stays on.

Wash the piece with washing soda and warm water, scrubbing gently along the solder lines, then rinse thoroughly.

Wear rubber gloves. Dry it fully with a towel afterwards.

Tip

Do not skip this because the piece looks clean. Flux residue is mostly invisible when wet and shows up as a white bloom weeks later.

9

Step 9: Add the Ribbon and Hang It

3:25
Step 9: Add the Ribbon and Hang It - How to Make a Stained Glass Suncatcher

Thread a decorative ribbon through the ring and knot it at the length you want.

Then hang it in a window that gets direct sun. That is the whole point - the piece is flat and dull under room light and comes alive when light passes through it.

East-facing windows give you morning colour; west-facing catch the evening.

Keep going

How to Lay Out a Mosaic Design

9 steps · about 9 minutes

Products Used

The Checklist

How to Make a Stained Glass Suncatcher

Tools
10
Materials
9
Steps
9
Video
5 min

Tools we recommend

Your Guide

turgenstine

As an Amazon Associate we earn from qualifying purchases. Links on this page may be affiliate links - clicking them and buying doesn't change your price, but helps support CraftingStepByStep.

Tags

Sunday How-To

New crafts tutorials, every Sunday

One short email with the week's best step-by-step guides. Free, no spam, unsubscribe anytime.

Did this work for you?

What's next

Related collections

Curated theme pages that include this tutorial.

Weekly Digest

Liked this crafts tutorial?

Pick the categories you want to hear about. Weekly digest of new step-by-step tutorials. No spam, easy unsubscribe.

Send me tutorials about

We only email about new tutorials. Easy unsubscribe anytime.