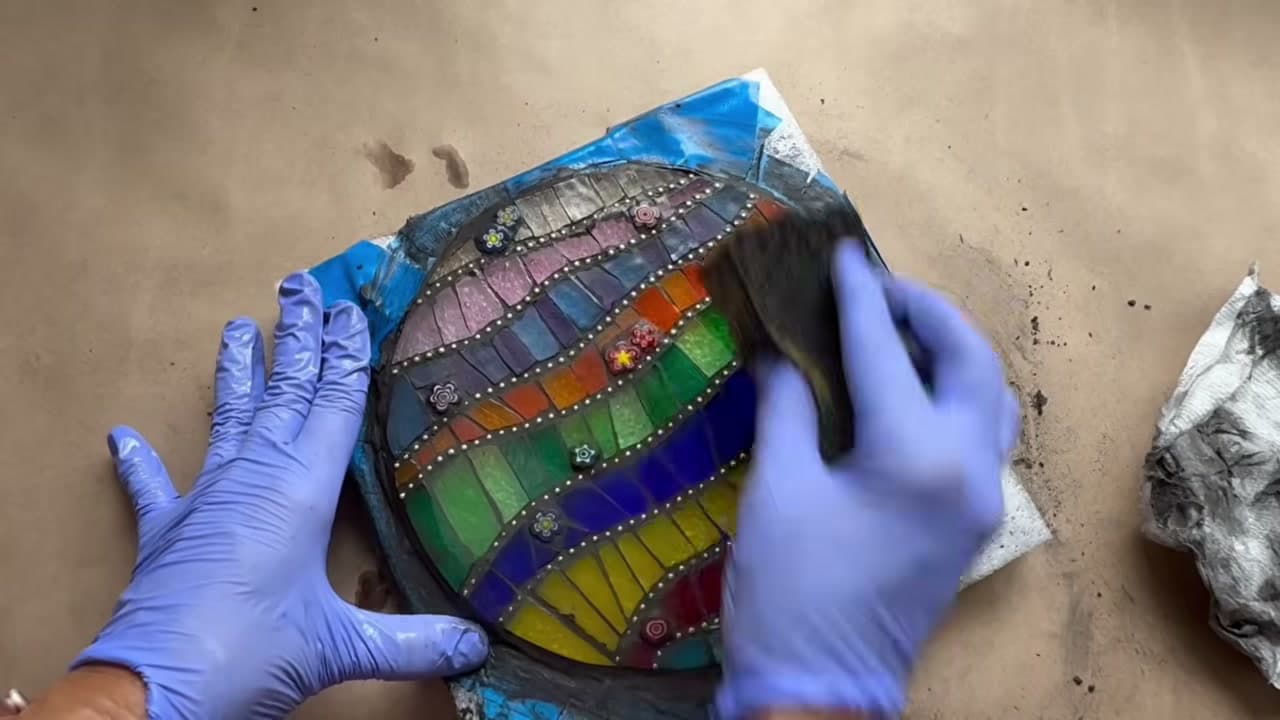
How to Make a Mosaic Suncatcher

CraftsMedium8:5610 stepsBrowse more →
The finished result: How to Make a Mosaic Suncatcher
Also in:Other Crafts

By CraftingStepByStepPublished

Based on a video by mosaicsbymaricela.

Every stained glass project leaves a pile of offcuts too small to use and too pretty to throw away. This suncatcher is what those scraps are for.

Maricela from mosaicsbymaricela builds hers on a clear textured blank, using a paper sketch underneath as a guide. Wavy bands mean the lines do not have to be exact, which makes it a forgiving first mosaic. Ball chain separates the colours and hides the joins.

What makes this one work

The trick is the sketch taped under the glass. You can see your layout through the base the whole time, and you get a preview of how the light will read once it is hanging in a window.

You can stop before grouting if you like the floating-glass look. Grout gives a more finished piece and hides any uneven gaps, so most people go the whole way.

Before you start

Wear safety glasses when you cut. Wheel nippers snap glass by pressure and small shards do fly. Cutting over a tray keeps the mess in one place.

Step-by-Step Guide

10 steps · about 9 minutes.Check off each step as you go and your progress saves automatically.

1

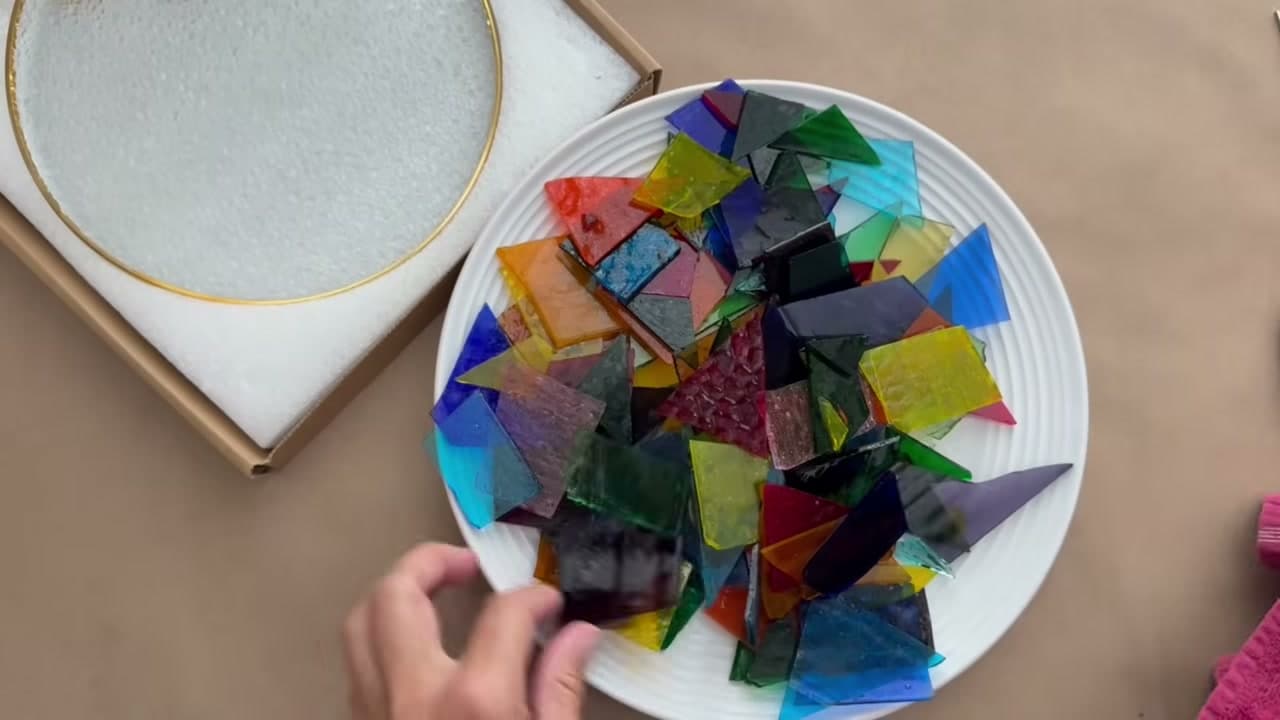
Sort Your Glass Scraps by Colour

1:06
Step 1: Sort Your Glass Scraps by Colour - How to Make a Mosaic Suncatcher

Sort your stained glass scraps by colour. If you bought a scrap bag, give the pieces a quick wash and pat them dry before you start. Scraps from your own projects are usually fine as they are.

Spreading them on a white plate makes it much easier to see what you actually have to work with.

Tip

A white plate or sheet of paper underneath shows you the true colour. Glass reads very differently against a dark bench.
2

Sketch Your Design on Paper

1:21
Step 2: Sketch Your Design on Paper - How to Make a Mosaic Suncatcher

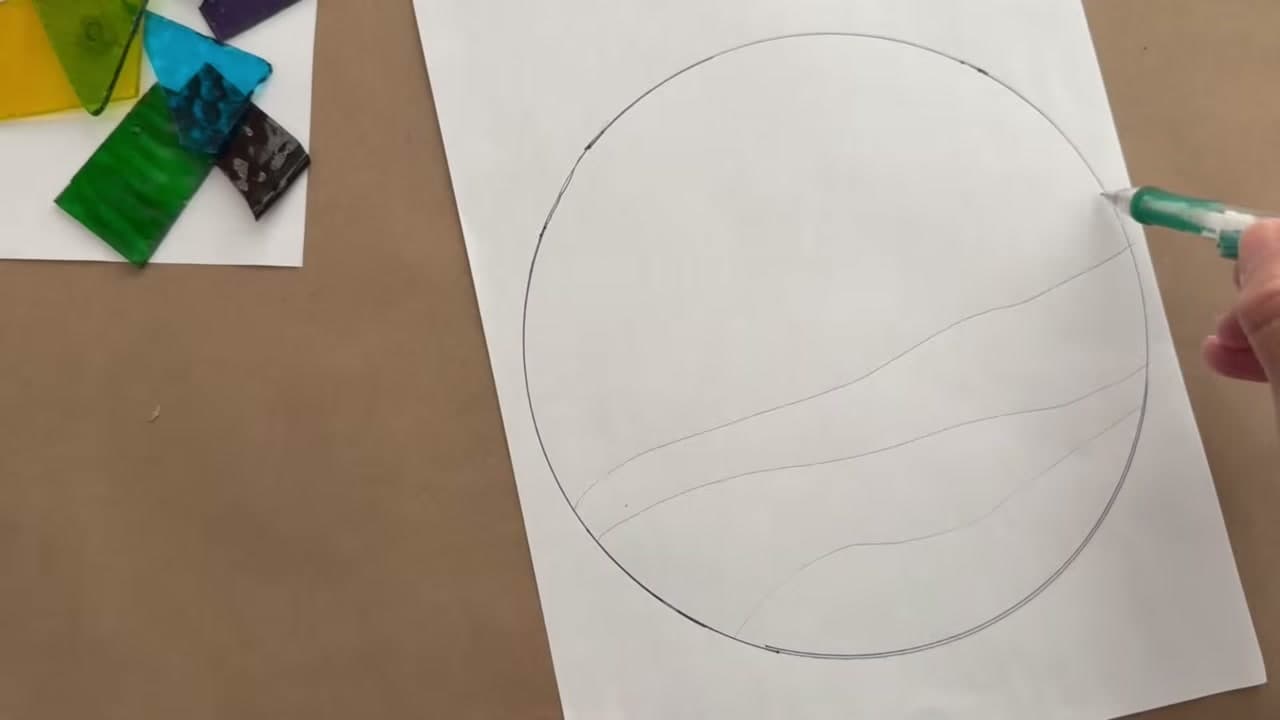
Trace around your suncatcher base onto a sheet of paper, then sketch your design inside the circle. Wavy horizontal bands work well for a first attempt because the lines do not have to be precise.

Go over the pencil with a Sharpie once you are happy with it, so the design stays visible through the glass later.

Tip

Keep the bands wider than your smallest glass piece. Narrow sections are fiddly to fill and look cluttered.

Products used in this step

3

Tape the Sketch Under the Base

1:51
Step 3: Tape the Sketch Under the Base - How to Make a Mosaic Suncatcher

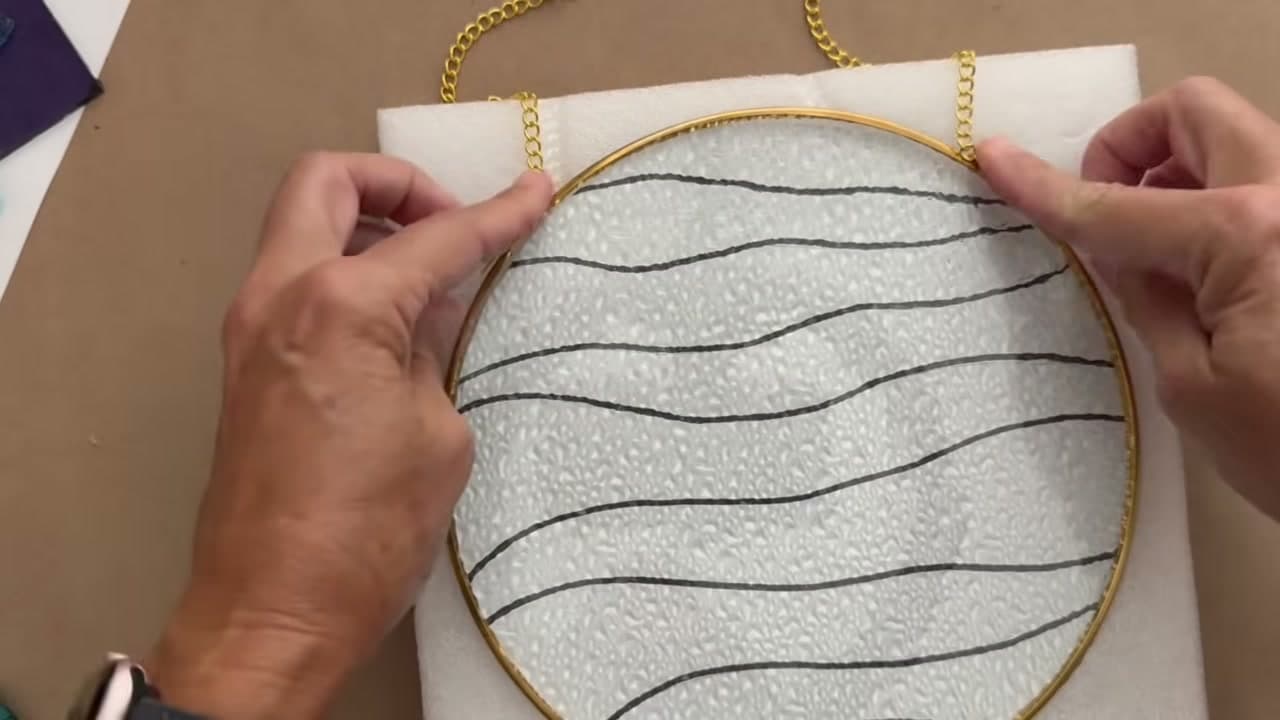
Slide the sketch underneath the clear suncatcher base and tape it in place. Setting the whole thing on a foam block keeps it from sliding around while you work.

Now you can see exactly where each piece needs to go, and you get a preview of how light will come through the finished piece.

Tip

The original packaging the blank came in usually works as a base. It is already the right size and costs nothing.

4

Lay Out the Glass by Colour

2:06
Step 4: Lay Out the Glass by Colour - How to Make a Mosaic Suncatcher

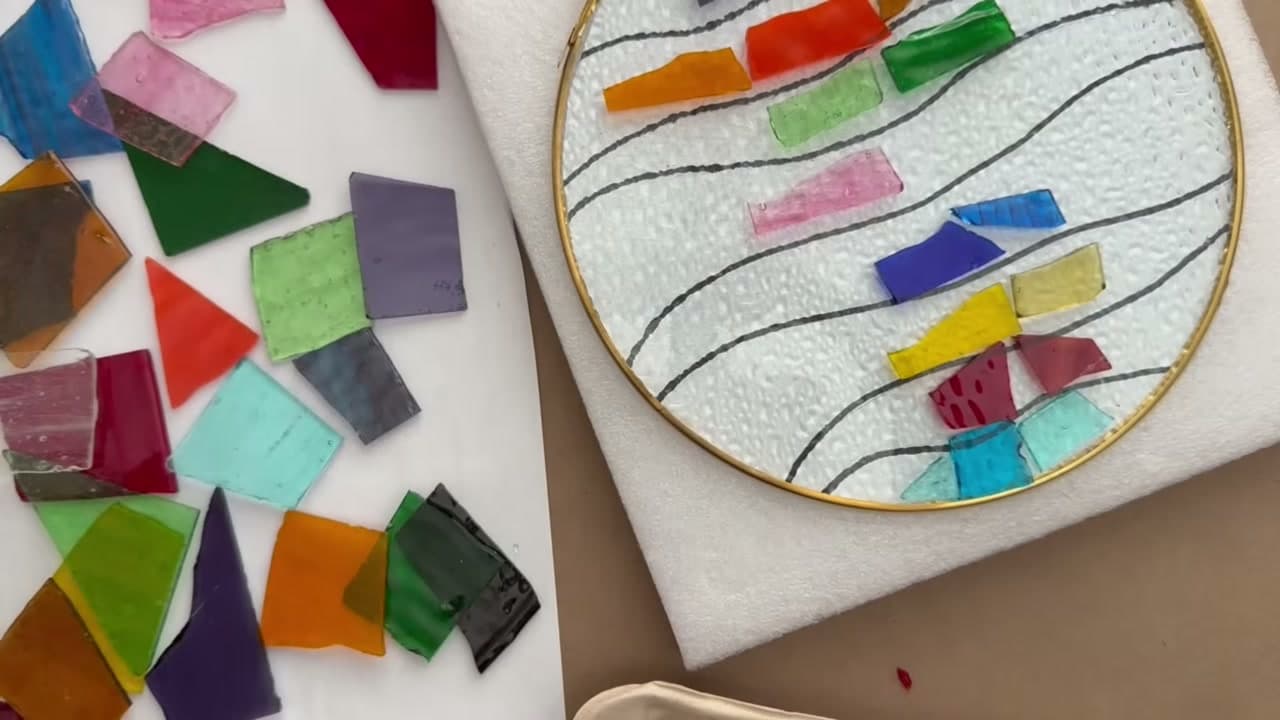
Lay your glass out beside the base and start testing colour combinations. Move the groups around until the order looks right to you.

Your scrap batch may have several shades of the same colour, so check them side by side in daylight. This is the stage worth slowing down on, because everything after it is permanent.

Tip

Photograph two or three layouts on your phone and compare them. Small differences are much easier to judge on screen.

5

Load the Adhesive Into a Syringe

2:23
Step 5: Load the Adhesive Into a Syringe - How to Make a Mosaic Suncatcher

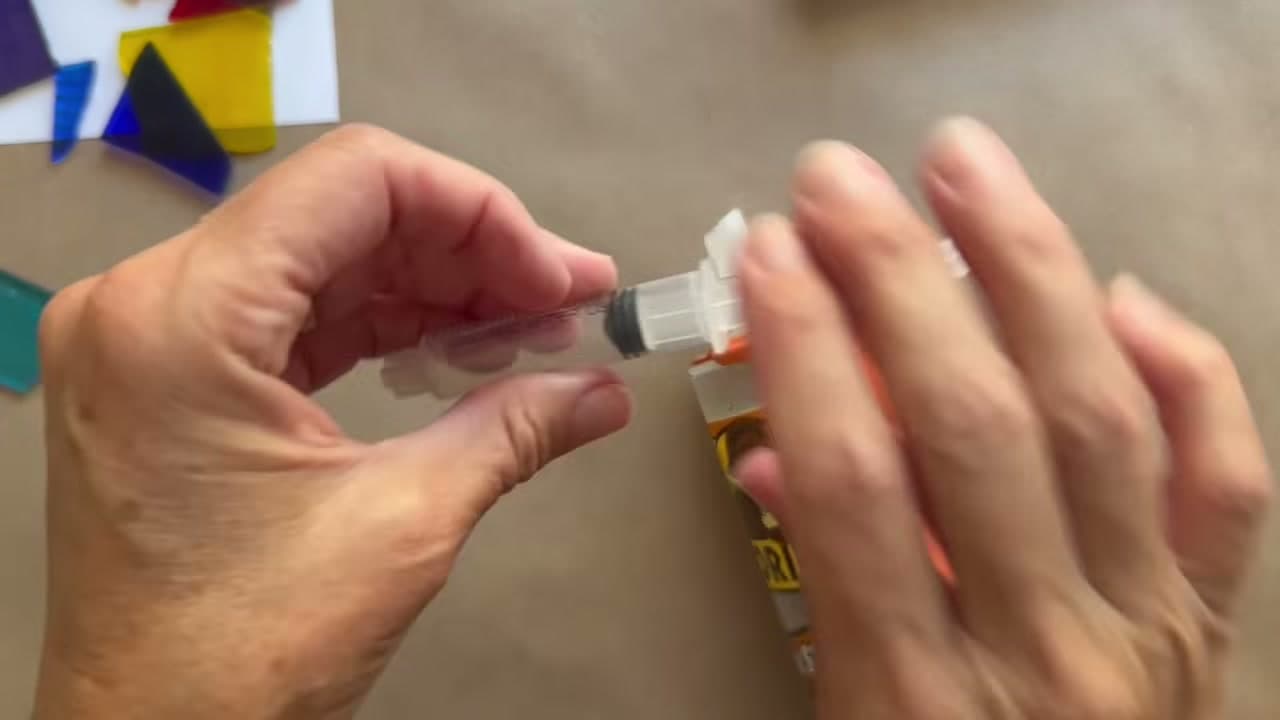
Transfer some clear adhesive into a small syringe. Gorilla clear glue holds well on glass and dries clear, but squeezing it straight from the tube gives you far too much.

A syringe lets you put a controlled dot exactly where you want it. Seal the tube and keep it somewhere cold between sessions so it does not set.

Tip

Keep the tube in the fridge. Clear adhesives skin over fast once opened and a cold tube lasts noticeably longer.

6

Glue Down the Ball Chain

3:05
Step 6: Glue Down the Ball Chain - How to Make a Mosaic Suncatcher

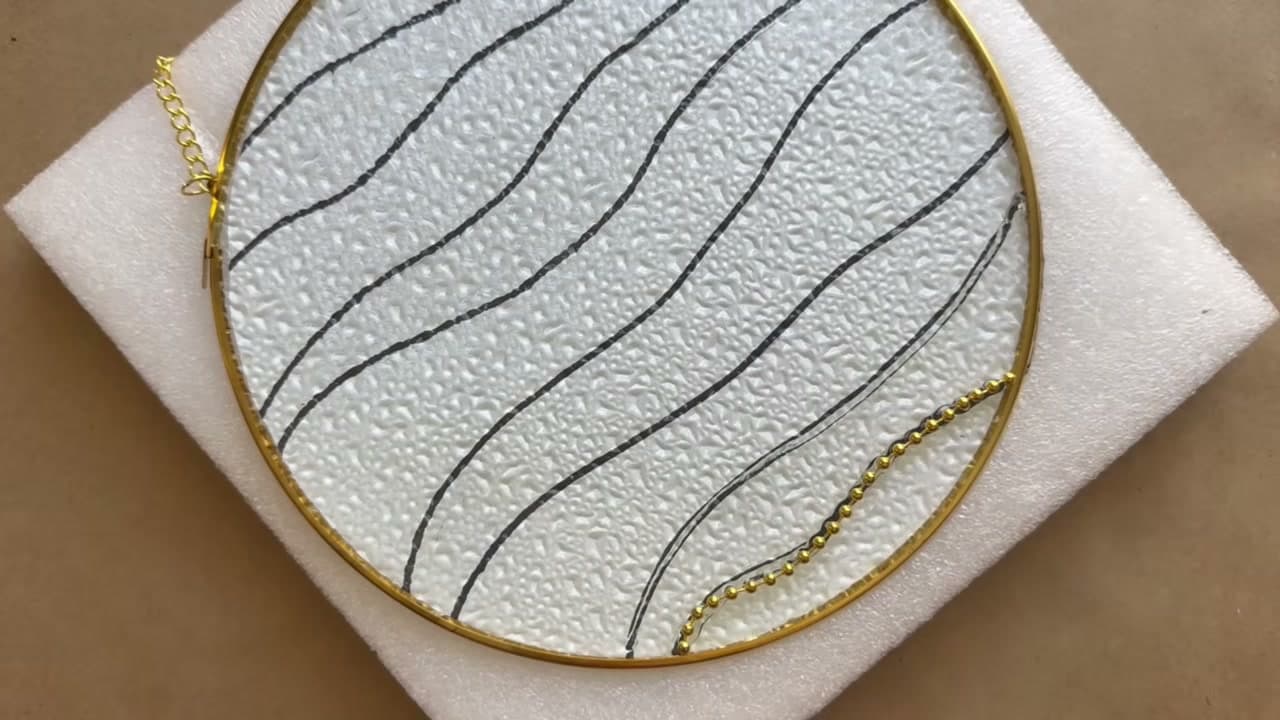
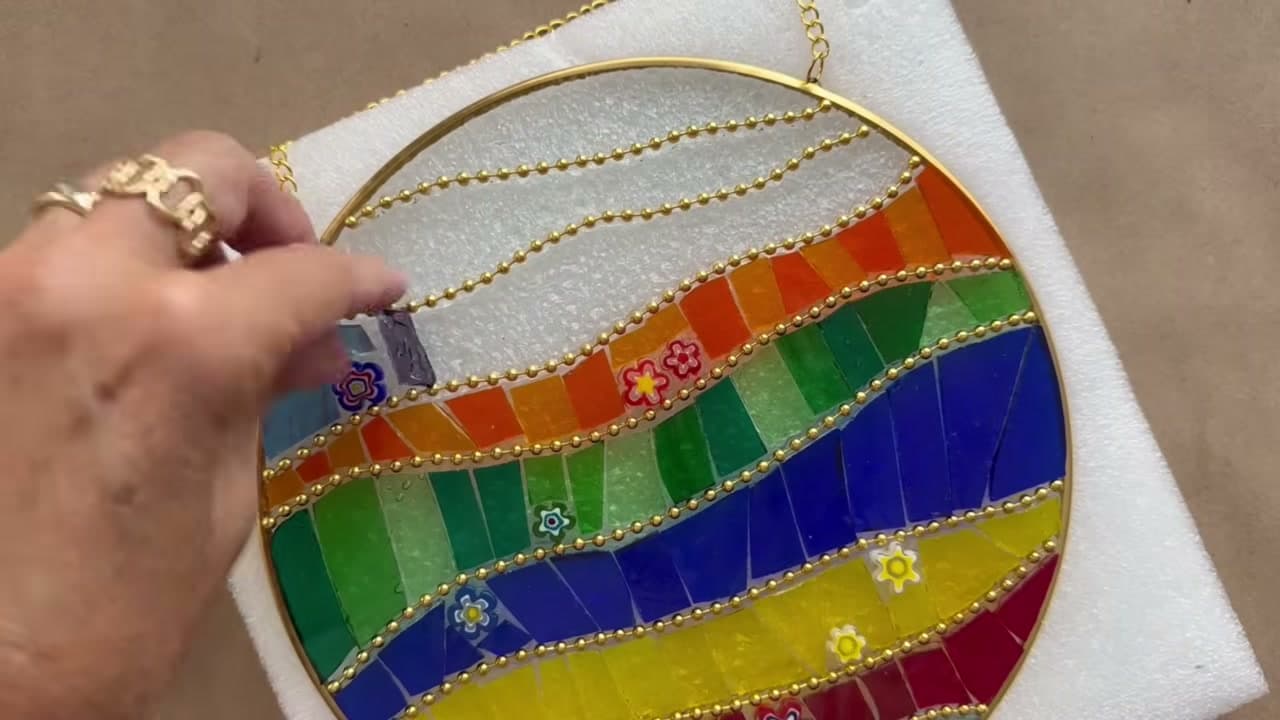
Cut lengths of ball chain and glue them along your sketched lines. The chain gives you a clean metallic border between sections and hides the joins where two colours meet.

Press it down into a thin bead of adhesive and let it grab before you move on to the glass.

Tip

Cut the chain a little long and trim at the edge once it is down. Stretching a short piece to fit pulls it off the line.

Products used in this step

7

Cut the Glass With Wheel Nippers

3:50
Step 7: Cut the Glass With Wheel Nippers - How to Make a Mosaic Suncatcher

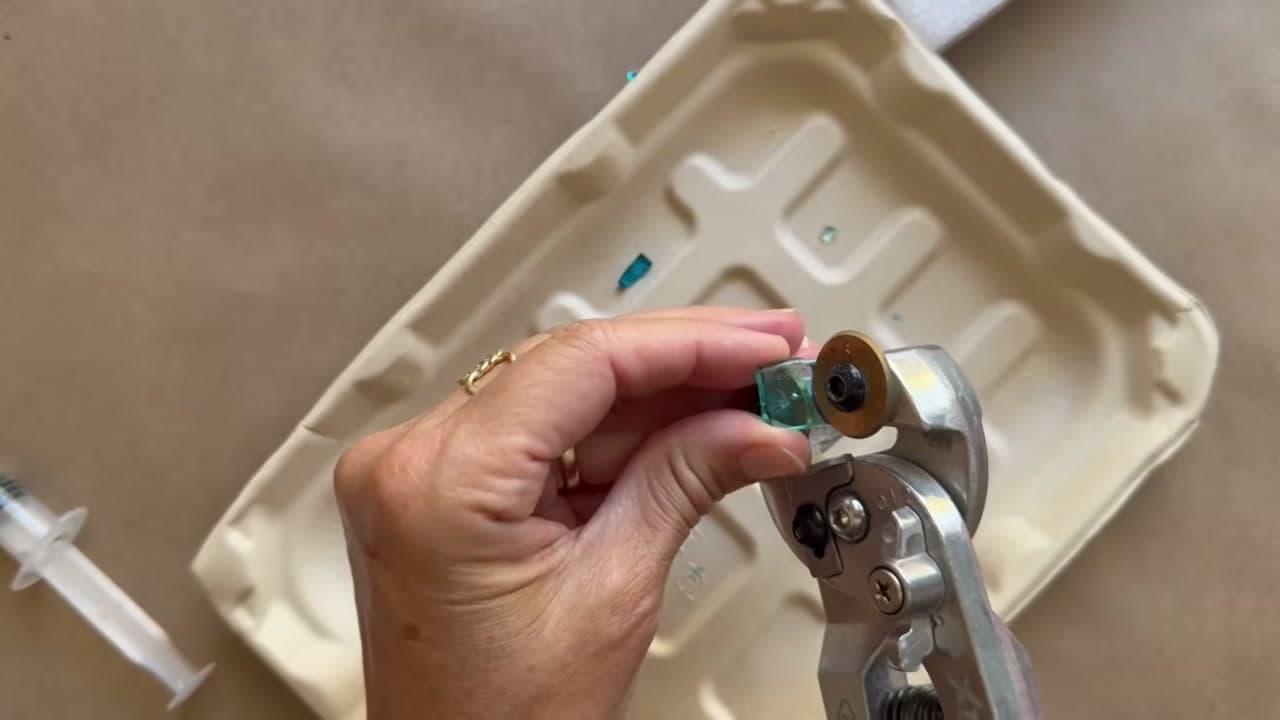
Put your safety glasses on and cut the glass with wheel nippers. Position the wheels where you want the break, squeeze, and the piece snaps apart.

Holding the nippers at an angle gives you a gentle curve instead of a straight edge. Cutting over a tray keeps the shards contained.

Tip

Mark your cut line with a Sharpie first. If the cut goes wrong the ink wipes off with alcohol and you have lost nothing.

8

Fill Each Section One Colour at a Time

6:04
Step 8: Fill Each Section One Colour at a Time - How to Make a Mosaic Suncatcher

Fill one section at a time, keeping each band a single colour. Put a small dot of adhesive on the back of every piece and press it down firmly so the glue spreads underneath.

Full coverage matters here. Any gap lets grout creep under the glass and the finished piece looks muddy.

Tip

If your glass has a texture, lay the textured side down. It still reads through and it stops grout catching in the surface.

9

Mix and Spread the Grout

7:48
Step 9: Mix and Spread the Grout - How to Make a Mosaic Suncatcher

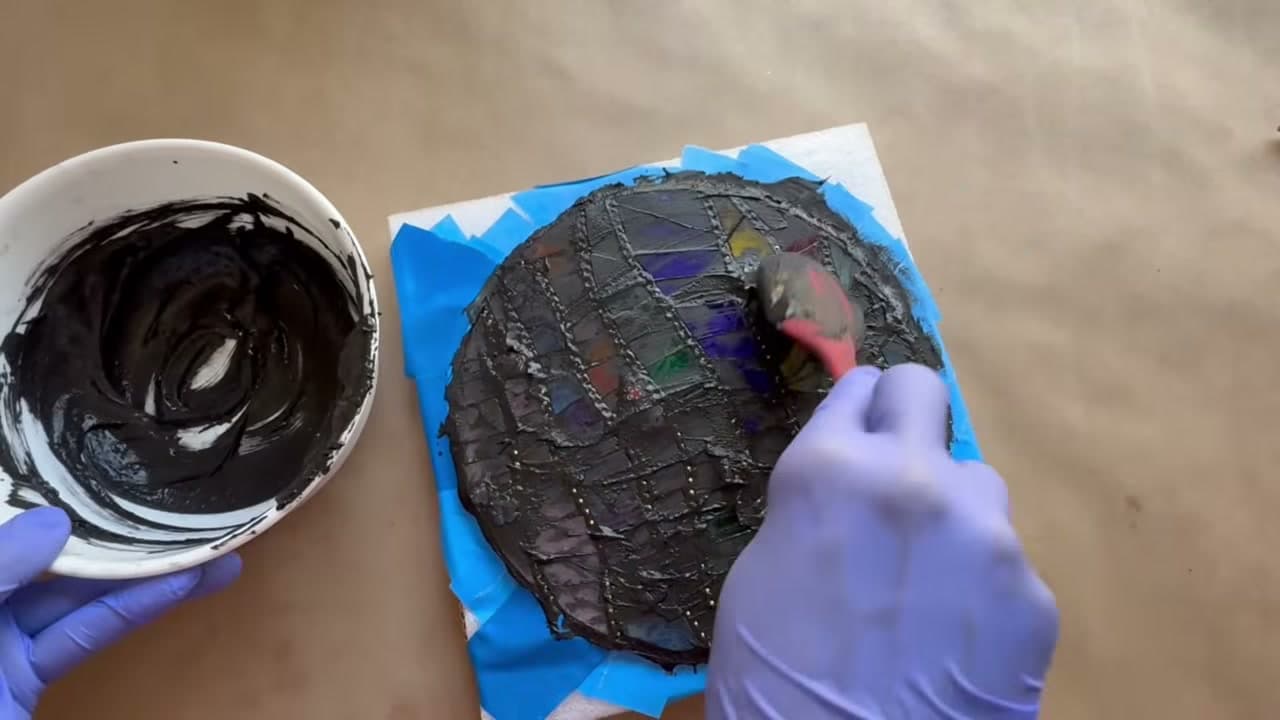
Mix about three spoonfuls of powdered grout with water until it reaches a peanut butter consistency. Let it slake for five minutes, which lets the chemical reaction strengthen it.

Give it another stir, work it over the whole mosaic and press it into every gap. Leave it to set for around thirty minutes.

Tip

Add water a little at a time. Grout goes from crumbly to soup in about half a teaspoon and you cannot take it back out.

10

Wipe Back and Polish

8:17
Step 10: Wipe Back and Polish - How to Make a Mosaic Suncatcher

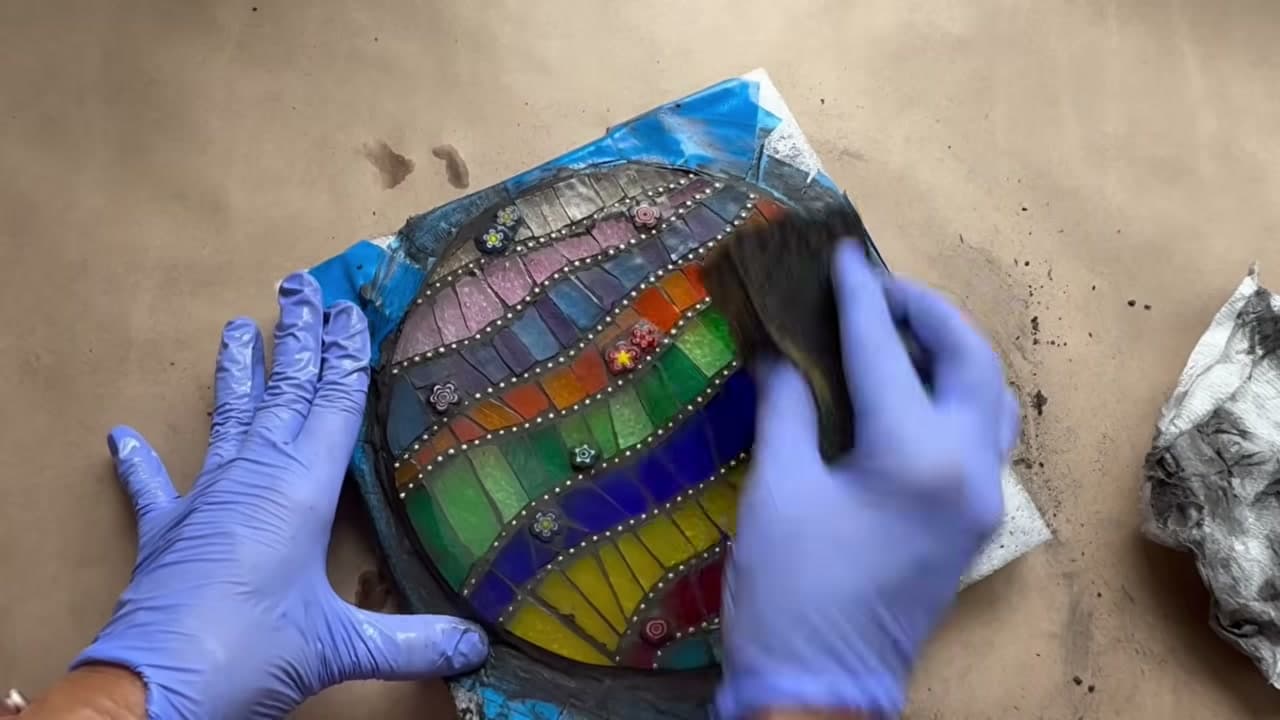
Wipe the excess grout away with a paper towel once it has firmed up. A damp sponge gets into the tight spots around the ball chain.

Keep going until the colour comes back through, then buff the surface with a dry cloth. Hang it where the afternoon light will hit it.

Tip

Rinse the sponge often and wring it hard. A wet sponge pulls grout back out of the gaps you just filled.

Keep going

How to Use Tile Nippers to Cut Mosaic Glass

Products Used

☐ The Checklist

How to Make a Mosaic Suncatcher

Tools
9
Materials
7
Steps
10
Video
9 min

Tools we recommend

Your Guide

mosaicsbymaricela

As an Amazon Associate we earn from qualifying purchases. Links on this page may be affiliate links - clicking them and buying doesn't change your price, but helps support ShowMeStepByStep.

Tags

Sunday How-To

New crafts tutorials, every Sunday

One short email with the week's best step-by-step guides. Free, no spam, unsubscribe anytime.

Did this work for you?

What's next

Related collections

Curated theme pages that include this tutorial.

Weekly Digest

Liked this crafts tutorial?

Pick the categories you want to hear about. Weekly digest of new step-by-step tutorials. No spam, easy unsubscribe.

Send me tutorials about

We only email about new tutorials. Easy unsubscribe anytime.