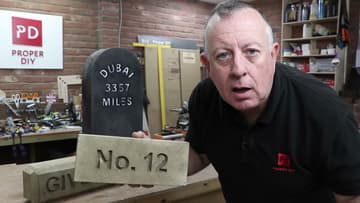
How to Make Concrete House Numbers (DIY Address Sign)
Source: Proper DIY • Full tutorial: www.craftingstepbystep.com/crafts/how-to-make-concrete-house-numbers
- Difficulty
- Medium
- Hands-on time
- About 2 hours
- Wait time
- 3 days
- Cost
- About $30 to $60
- Makes
- 1 house number sign

Tools
- band saw
- disc sander
- fret saw
- cordless drill and driver
- mixing tub
- pointing trowel
- vibrating sander or concrete poker
- rubber gloves
- spirit level
Materials
- sand and cement (or ready-mix concrete)
- 12mm plywood
- glossy melamine board
- spray adhesive
- silicone sealant
- mineral or butcher-block oil
- concrete pigment
- reinforcing fibres
- exterior concrete sealer
- mounting screws
- steel fixing plate
- masonry paint or stain
Steps
1. Print and Cut Out Your Numbers
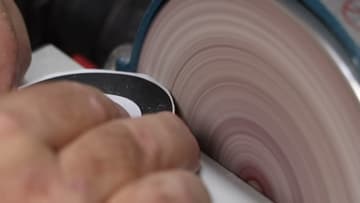
Pick a font and print your house number at the size you want. Spray-mount the printout onto 12mm plywood so it sits flat, then take it to the band saw.
Tip: Watch this step A 10-degree taper on every digit is the trick - straight-sided numbers lock into the concrete and chip the edges when you force them out.
2. Build a Melamine Mould
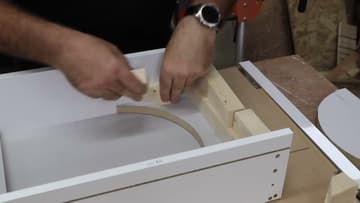
Your mould is a shallow open box the size of the finished plaque. Cut the base and sides from glossy melamine board, because the shiny face barely sticks to concrete and strips away clean.
Tip: Watch this step Screw the sides on from the outside face so you can back them off easily at demould time without wrecking the casting.
3. Fix the Numbers Inside the Mould
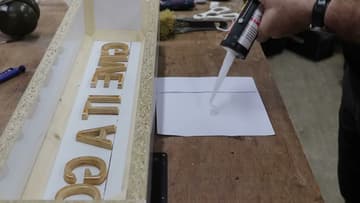
Lay the wooden numbers face-down on the base of the mould and shuffle them around until the spacing looks right against your printed guide. Remember the layout reads back-to-front in the mould, so check it in a mirror if that helps.
Tip: Watch this step Dry-fit the whole number before any silicone goes down. Once it cures you cannot nudge a digit over.
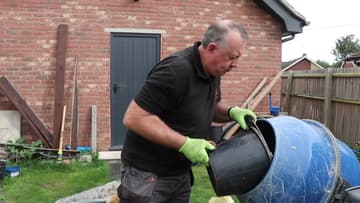
4. Oil the Mould and Mix the Concrete
Brush mineral or butcher-block oil over the whole mould and the numbers. This release agent is what stops the concrete bonding to the melamine and tearing when you strip it.
Tip: Watch this step Oil every surface, especially inside the numbers. A missed spot is exactly where the concrete grabs and tears on the way out.
5. Pour and Vibrate Out the Air
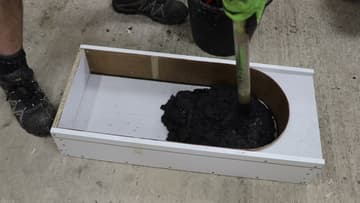
Trowel the concrete into the mould and push it firmly down into every number so it fills each impression. Build it up to the top of the box and screed the back flat.
Tip: Watch this step A cheap orbital sander held flat against the side of the mould is the best bubble-buster most home workshops already own.
6. Cure, Then Strike the Mould
Leave the cast flat, out of direct sun, and give it a few days to cure hard. A slow cure is stronger than a fast one, so do not rush it.
Tip: Watch this step If a number is stubborn, tap it from the back with a soft mallet rather than levering the front, which can spall the recess.
7. Clean Up and Fit the Wall Fixings
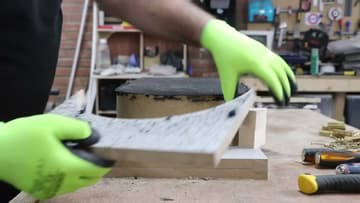
Rub the faces down with a sanding block to knock off any sharp arrises, and vacuum the grit out of the number recesses. If the surface has a few small voids, fill them with a slurry of the same mix and wipe it back.
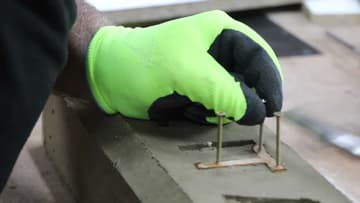
Tip: Watch this step Set the fixing plate flush and slightly below the surface so the screw heads sit inside the plaque, not proud of the wall.
8. Seal, Then Mount Your Numbers
If you want the digits to stand out, paint or stain the recesses and wipe the excess off the flat face. Then brush a coat of exterior concrete sealer over the whole plaque so rain and frost cannot get into it.
Tip: Watch this step Two thin coats of sealer beat one thick coat - the second soaks into the first and gives better weather protection on outdoor signs.