How to Decorate a Graduation Cap: Simple DIY Tutorial

Save it for later. We'll email you a link, no password.

Find it again on your phone or computer, with your finished steps ticked.

You tapped Save

Save this project for later

We'll email you a link, no password.

How to Decorate a Graduation Cap: Simple DIY Tutorial

  • Your saved projects in one list
  • Your ticked steps on any device

Check your inbox for an email from us. Not there? Look in your spam folder.

  • 8 steps
  • 5:57 video
  • Difficulty: Easy
  • About 45 minutes
  • Materials about $10 to $20
  • Crafts

Based on a video by Chai Chilee

Opens their YouTube channel

Steps written out by Crafting Step by Step · Published · Updated

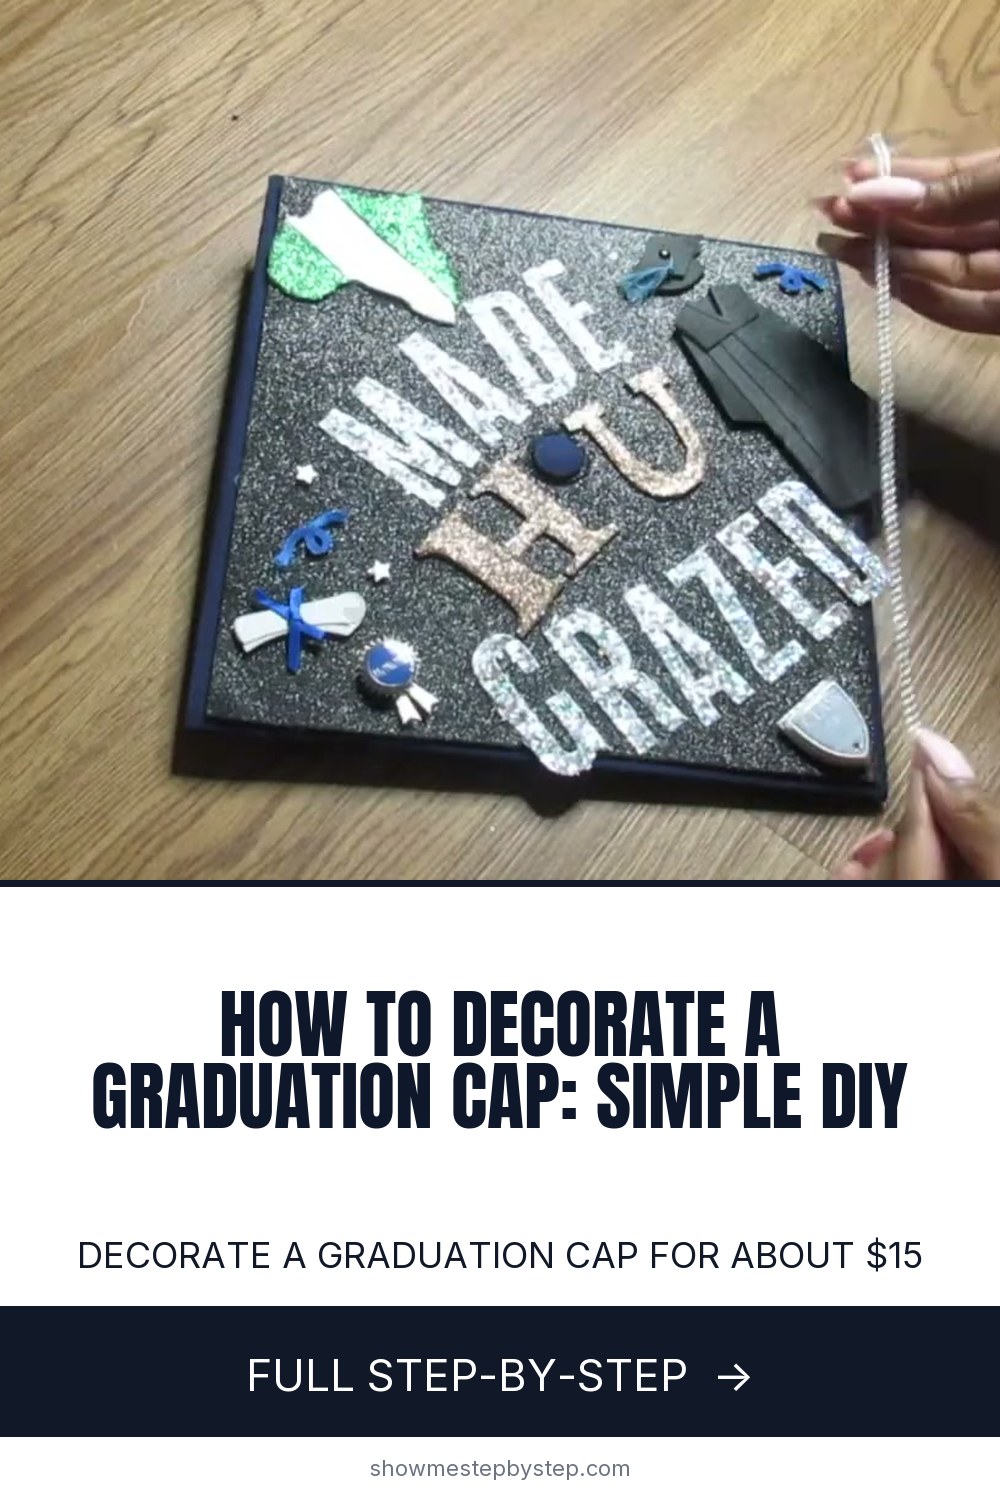
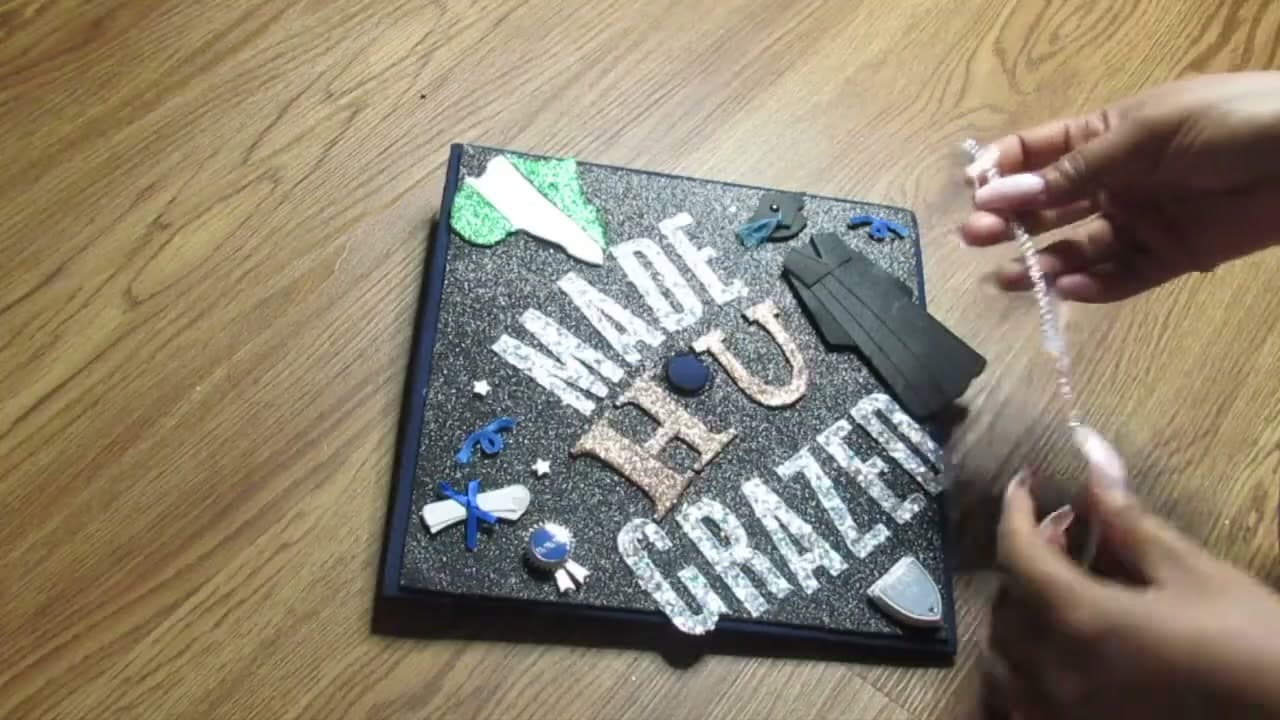
The finished result: How to Decorate a Graduation Cap: Simple DIY Tutorial

Cap-and-gown day comes up fast, and a plain mortarboard is a missed photo opportunity. The good news: you can decorate a cap that looks great in pictures, holds up through the walk, and costs around $15 in supplies. Chai Chilee put together this exact tutorial as a last-minute project and the finished cap reads like she spent way more time on it than she actually did.

The build uses glitter cardstock as a base layer over the cap, glitter stick-on letters for your slogan or name, decorative cardstock cutouts for a personal touch (Chai used the continent of Africa in Nigerian flag colors to honor where she's from), and a strip of rhinestones around the edge. Gorilla glue holds everything down so nothing pops off mid-ceremony. The whole thing comes together in about an hour once you have the materials in front of you.

You do not need to be artistic for this to work. The cardstock has a sticky backing, the letters have a sticky backing, the diamonds come on a self-adhesive strip. Most of the project is arranging pieces and then gluing them down. Even the freehand cutting is forgiving because the glitter texture hides minor wobbles in the line.

If you want a second graduation craft to give as a gift, the money lei tutorial turns dollar bills into a wearable bouquet of cash. Pairs well with the decorated cap for a graduation outfit photo.

Free printable

Print the steps and supply list for this project

One page you can take to the table. Free with a free account, no password.

Get the free printable

What you'll need

Free, for this project

Get this checklist by email

  • All 10 tools and materials, with tick boxes
  • A link to print all 8 steps on paper, to keep by you while you craft

No password. The whole tutorial stays free on this page.

Quick answer

Decorate a graduation cap for about $15. Glitter cardstock, glitter letters, gorilla glue, and a rhinestone trim - simple steps that hold up through the walk. An easy project: about 45 minutes. Materials cost about $10 to $20. You need 10 things, including glitter cardstock with sticky backing, glitter stick-on letters and gorilla glue. The 8 steps start with gather Your Supplies, trace the Cap Onto Glitter Cardstock, mark and Cut the Tassel Hole and adhere the Cardstock to the Cap.

Step-by-step guide

8 steps, about 6 minutes. Tap a picture to jump to that step. Your progress saves automatically.

Tick each step off as you go.

  1. Step 1: Gather Your Supplies

    Watch this step · 0:38
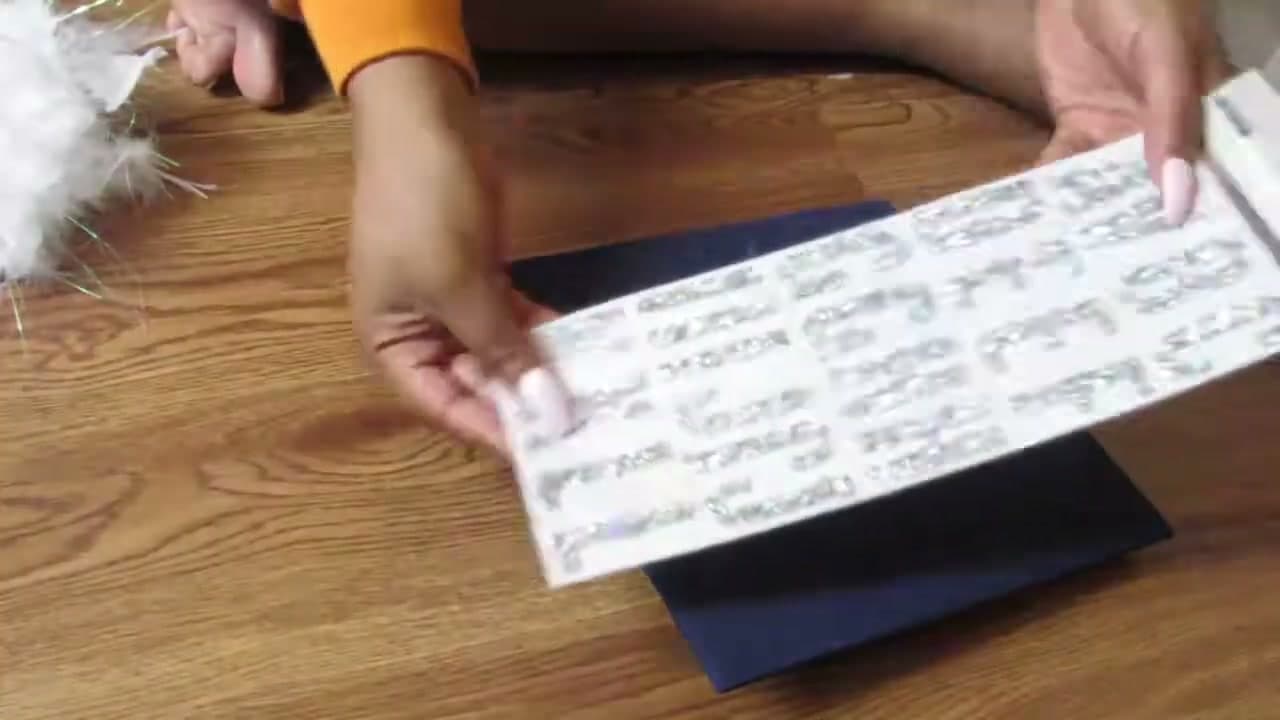
    You need glitter cardstock with sticky backing (Chai picked up a stack of mixed colors), a sheet of glitter stick-on letters, a strip of rhinestones, and gorilla glue. Total bill came to about $15 from one craft store run. Glitter cardstock with adhesive backing is the key piece because it sticks to the cap on its own and only needs glue for reinforcement at the corners. If your craft store does not carry the sticky kind, grab regular glitter cardstock and plan to use more glue.

    Tip:

    Buy one or two extra sheets of cardstock and an extra sheet of letters. Cutting mistakes happen and you do not want to drive back to the store the night before graduation.
    Back to all steps

  2. Step 2: Trace the Cap Onto Glitter Cardstock

    Watch this step · 0:57

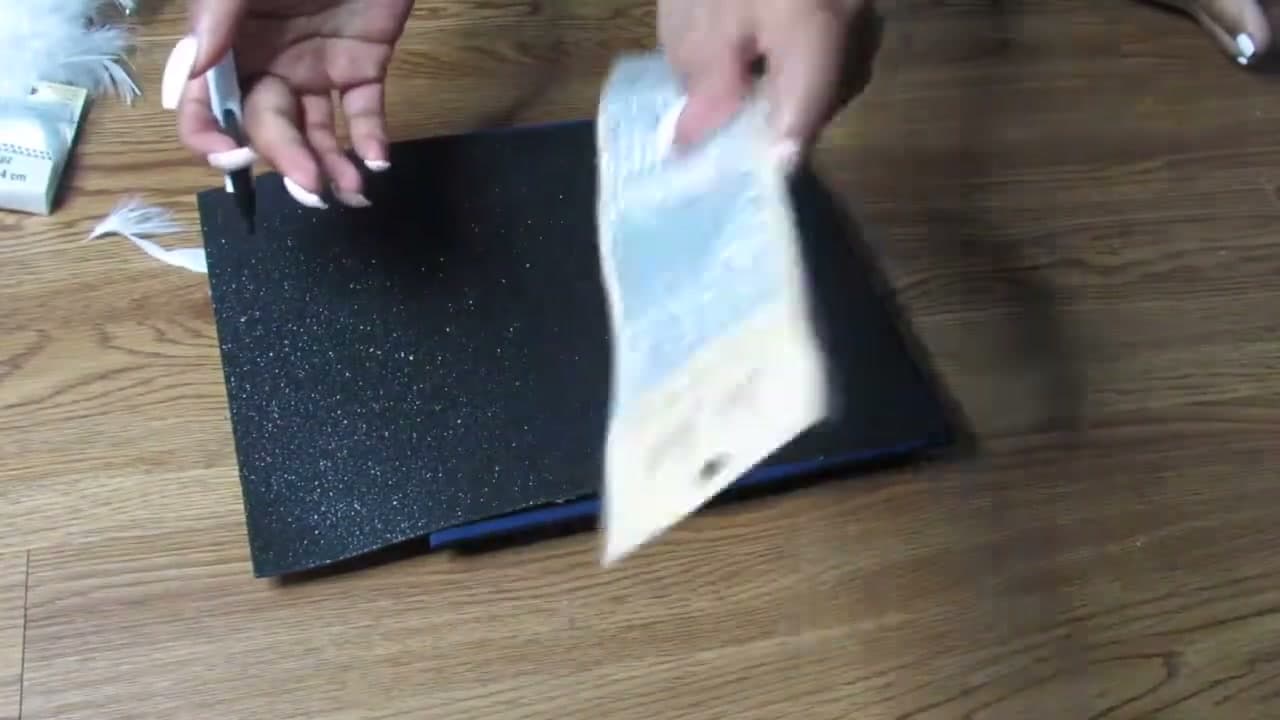
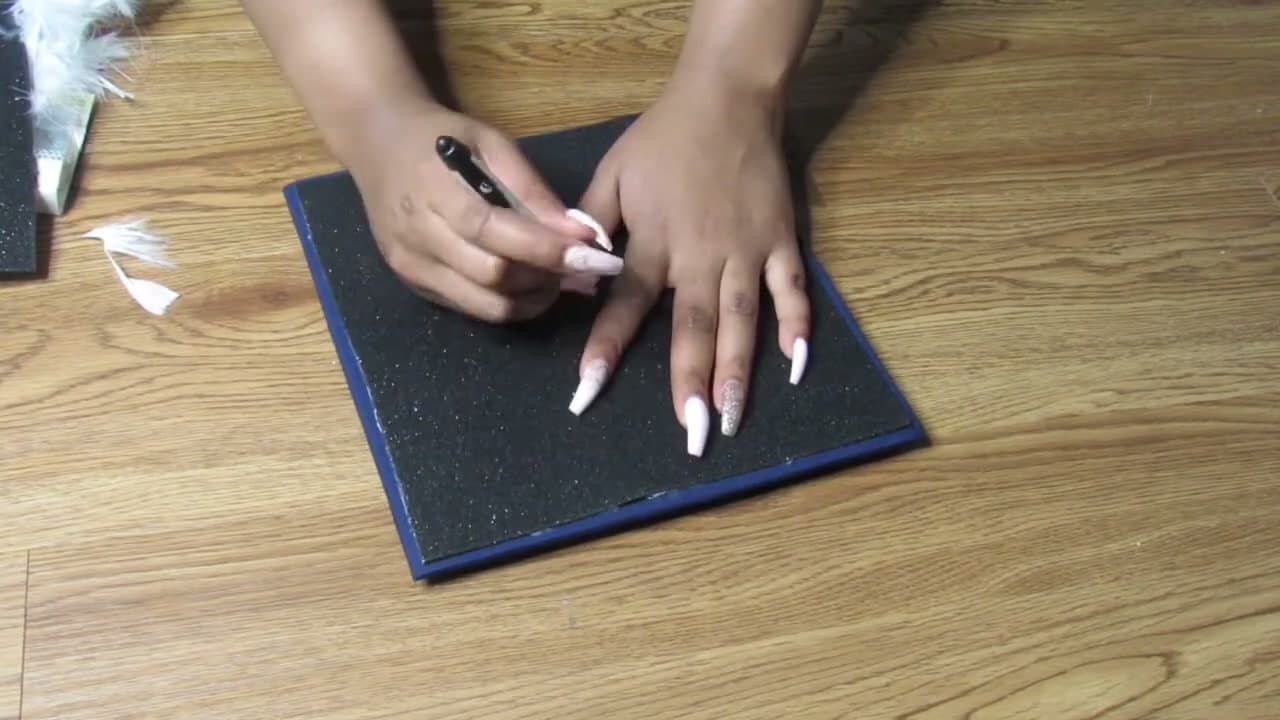
    Set the cap face-down on a sheet of glitter cardstock. The cap should fit on a standard 12 by 12 inch sheet with a small margin. Hold a pen against the cap edge and run it around the perimeter, pressing firmly. The cardstock has enough give that the pen leaves a clear line you can cut along. Use any straight-edge tool to keep the four sides clean if your hand wobbles. You can skip the straight-edge and freehand the trace - the cap is small enough that small wobbles do not show in the finished piece.

    Tip:

    A felt-tip pen leaves a cleaner mark on dark glitter cardstock than a ballpoint. White or silver gel pens work even better if you have one in the drawer.

    Back to all steps

  3. Step 3: Mark and Cut the Tassel Hole

    Watch this step · 1:25

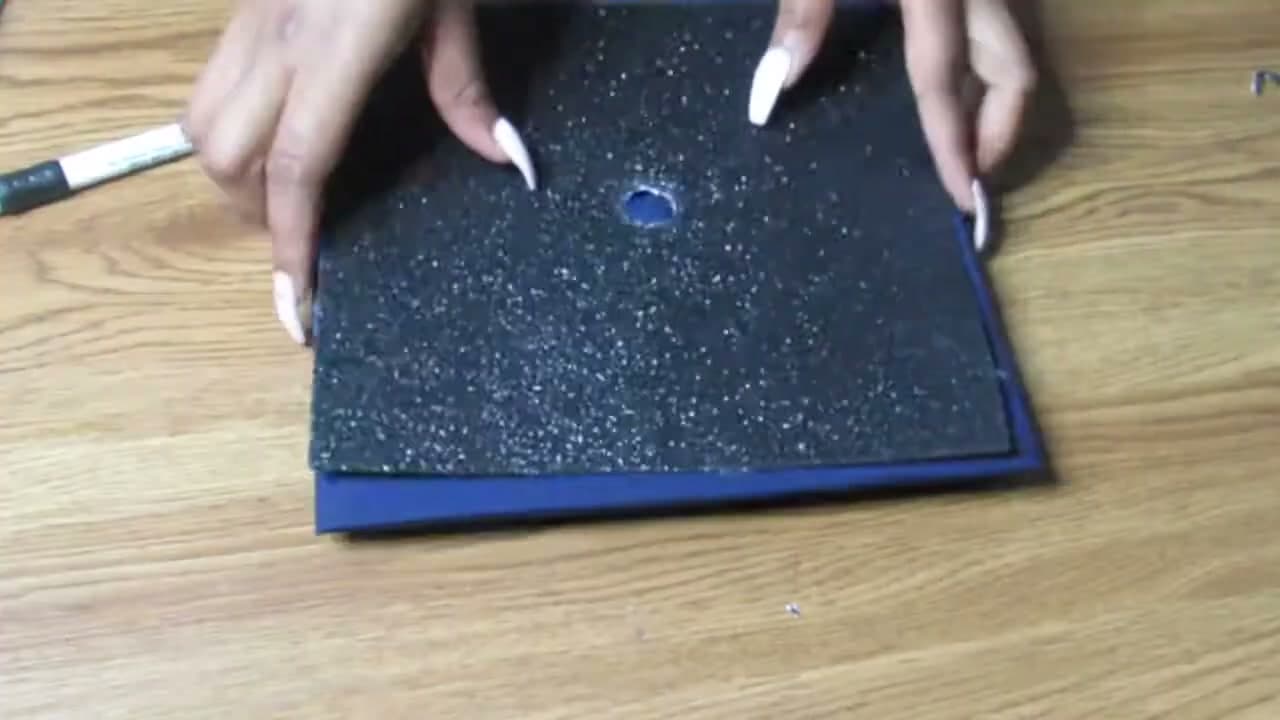
    The cap has a small button in the middle where the tassel hooks on. You need a hole in the cardstock at the matching spot. Press the pen tip through the cardstock against the button repeatedly until you mark a small circle. Punch around the circle several times so the outline is clear. Then carefully cut the small circle out with scissors. Slide the cardstock onto the cap to test that the button pokes through cleanly. If the hole is too small, widen it a millimeter at a time - too big and the cardstock sits crooked.

    Tip:

    If your scissors are too big to cut a small circle, use a craft knife or the tip of a sharp pen to cut from the inside out. Anything that gets you a clean round hole works.

    Back to all steps

  4. Step 4: Adhere the Cardstock to the Cap

    Watch this step · 1:46

    Peel the backing off the glitter cardstock and press it onto the top of the cap, lining up the tassel hole with the button. Smooth from the center outward to push any air bubbles to the edges. The adhesive backing alone is enough to hold the cardstock in place for indoor use, but for graduation day you want insurance. Run a thin bead of gorilla glue along each corner on the underside and press flat for 30 seconds. Add a small dot in the middle near the tassel hole. This means the cardstock stays attached even if the cap gets tossed at the end of the ceremony.

    Tip:

    Gorilla glue expands as it dries. Use less than feels right - a thin bead spreads into a wide patch and you do not want glue squeezing out the sides onto the visible top surface.

    Back to all steps

  5. Step 5: Arrange Your Glitter Letters

    Watch this step · 2:35

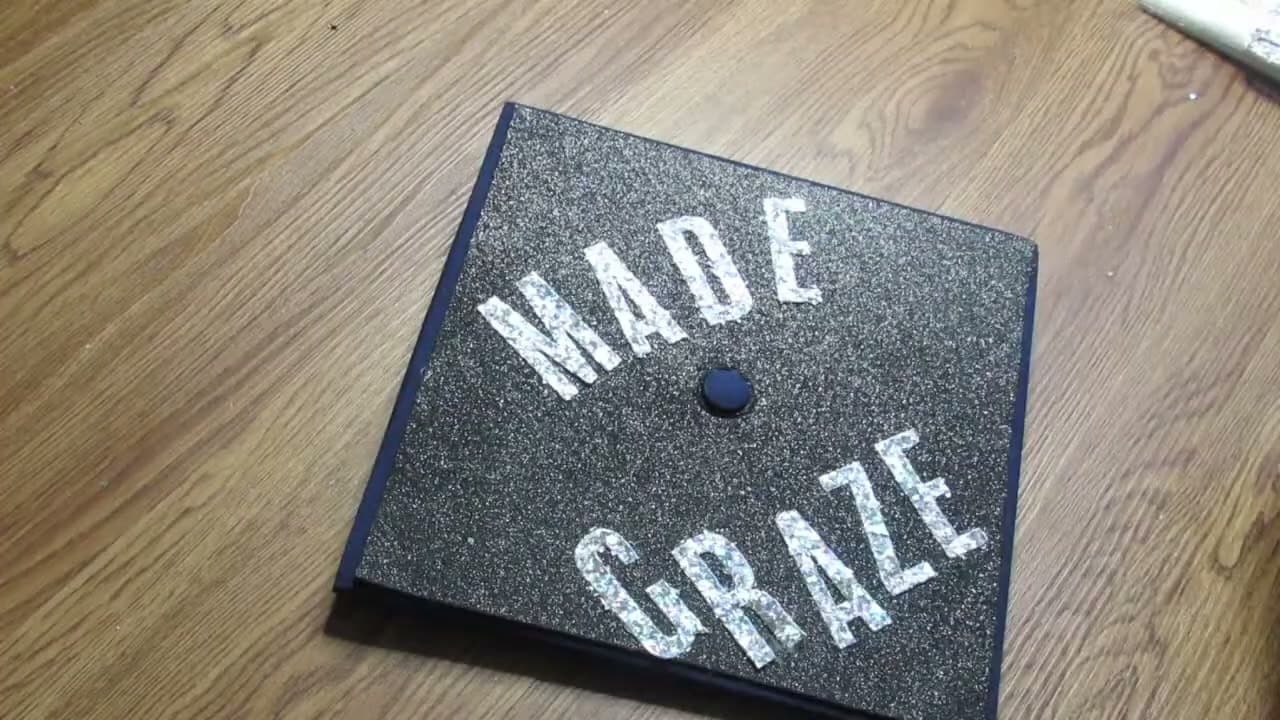
    Pick the letters you want and peel them one at a time off the sheet. Arrange the full phrase or name on the cap before sticking anything down permanently. Most letter sheets have light adhesive on the back so you can move them around as you adjust spacing and alignment. Center the message visually and leave a little margin from the edges so the rhinestone trim has room to sit later. Chai went with a school nickname plus her university initials. Once the layout looks right, press each letter down firmly.

    Tip:

    If you run short on a specific letter, combine spare letters to fake one. Chai made a D by joining a C and an I. A V becomes an A with a horizontal crossbar from a leftover dash. Most layouts can survive one missing letter if you get creative.

    Back to all steps

  6. Step 6: Add a Personal Design Element

    Watch this step · 2:56

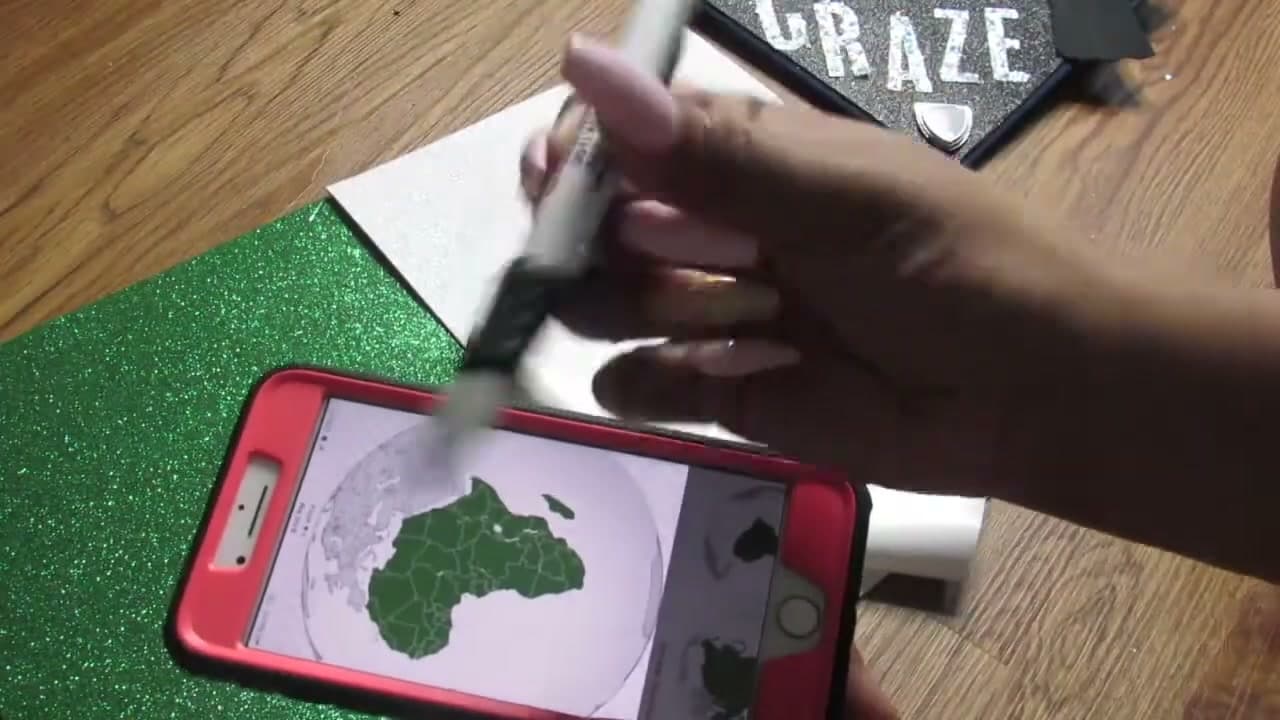
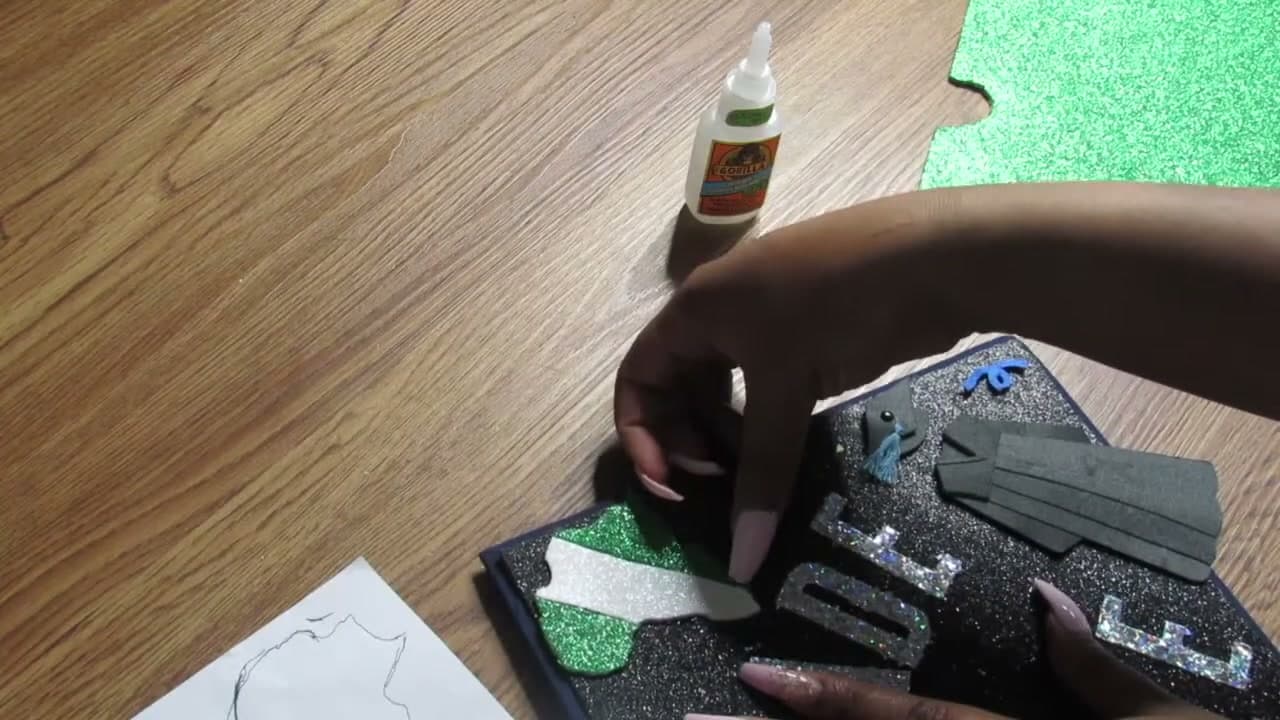
    This is where you make the cap yours. Chai traced the continent of Africa from a map on her phone, then cut three pieces of glitter cardstock to fill the shape in Nigerian flag colors - green, white, green. Pick whatever represents you: state outline, sports team logo, religious symbol, hobby icon. Sketch it on plain paper first, cut the pattern out, then trace onto cardstock and cut. If freehand feels intimidating, print the shape, tape it to cardstock, and cut along the printed lines.

    Tip:

    Stack two layers of cardstock and cut both at once if you need two identical pieces. Saves time and matches the curves better than cutting them separately.

    Back to all steps

  7. Step 7: Glue Letters and Designs Down for Good

    Watch this step · 4:40

    Once everything is positioned exactly where you want it, glue each piece down with gorilla glue. Lift one letter at a time, dab a small amount of glue on the back, press it back into position, and hold for 15 seconds. Do the same for the design pieces. The sticker adhesive alone might survive the ceremony, but bumps and humidity work against it. Glue is the difference between letters that stay put through the walk and a letter that lifts off in the middle of a handshake with the dean.

    Tip:

    Wipe excess glue with a damp paper towel immediately. Once gorilla glue dries it is nearly impossible to clean off glitter cardstock without damaging the surface.

    Back to all steps

  8. Step 8: Outline the Cap With Rhinestones

    Watch this step · 5:37

    The rhinestone strip comes with adhesive backing. Start at one corner of the cap and press the strip along the edge, working slowly to keep it straight. When you hit a corner, gently bend the strip at a right angle. Keep going around all four sides until the strip meets back at the starting corner. Cut any excess and tuck the end under. The rhinestones frame the design and reflect light, which makes the cap pop in photos taken from the audience. Your cap is ready for graduation day.

    Tip:

    If the rhinestone strip will not bend cleanly at the corners, cut it into four straight pieces sized to each side. Butt the ends together and the gap disappears once the cap is on your head.

    Back to all steps

How to Make Salt Dough Ornaments - 3-Ingredient Christmas Craft

Keep going

How to Make Salt Dough Ornaments - 3-Ingredient Christmas Craft

You reached the last step

Save this project to come back to it

Your ticked steps, the free printable and your other saved makes, together in My Projects. Free, no password.

You tapped Save

Save this project for later

We'll email you a link, no password.

How to Decorate a Graduation Cap: Simple DIY Tutorial

  • Your saved projects in one list
  • Your ticked steps on any device

Check your inbox for an email from us. Not there? Look in your spam folder.

Free printable

Printable sheet for this project

The bonus is hidden until you sign up.

Free with a free account, no password. Every step above stays open to everyone.

Products Used

The Checklist

How to Decorate a Graduation Cap: Simple DIY Tutorial

Tools
4
Materials
6
Steps
8
Video
6 min

Tools we recommend

As an Amazon Associate we earn from qualifying purchases. Links on this page may be affiliate links - clicking them and buying doesn't change your price, but helps support Crafting Step by Step.

Tags

The Crafter's Weekly

New crafts tutorials, every Sunday

One short email with the week's best step-by-step guides. Free, no spam, unsubscribe anytime.

Test your knowledge

Did the lesson stick? Start with this one.

5 questions covering what you just read. No signup, no score saved, and you can stop after this one.

Question 1 of 5

What's the key material for covering the top of the cap?

Quick reference

Key takeaways from How to Decorate a Graduation Cap: Simple DIY Tutorial

5 questions, answers, and one-line explanations. Tap to expand.

  1. 1.What's the key material for covering the top of the cap?

    Answer: Glitter cardstock with adhesive backing

    Adhesive-backed glitter cardstock gives the sparkle and sticks down without extra glue.

  2. 2.How do you transfer the cap's shape onto the cardstock?

    Answer: Trace around the cap with a pen

    Setting the cap face-down and running a pen around the edge gives an exact outline to cut.

  3. 3.When you press the cardstock onto the cap, how do you avoid air bubbles?

    Answer: Smooth it from the center outward

    Working from the middle out pushes trapped air toward the edges and off the cap.

  4. 4.Before sticking the glitter letters down for good, what should you do?

    Answer: Arrange the whole phrase to check spacing

    The letters have light adhesive, so lay out the full word and adjust before committing.

  5. 5.What keeps the design on through the whole ceremony, beyond the sticker backing?

    Answer: Gluing each piece down with strong glue

    Sticker adhesive holds indoors, but a dab of gorilla glue under each piece survives the day.

Did this work for you?

What's next

Similar tutorials

Hand-picked next reads based on the one you just finished.

Liked this crafts tutorial?

Pick the crafts you want to hear about. One email every Sunday with new step-by-step tutorials. No spam, easy to unsubscribe.

Get more like this in your inbox

Weekly digest. Pick the categories you want. Unsubscribe anytime.

Send me tutorials about

We only email about new tutorials. Easy unsubscribe anytime.