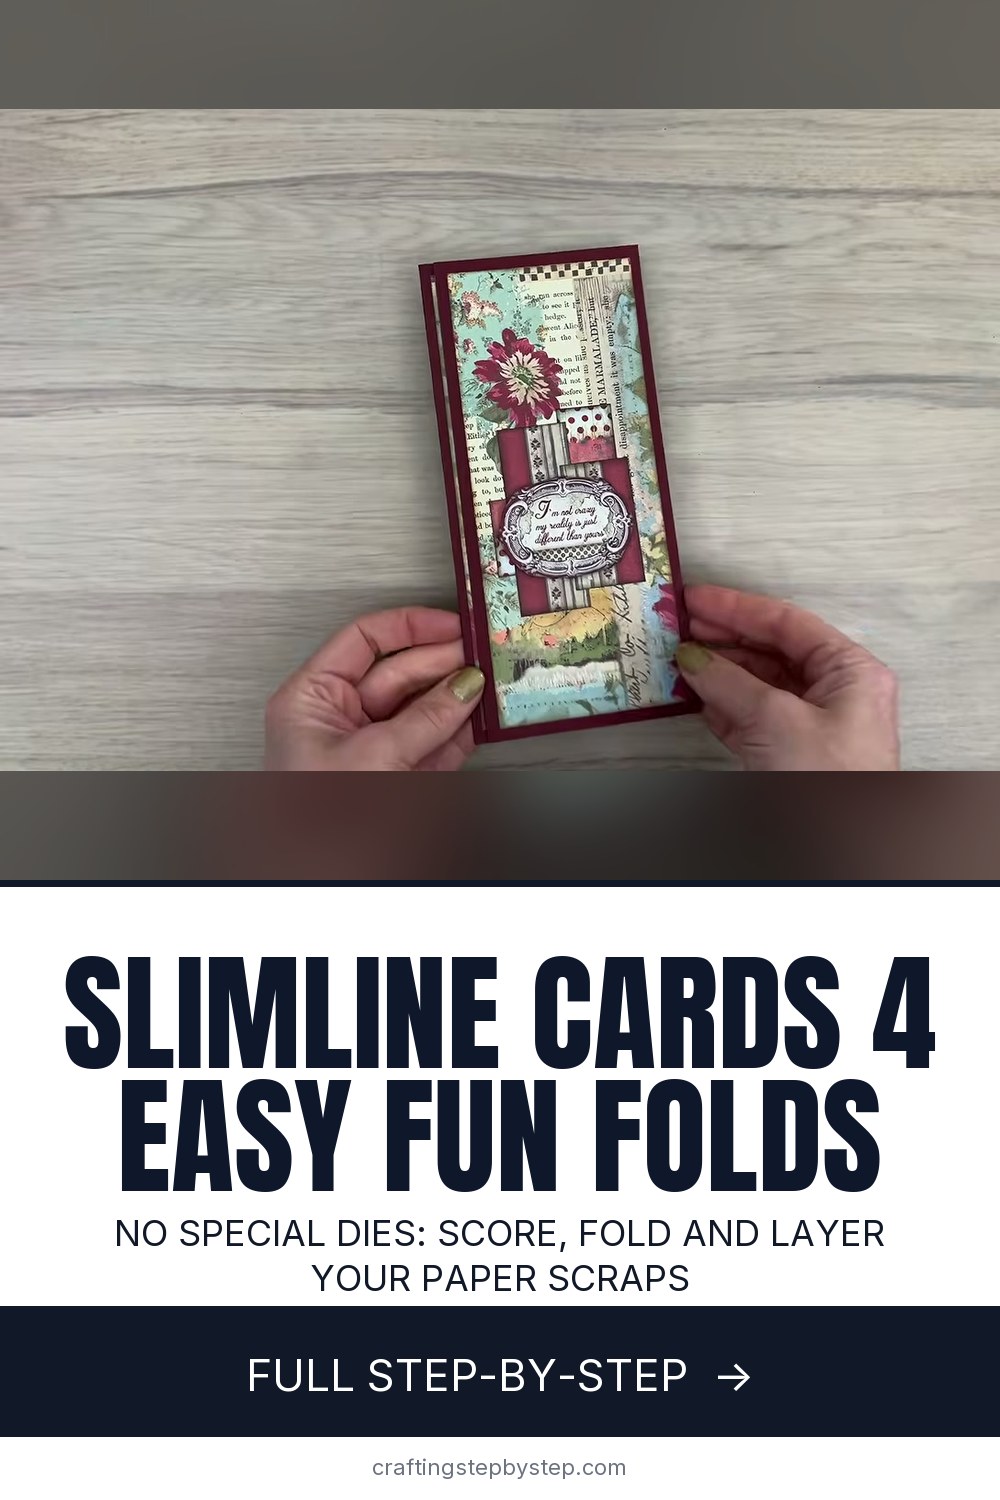
A slimline card is a tall, narrow card, roughly 4 by 8 1/4 inches, that fits a long envelope instead of a square one. Gerry from Gerry's Craft Room builds six of them from scratch here, using fun folds to make the bases more interesting and patterned paper scraps to decorate them. You do not need a slimline die set or a special punch board. A scoring board, a trimmer and glue do the job.
How to make a slimline card: the short version
- Score a sheet of cardstock into panels about 4 inches wide.
- Fold it as a double fold, Z fold, gatefold or stepped tri-fold.
- Cut patterned paper mats a little over 1/4 inch smaller than each panel.
- Ink the mat edges and add stamped texture to plain cardstock.
- Glue the layers down, cluster some scraps and finish with a raised sentiment.
Slimline card size
Gerry starts from A4 cardstock, about 8 1/4 by 11 3/4 inches. Folded into three panels, it fits a long DL envelope. In the US, trim letter size cardstock to 8 1/4 inches on one side and it works the same way. A #10 business envelope fits a 4 by 8 1/4 inch card, so you do not need special envelopes to get started.
Four fun folds to try
- Double fold. Score at 4, fold, score at 4 again and fold the same way.
- Z fold. Same scores, but fold one panel to the back and one to the front.
- Gatefold. Score at 2 and 6 inches so two narrow doors meet over a wide center.
- Stepped tri-fold. Cut the outer flap shorter than the center so each panel shows a little of the next.
The leftover strips are not waste. Gerry cuts them into small separate cards and flaps that she adds to the front of the bases.
Why ink the edges
A thin line of brown ink around each patterned mat makes it look finished and helps it separate from the cardstock behind. Walnut brown gives a vintage feel. Any color from your paper works too. A small round blending tool gives the softest edge.
Glue or tape
Liquid glue is fine when you mount patterned paper on regular cardstock, because the cardstock is stiff enough not to ripple. On thin paper, glue can make it bubble, so switch to double sided tape. Lay each card under a heavy book for a few minutes after gluing so the layers dry flat and the panels still fold shut.
Common problems
- Folds crack. Burnish every crease with a bone folder after you fold.
- Busy paper overwhelms the card. Add a calmer scrap or a solid mat behind the focal point.
- A flap will not close. Attach it with the card closed and standing so it has room to hang over the panels.
For more folded designs, try a gatefold card, a tunnel card or a shaker card. New to card making? Start with how to make a card, then fold a matching paper envelope.