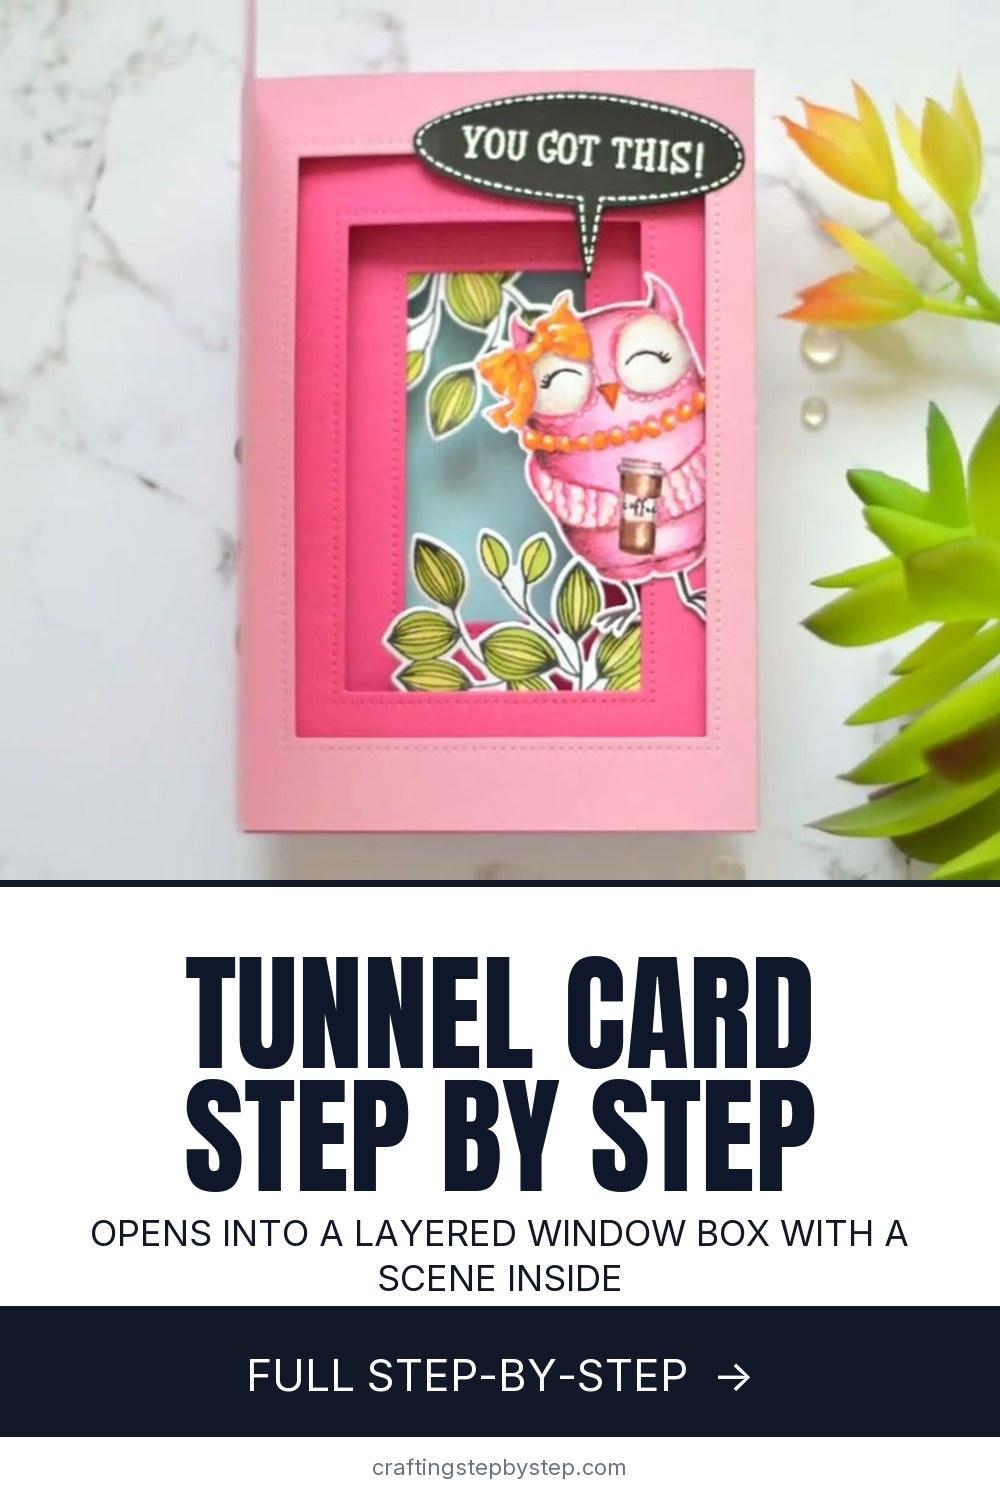
A tunnel card looks flat from the front, then you open it and the window frames pop up into a little box with a scene inside. Therese from Lostinpaper made this one for her sister's 50th birthday, following a method she learned from Jennifer McGuire. It takes two sheets of cardstock, two window dies and some strong tape. There is no engineering degree required, only careful scoring.
How to make a tunnel card: the short version
- Cut two pieces of cardstock to 5-1/2 x 8-1/2 inches: one card base, one tunnel strip.
- Score the strip at 1/2, 4-1/4 and 4-3/4 inches and fold it.
- Score two window panels 1/4 inch in from each side and die cut a window in each.
- Stack the windows with the smallest at the back, add a back panel and tape it all into a box.
- Tape the box into the card base and fill the tunnel with stamped images.
Tunnel card measurements
These sizes make a standard A2 card, 4-1/4 x 5-1/2 inches folded, so it fits an A2 envelope. The card base is a portrait card scored down the middle at 4-1/4 inches. Trim about 1/2 inch off the back panel so the box sits flush. The window panels are 5-1/2 x 4-1/4 inches, with a sliver trimmed off the top and one side so they nest inside the frame without buckling.
Window shapes and colors
Any nesting die set works. Therese used stitched rectangles. Jennifer McGuire used circles. The rule is the same either way: the window gets smaller as it goes deeper, so you see every layer at once. A darker shade on the inner frames adds depth. Two pinks and a pale teal back panel give this card its shadow-box look. Stamping a pattern on the back panel works too.
Score tape or liquid glue?
The box takes a lot of strain every time the card opens, so the joins need a strong hold. Therese used 1/8 inch score tape for every seam because it grabs at once. Liquid glue holds too, but you have to clamp each fold and wait for it to dry before moving on. A regular tape runner is the weak choice here. It can peel loose after a few openings.
Filling the tunnel
Think of the inside like a stage. Put background pieces, such as leaves, low and behind. Put the star of the scene, here a colored owl holding a coffee cup, near the front window. A speech bubble tucked at the top edge of the frame ties it together. Keep the front of the card fairly flat if you plan to post it. Therese skipped foam adhesive on the front for that reason.
Common problems
- The box will not close flat. A score line is off. Measure every line from the same end of the strip.
- The windows do not line up. Tape each die in place with low tack tape before cutting, and center it by eye against the panel edges.
- A frame pops loose. Swap a tape runner for score tape and burnish each seam with a bone folder.
New to handmade cards? Start with how to make a card. If you like cards with a surprise inside, try a pop up card or a slider card. For another fold that opens like doors, see the gatefold card.