How to Make a Stepper Card

  • 9 steps
  • 9:12 video
  • Difficulty: Medium
  • About 45 minutes
  • Materials about $2 to $5
  • Card Making

Based on a video by Sam Calcott UK - Mixed Up Craft

Opens their YouTube channel

Steps written out by Crafting Step by Step · Published

Watch the original video (opens YouTube)
The finished result: How to Make a Stepper Card
Also in:Paper Crafts

A stepper card opens to a little staircase. The middle of the card folds forward into steps, and each step is a tiny frame you can fill with paper, a greeting or a picture. Sam Calcott from the Mixed Up Craft channel makes a four step Christmas version here with a die set, a red 6 by 6 card base, silver mirror card and a festive paper pad. She finishes with a matching envelope and a pink wax seal.

It stands up on a shelf by itself. That is half the charm.

How a stepper card works

The insert is one piece of white card with a fold down the left and a row of cut stairs on the right. The left score is a valley fold. Each stair gets a mountain fold, and the folds behind them turn into valleys as you pinch them. Glue only the outer side panels to the card base. The stairs and the small panel behind them stay free, so they pop up every time the card opens and fold flat when it closes.

Making a stepper card without a die

Sam uses a four stepper die, which cuts and scores everything in one pass through a standard die machine. You can cut one by hand. Fold a long panel of heavy white card in half, then cut a few slits in from the fold at staggered lengths with a craft knife and a metal ruler. Score between the slit ends and push each section forward. Two or three steps is an easy first try. Measure twice so the steps line up straight.

Mats and layers

Every panel gets a silver mirror mat and a patterned layer slightly smaller, so a thin shiny border shows around each piece. The little squares on the steps look square but are a touch rectangular, so test each one before you glue. For the front, Sam cuts a 5 3/4 inch square and a 5 1/2 inch square, then layers scrap strips from the same pad: roughly 4 1/4 by 1 3/4, 4 by 1 1/2, 1 1/4 by 4 3/4 and 1 by 4 1/2, topped with a Warm Wishes tag.

Theme ideas

  • Stairs next to a fireplace, with tiny presents on each step.
  • A birthday card with one photo per step, oldest at the bottom.
  • Four words of a greeting, one on each stair.
  • A spring garden with a flower stamped in every frame.

Grandchildren can help pick the paper and stick down the small squares. Keep the glue stick for the grown up so the steps stay free.

Troubleshooting

If the card will not close flat, glue has crept onto the stairs. Open it and peel the step free while the glue is still wet. If the steps lean, the insert went in crooked. Sam checks this by closing the card, then opening it again before the glue sets. Burnish every fold well, or the steps sag over time.

Sealing the envelope with wax

Sam's tip for a card you still need to write in: close the flap, slip a piece of wax paper under it, then pour and stamp the seal on top. It pops off clean once set, ready to stick on with double sided tape later. If bubbles appear, a short blast from a heat gun clears them.

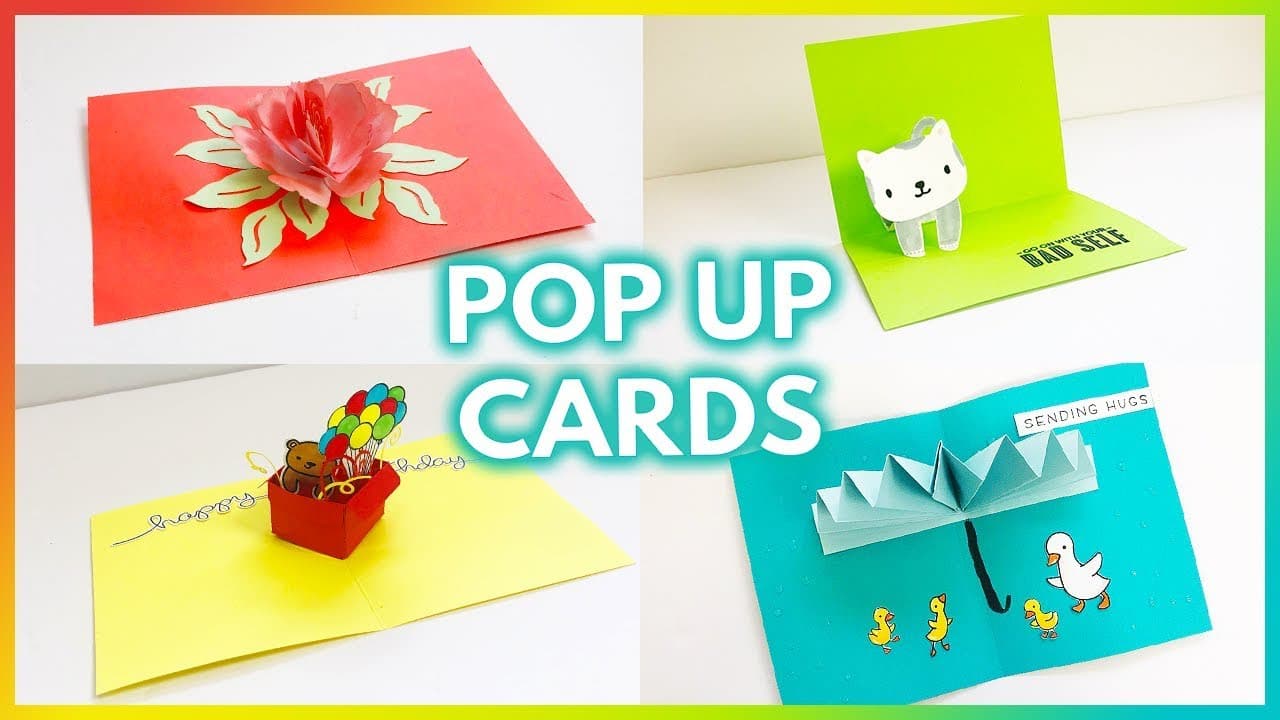
New to card making? Start with how to make a card. For more fold out cards, try a pop up card or a waterfall card, and fold a paper envelope to match.

What you'll need

Step-by-step guide

9 steps, about 9 minutes. Tap a picture to jump to that step. Your progress saves automatically.

Tick each step off as you go.

  1. Step 1: Die Cut the White Stepper Card Base

    Watch this step · 1:32

    Run a sheet of heavy white cardstock through your die machine with the largest die in the four stepper set. It cuts the outline, the four stairs and the score lines in one pass. A standard size die machine is fine. Turn the piece so the single score line sits on the left and the stairs run down the right half. Lay the die back over it, like Sam does, to check the orientation.

    Tip:

    Use card around 110 lb. Thin card lets the steps sag.

    Back to all steps

  2. Step 2: Fold the Stepper Card Stairs Into Mountain Folds

    Watch this step · 1:48

    Fold the left hand score line as a valley fold. Then pinch each stair up into a mountain fold. As you do, the scores behind them turn into valley folds on their own and the staircase pops forward. Fold the whole piece over and give every fold a good burnish. Sharp creases make the steps stand straight and fold flat again when the card closes.

    Tip:

    Run a bone folder along each crease, not your fingernail. It keeps the card clean.

    Back to all steps

  3. Step 3: Fit the Stepper Insert Inside a 6x6 Red Card Base

    Watch this step · 2:12

    Make a 6 by 6 inch card blank from red cardstock. Sam's is already decorated on the front. Set the folded stepper insert inside it and line it up. Focus on an even border on the left side first. When you bring the right side over, the stairs pop up between the two halves. That is your four step stepper card taking shape.

    Tip:

    Do a dry fit before any glue goes on. It is easy to shift now.

    Back to all steps

  4. Step 4: Glue the Stepper Insert Side Panels to the Card Base

    Watch this step · 2:38

    Put glue on the left and right side panels of the insert only. Leave the stairs and the little panel behind them dry, or the card will not open. Press the left side down with an even border on three sides. Add glue to the other side, fold it down and close the card. Open it again straight away to check nothing went crooked.

    Tip:

    A wide glue stick gives you a few seconds to nudge the panel into place.

    Back to all steps

  5. Step 5: Add Silver Mirror Mats to the Stepper Card Panels

    Watch this step · 3:36

    The die set includes a mat and a layer for every panel: the left side, the right side, the inside and each small step. Cut all the mats from silver mirror card. Lay them out on the stepper card before gluing so you know which piece goes where. The shine frames every patterned panel and catches the light when the card stands open.

    Tip:

    Peel any protective film off the mirror card before you glue it.

    Back to all steps

  6. Step 6: Layer Christmas Patterned Paper on Each Stepper Card Step

    Watch this step · 4:06

    Cut the layers from a patterned paper pad and stick each one onto its silver mat. Sam picks a candy stripe for the big left panel and a wrapped gift print for the stairs and the right panel. Count the small squares, one for each of the four steps, and press them down. A thin silver line should show on every side.

    Tip:

    Mix one bold print with one busy print. Two busy prints fight each other.

    Back to all steps

  7. Step 7: Decorate the Front of the Stepper Card

    Watch this step · 4:22

    Cut a 5 3/4 inch square and a 5 1/2 inch square for the front, using silver and a green HO HO print from the same pad. Trim scrap strips into narrow rectangles and stack them in a cross. Sam's strips run from about 3/4 by 3 3/4 up to 1 3/4 by 4 1/4 inches. Finish with the Warm Wishes tag from the matching ephemera.

    Tip:

    Offcuts from the step layers make the strips, so nothing goes to waste.

    Back to all steps

  8. Step 8: Add the Santa Ephemera Inside the Stepper Card

    Watch this step · 5:08

    Open the card and add the ephemera. Sam places a Santa head with a Merry Christmas banner on the large striped panel and a round HO HO HO Santa topper on the right side panel. Keep big pieces off the stairs so they still fold flat. Foam squares under the topper add depth without stopping the card from closing.

    Tip:

    Close the card after each piece. If it catches, move the piece before the glue dries.

    Back to all steps

  9. Step 9: Wax Seal the Matching Stepper Card Envelope

    Watch this step · 8:00

    Decorate a matching envelope with Christmas stamps. Close the flap and slip wax paper under it. Melt the wax beads on low heat, pour a puddle over the flap edge and press the stamp in. A quick blast from a heat gun clears bubbles. Once it sets, tap it, lift the seal off the wax paper and stick it on with double sided tape when the card is written.

    Tip:

    Wax that is too hot makes bubbles. Keep the melting spoon on low.

    Back to all steps

Keep going

How to Make a Card: Beginner's Guide to Handmade Greeting Cards

Products Used

The Checklist

How to Make a Stepper Card

Tools
9
Materials
10
Steps
9
Video
9 min

Tools we recommend

As an Amazon Associate we earn from qualifying purchases. Links on this page may be affiliate links - clicking them and buying doesn't change your price, but helps support Crafting Step by Step.

Tags

The Crafter's Weekly

New card making tutorials, every Sunday

One short email with the week's best step-by-step guides. Free, no spam, unsubscribe anytime.

Did this work for you?

What's next

Related collections

Curated theme pages that include this tutorial.

Similar tutorials

Hand-picked next reads based on the one you just finished.

Liked this card making tutorial?

Pick the crafts you want to hear about. One email every Sunday with new step-by-step tutorials. No spam, easy to unsubscribe.

Get more like this in your inbox

Weekly digest. Pick the categories you want. Unsubscribe anytime.

Send me tutorials about

We only email about new tutorials. Easy unsubscribe anytime.