How to Make a Slimline Card With Easy Fun Folds
Source: Gerry's Craft Room • Full tutorial: www.craftingstepbystep.com/card-making/how-to-make-a-slimline-card
- Difficulty
- Easy
- Hands-on time
- About 2 hours
- Cost
- About $5 to $12
- Makes
- a set of 6 slimline cards

Tools
- scoring board
- bone folder
- paper trimmer
- ink blending tool
- scissors
Materials
- A4 or letter cardstock
- patterned paper
- brown ink pad
- script background stamp
- liquid glue
- double sided tape
- foam adhesive squares
- die cut frames or sentiments
Steps
1. Score the Slimline Card Base at 4 Inches
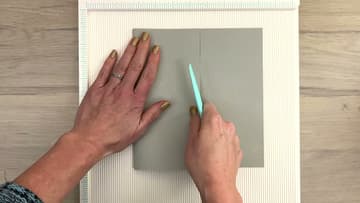
Lay a sheet of cardstock on your scoring board with the long side across the top. Run a bone folder down the groove at 4 inches.
Tip: Two light passes with the bone folder give a cleaner fold than one hard press.
2. Fold the Slimline Card Base Into a Z Fold
For a Z fold, score at 4 inches, fold, and score at 4 inches again, the same as the double fold. This time fold the two creases in opposite directions: one panel goes to the back and the other comes to the front.
Tip: Burnish both creases flat before you decorate so the panels sit straight.
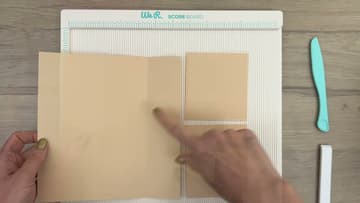
3. Score a Gatefold Slimline Card Base at 2 and 6 Inches
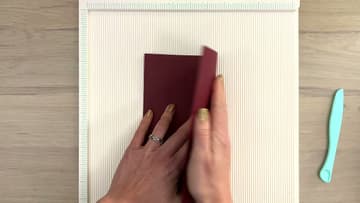
Place a fresh sheet on the scoring board and score at 2 inches, then at 6 inches. Fold both score lines toward the middle.
Tip: Gerry has a free PDF with every size in inches and centimeters linked under her video.
4. Cut Extra Slimline Card Panels From the Leftover Strip
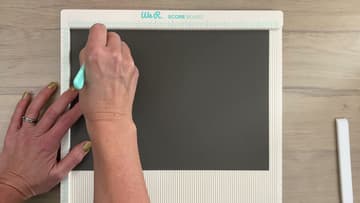
The strip you trimmed off a gatefold is still useful. Cut it into one or two small cards about 4 inches wide.
Tip: Cut the small panel slightly smaller than the panel it sits on so both edges show.
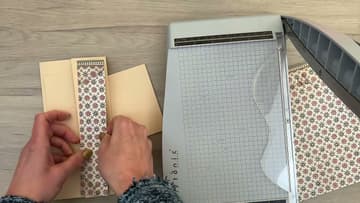
5. Trim Patterned Paper Mats for the Slimline Card Panels
Measure each panel on your card bases. Cut a piece of patterned paper for each one, a little over 1/4 inch smaller in both directions.
Tip: A light pencil mark on the back of each mat helps you track where it goes.
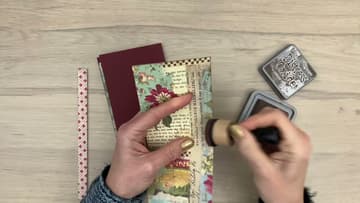
6. Ink the Edges of the Slimline Card Patterned Paper
Tap a round blending tool onto a brown ink pad. Hold a patterned mat flat and rub the tool along the edge in small circles, working from the table onto the paper.
Tip: Start off the paper and move inward so you do not leave a hard ink line.
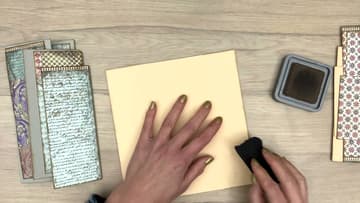
7. Add Texture to the Light Slimline Card Base With Ink
Pale cardstock can look flat next to busy patterned paper. Blend a little ink around the edges of the light base.
Tip: Try freehand stamping on scrap paper first if you have not done it before.
8. Glue the Patterned Paper Panels on the Slimline Card
Spread liquid glue on the back of each mat and press it onto its panel, centered so the border is even. Liquid glue gives you a few seconds to slide it straight.
Tip: Use tape instead of glue on very thin papers so they do not ripple.
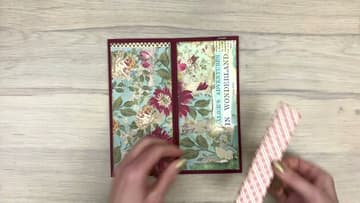
9. Layer Scraps and a Sentiment on the Slimline Card
Gather leftover strips and cut bits of patterned paper. Lay them on the card in a loose cluster and move them around until you like the balance.
Tip: Take a phone photo of the layout before you glue, so you can put it back if it shifts.
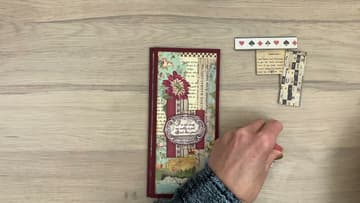
10. Add a Raised Frame Focal Point to the Slimline Card
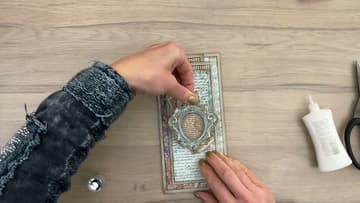
Stick foam squares on the back of a die cut frame or a fussy cut flower. Line it up over your scrap cluster and press it down so it sits a little higher than the layers behind it.
Tip: Tuck a small cut out, like a mini playing card, under the frame edge for extra detail.