How to Make a Pop-Up Card with an Accordion Fan

Card MakingEasy15:497 steps

Based on a video by It's Me, JD.

Pop-up cards turn an ordinary greeting into a tiny piece of paper magic. The accordion fan technique is one of the simplest mechanisms - a strip of pleated paper that springs open when the card is opened, lifting whatever you stick on it into the air.

This walkthrough from It's Me, JD breaks the technique into seven clean steps. The card body is just scored cardstock; the fan is a separate strip that you accordion-fold and glue inside. Once the fan dries, decorate the front and inside however you want.

Step-by-Step Guide

1

Step 1: Score the Cardstock Down the Middle

0:37
Step 1: Step 1: Score the Cardstock Down the Middle

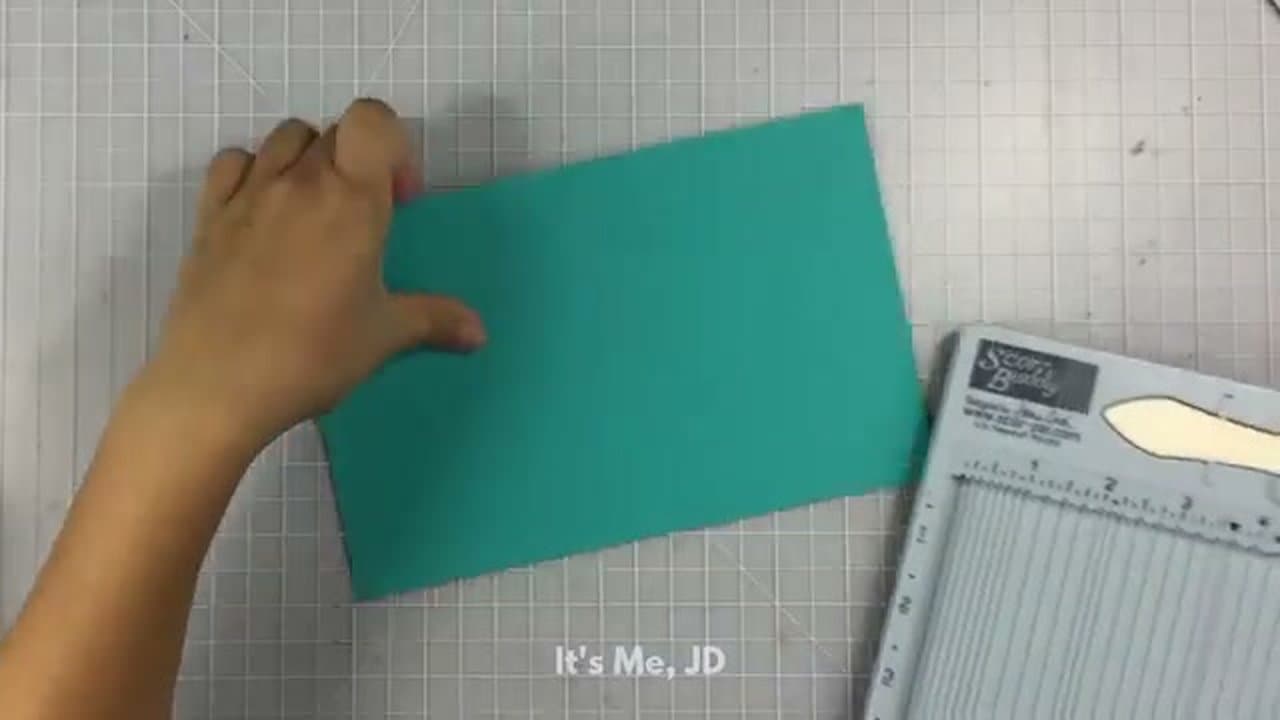
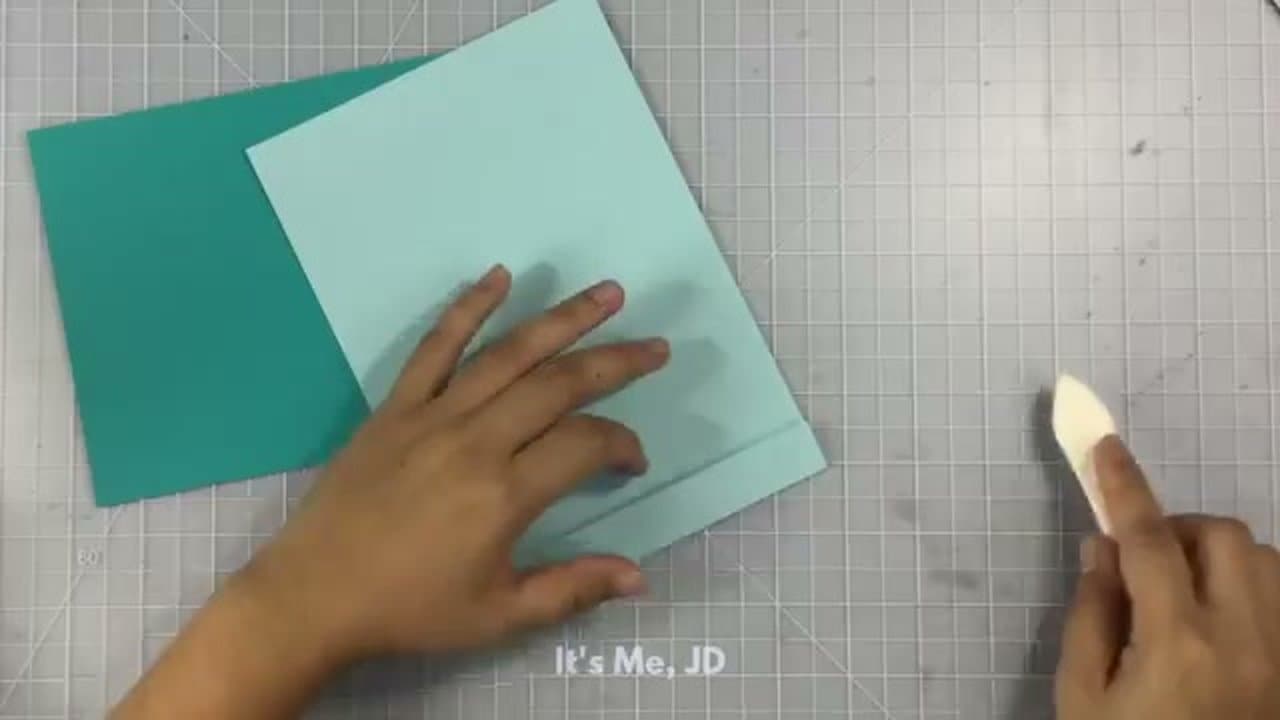
Start with a piece of cardstock about 8.5 by 5.5 inches. Run it through a scoring board down the middle so it folds cleanly in half.

If you don't have a scoring board, score with a bone folder against a ruler. A clean score line is what makes the card sit flat when closed and pop open without creasing in random places.

Products used in this step

Cardstock
Scoring Board
Bone Folder
2

Step 2: Accordion-Fold a Strip of Paper

0:50
Step 2: Step 2: Accordion-Fold a Strip of Paper

Take a separate strip of lightweight paper - lighter weight than your card so it doesn't bulk up the closure. Fold it back and forth like an accordion, with each fold about half an inch wide.

Keep the folds even by eyeballing the previous one. Continue all the way to the end of the strip. The length of the paper isn't critical - what matters is that you can fold it in half later.

Products used in this step

Lightweight Patterned Paper
Ruler
3

Step 3: Fold the Accordion in Half

1:02
Step 3: Step 3: Fold the Accordion in Half

Once the accordion is fully folded, bring the two ends together and fold the whole strip in half at its center.

The two halves of the accordion now sit back-to-back, forming the basic fan shape. This is the pop-up mechanism - it'll compress flat in a closed card and spring open when you open the card.

4

Step 4: Glue the Fan Halves Together

1:15
Step 4: Step 4: Glue the Fan Halves Together

Run a thin line of glue (or double-sided tape) between the two innermost faces of the folded accordion - the two faces that touch when you fold it in half.

Press them together firmly along the spine, then clip with a binder clip and let it dry for a couple of minutes. The clip keeps the spine glued tight while the fan still opens freely from both sides.

Products used in this step

Glue Stick
Double-Sided Tape
Binder Clips
5

Step 5: Stamp or Decorate the Front

1:30
Step 5: Step 5: Stamp or Decorate the Front

While the fan dries, work on the outside of the card. Stamp a sentiment, hand-letter a greeting, or add stickers - whatever fits the occasion.

Doing this before assembly matters. If you stamp ink onto the closed card later, it can transfer to the inside layer when you press it. Decorating the outside while the inside is empty avoids that problem entirely.

Products used in this step

Greeting Card Stamps
Ink Pad
6

Step 6: Tape the Fan Inside the Card

1:45
Step 6: Step 6: Tape the Fan Inside the Card

Add double-sided tape to the back of both halves of the fan. Peel off the backing.

Press the fan inside the card so the centerfold of the fan lines up exactly with the scoreline of the card. This alignment is what makes the fan compress and spring open cleanly. Press both halves of the fan firmly against the inside walls of the card.

Products used in this step

Double-Sided Tape
7

Step 7: Add Decorative Elements

2:25
Step 7: Step 7: Add Decorative Elements

Now decorate the inside. Add stamped or printed elements around the fan - characters, flowers, words, anything that makes sense with your theme. Use the fan itself as a feature too: in the example, the fan reads as an open umbrella with ducks walking under it.

Glue the elements onto the flat inside areas of the card on either side of the fan. When the card opens, the fan rises and your decorations frame the scene. Close the card to test, then open it again to enjoy.

Products used in this step

Card Making Stickers
Glue Stick

Products Used

CardstockScoring BoardBone FolderLightweight Patterned PaperRulerGlue StickDouble-Sided TapeBinder ClipsGreeting Card StampsInk PadCard Making Stickers
☐ The Checklist

How to Make a Pop-Up Card with an Accordion Fan

Tools
5
Materials
4
Steps
7
Video
16 min

Your Guide

It's Me, JD

As an Amazon Associate we earn from qualifying purchases. Links on this page may be affiliate links - clicking them and buying doesn't change your price, but helps support ShowMeStepByStep.

Tags

Related Tutorials