How to Make a Shaker Card: 7 Step Easy Tutorial With a Clear Envelope

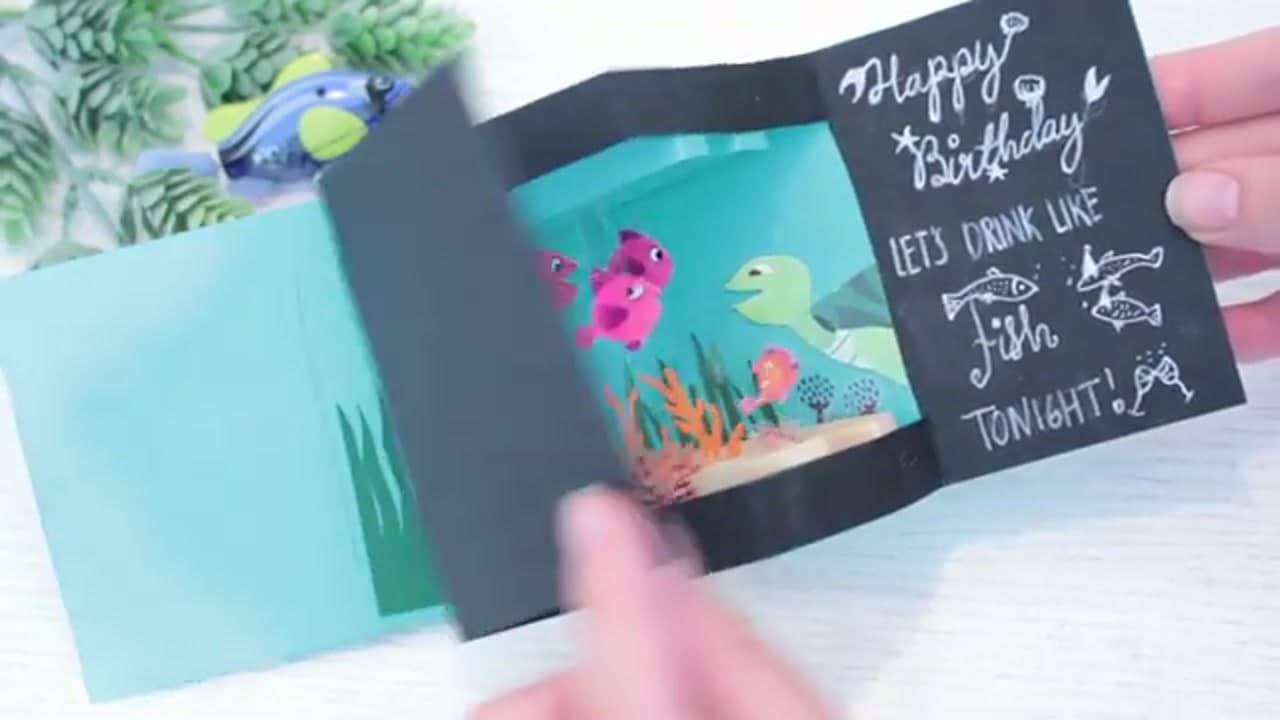
The finished result: How to Make a Shaker Card: 7 Step Easy Tutorial With a Clear Envelope
  • Difficulty: Easy
  • About 30 minutes
  • 7 steps

You tapped Save

Save this project for later

We'll email you a link, no password.

How to Make a Shaker Card: 7 Step Easy Tutorial With a Clear Envelope

  • Your saved projects in one list
  • Your ticked steps on any device

Check your inbox for an email from us. Not there? Look in your spam folder.

Print

Steps written out by Crafting Step by Step from Simply Simple Stamping | Connie Stewart's video (opens YouTube) (6:20). Published .

Most shaker card tutorials require shaker foam, double-sided tape, and a careful build that takes 30+ minutes. This shortcut version uses a small clear envelope as the shaker chamber - the whole card comes together in under 10 minutes.

This walkthrough from Connie at Simply Simple Stamping breaks the easy method into seven clean steps. The technique works with any stamp set and any small embellishments. Once you've made one, you'll have ideas for birthday cards, holiday cards, congratulations cards - anywhere a little extra movement makes a card more fun.

Free printable

Print the steps and supply list for this project

One page you can take to the table. Free with a free account, no password.

Get the free printable

What you'll need

Free, for this project

Get this checklist by email

  • All 9 tools and materials, with tick boxes
  • A link to print all 7 steps on paper, to keep by you while you craft

No password. The whole tutorial stays free on this page.

Quick answer

Make a shaker card in 7 steps with a clear envelope. An easy project: about 30 minutes. Materials cost about $5 to $10. You need 9 things, including Clear envelopes, Cardstock and Embellishments. The 7 steps: stamp Your Focal Image, cut Small Embellishments, arrange Embellishments on the Focal Image, slide a Clear Envelope Over the Focal Image, add Loose Shaker Bits, seal the Envelope and mount the Shaker on a Card Base.

Step-by-step guide

7 steps, about 6 minutes. Tap a picture to jump to that step. Your progress saves automatically.

Tick each step off as you go.

  1. Step 1: Stamp Your Focal Image

    Watch this step · 0:50
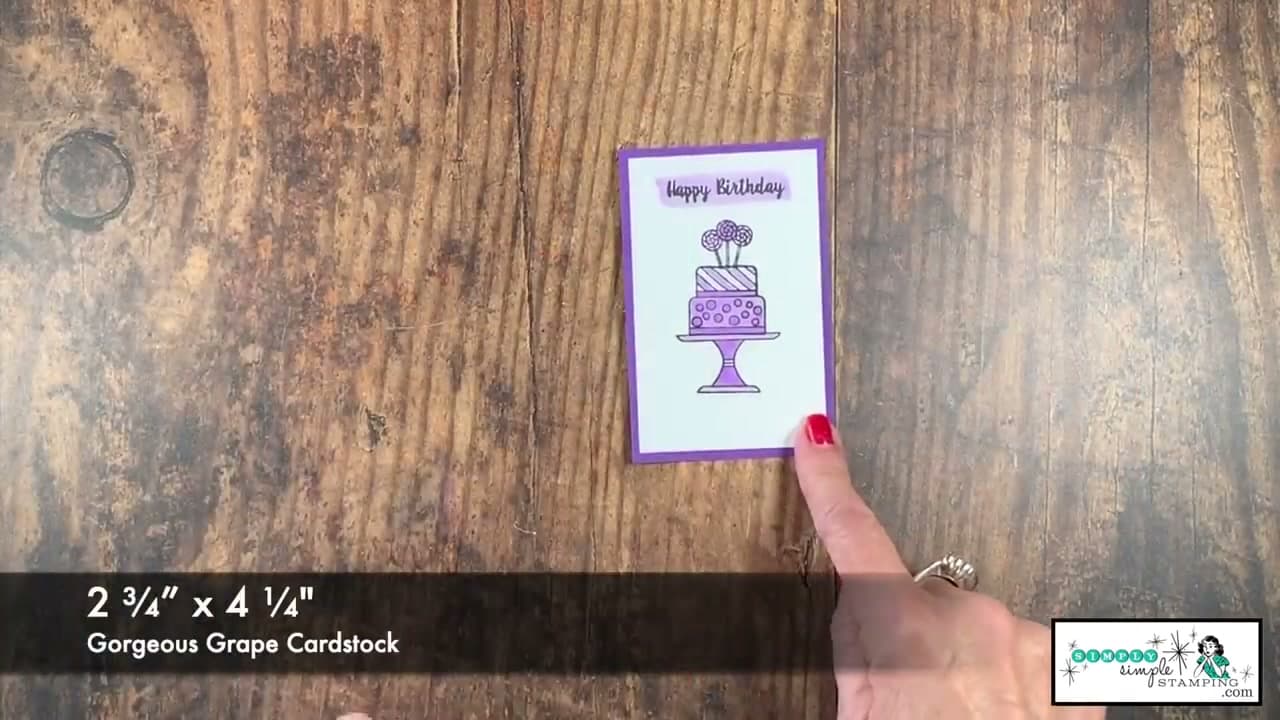
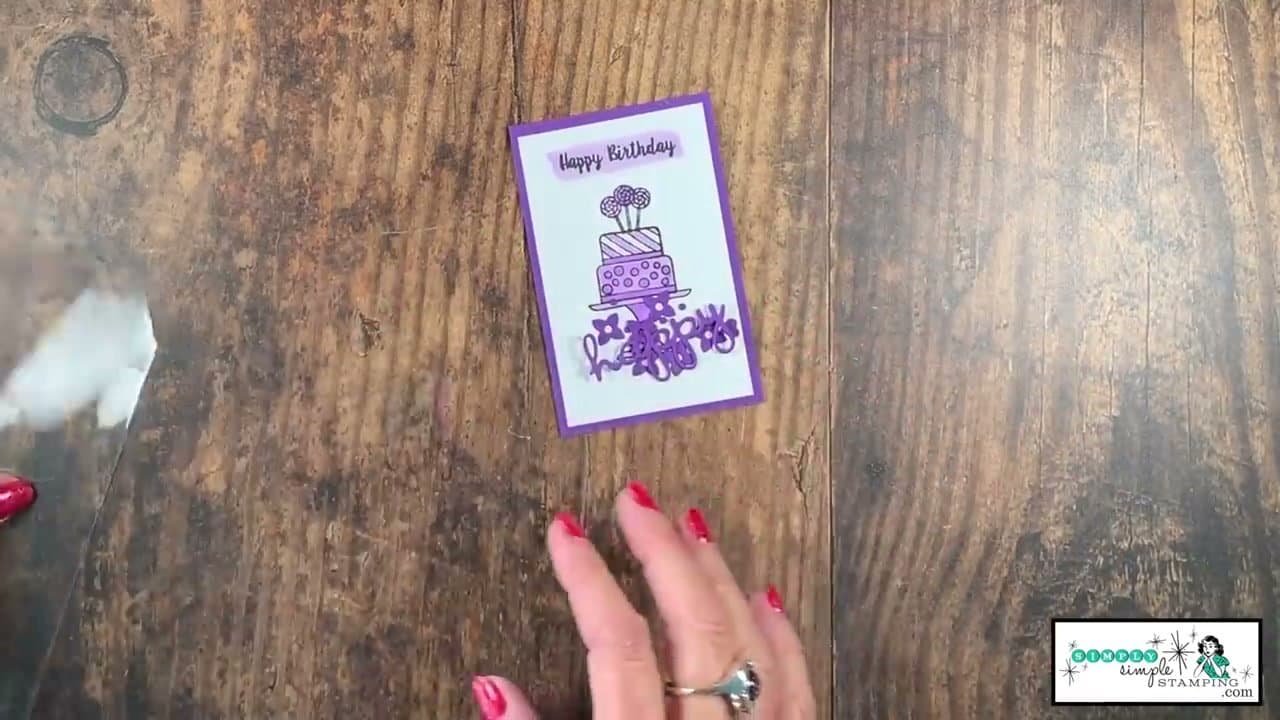
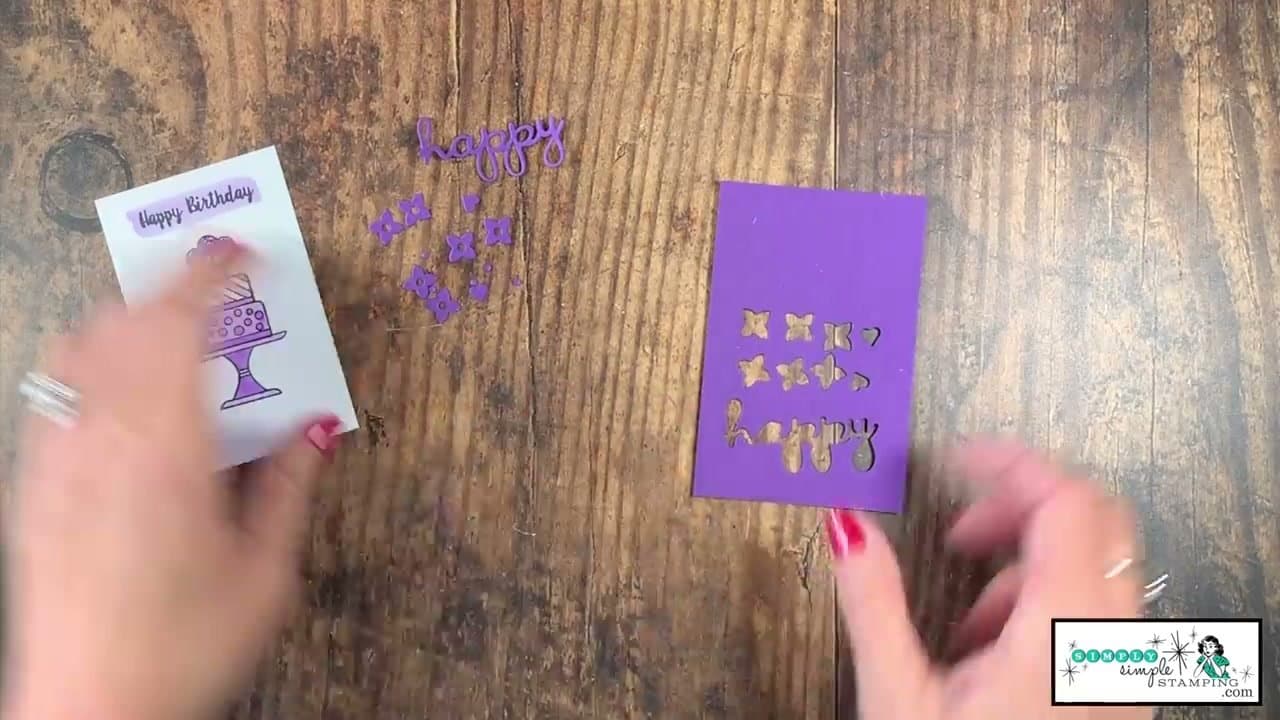
    Stamp a small design (about 2.5 by 4 inches) on white cardstock. The example uses a cake stamp colored in with stamp blends, then trimmed and matted on a slightly larger piece of colored cardstock for a clean border.

    The focal image is what shows through the clear shaker window - so pick something with empty space around the main subject (where shaker bits will visibly move) rather than a busy background design.
    Back to all steps

  2. Step 2: Cut Small Embellishments

    Watch this step · 1:45

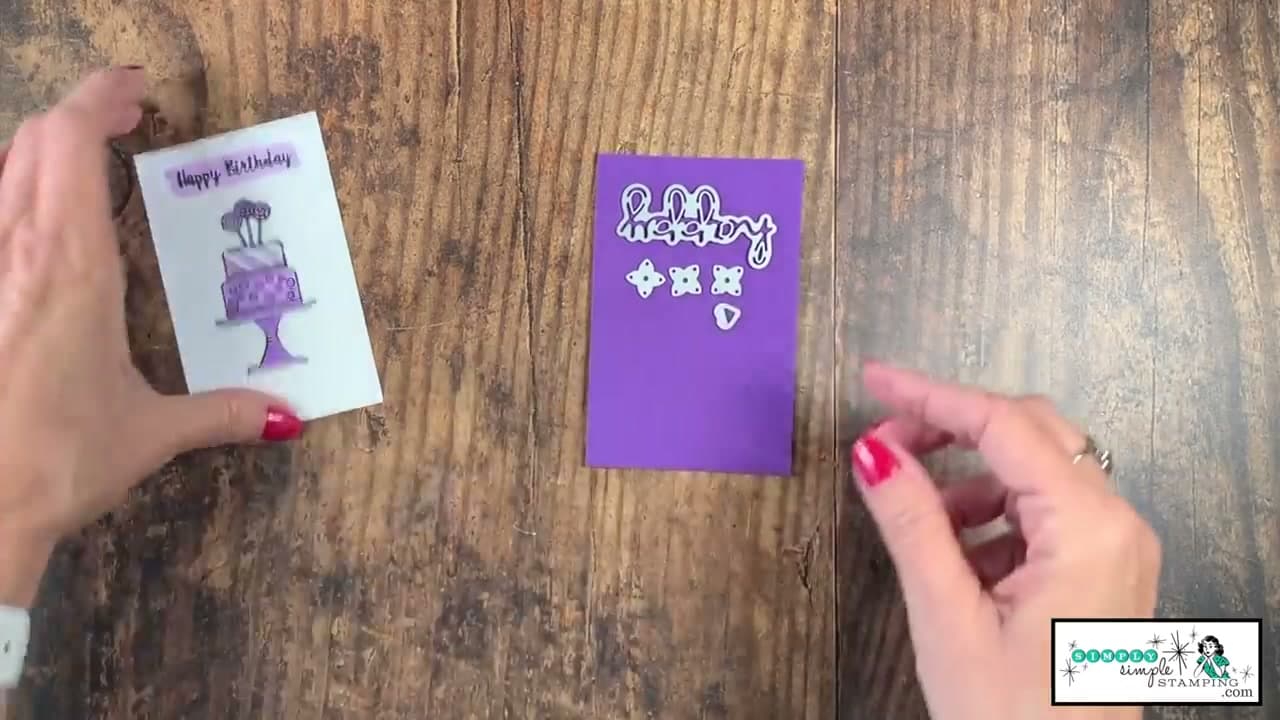
    Cut small embellishments from contrasting cardstock - die-cut letters, flowers, hearts, dots. The example uses 'happy' as a die-cut word plus tiny flowers and hearts. Run the dies through your machine twice for clean edges.

    Keep all loose pieces under 1/4 inch - bigger pieces don't shake well inside the small envelope. The mix of word + small shapes gives visual interest and movement.

    Back to all steps

  3. Step 3: Arrange Embellishments on the Focal Image

    Watch this step · 2:33

    Lay your focal image flat. Place the die-cut embellishments and any other small items face-up on top of the focal image to preview the layout.

    This is your design preview. Rearrange until you like the composition - the word here, flowers scattered there, dots filling the empty space. Once you're happy, you'll trap them inside the shaker.

    Back to all steps

  4. Step 4: Slide a Clear Envelope Over the Focal Image

    Watch this step · 3:00

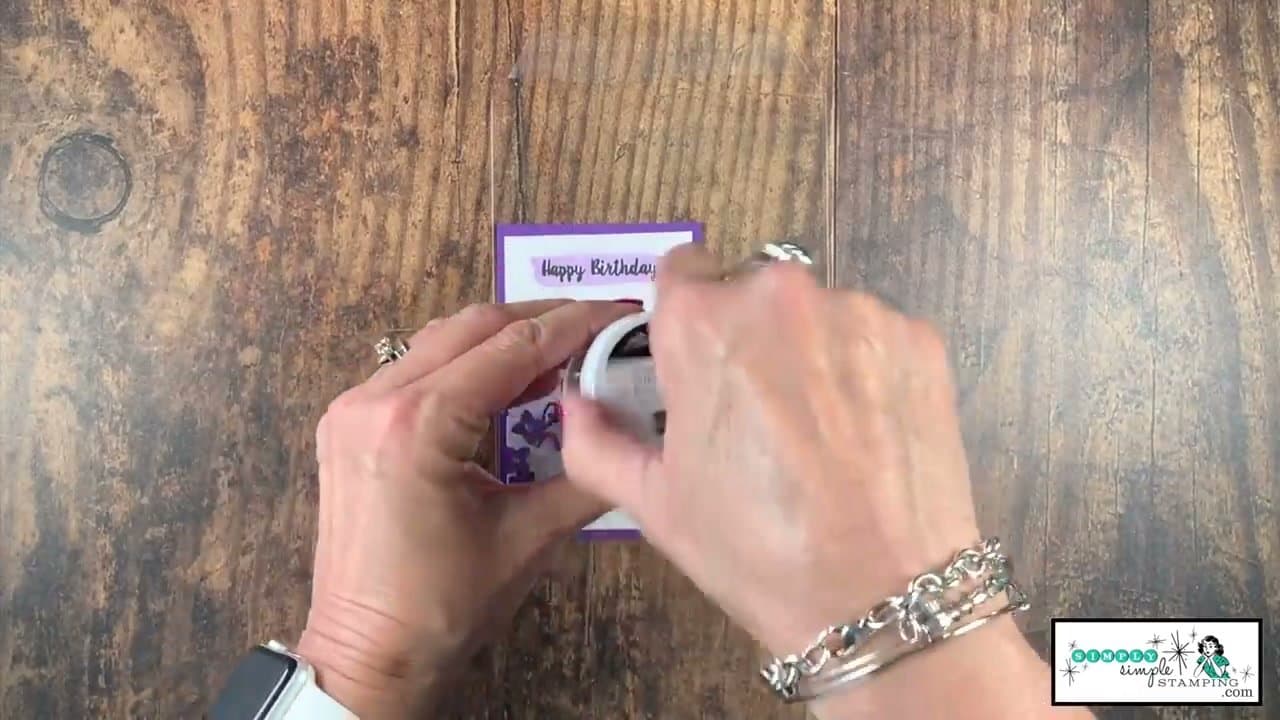
    Get a small clear envelope (the kind sold in cardmaking stores for shaker projects, sized about 3 x 4 inches). Slide it over your focal image and arranged embellishments.

    Tuck the focal image into one corner of the envelope so the embellishments scattered on top get trapped between the focal image and the envelope's clear face. The envelope's open end stays free for the next step.

    Back to all steps

  5. Step 5: Add Loose Shaker Bits

    Watch this step · 3:27

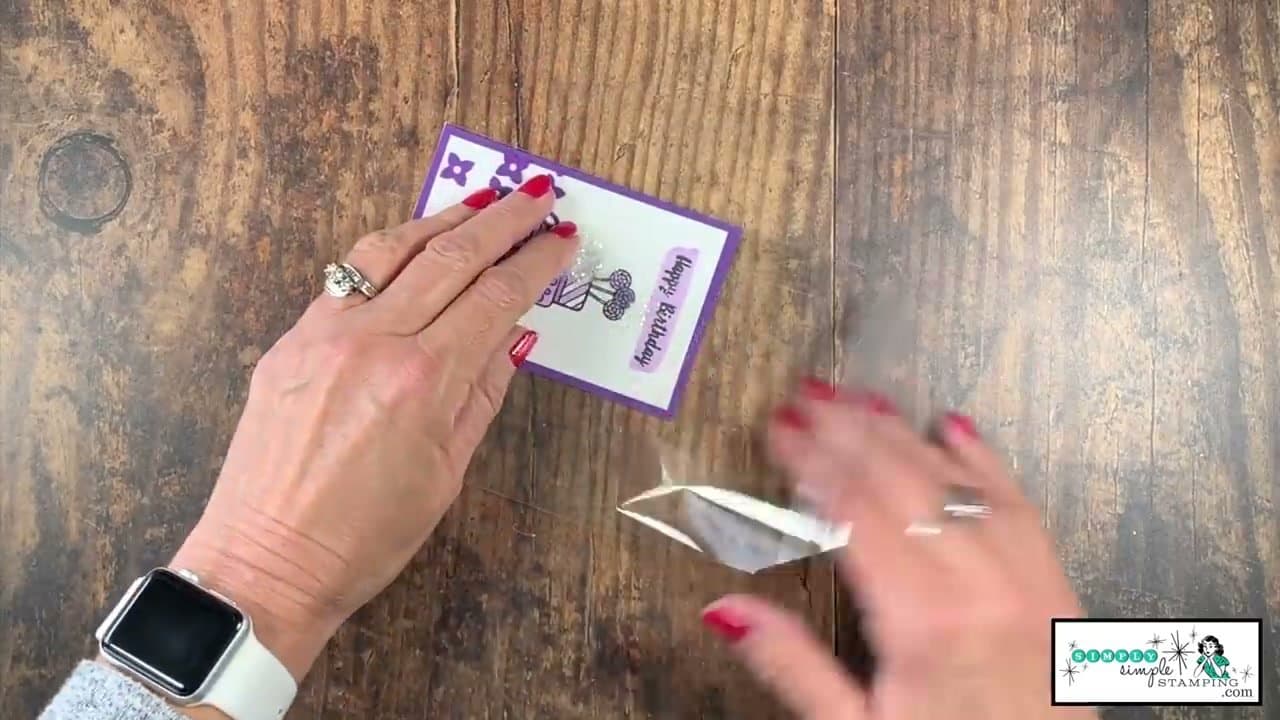
    Sprinkle in the loose shaker bits - sequins, microbeads, glitter, or extra tiny die-cuts. About 1/8 teaspoon total. LESS IS MORE - overfilling stops the shake effect because the bits can't move freely.

    The bits should slide around and re-settle when you tilt the card. If they're packed tight, dump some out. Mix textures (some flat sequins + some small die-cuts) for more visual interest as they shift.

    Back to all steps

  6. Step 6: Seal the Envelope

    Watch this step · 3:50

    Most clear envelopes have an adhesive flap on the open end. Peel and seal it. For extra security, run a strip of scotch tape across both short ends of the envelope - this prevents glitter leaks if the seal isn't perfect.

    Test by shaking. The bits should move freely without anything escaping. If glitter is leaking out, add more tape until the seal is solid.

    Back to all steps

  7. Step 7: Mount the Shaker on a Card Base

    Watch this step · 5:05

    Cut a card base from cardstock - 8.5 x 5.5 inches, folded in half, gives a standard A2-size card. Run the front of the card through an embossing folder for texture if you have one.

    Adhere the sealed shaker assembly to the front of the card base with double-sided tape or strong glue. Add a sentiment strip or matting layer if you want extra polish. Done - shake to play.

    Tip:

    Save unused shaker materials in labeled bags - sequin mixes, glitter, micro-beads. Building a stash means future shaker cards take 5 minutes instead of 10 because you skip the supply hunt.

    Back to all steps

How to Make a Pull Tab Waterfall Card

Keep going

How to Make a Pull Tab Waterfall Card

7 steps · about 12 minutes

Keep going with card making

More on this topic, picked for this shaker card.

You reached the last step

Save this project to come back to it

Your ticked steps, the free printable and your other saved makes, together in My Projects. Free, no password.

You tapped Save

Save this project for later

We'll email you a link, no password.

How to Make a Shaker Card: 7 Step Easy Tutorial With a Clear Envelope

  • Your saved projects in one list
  • Your ticked steps on any device

Check your inbox for an email from us. Not there? Look in your spam folder.

Free printable

Printable sheet and shopping list for this project

The bonus is hidden until you sign up.

Free with a free account, no password. Every step above stays open to everyone.

Products Used

The Checklist

How to Make a Shaker Card: 7 Step Easy Tutorial With a Clear Envelope

Tools
5
Materials
4
Steps
7
Video
6 min

Tools we recommend

As an Amazon Associate we earn from qualifying purchases. Links on this page may be affiliate links - clicking them and buying doesn't change your price, but helps support Crafting Step by Step.

Tags

The Crafter's Weekly

New card making tutorials, every Sunday

One short email with the week's best step-by-step guides. Free, no spam, unsubscribe anytime.

Test your knowledge

Did the lesson stick? Start with this one.

5 questions covering what you just read. No signup, no score saved, and you can stop after this one.

Question 1 of 5

What contains the loose shaker bits while keeping them visible?

Quick reference

Key takeaways from How to Make a Shaker Card: 7 Step Easy Tutorial With a Clear Envelope

5 questions, answers, and one-line explanations. Tap to expand.

  1. 1.What contains the loose shaker bits while keeping them visible?

    Answer: A clear envelope sealed over the focal image

    The clear envelope creates a see-through chamber — bits tumble freely inside.

  2. 2.What happens right before the clear envelope slides over the focal image?

    Answer: Small embellishments are arranged flat on the image

    Embellishments need to be flat on the image so the envelope can slide over without disturbing them.

  3. 3.When do you add the loose shaker bits?

    Answer: After the envelope is over the focal image

    The envelope creates an open pocket — drop in the bits, then seal it.

  4. 4.What is the final structural step before mounting the panel?

    Answer: Seal the envelope closed

    Sealing the envelope traps the shaker bits and completes the mechanism.

  5. 5.Why are small embellishments arranged under the envelope, not loose?

    Answer: They create a visible decorated background behind the moving bits

    The fixed embellishments add depth and color that shows through the clear window as the bits move.

Did this work for you?

What's next

Similar tutorials

Hand-picked next reads based on the one you just finished.

Liked this card making tutorial?

Pick the crafts you want to hear about. One email every Sunday with new step-by-step tutorials. No spam, easy to unsubscribe.

Get more like this in your inbox

Weekly digest. Pick the categories you want. Unsubscribe anytime.

Send me tutorials about

We only email about new tutorials. Easy unsubscribe anytime.