How to Make an Easel Card

  • 7 steps
  • 4:00 video
  • Difficulty: Easy
  • About 20 minutes
  • Materials about $1 to $3
  • Card Making

Based on a video by thefrugalcrafter Lindsay Weirich

Opens their YouTube channel

Steps written out by Crafting Step by Step · Published

Watch the original video (opens YouTube)
The finished result: How to Make an Easel Card
Also in:Paper Crafts

An easel card folds flat for the envelope, then props itself up on a table like a little picture frame. Lindsay Weirich of The Frugal Crafter shows the simple rule behind it, so you can make one in any size. Her card is an A2 with a coloured pansy panel, a cream stopper strip and two paper butterflies.

It takes no more supplies than a regular card. Two score lines do all the work.

The easel card formula

Cut a strip of cardstock as wide as your finished card and twice as tall. Score it across the middle. Then score again halfway between the middle and one end. That second score is the easel fold. Everything else is decoration.

  • A2 card, 4 1/4 x 5 1/2 inches: cut 4 1/4 x 11, score at 5 1/2 and 2 3/4.
  • Square card, 6 x 6 inches: cut 6 x 12, score at 6 and 3.
  • 5 x 7 card: cut 5 x 14, score at 7 and 3 1/2.

A letter size sheet cut the long way gives you two A2 bases. If your scoring board has no mark for an odd measurement, slide the paper over until a mark lines up, like Lindsay does with her 2 3/4 inch score.

Why it stands up

The front panel is glued only to the easel flap, the short section between the two scores. When you open the card, that flap folds back and leans against a stopper on the base. The stopper can be a strip of cardstock, a row of buttons or a sentiment on foam. A flat strip keeps the card mailable. Buttons or foam hold the easel more firmly, so save them for hand delivered cards.

Choosing cardstock for the base

The base carries the weight of the front panel while it stands, so use a sturdy cardstock, around 80 to 110 lb. Thin paper bows and the card slumps. Pick a base colour that picks up one colour in your front image; a thin border of it frames the panel. Lindsay matches her purple base to the pansies and her cream stopper to the panel.

Mailing an easel card

Folded closed, an easel card is the same size as a regular card of its kind, so it fits a standard envelope. Keep every embellishment flat, or fold it so it lies flat, and it mails with no extra postage. Lindsay folds her paper butterflies in half so the wings lift when the card opens but press flat in the envelope.

Ideas for the front

  • A stamped and coloured image, like Lindsay's pansies.
  • A photo of a grandchild, matted on cardstock, for a card that becomes a desk frame.
  • A die cut scene with layers on foam squares.
  • A large sentiment for a birthday or thank you.

Write your message on the stopper strip or on the base under the fold. It stays hidden until the card is opened and stood up.

If the card will not stand

If the easel tips forward, the stopper sits too low or is too thin. Move it up or add a second layer. If the card falls backward, the easel flap is too short; check that the second score is halfway, not closer to the end. Use heavier cardstock if the base bends.

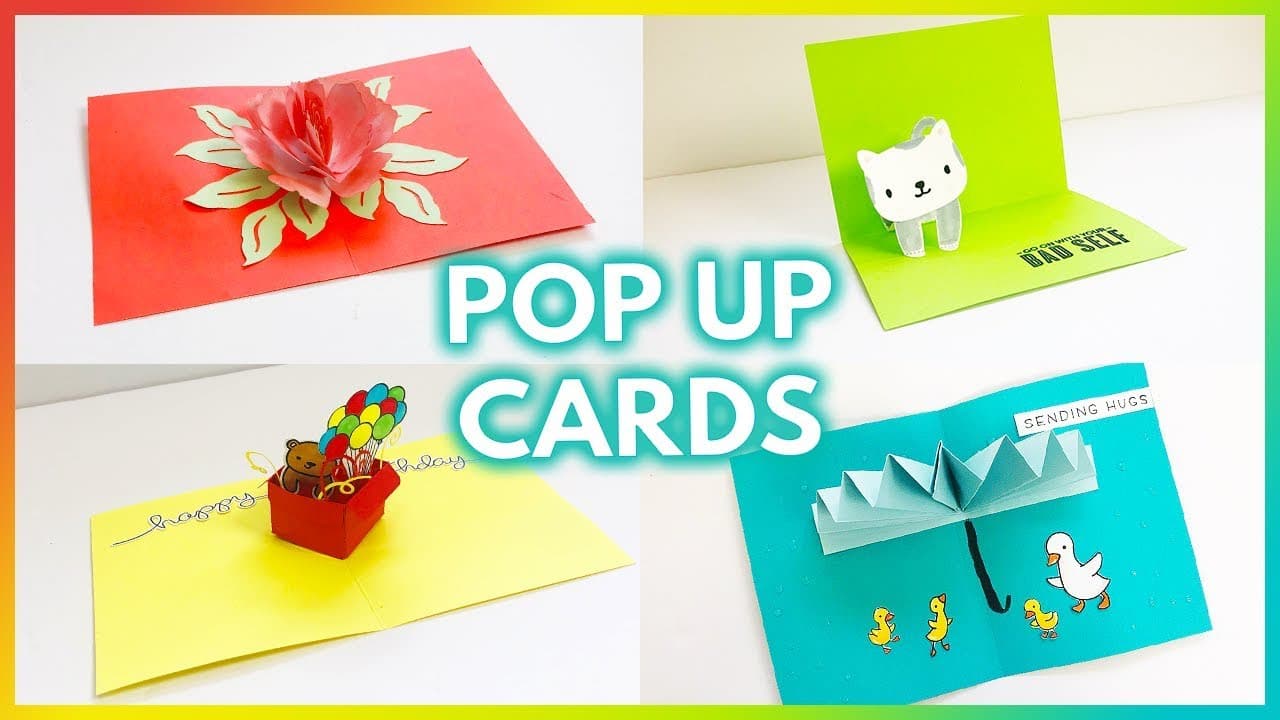
New to card making? Start with how to make a card. For more fun folds, try a pop up card, a waterfall card or a 3D card.

What you'll need

Step-by-step guide

7 steps, about 4 minutes. Tap a picture to jump to that step. Your progress saves automatically.

Tick each step off as you go.

  1. Step 1: Score the Easel Card Base Across the Middle

    Watch this step · 0:40

    Cut a piece of cardstock as wide as your finished card and twice as tall. For an A2 card that is 4 1/4 x 11 inches, half a letter sheet cut the long way. Lay it on a scoring board and score right across the middle, at 5 1/2 inches. For a 6 x 6 card you would cut 6 x 12 and score at 6.

    Tip:

    Score with the long edge against the board's top fence so the line runs square.

    Back to all steps

  2. Step 2: Score the Easel Card Fold Halfway to the End

    Watch this step · 1:02

    Find the halfway point between one end of the strip and the center score. On an A2 base that is 2 3/4 inches. Lindsay's board has no 2 3/4 mark, so she slides the paper up a quarter inch and scores on the 3 inch line. This second score is the easel fold that lets the card stand.

    Tip:

    Mark the side you scored with a light pencil dot so you fold the right way.

    Back to all steps

  3. Step 3: Fold the Easel Card Base Into Its Easel Shape

    Watch this step · 1:18

    Fold the card in half on the center score. Then fold the top section back on the second score so it meets the center fold. That short section is the easel flap. When the card is closed it lies flat and fits an envelope. When opened, the flap folds back and props the card up.

    Tip:

    Run a bone folder over both folds for crisp edges that hold their shape.

    Back to all steps

  4. Step 4: Attach the Front Panel to the Easel Card Flap

    Watch this step · 1:52

    Put plenty of adhesive on the bottom half of your front panel only. Press it onto the easel flap with the bottom edge lined up with the fold, leaving an even border on each side. Lindsay uses a coloured pencil pansy picture on cream cardstock. The top of the panel stays loose so it can tip back over the base.

    Tip:

    Glue only to the flap. Adhesive on the base stops the card from opening.

    Back to all steps

  5. Step 5: Add a Stopper Strip Inside the Easel Card

    Watch this step · 2:26

    The stopper is what the easel leans against. Lindsay sticks an embossed strip of cardstock, in the same colour as her panel, across the lower base. Place it so the front panel rests on it when the card is open. A flat strip keeps the card mailable. Buttons or foam hold it up better if you deliver by hand.

    Tip:

    Test the stand before the glue sets. Slide the strip up if the card tips.

    Back to all steps

  6. Step 6: Glue Paper Butterflies on the Easel Card Front

    Watch this step · 3:06

    Punch a couple of small paper butterflies and fold each one in half. Hot glue the body to the corners of the front panel. The wings lift up for a bit of dimension when the card stands, but they press flat for mailing. Keep them clear of the fold so the card still closes neatly.

    Tip:

    A tiny dot of hot glue is enough. Too much shows through thin paper.

    Back to all steps

  7. Step 7: Leave Room for a Message Inside the Easel Card

    Watch this step · 3:40

    Open the card flat. You can write your message on the stopper strip or on the base under the fold. A little reveal of the base colour around the stopper looks neat. When the card is closed, it fits a standard envelope and mails with no extra postage. Stand it up to check it before you send it.

    Tip:

    Write the message before adding a thick stopper. It is easier on a flat surface.

    Back to all steps

Keep going

How to Make a Thank You Card by Hand

Products Used

The Checklist

How to Make an Easel Card

Tools
6
Materials
6
Steps
7
Video
4 min

Tools we recommend

As an Amazon Associate we earn from qualifying purchases. Links on this page may be affiliate links - clicking them and buying doesn't change your price, but helps support Crafting Step by Step.

Tags

The Crafter's Weekly

New card making tutorials, every Sunday

One short email with the week's best step-by-step guides. Free, no spam, unsubscribe anytime.

Did this work for you?

What's next

Related collections

Curated theme pages that include this tutorial.

Similar tutorials

Hand-picked next reads based on the one you just finished.

Liked this card making tutorial?

Pick the crafts you want to hear about. One email every Sunday with new step-by-step tutorials. No spam, easy to unsubscribe.

Get more like this in your inbox

Weekly digest. Pick the categories you want. Unsubscribe anytime.

Send me tutorials about

We only email about new tutorials. Easy unsubscribe anytime.