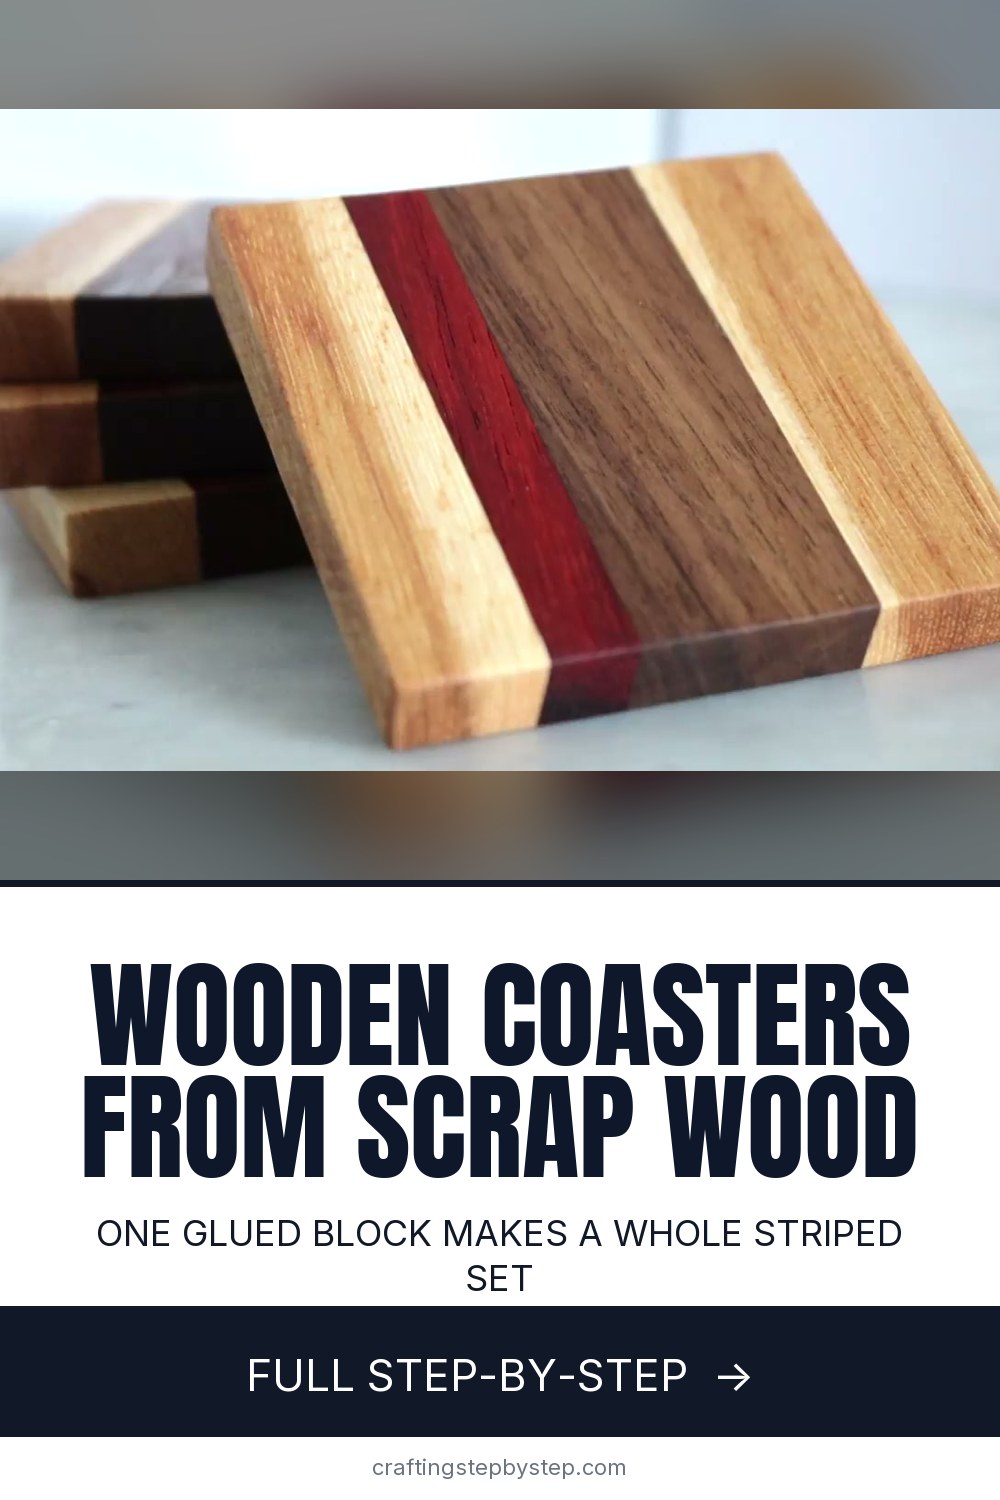
Wooden coasters are one of the best uses for a pile of hardwood offcuts. Sam from DIY Huntress glues four scraps into one striped block, then slices it into a set of matching coasters. The stripes come from the wood itself: pale maple, dark walnut and a thin line of red padauk. No paint or stain. She uses three tools you may already own, a table saw, a miter saw and a sander, and skips the planer most tutorials call for.
How to make wooden coasters: the short version
- Pick three or four hardwood scraps and stack them 3.5 inches high.
- Trim them to a similar size and sand the faces flat.
- Glue and clamp the stack into one block. Let it dry.
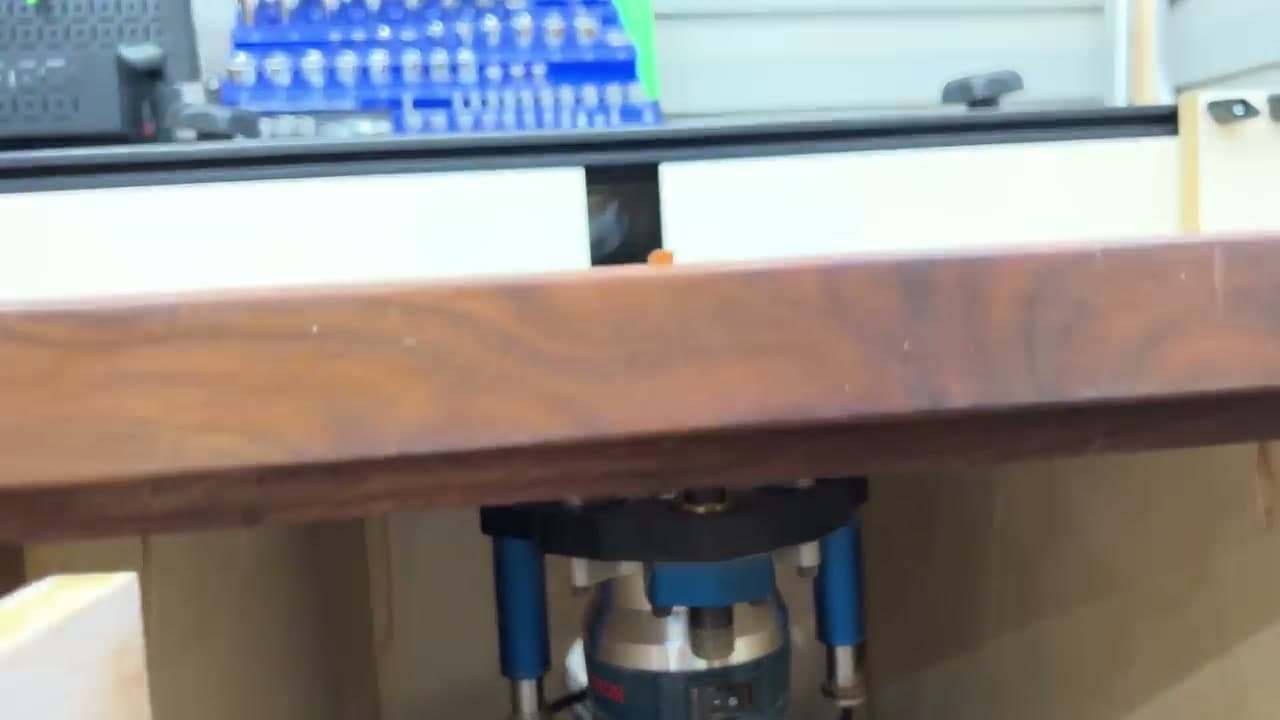
- Slice the block into half inch layers on the table saw.
- Cut each slice to a 3.5 inch square, sand, round the edges and finish.
Choosing your wood
Contrast makes the coaster. Pair one light wood (maple, oak, ash) with one dark wood (walnut, cherry) and add a thin accent strip of something bold like padauk or purpleheart. Stick to hardwoods. Pine and other softwoods dent under a heavy mug and soak up spills. Every board needs to be dry and free of cracks, or the glue joint will fail later.
No planer? Use a sander
The faces have to meet tight with no light showing through. Sam flattens each face with a random orbit sander, then stacks the boards and checks the seams. Keep sanding the high spots until they sit flat. It takes a little longer than a planer, but it works on a kitchen table workbench.
Glue up tips
- Spread an even film of glue over the whole face, edge to edge.
- Clamp at every pressure point. Even squeeze-out along each seam means a good joint.
- Wipe squeeze-out with a damp rag now, or scrape it off once it dries.
- Give the block a few hours in the clamps, and overnight before you cut if you can.
Safety at the saws
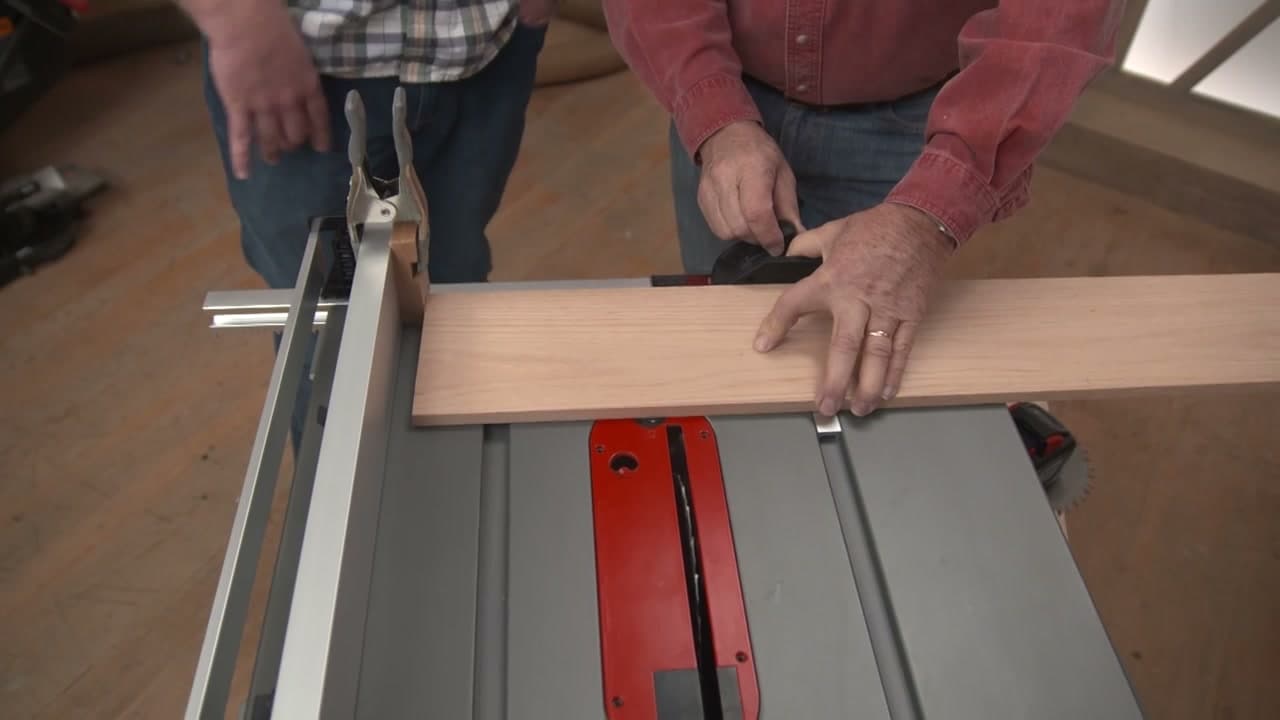
Small parts are where saw accidents happen. Cut the slices off the big block while it is still big. Use a push block and keep your fingers well clear of the blade. When you trim the small slices, clamp a longer board on top as a hold-down, the way Sam does, so your hand never goes near the cut. Wear safety glasses the whole time.
Picking a finish
Coasters get wet, so the finish matters. Sam chose Rubio Monocoat because it is durable, dries fast and is food safe. A hardwax oil soaks in rather than sitting on top. Mineral oil and beeswax is an easy budget option, but it needs a fresh coat now and then. For the most water resistance, use a wipe-on polyurethane.
Common problems
- A gap in a glue line. The faces were not flat. Sand more next time and add clamps in the middle.
- Coasters rock on the table. Sand the bottom on a flat sheet of sandpaper taped to the bench.
- Burn marks from the saw. Feed at a steady pace and sand them off.
More wood projects
Get comfortable with the saws in how to use a table saw and how to use a miter saw. The same glue-up makes a striped cutting board. Add a design with wood burning, or try resin coasters.