How to Use a Table Saw: Rip Cuts, Crosscuts, and Safety for Beginners

By CraftingStepByStepPublished Updated

Based on a video by This Old House.

How to use a table saw is the lesson that splits beginner woodworkers into two groups - the ones who learn it carefully and the ones who hurt themselves. The table saw is the most useful tool in the shop and it's also the one that sends the most people to the emergency room. The good news: most of the danger comes from three or four habits that are easy to learn and easy to keep.

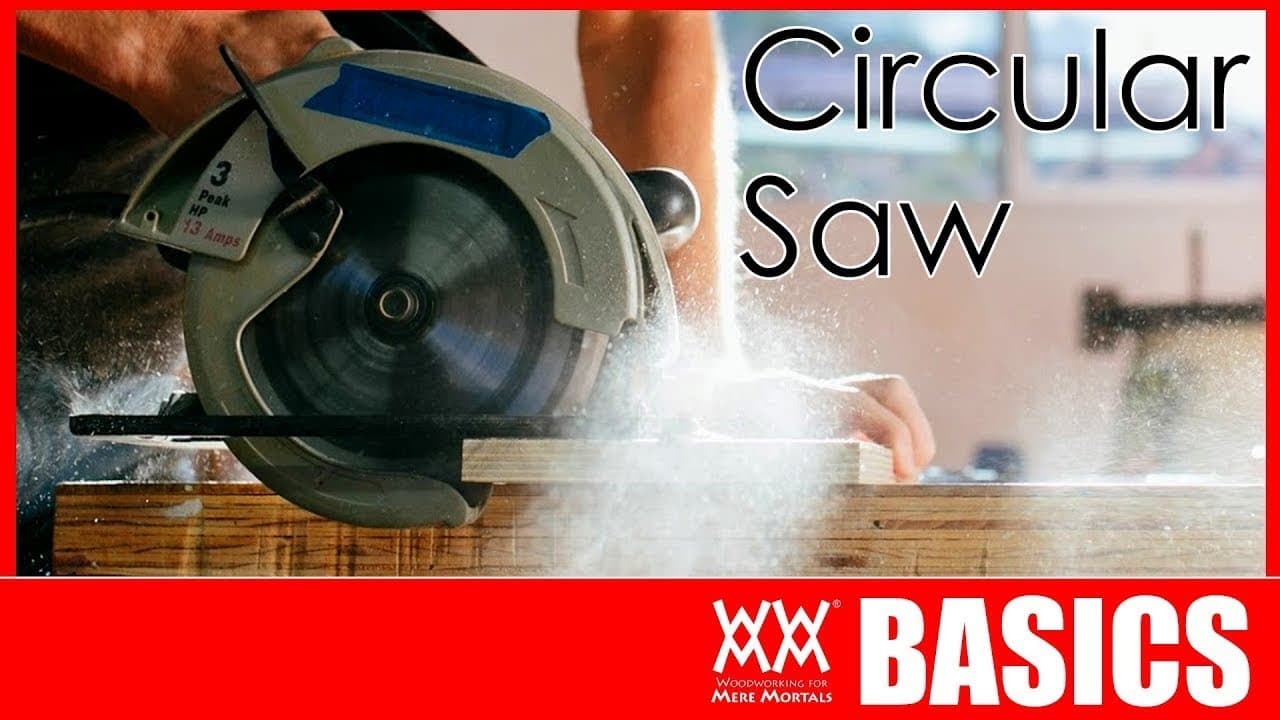
Tom Silva from This Old House walks through the moves in this short demo - what every safety feature on the saw actually does, how to confirm the rip fence is parallel to the blade, why a low blade height keeps your fingers, the difference between a rip cut and a crosscut, and the stop-block trick for cutting a stack of identical pieces without kickback. If you're working through the woodworking starter set, this pairs with how to use a miter saw, how to use a circular saw, how to use a router, and how to use a drill. Once you've got the basics, the wooden box build is the first project that puts the table saw and the miter saw together.

Read every step before you flip the switch. Safety glasses on, ear protection on, sleeves rolled up, no loose jewelry. The blade does not care.

Step-by-Step Guide

1

Step 1: Know Your Safety Features

0:48
Step 1: Step 1: Know Your Safety Features

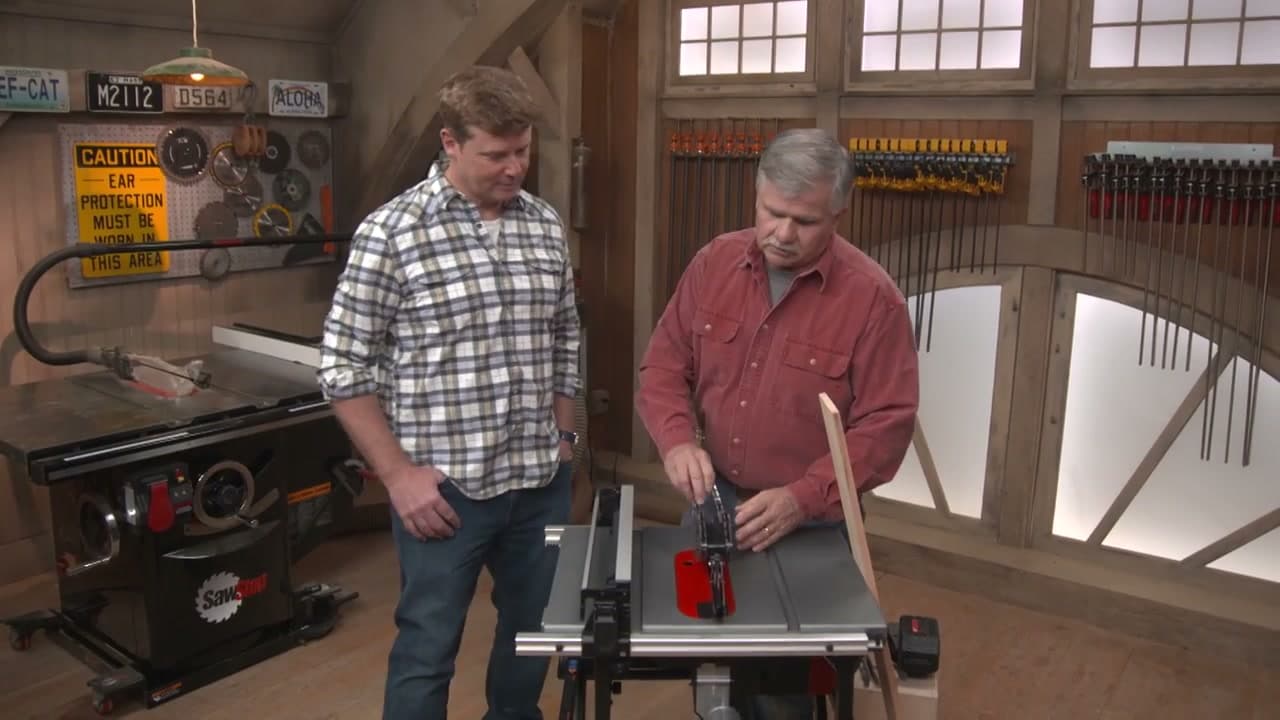
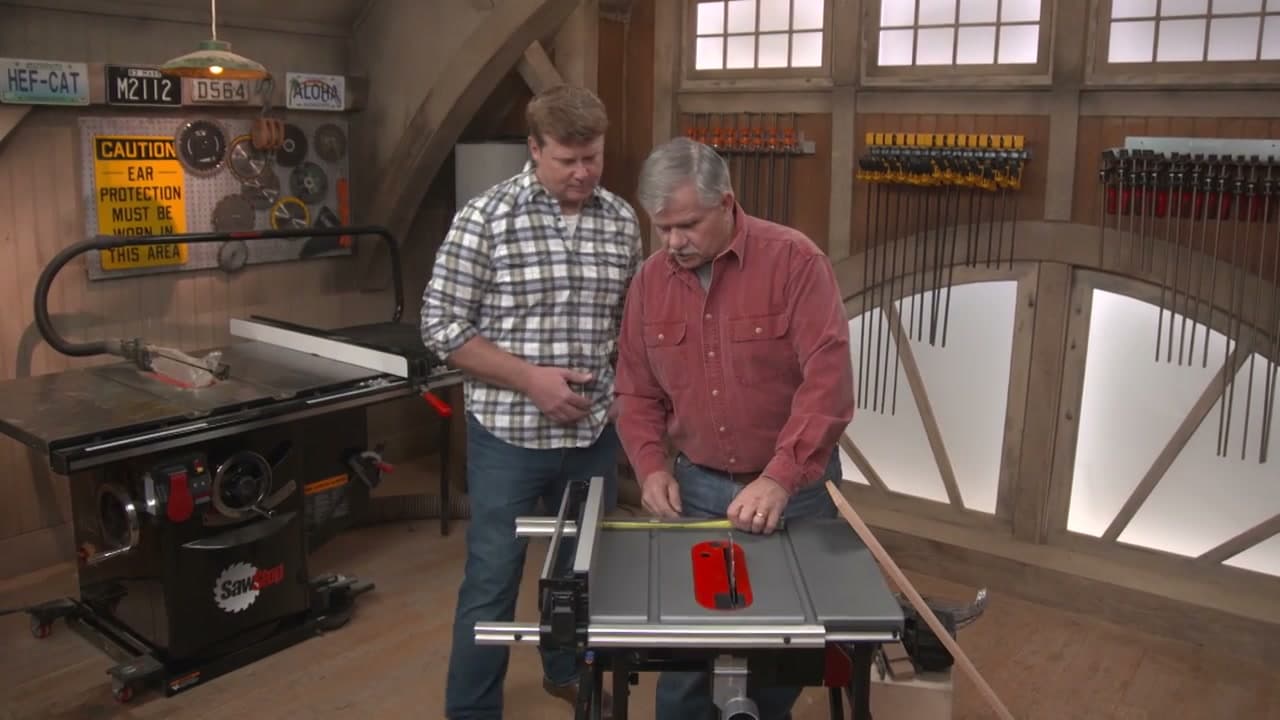
Modern table saws ship with three safety features that work together. The clear plastic blade guard keeps your fingers from drifting into the blade and keeps sawdust off your face. Under the guard is the riving knife, a thin metal blade that sits just behind the saw blade. As the wood passes through, the riving knife holds the kerf open so the freshly cut wood can't pinch the blade and pitch back at you. Mounted to the riving knife are the anti-kickback pawls - small spring-loaded teeth that point opposite the blade rotation. If a board tries to kick back, those teeth bite the grain and lock it in place. Leave all three in place every time the saw is on.

Tip

If you've removed the guard for a non-through cut, put it back on before the next cut. The blade has zero memory for what you just took off.
2

Step 2: Confirm the Rip Fence Is Parallel to the Blade

3:10
Step 2: Step 2: Confirm the Rip Fence Is Parallel to the Blade

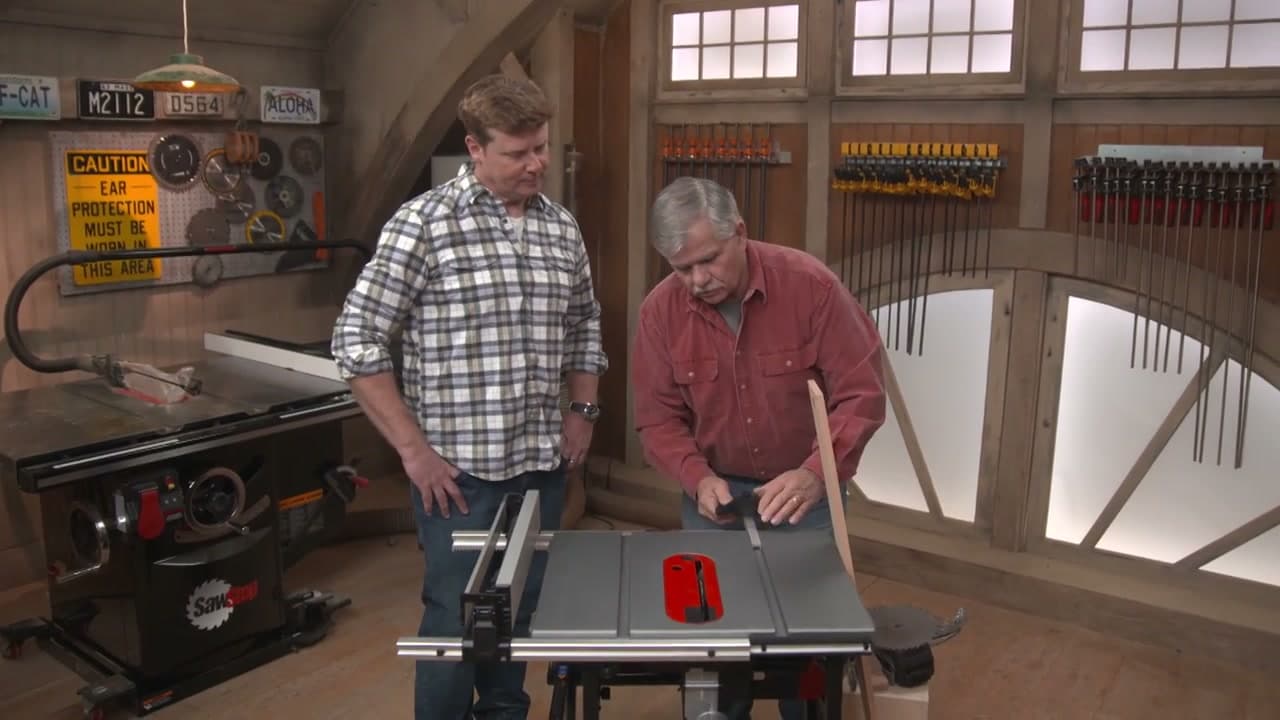
The rip fence has to be perfectly parallel to the blade or every rip cut will burn, bind, or kick back. Portable saws get knocked around in trucks and on job sites, and the fence drifts. Raise the blade to its highest position so you can sight along it. Lock the fence wherever you like. Pick one tooth on the blade and rotate it to the front of the saw. Measure from the fence to that single tooth and write down the number. Then rotate the same tooth to the back of the saw and measure again. The two measurements must match. If they don't, loosen the fence-rail bolts and shift the back of the fence until they do.

Tip

Use a single tooth, not the blade body. Combination blades alternate teeth left and right, so measuring to the wrong tooth gives you a false reading.

3

Step 3: Set the Blade Height Low

4:26
Step 3: Step 3: Set the Blade Height Low

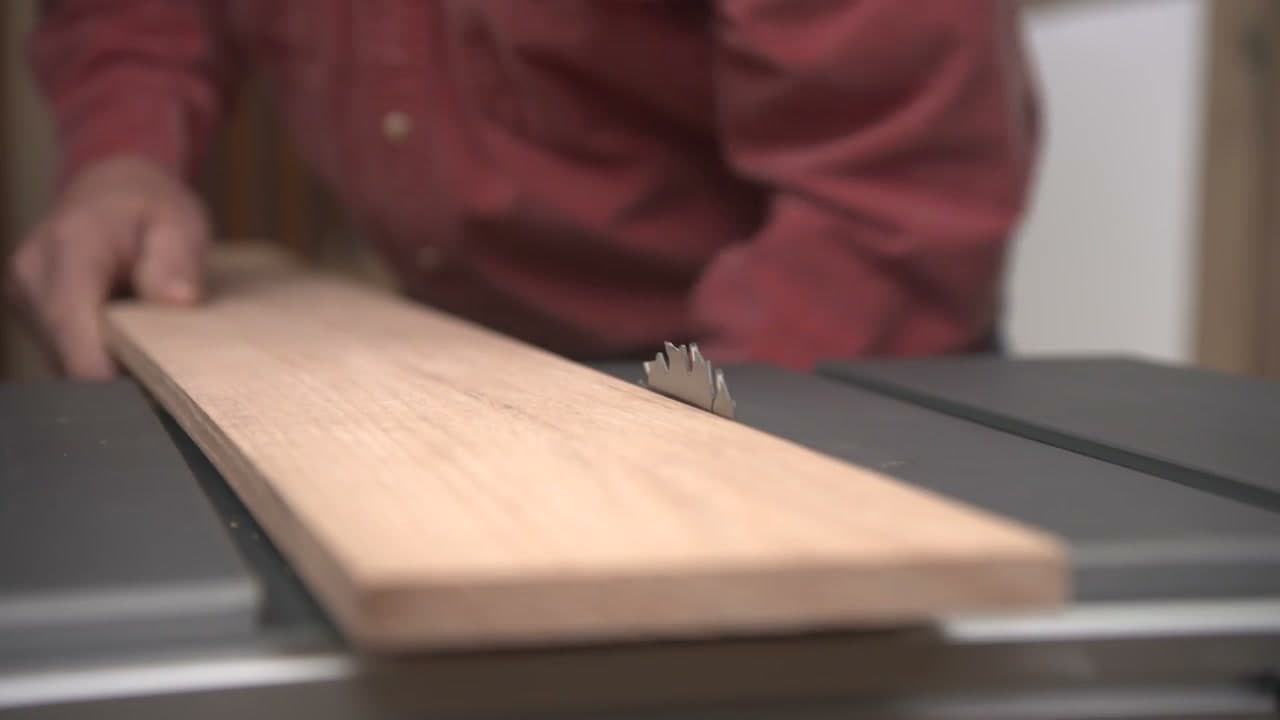
Crank the blade up just enough that it clears the top of the wood by about a quarter to half an inch. No more. A blade running an inch above the workpiece looks intimidating and it should - the exposed teeth are the part that hurts you. A low blade has less surface to grab a board if something kicks back, and if your hand does slide into it, the cut is shallow instead of catastrophic. The shop teacher in Tom's story still has his fingers because the blade was set low. Same setting for rip cuts and crosscuts.

Tip

Eyeball it from the side after you set the height. The blade should look like a thin sliver above the wood, not a wheel.

4

Step 4: Make a Rip Cut Along the Grain

2:10
Step 4: Step 4: Make a Rip Cut Along the Grain

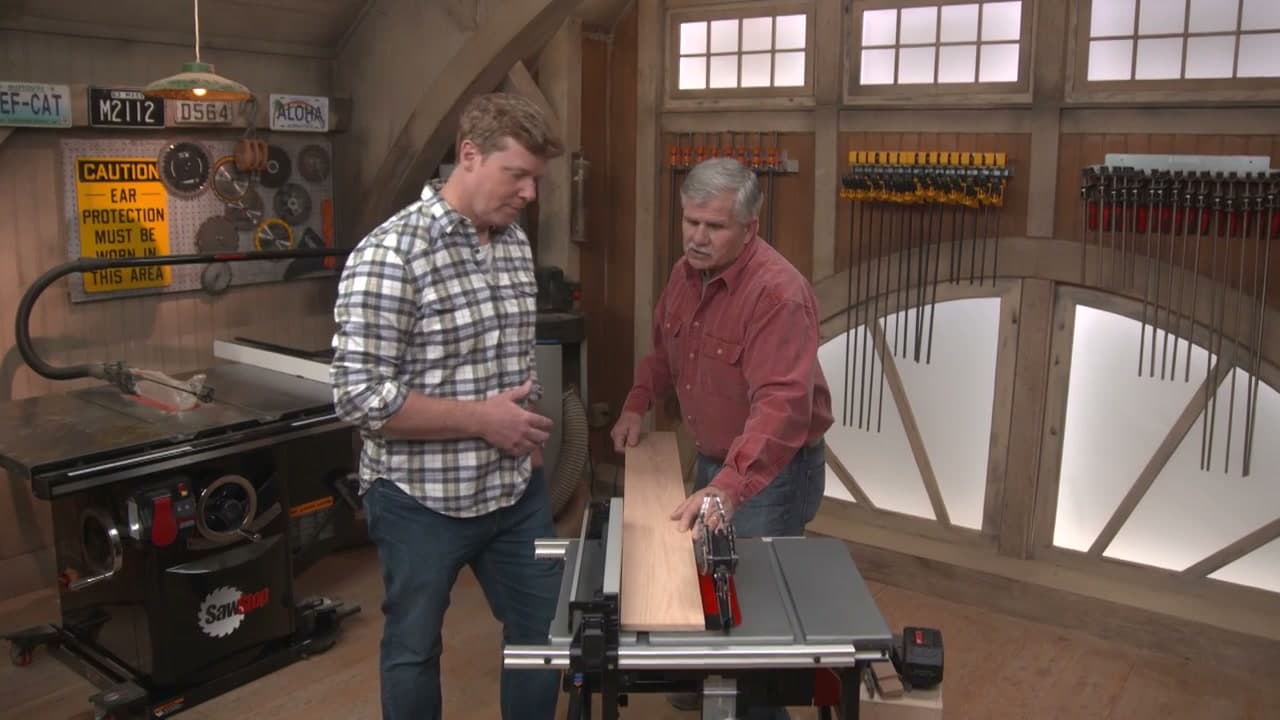
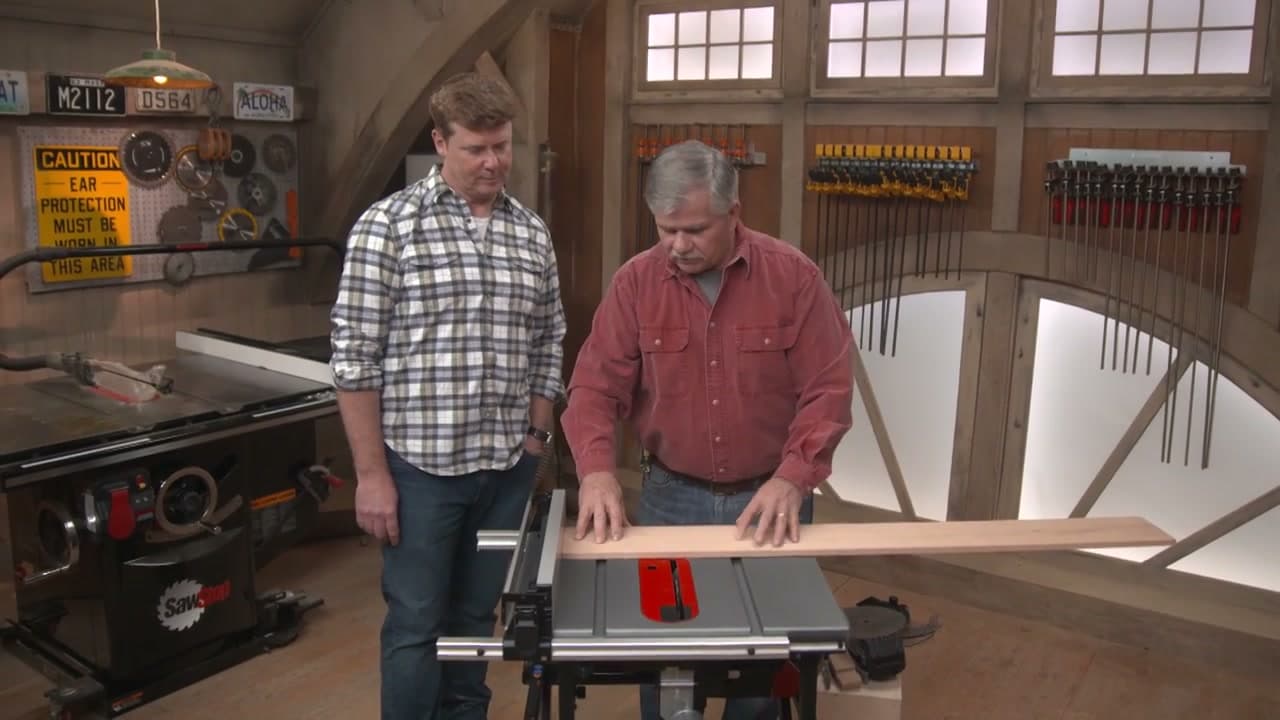
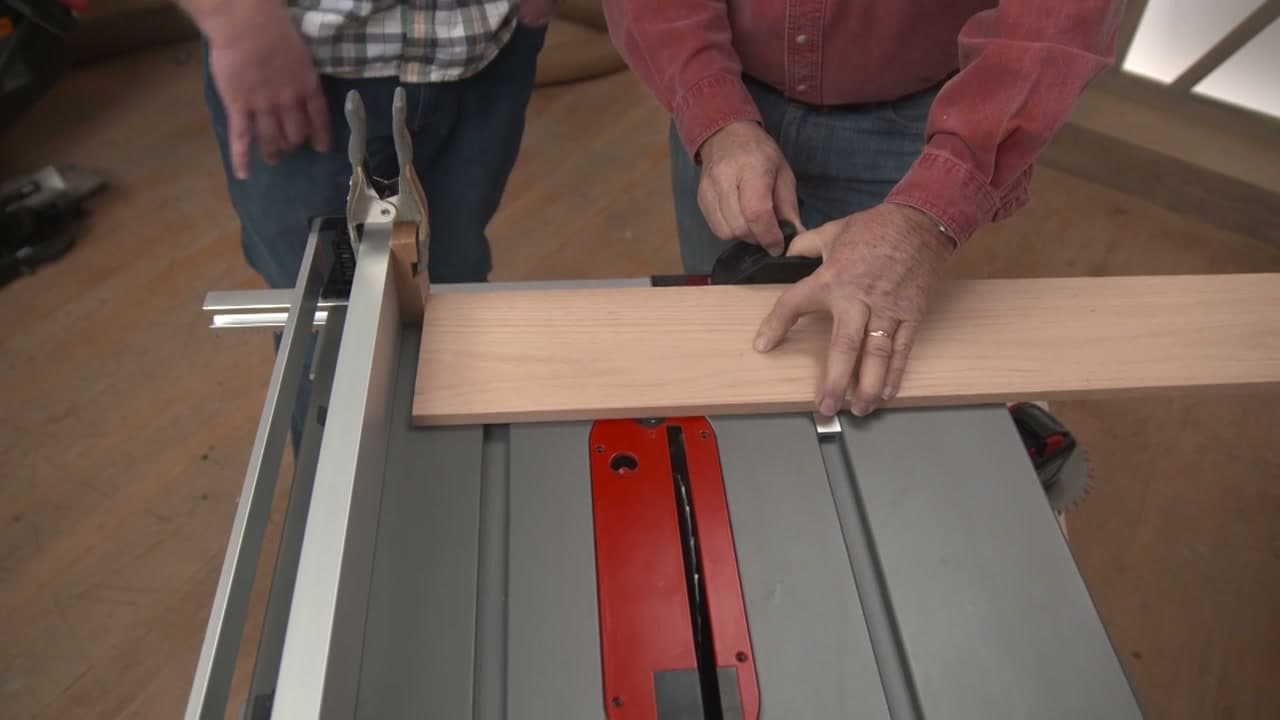
A rip cut runs the length of the board, along the grain. Set the fence to the finished width you want, then feed the board into the blade while holding it tight against the fence. Don't look at the blade. Look at where the board meets the fence. If there's a gap or the board lifts off the fence anywhere along its length, you're cutting at an angle and the kerf will close on the blade. Keep one hand pressed firmly sideways into the fence and the other hand pushing the board forward. When the trailing end of the board gets within six inches of the blade, switch to a push stick instead of your bare hand.

Tip

If the board fights you mid-cut and the saw bogs down, don't muscle through it. Stop, back the board out, recheck the fence parallel, and start over.

5

Step 5: Switch Setup for Crosscuts - Take the Fence Out of the Equation

4:55
Step 5: Step 5: Switch Setup for Crosscuts - Take the Fence Out of the Equation

A crosscut runs across the grain. The single most dangerous mistake on a table saw is using the rip fence as a length stop for a crosscut. The short offcut gets trapped between the fence and the spinning blade, pinches, and rockets back at your face or drags your hand across the blade. So for crosscuts the rip fence is out of the picture. Slide it well clear of the cut zone or take it off entirely. Lower the blade so it barely clears the wood thickness, same as before - low blade height is even more important here because the workpiece sits crossways and is short on support.

Tip

If a coworker walks up and asks you to crosscut a 6-inch piece against the rip fence, say no. That's the cut that kicks back hardest.

6

Step 6: Use the Miter Gauge for the Crosscut

5:40
Step 6: Step 6: Use the Miter Gauge for the Crosscut

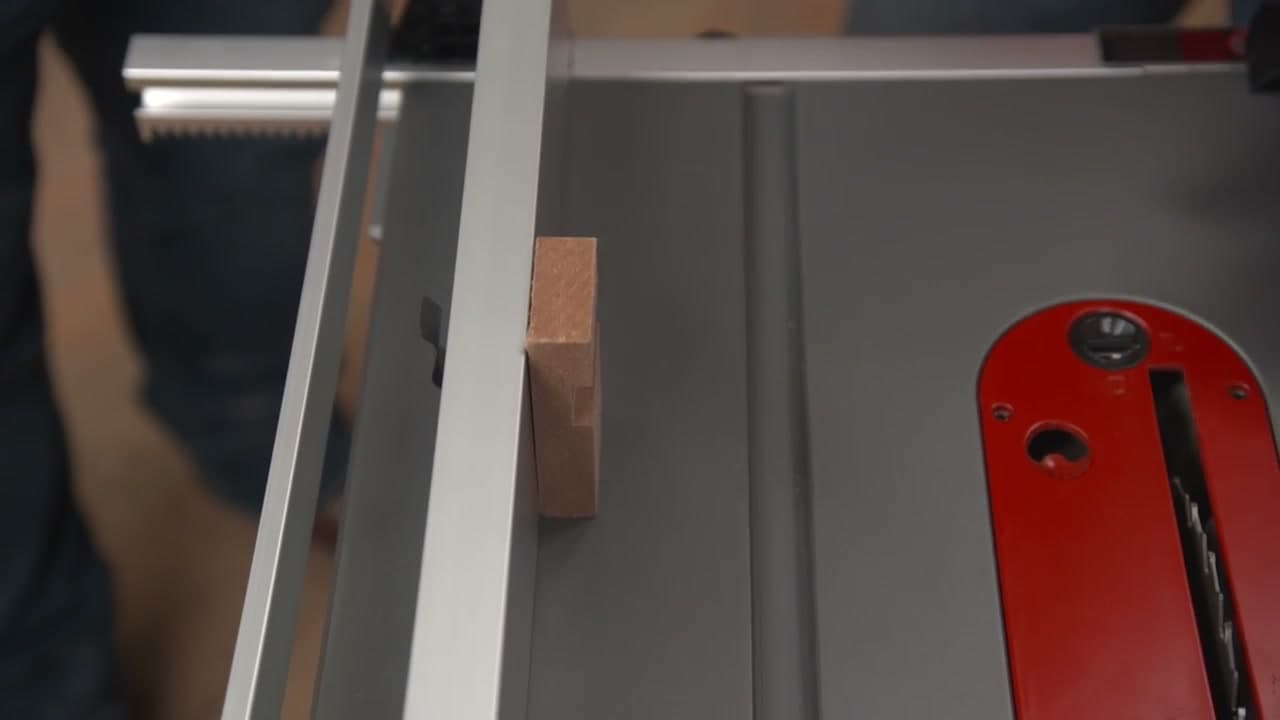
Every table saw has a miter slot - the channel milled into the table on each side of the blade. The miter gauge slides into that slot and rides parallel to the blade. Set the gauge to 90 degrees for a square crosscut. Hold the board firmly against the face of the gauge with one hand and grip the gauge handle with the other. Push the gauge and the board across the blade together as a single unit. The gauge supports the board through the cut and keeps it from twisting. Your hands stay well behind the blade the whole time.

Tip

Add a long auxiliary fence to the miter gauge using a piece of scrap and a couple of screws. It gives you a bigger surface to register the board against and makes the cut more accurate.

7

Step 7: Set Up a Stop Block for Repeat Crosscuts

6:12
Step 7: Step 7: Set Up a Stop Block for Repeat Crosscuts

Need a stack of identical short pieces? A stop block does the job safely. Take a chunk of scrap wood and clamp or screw it to the rip fence near the very front of the table, well in front of the blade. Measure from the stop block to the blade and that's the length each piece will be. The block sets the position before the cut starts but leaves a gap between itself and the blade. When the offcut falls away after the cut, there's nothing to trap it - no pinching, no kickback. This is the same idea as a sliding stop on a miter saw, just built from a piece of scrap.

Tip

Position the block so it ends well before the blade. The whole point is that the board has cleared the block by the time it reaches the cutting zone.

8

Step 8: Run the Repeat Cut Without Kickback

6:28
Step 8: Step 8: Run the Repeat Cut Without Kickback

With the stop block set, hold the board flat against the face of the miter gauge and slide the leading edge against the stop block. That's your length. Now push the gauge forward. The board slides past the stop block immediately - it only used the block to register the length - and then meets the blade with nothing trapped against the fence. After the cut, the offcut falls into the empty space between the blade and the rip fence. You can reach across and lift it out safely once the blade has stopped. Repeat for as many pieces as you need, all identical, all safe.

Tip

Wait for the blade to stop before reaching for the offcut. Most table-saw injuries happen after the cut, when you stop paying attention.

Products Used

☐ The Checklist

How to Use a Table Saw: Rip Cuts, Crosscuts, and Safety for Beginners

Tools
7
Materials
3
Steps
8
Video
7 min

Your Guide

This Old House

As an Amazon Associate we earn from qualifying purchases. Links on this page may be affiliate links - clicking them and buying doesn't change your price, but helps support ShowMeStepByStep.

Tags

What's next

Related collections

Curated theme pages that include this tutorial.

Weekly Digest

Liked this woodworking crafts tutorial?

Pick the categories you want to hear about. Weekly digest of new step-by-step tutorials. No spam, easy unsubscribe.

Send me tutorials about

We only email about new tutorials. Easy unsubscribe anytime.