1
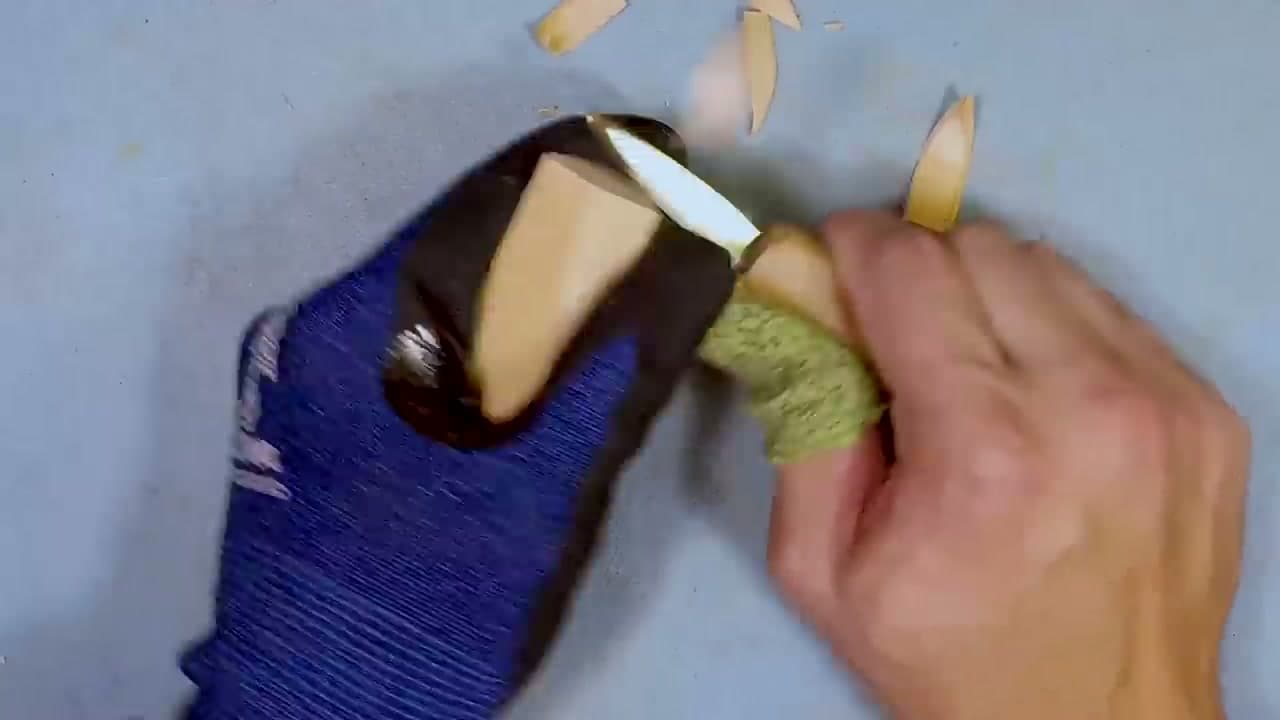
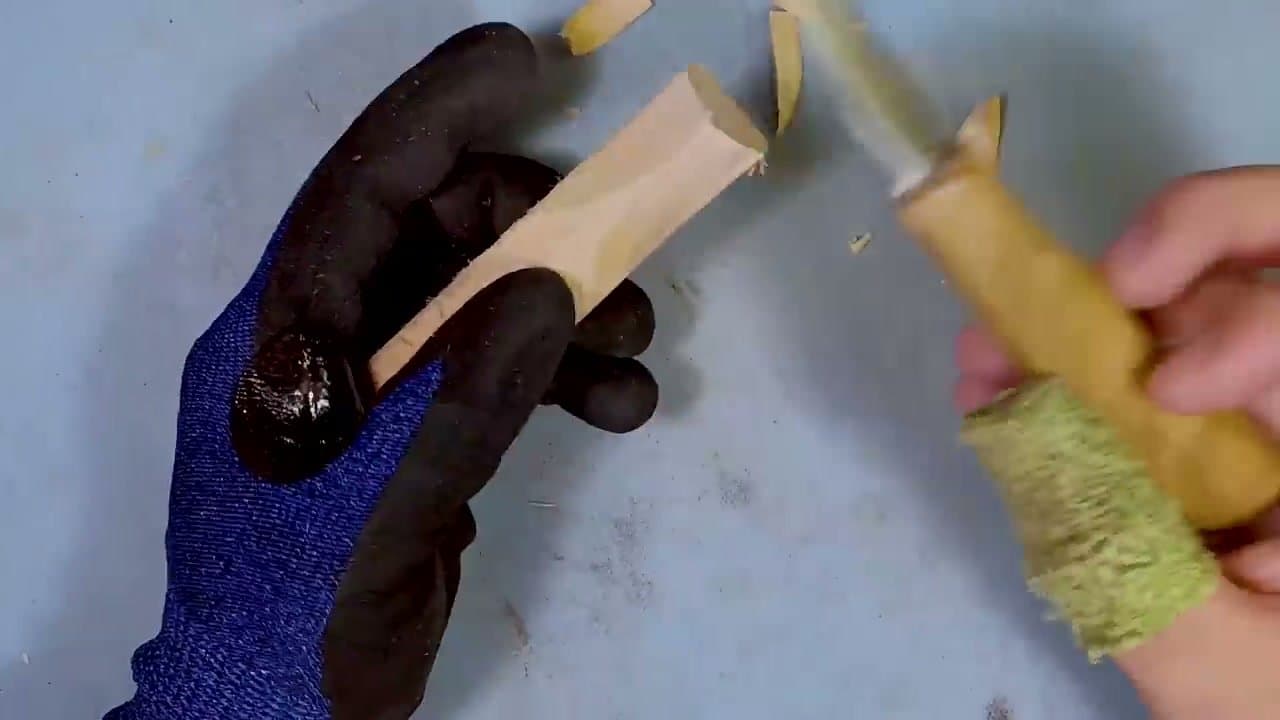
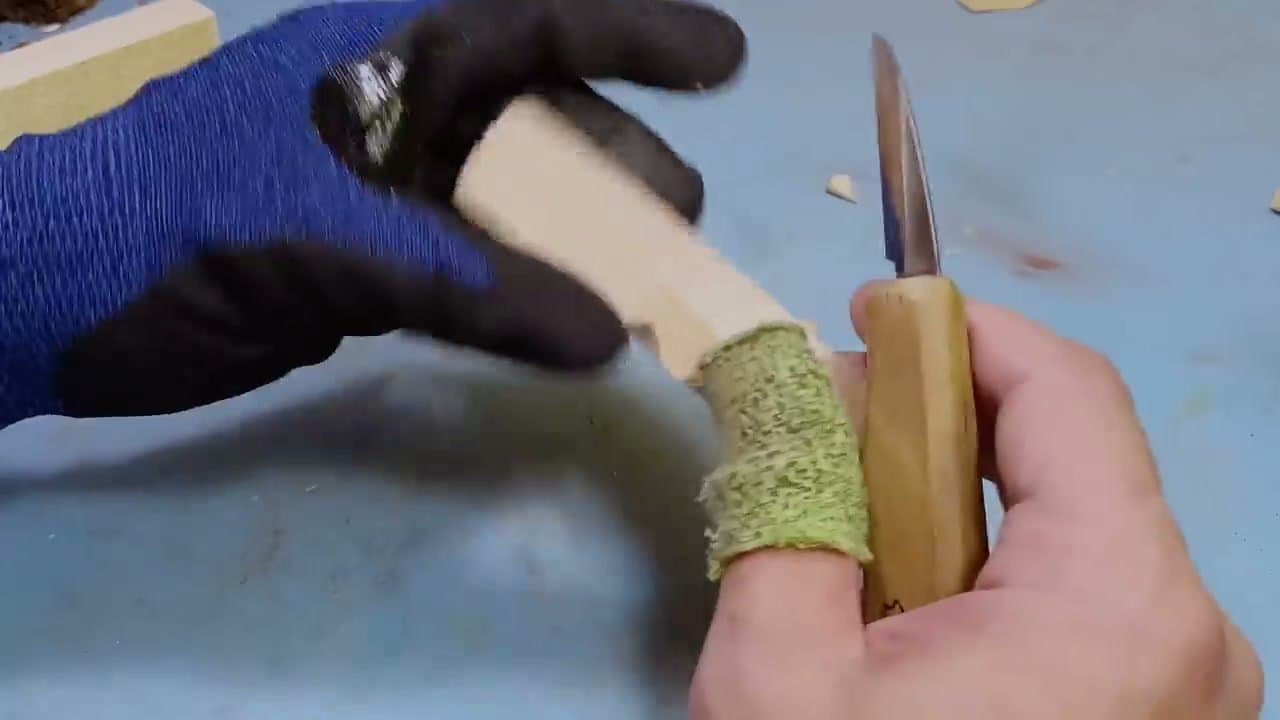
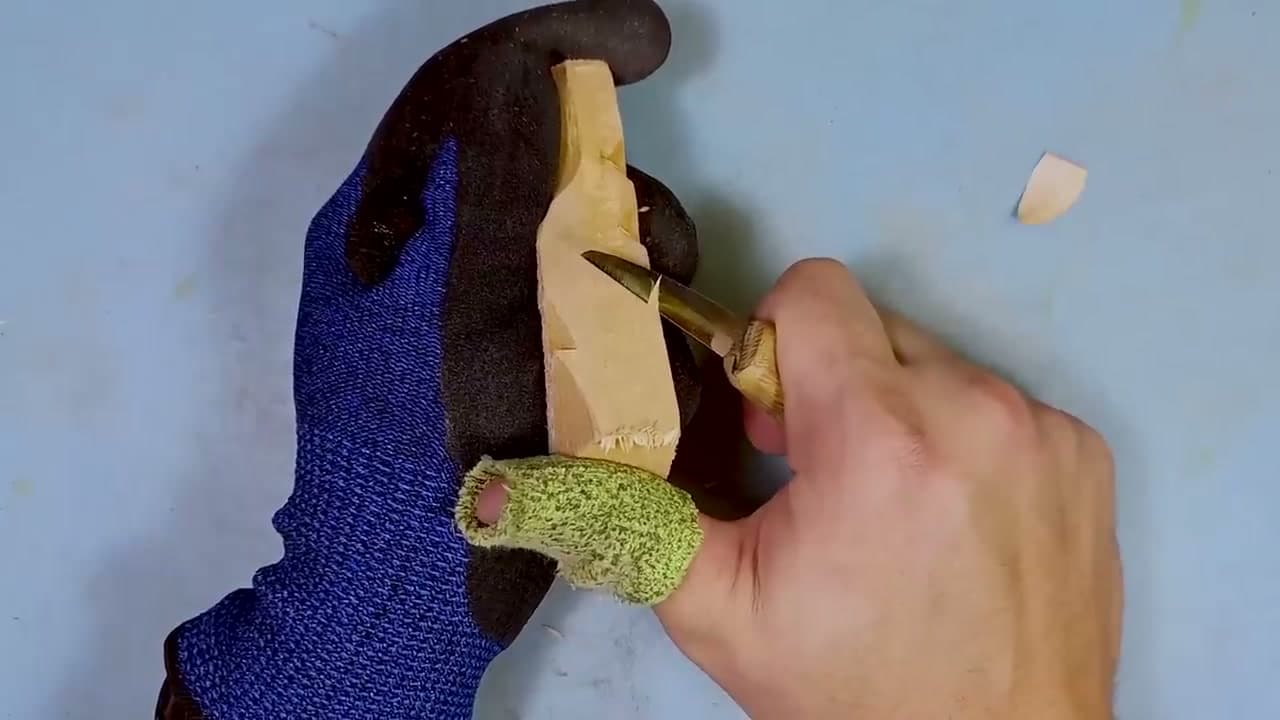
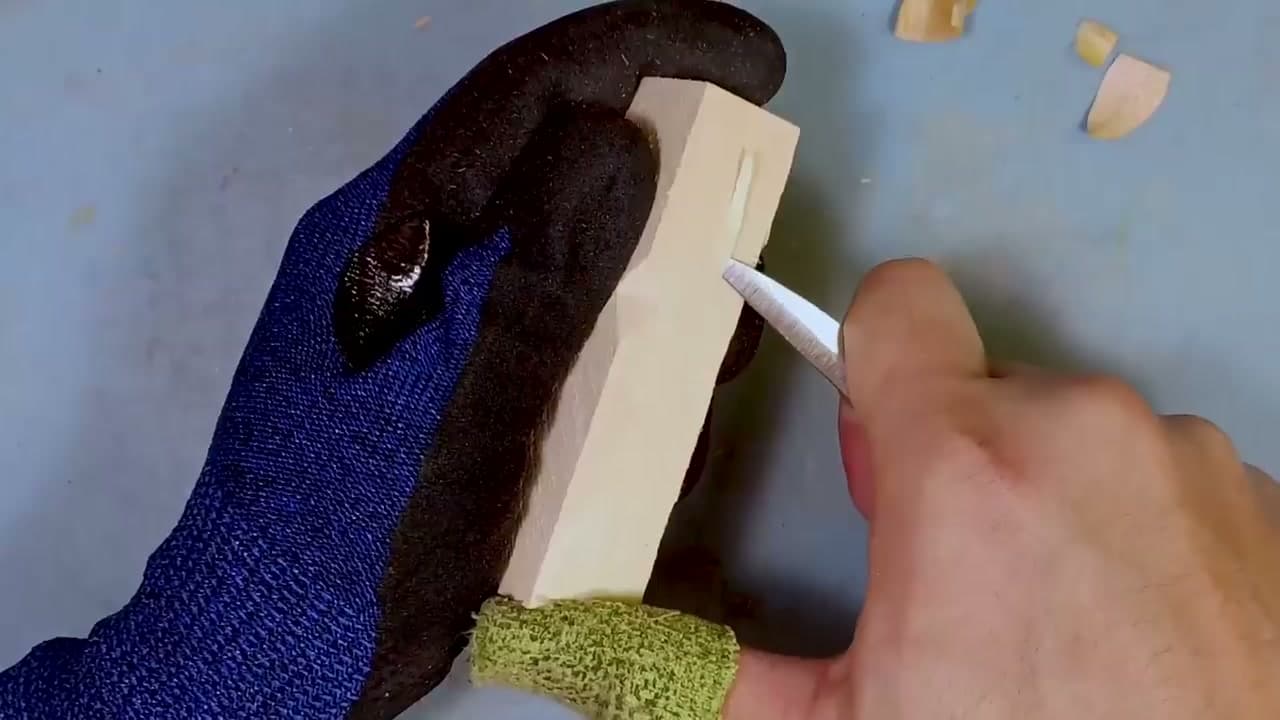
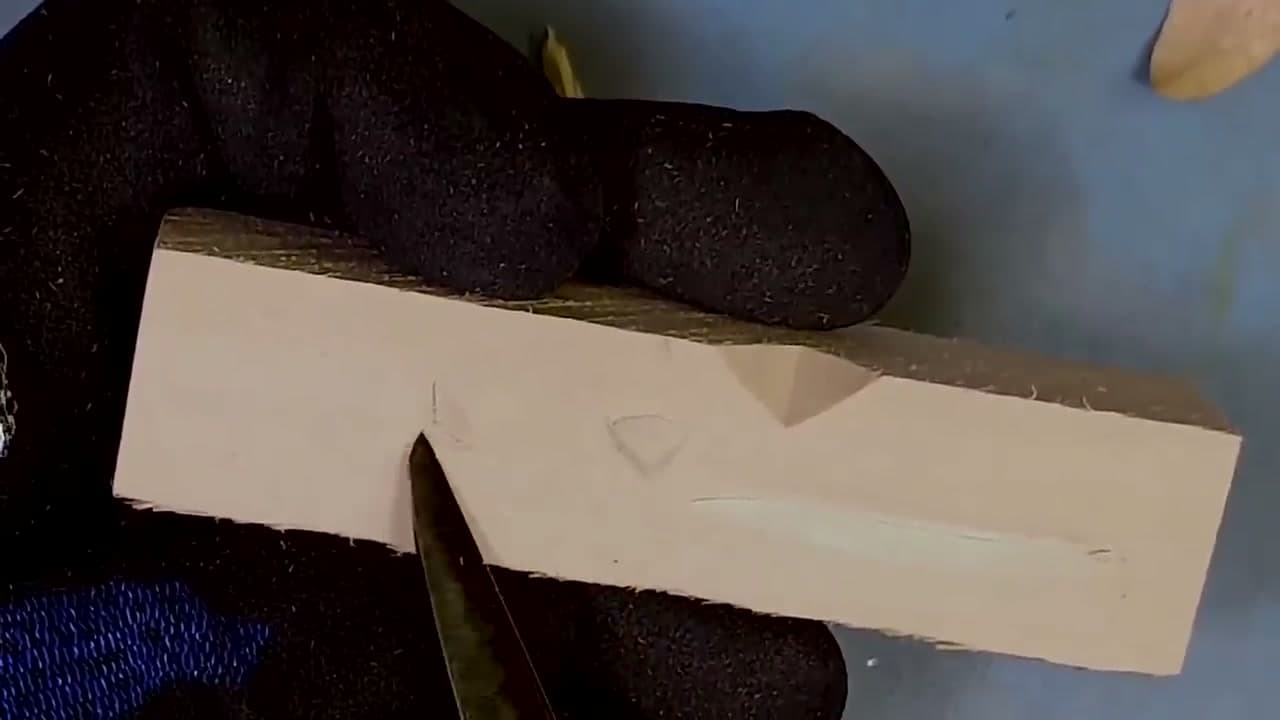
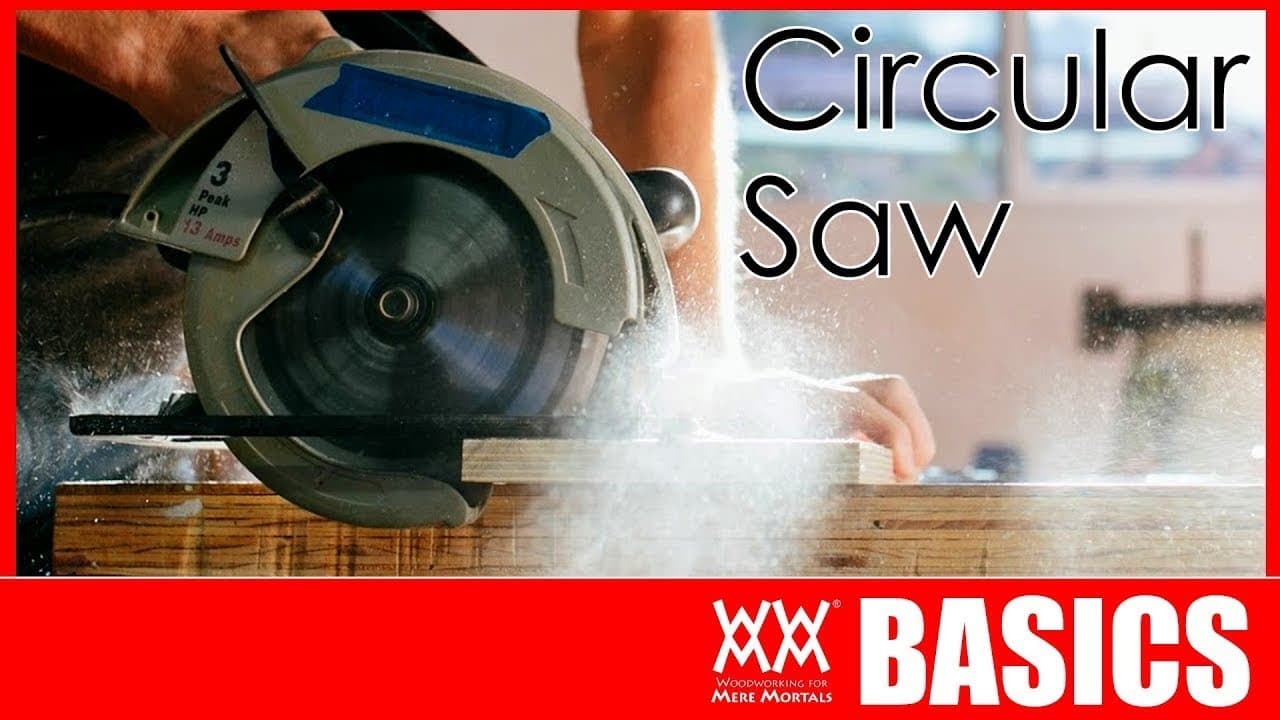
Step 1: The Rough Cut
0:31
The simplest cut - just push the blade through the wood. You used this one as a kid. It's the fastest way to remove big chunks but the least controlled.
Watch where the blade exits. With no resistance built in, it can keep going past the wood and into your other hand or anything else in the path. Reserve this cut for shaping a fresh blank when nothing's near the work area.