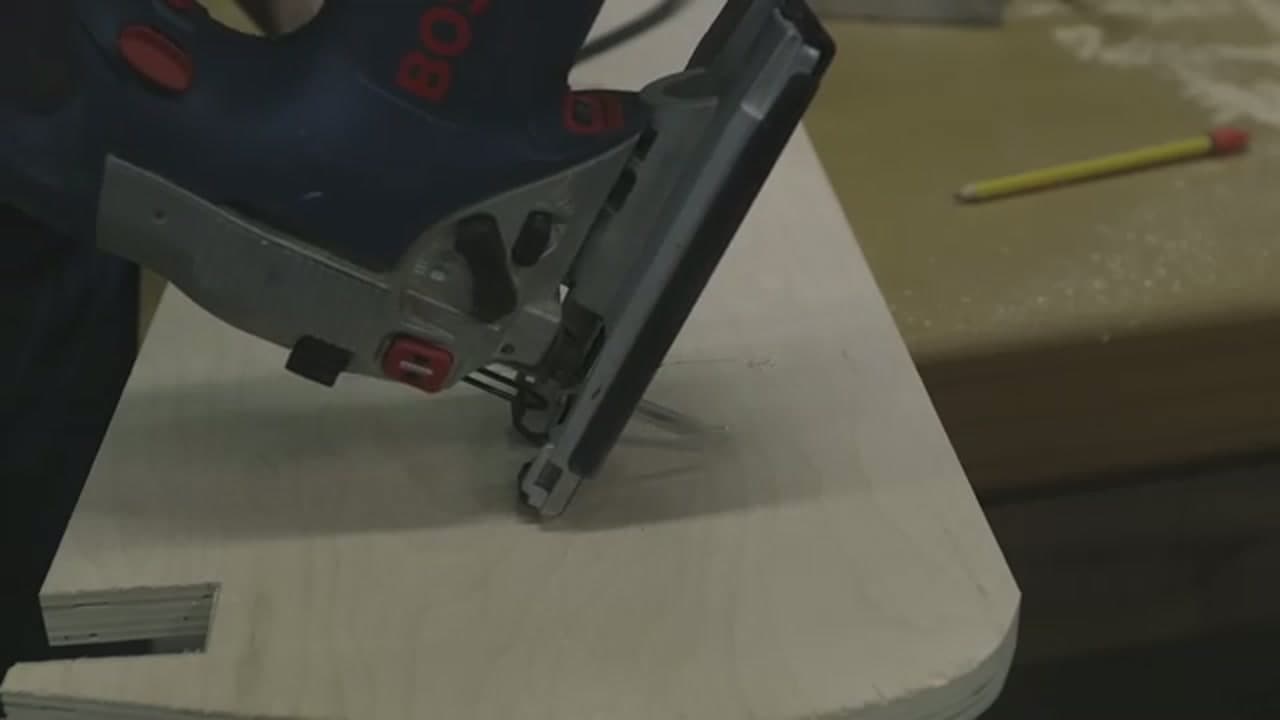
How to Use a Jigsaw

Woodworking CraftsEasy6:338 stepsBrowse more →

By CraftingStepByStepPublished

Based on a video by Training Hands Academy.

The jigsaw is one of the first power tools worth learning, and it does a lot for its size. It cuts curves, straight lines, and interior shapes that a circular saw can't touch. Training Hands Academy breaks the whole thing down for beginners in this hands-on demo, using a Bosch jigsaw on scrap lumber and plywood.

Once you understand blade choice and how the base plate works, the tool stops feeling intimidating. You will see how to swap blades, dial in a bevel angle, and follow a pencil line around a curve without the blade wandering.

This one fits right into the beginner tool series. If you want more control on straight edges and dadoes, read how to use a router, and for fast, long rip cuts pair it with how to use a circular saw.

Step-by-Step Guide

1

Step 1: Get to Know the Jigsaw

0:40
Step 1: Step 1: Get to Know the Jigsaw

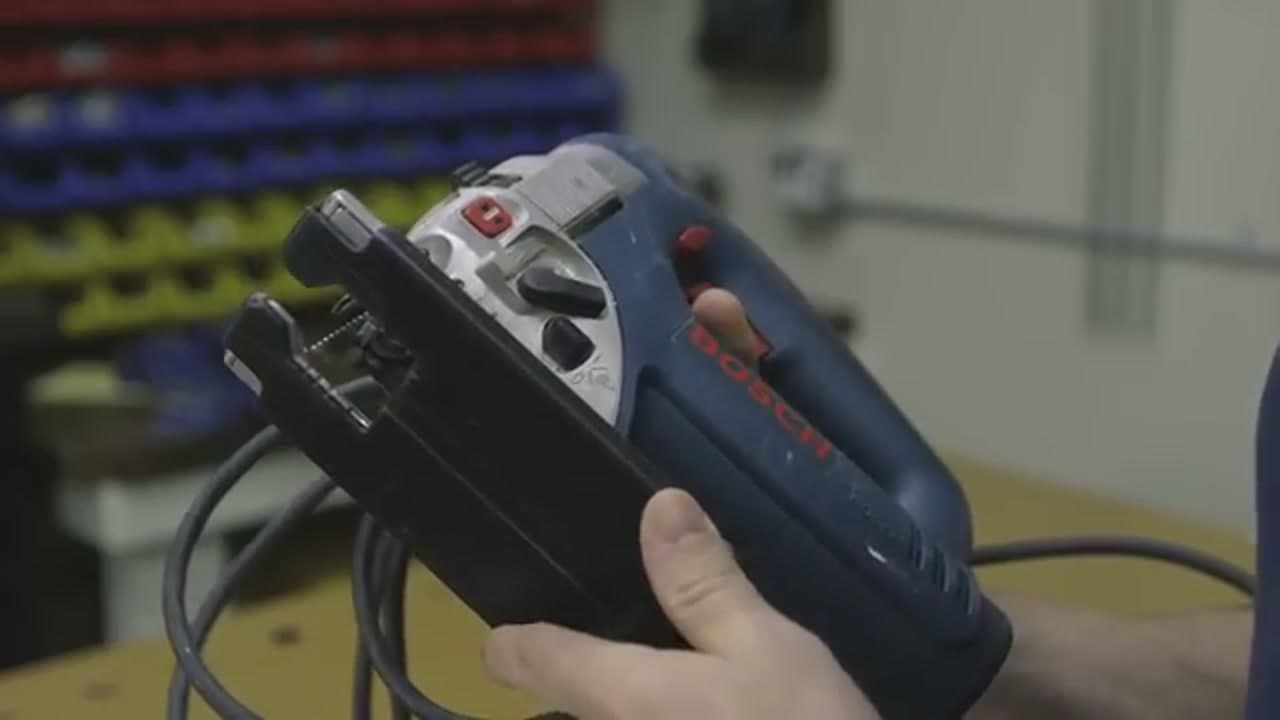
Before you cut anything, look the tool over. The blade clamps into the front, the flat metal base is called the shoe, and up top you have a speed dial and an orbital setting. The orbital action pushes the blade forward on each stroke for faster, rougher cuts, so turn it down when you want a cleaner edge. Spend a minute finding each control. It pays off once the blade is moving.

Tip

Unplug the saw or pull the battery before you touch the blade clamp. It only takes a second and it saves fingers.
2

Step 2: Choose the Right Blade

1:40
Step 2: Step 2: Choose the Right Blade

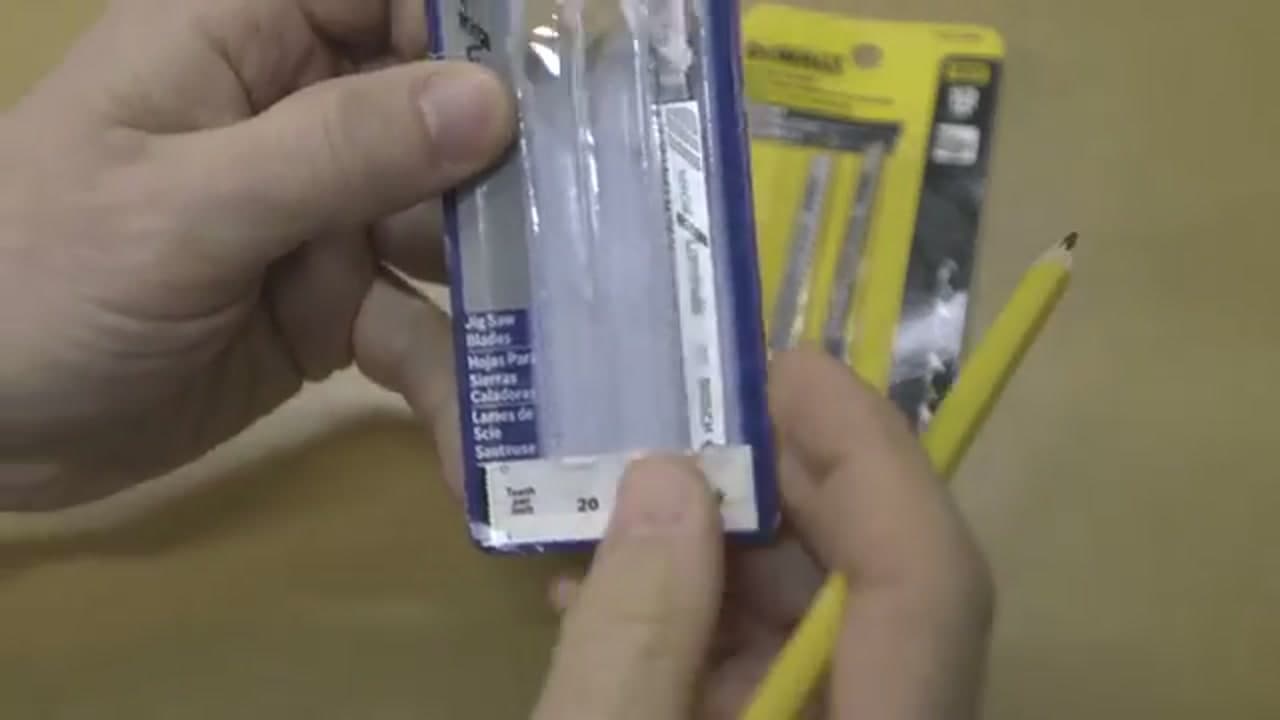
Blades are not all the same. The number on the pack is the tooth count, and it tells you a lot. Fewer, bigger teeth cut wood fast but leave a rougher edge. More teeth per inch give a smoother finish and are what you want for thin plywood or trim. There are metal-cutting blades too, with very fine teeth. Match the blade to the material and the cut goes a lot better.

3

Step 3: Install the Blade

2:00
Step 3: Step 3: Install the Blade

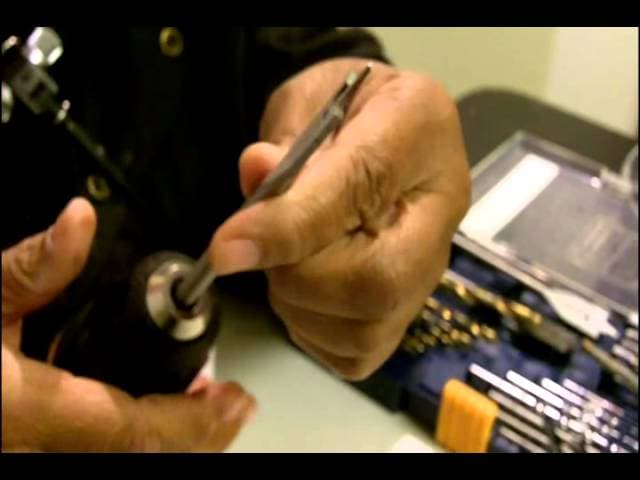
Most modern jigsaws take blades without a tool. Flip the release lever, slide the blade into the clamp with the teeth facing forward, and let the lever snap back. Give the blade a light tug to make sure it seated. A blade that isn't fully in can rattle loose mid-cut, and that ruins your line and your day. It should sit straight and run true in the shoe.

Tip

Teeth point toward the front of the saw and cut on the up-stroke. Load it backward and it will just chatter instead of cutting.

4

Step 4: Make a Straight Cut Through Lumber

2:40
Step 4: Step 4: Make a Straight Cut Through Lumber

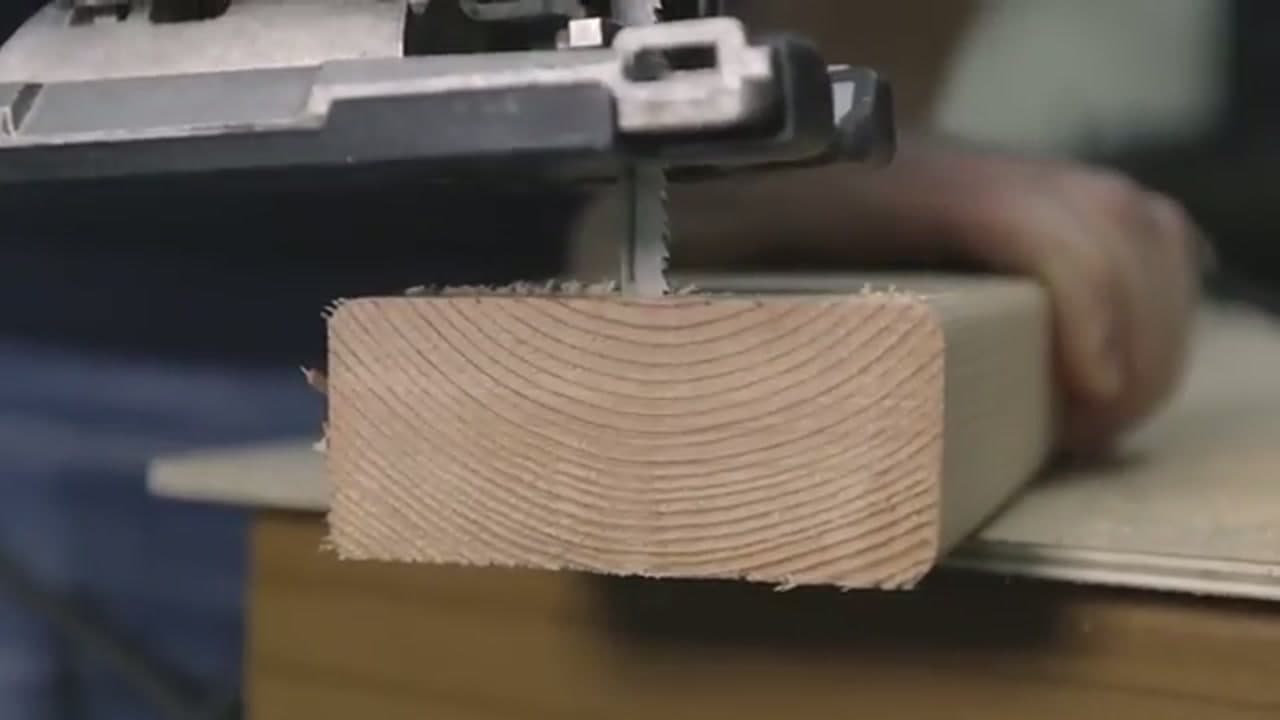
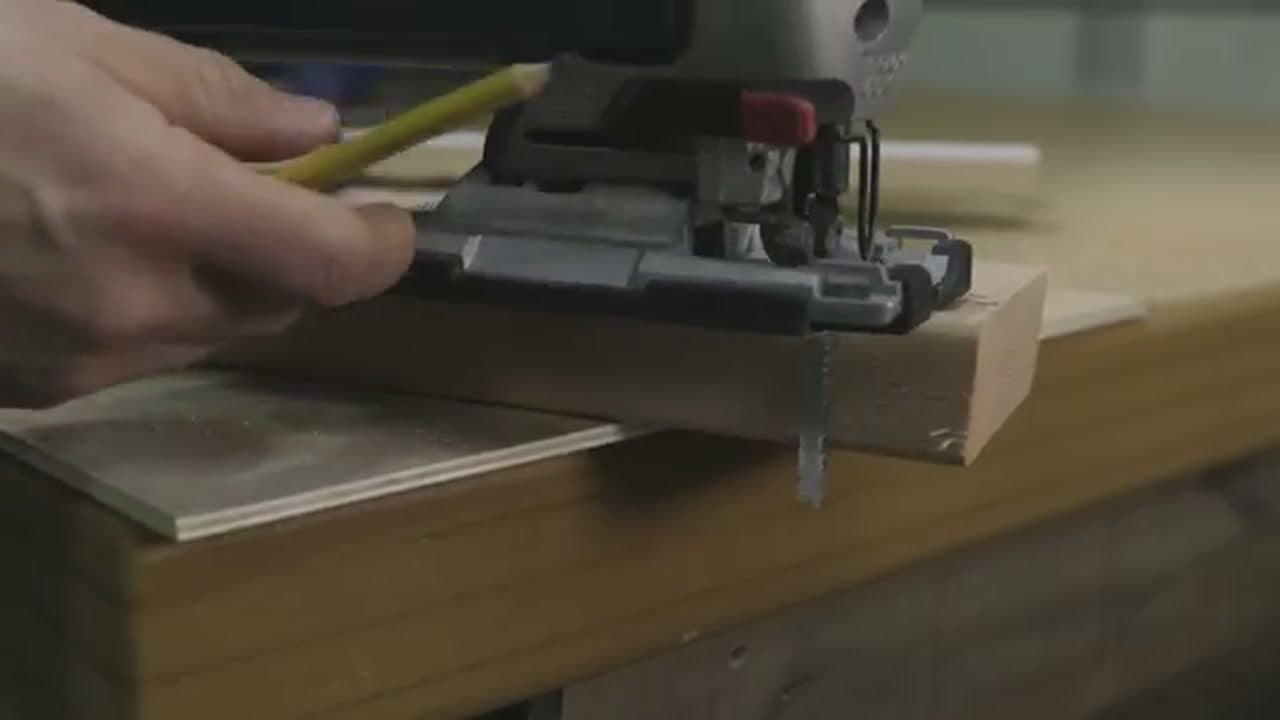
Line the blade up on the outside of your pencil mark, rest the front of the shoe on the wood, then squeeze the trigger and let the blade get up to speed before it touches the line. Here you can see it working straight down through a 2x4. Let the saw do the work. Push gently and steadily. If you force it, the blade bends and the cut angles out on the underside.

Tip

Clamp the board down so it can't buzz or shift. A moving workpiece is where bad cuts and kicked-back blades come from.

5

Step 5: Set the Bevel Angle

3:20
Step 5: Step 5: Set the Bevel Angle

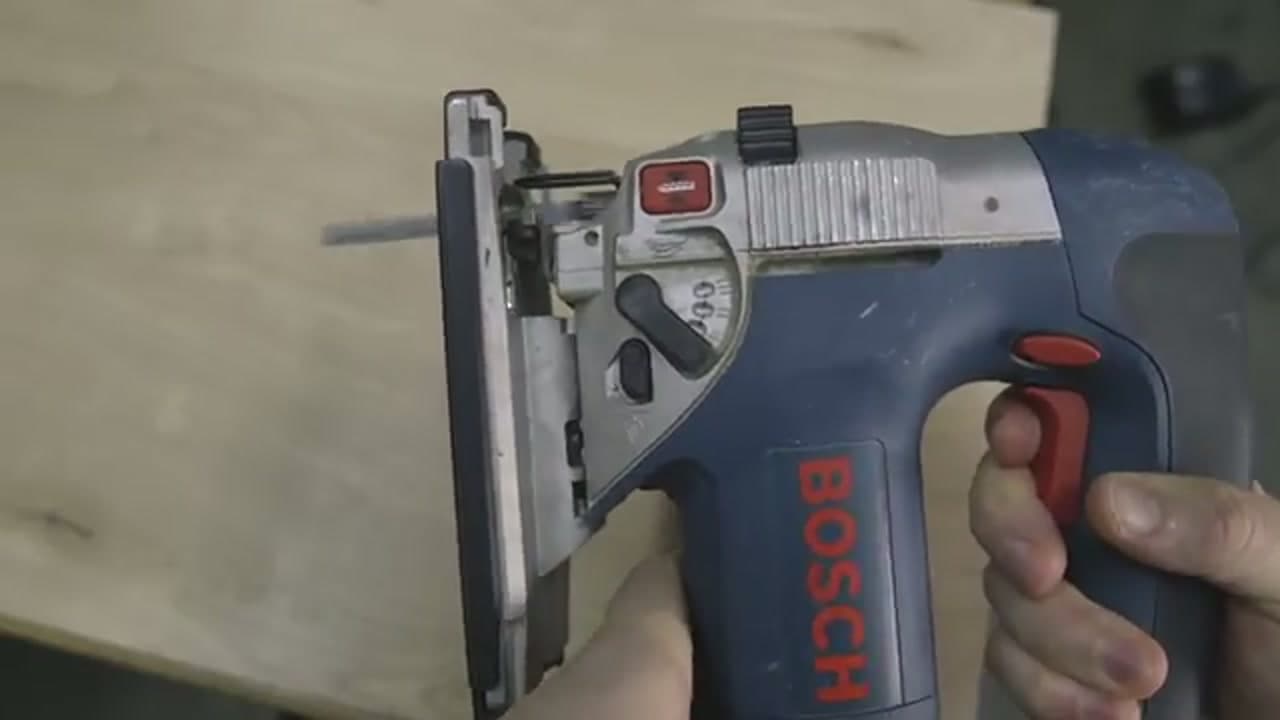
The shoe tilts, which lets you cut angles instead of straight down. Loosen the base with the lever or hex key, tip it to the angle you want, and read the gauge stamped on the side. Forty-five degrees is the common one for mitered edges. Lock it back down firmly before you cut. A loose shoe will drift off your angle partway through and you won't notice until the piece doesn't fit.

Products used in this step

6

Step 6: Follow a Marked Line

4:20
Step 6: Step 6: Follow a Marked Line

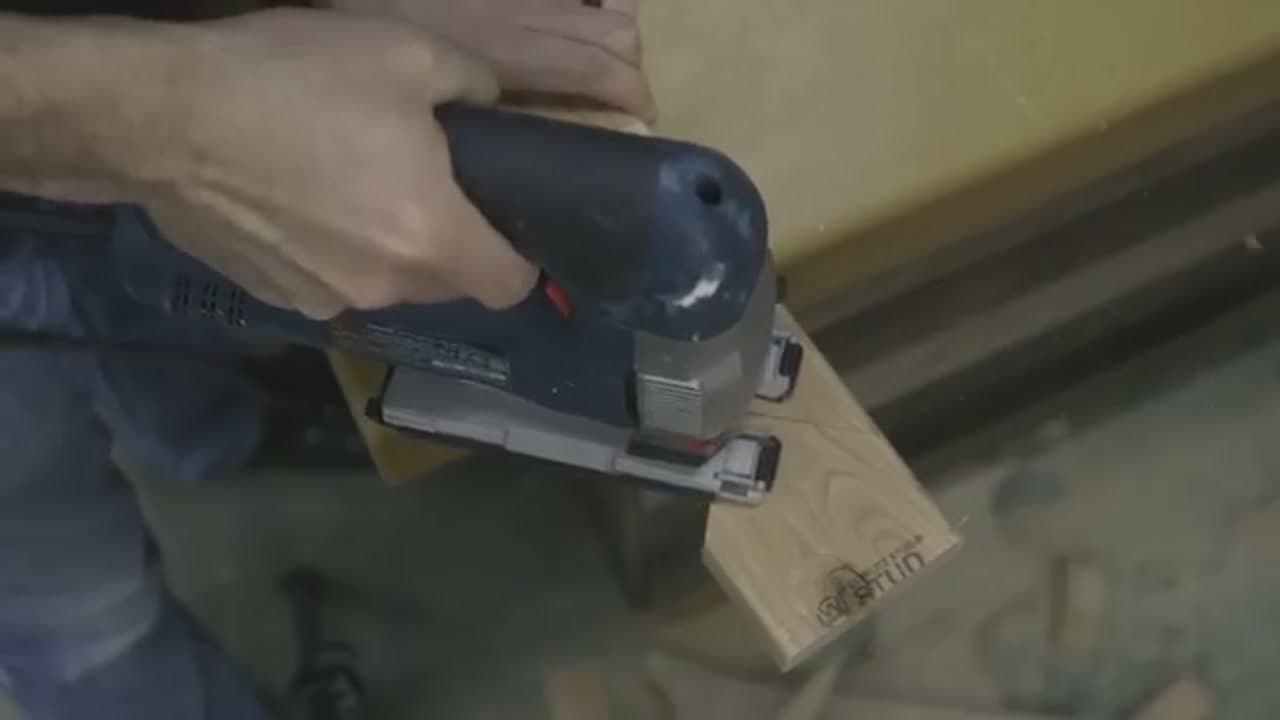
With the saw dialed in, keep your eyes on the blade and the line, not on the body of the tool. Feed at a steady pace and keep the shoe flat on the surface the whole way. Rushing makes the blade wander wide of your mark. Going too slow can scorch the wood. Find a smooth, even push and the cut tracks the pencil line cleanly from start to finish.

Products used in this step

7

Step 7: Drill a Starter Hole for Interior Cuts

4:40
Step 7: Step 7: Drill a Starter Hole for Interior Cuts

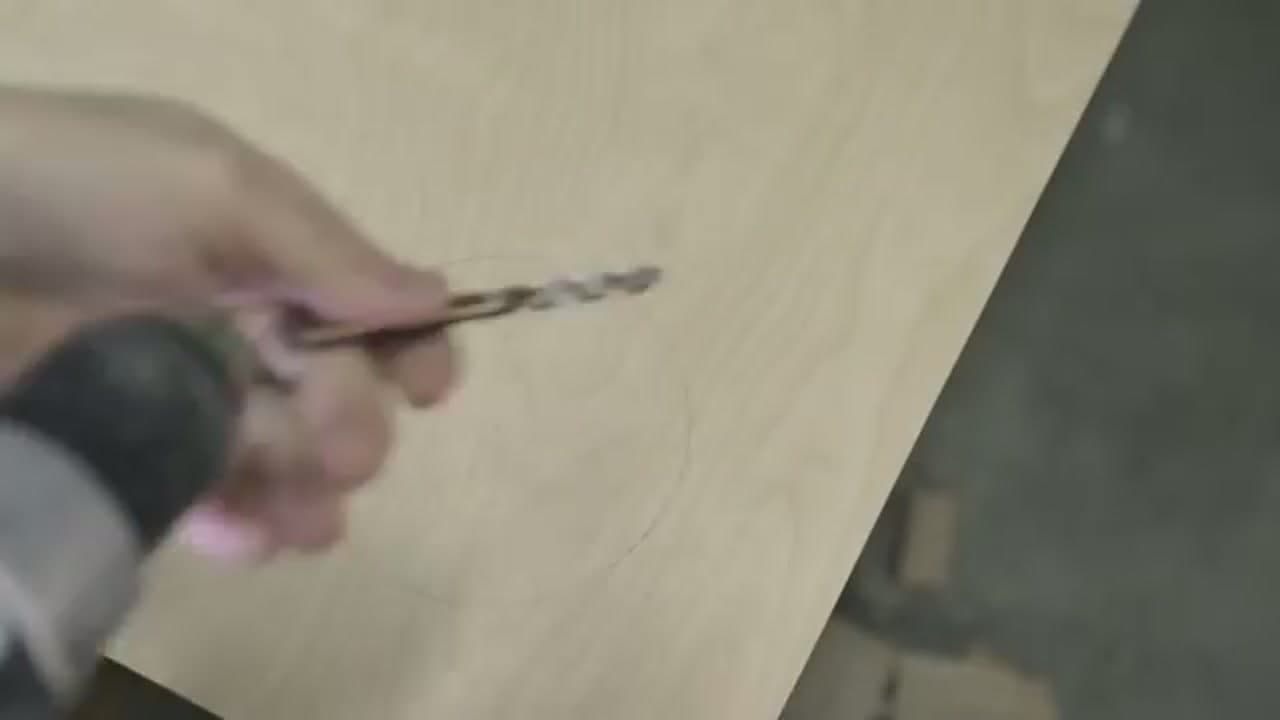
To cut a shape in the middle of a panel, you need a way in for the blade. Mark your shape, then drill a hole just inside the waste line, big enough for the blade to drop through. Here a circle is laid out on plywood and a hole is bored near the edge of it. Now the blade can start from that hole and cut out to your line without having to plunge blind.

Tip

Drill on the waste side of the line, not the keep side. That way the hole disappears when you cut the shape free.

Products used in this step

8

Step 8: Cut a Curve

5:25
Step 8: Step 8: Cut a Curve

Curves are where the jigsaw shines. Ease into the arc and let the blade steer, turning the whole saw slowly so the blade never binds. Tight curves need a narrow blade and a slower pace. If you feel the saw fighting you, back off and take a wider approach. Follow the line around and you end up with a smooth, sweeping curve like the one cut here in plywood.

Tip

For very tight radii, make a couple of relief cuts into the waste first. Small pieces fall away and free the blade to turn.

Products Used

☐ The Checklist

How to Use a Jigsaw

Tools
6
Materials
4
Steps
8
Video
7 min

Your Guide

Training Hands Academy

As an Amazon Associate we earn from qualifying purchases. Links on this page may be affiliate links - clicking them and buying doesn't change your price, but helps support ShowMeStepByStep.

Tags

Sunday How-To

New woodworking crafts tutorials, every Sunday

One short email with the week's best step-by-step guides. Free, no spam, unsubscribe anytime.

Did this work for you?

What's next

Related collections

Curated theme pages that include this tutorial.

Weekly Digest

Liked this woodworking crafts tutorial?

Pick the categories you want to hear about. Weekly digest of new step-by-step tutorials. No spam, easy unsubscribe.

Send me tutorials about

We only email about new tutorials. Easy unsubscribe anytime.