How to Use a Miter Saw

Based on a video by 731 Woodworks

Opens their YouTube channel

Steps written out by CraftingStepByStep · Published · Updated

Watch the original video (opens YouTube)
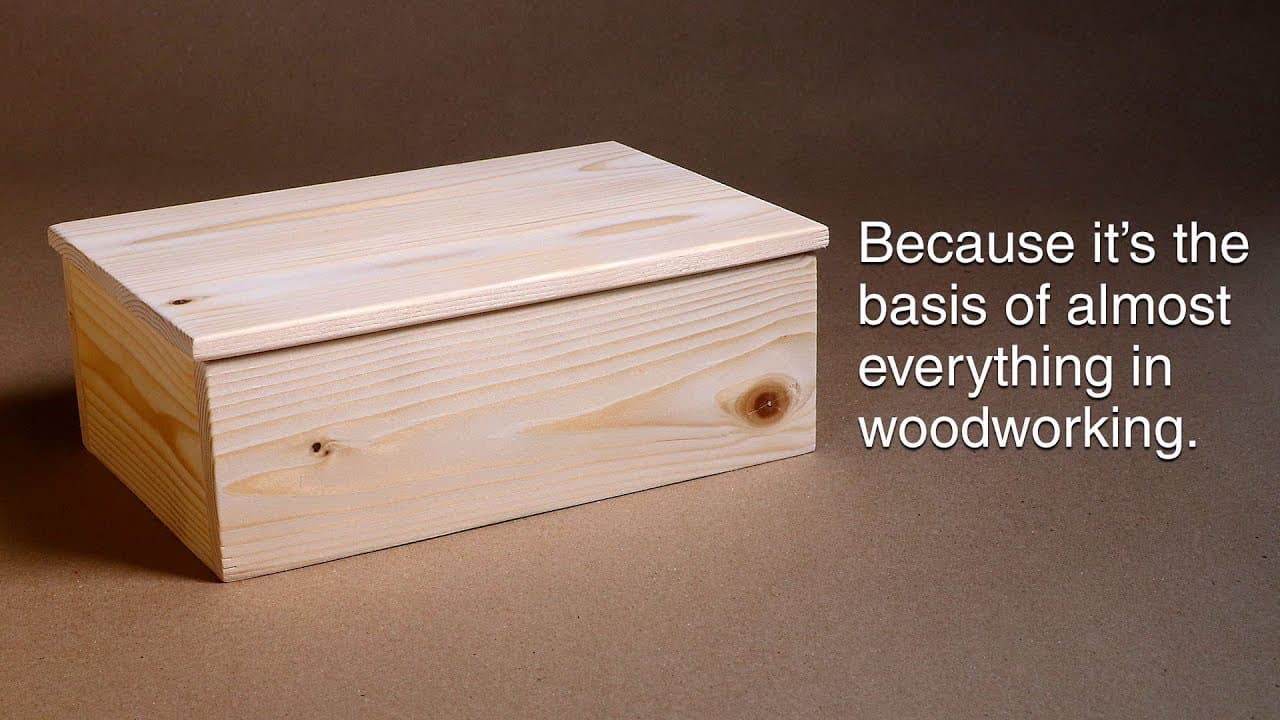
The finished result: How to Use a Miter Saw

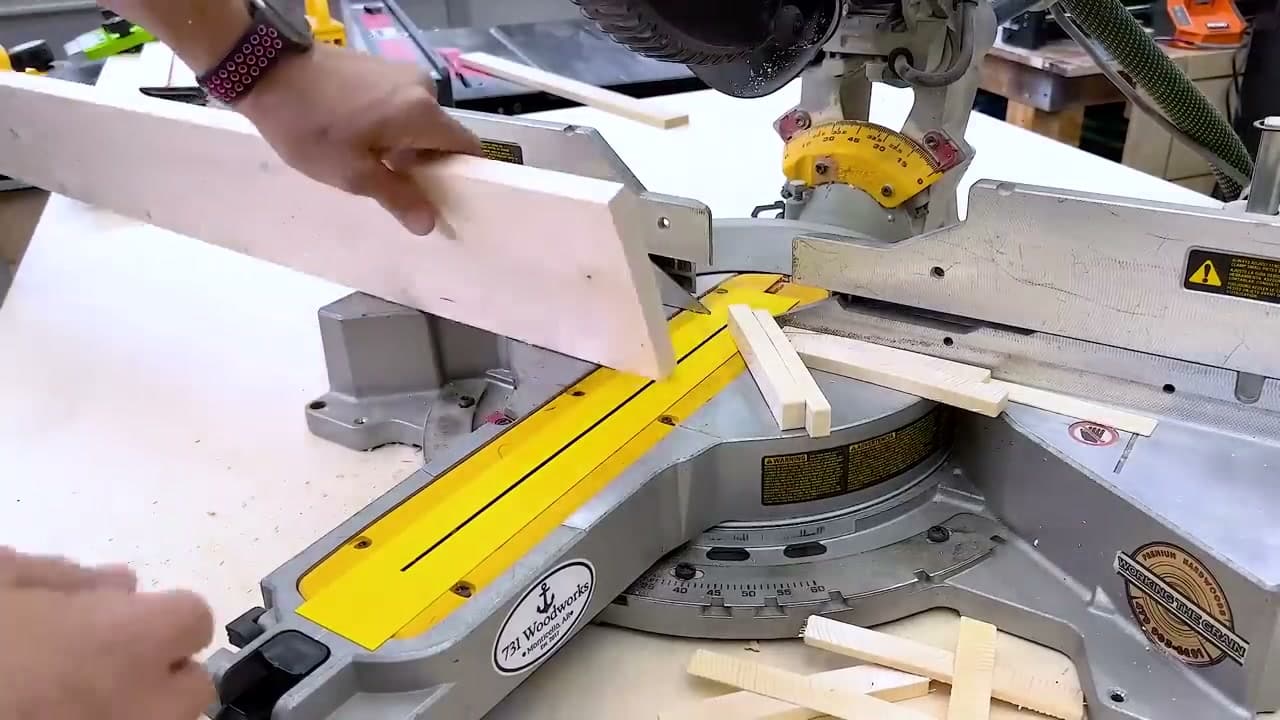
The miter saw is the workhorse of a beginner woodworking shop. It cuts cleaner crosscuts than a circular saw, it does angled cuts for trim and picture frames without any math, and it does compound cuts for crown molding. It's also easy to use badly. A sharp 10-inch blade spinning at 4,000 RPM will not forgive a crossed arm, a loose sleeve, or a board that isn't supported.

This walkthrough is built from 731 Woodworks' beginner safety guide - the same channel behind the router walkthrough. We'll cover the blade to buy on day one, the two-minute square check, where to plant your hands, and setting the fence before bevel cuts. New to power tools? Start with the drill walkthrough, and use a circular saw for sheet goods too wide for this saw.

Miter, bevel and compound cuts

CutWhat movesTypical project
MiterThe table swings left or rightPicture frames
BevelThe head tiltsTall baseboard cut lying flat
CompoundBoth at onceCrown molding cut lying flat

Sliding or non-sliding?

A non-sliding saw chops straight down, so blade size sets the width it can cut. A 10-inch chop saw handles roughly a 2x6. A sliding saw adds rails, so the head pulls out and pushes back through the board; a 10- or 12-inch slider crosscuts boards around a foot wide. Check the cut capacity in the specs, not the blade size, and expect less capacity at 45 degrees.

Cutting to the line

Mark an X on the waste side so you never lose track of the keeper. With the saw off, lower the blade and line the teeth up on the waste side of the pencil line. For several identical pieces, clamp a stop block at the length you want, butt each board against it and cut. Every piece matches and you measure once.

The hands-safety zone

Many saws print a no-hands zone on the table. Treat it as at least 6 inches either side of the blade. Your trigger hand stays on the handle, the other hand holds the board against the fence on its own side, and your arms never cross over the blade. If a piece is too short to hold outside that zone, cut it from a longer board or clamp it down.

Let the blade stop before you lift

When the cut is through, keep the head down, release the trigger and wait until the blade stops. Lifting a spinning blade can catch the offcut and fling it, and that is the moment hands get pulled toward the teeth. Most saws with an electric brake stop in a couple of seconds. Wait them out.

Common miter saw mistakes

  • Freehand short pieces. Fingers end up inside the zone. Clamp, or cut from longer stock.
  • Lifting the blade while it spins. The offcut becomes a projectile.
  • Trusting the factory detent. The 90 and 45 stops can be a fraction off. Check with a square, then cut two 45s on scrap and close them into a corner. A gap means the angle needs a nudge.
  • Cutting before full speed. The blade grabs and the cut wanders.
What you'll need

Step-by-step guide

8 steps, about 15 minutes. Tap a picture to jump to that step. Your progress saves automatically.

Tick each step off as you go.

  1. Step 1: Upgrade the Stock Blade

    Watch this step · 2:13

    Almost every miter saw ships with a 32-tooth blade meant for rough framing - 2x4s on a job site. That blade tears the fibers on furniture-grade lumber and leaves a fuzzy edge you'll spend extra time sanding. Swap it the same week you buy the saw.

    For crosscuts on a 10-inch miter saw, a 60 or 80-tooth carbide-tipped blade is the sweet spot. The CMT Orange Chrome 80-tooth is the premium pick - around $100 and stays sharp through years of hardwood. Diablo's 80-tooth Ultra Finish is the budget option for half the price and still cuts clean. More teeth means smaller chips per tooth, which means less tear-out across the grain. That's exactly what you want for a crosscut.

    Tip:

    Always unplug the saw or pull the battery before you change a blade. Use the spindle-lock button and the supplied arbor wrench. Snug, not gorilla-tight.

    Back to all steps

  2. Step 2: Check the Blade Is Square to the Fence

    Watch this step · 3:00

    A miter saw can drift out of square just from being moved across a shop or driven to a jobsite. Before you trust it for anything important, take two minutes to verify. Unplug the saw or pull the battery first - this is a rule for any tool work near the blade.

    Drop the blade down and slide a small machinist's square against the side. Land the square between two teeth, not on a tooth. The carbide tips stick out farther than the blade body and will throw the reading off. Check 90 degrees against the fence (left-right) and 90 degrees vertical (up-down). If either is off, loosen the bolts on the base plate and nudge the zero stop until the square reads true, then snug it back down.

    Tip:

    If you do nothing else after buying a saw, do this check. A blade that's 1 degree out of square will compound across long boards and ruin every miter joint in a picture frame.

    Back to all steps

  3. Step 3: Wear a Dust Mask and Hook Up Dust Collection

    Watch this step · 4:14

    Miter saws are the worst dust producers in a small shop. The spinning blade fires fine sawdust straight at your face and into the air around you. Wood dust is a known carcinogen for the lungs and sinuses - especially exotic hardwoods - and it lingers for hours after you stop cutting.

    Two-layer fix. First, a quality dust mask whenever the saw is running. The RZ Mask M2 and M3 are reusable cloth masks with replaceable filters and far more comfortable than disposable N95s. Second, attach a shop vac or a dedicated dust extractor to the dust port on the back of the saw. Aim for the highest CFM motor you can afford - 6 HP shop vacs from Ridgid pull a lot of air. A Festool or DeWalt HEPA dust extractor is the upgrade and catches the fine particles that pass straight through standard shop vac filters.

    Tip:

    Leave the mask on while you assemble too. The dust hangs in the air for 15-20 minutes after the saw stops. Taking the mask off the moment you finish cutting puts you back into the cloud.

    Back to all steps

  4. Step 4: Plant Your Hands Correctly (Never Cross Your Arms)

    Watch this step · 5:20

    The single most dangerous habit on a miter saw is reaching across the blade to hold the workpiece. If you're right-handed, your right hand operates the trigger and your left hand stays on the left side of the blade, holding the board against the fence. Reverse for left-handed users. Never let either arm cross the blade's path.

    The reason isn't just that crossed arms are awkward. If the blade catches and kicks the workpiece, the offcut flies sideways toward whichever hand is closest. With crossed arms, your forearm is directly in that path. Keep your hands at least 6 inches from the blade on either side, and brace the board firmly against the fence so it can't pivot during the cut.

    Tip:

    If a cut would force you to reach across the blade, stop. Flip the board around or move to the other side of the saw. There's always a way to make the cut without crossing your arms.

    Back to all steps

  5. Step 5: Support Both Sides of the Material

    Watch this step · 8:50

    A miter saw cuts a board in half. The moment the cut completes, whichever side isn't supported drops. If it drops 4 inches off the edge of a workbench, you'll just lose accuracy on that cut. If it drops a foot or hits the spinning blade on the way down, you can get a violent kickback or a broken bit.

    Set up outfeed support on both sides of the saw, at the exact height of the saw's bed. A dedicated miter station is the gold standard - a long flat surface on each side of the saw with the bed inset flush. Hardwood shims and washers under the saw level it. If you're short on space, a portable miter stand with extending arms (DeWalt makes a solid one) folds away when you're done. Rolling miter stands are the budget version - cheap, set them up anywhere.

    Tip:

    Run your hand across the joint where the saw bed meets the table. If you can feel a bump or a dip, shim or sand it flush. A board that catches on a lip mid-cut will tear at the fence.

    Back to all steps

  6. Step 6: Make the Cut - Spin Up, Ease Down, Let It Stop

    Watch this step · 7:22

    There's a right rhythm to a miter saw cut and beginners almost always rush it. Pull the trigger first and let the blade reach full speed before it touches the wood. Plunging a still-spinning-up blade into hardwood bogs the motor, burns the wood, and pushes the saw to one side.

    Mark your cut with a pencil. Set the board against the fence so the blade lines up just on the waste side of the line - the blade itself takes about an eighth of an inch of material as kerf, so don't cut on the line, cut next to it. Squeeze the trigger, wait two seconds, then ease the head down through the wood at a steady pace. When the cut is fully through, hold the head down until the blade stops spinning, then lift. Raising the head while the blade is still moving can grab the offcut and throw it. Especially dangerous when you're using a stop block - the trapped offcut has nowhere to go.

    Tip:

    Listen to the saw. If the motor pitch drops, you're pushing too fast. Back off, let it recover, then continue. A smooth cut sounds boring. That's the goal.

    Back to all steps

  7. Step 7: Slide the Fence Out Before Bevel Cuts

    Watch this step · 10:45

    On most miter saws, the top half of the aluminum fence slides outward. For straight 90-degree crosscuts, keep it close to the blade - it gives a tall workpiece more support and a flatter reference surface. Before you tilt the saw head sideways for a bevel cut, you have to slide that fence out of the way.

    The geometry: when the head tilts left or right for a bevel, the upper end of the blade arcs outward in the same direction. If the fence is in its inner position, the blade swings straight into it. The first sign is a horrible grinding noise and a chewed-up fence - sometimes a damaged blade and a flying carbide tip. Loosen the fence lock knob, slide the fence outward until the blade clears it at full bevel, then lock it down. When you go back to straight crosscuts, slide it back in and re-check square (see Step 2).

    Tip:

    Most saws have a hard stop on the fence at the fully-outboard position. Slide all the way until it stops, then come back if you need a smaller offset. Better to over-clear than to find out mid-cut.

    Back to all steps

  8. Step 8: Add Zero-Clearance to the Throat Plate

    Watch this step · 9:24

    The throat plate is the yellow or metal piece directly under the blade with the slot the blade passes through. From the factory, that slot is wide - sometimes a half inch on either side of the blade - so the saw works at any bevel angle out of the box. The downside is that any small offcut, splinter, or pencil tip that wants to fall down the slot will.

    Two ways to fix it. Most throat plates have slotted bolt holes - loosen them, slide the plates closer to the blade until they almost touch it (with the saw unplugged and the blade lowered), then tighten. The other option is FastCap zero-clearance tape: a tough vinyl strip that sticks across the throat. Drop the spinning blade through the tape once and you have a perfectly-fit slot. The cut underneath is dramatically cleaner because the wood fibers can't tear out into empty space. Bevel cuts will damage the tape, so plan to re-tape after any tilted cuts.

    Tip:

    If you're worried the throat plate adjustment will throw off cuts, lay a steel straight edge across the bed and check the height. A thousandth of an inch high or low won't matter for the kind of work most beginners do.

    Back to all steps

Keep going

How to Use a Circular Saw

9 steps · about 9 minutes

Products Used

The Checklist

How to Use a Miter Saw

Tools
9
Materials
3
Steps
8
Video
15 min

Tools we recommend

As an Amazon Associate we earn from qualifying purchases. Links on this page may be affiliate links - clicking them and buying doesn't change your price, but helps support CraftingStepByStep.

Tags

The Crafter's Weekly

New woodworking crafts tutorials, every Sunday

One short email with the week's best step-by-step guides. Free, no spam, unsubscribe anytime.

Test your knowledge

Did the lesson stick? Start with this one.

5 questions covering what you just read. No signup, no score saved, and you can stop after this one.

Question 1 of 5

Why swap the stock blade soon after buying a miter saw?

Quick reference

Key takeaways from How to Use a Miter Saw

5 questions, answers, and one-line explanations. Tap to expand.

  1. 1.Why swap the stock blade soon after buying a miter saw?

    Answer: Stock 32-tooth blades are rough-framing blades that tear furniture-grade lumber and leave fuzzy edges

    Upgrade to 60 or 80-tooth carbide for clean cuts on finish lumber.

  2. 2.When checking the blade for square, why land your square BETWEEN two teeth (not on a tooth)?

    Answer: Carbide tips stick out farther than the blade body and will throw the reading off

    Carbide tips are wider than the blade body; reference the blade body, not the tooth.

  3. 3.The single most dangerous miter-saw habit is...

    Answer: Reaching ACROSS the blade to hold the workpiece - your forearm ends up in the kickback path

    Crossed arms put your forearm in the kickback path; never cross the blade.

  4. 4.What's the right cut rhythm?

    Answer: Pull the trigger first, let the blade reach full speed, THEN ease the head down through the wood

    Full speed before contact = clean cut, no burn, no motor bog.

  5. 5.Before a BEVEL cut, what do you have to slide out of the way?

    Answer: The top half of the aluminum fence (the blade swings outward when tilted)

    When the head tilts for a bevel, the blade arcs outward toward the fence - slide the upper fence out or it grinds the fence.

Did this work for you?

What's next

Related collections

Curated theme pages that include this tutorial.

Similar tutorials

Hand-picked next reads based on the one you just finished.

Liked this woodworking crafts tutorial?

Pick the crafts you want to hear about. One email every Sunday with new step-by-step tutorials. No spam, easy to unsubscribe.

Get more like this in your inbox

Weekly digest. Pick the categories you want. Unsubscribe anytime.

Send me tutorials about

We only email about new tutorials. Easy unsubscribe anytime.