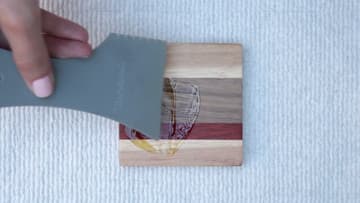
How to Make Wooden Coasters From Scrap Hardwood
Source: DIY Huntress • Full tutorial: www.craftingstepbystep.com/woodworking-crafts/how-to-make-wooden-coasters
- Difficulty
- Medium
- Hands-on time
- About 2 hours
- Wait time
- 3 hours
- Cost
- About $5 to $20
- Makes
- a set of 4 coasters

Tools
- table saw
- miter saw
- random orbit sander
- clamps
- push block
- silicone glue brush
- pencil
- safety glasses
Materials
- hardwood scraps in light, dark and accent colors
- carpenter's wood glue
- sanding discs in medium and fine grit
- hardwax oil or food safe finish
- clean rags
Steps
1. Stack Scrap Hardwood Boards for the Wooden Coasters
Dig through your offcuts for three or four hardwood boards in contrasting colors. Sam picked two pieces of white maple, one of walnut and one of red padauk.
Tip: Put a thin, bright strip off center. It looks more interesting than dead center.
2. Mark and Trim the Hardwood Pieces to Size
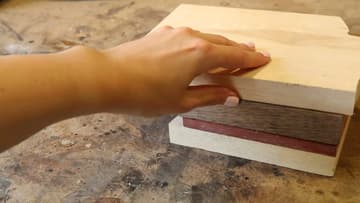
Lay each board on the next one and mark where they overhang. Trim the pieces at the miter saw so they all end up a similar width and length.
Tip: Leave them a little long. You trim the block square later anyway.
3. Sand the Hardwood Faces Flat Before Gluing
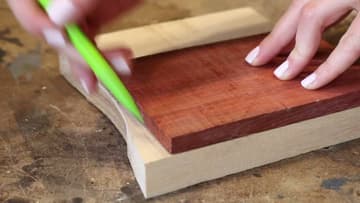
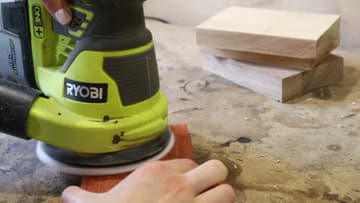
Run a random orbit sander over every face that will be glued. You are taking off the high spots so the boards sit tight against each other.
Tip: Draw pencil squiggles on the face. When they sand away evenly, it is flat.
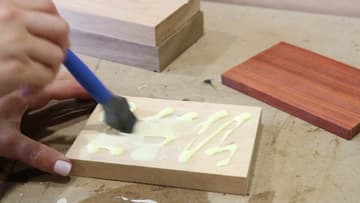
4. Spread Wood Glue on Each Coaster Layer
Squeeze wavy lines of carpenter's wood glue across the first board. Spread them with a silicone brush into a thin, even film that reaches every edge.
Tip: A silicone brush peels clean once the glue dries, so it lasts for years.
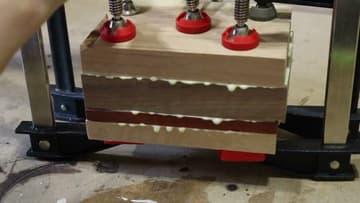
5. Clamp the Glued Hardwood Block and Let It Dry
Set the stack in clamps and tighten them down at every pressure point you can reach. You want a steady bead of glue squeezing out of every seam.
Tip: Snug is enough. Cranking too hard squeezes out the glue the joint needs.
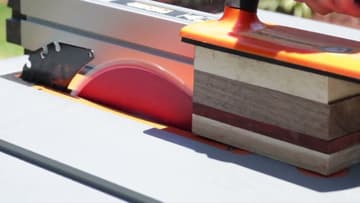
6. Slice the Hardwood Block Into Coaster Layers on the Table Saw
Set the table saw fence for a half inch cut and run the block through with a push block. Flip the block over and cut from the other side to finish the slice.
Tip: Stop when the block gets small. Cut the last slice by hand or skip it.
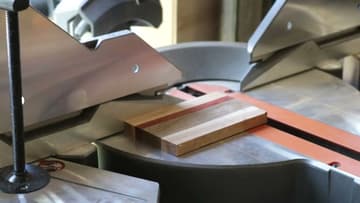
7. Cut Each Slice to a 3.5 Inch Square Coaster
Take the slices to the miter saw and trim them to 3.5 inches wide so each coaster comes out square. These pieces are small, so do not hold them with your fingers near the blade.
Tip: Cut one coaster, measure it, then cut the rest at the same setting.
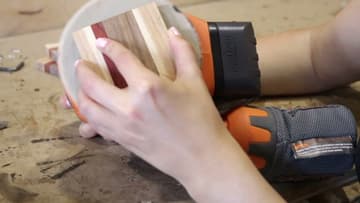
8. Sand the Wooden Coasters and Round Over the Edges
Sand both faces of each coaster smooth. Then soften every edge with a slight round over.
Tip: Wipe the dust off with a dry cloth before you finish.
9. Apply a Food Safe Finish to the Wooden Coasters
Pour a little hardwax oil onto a coaster and spread it with a plastic spreader. Push it over the whole face and the edges.
Tip: Work on a towel. Oily rags can self-heat, so lay them flat to dry outdoors.