How to Make a Wooden Sign (Hand Routed, No CNC)

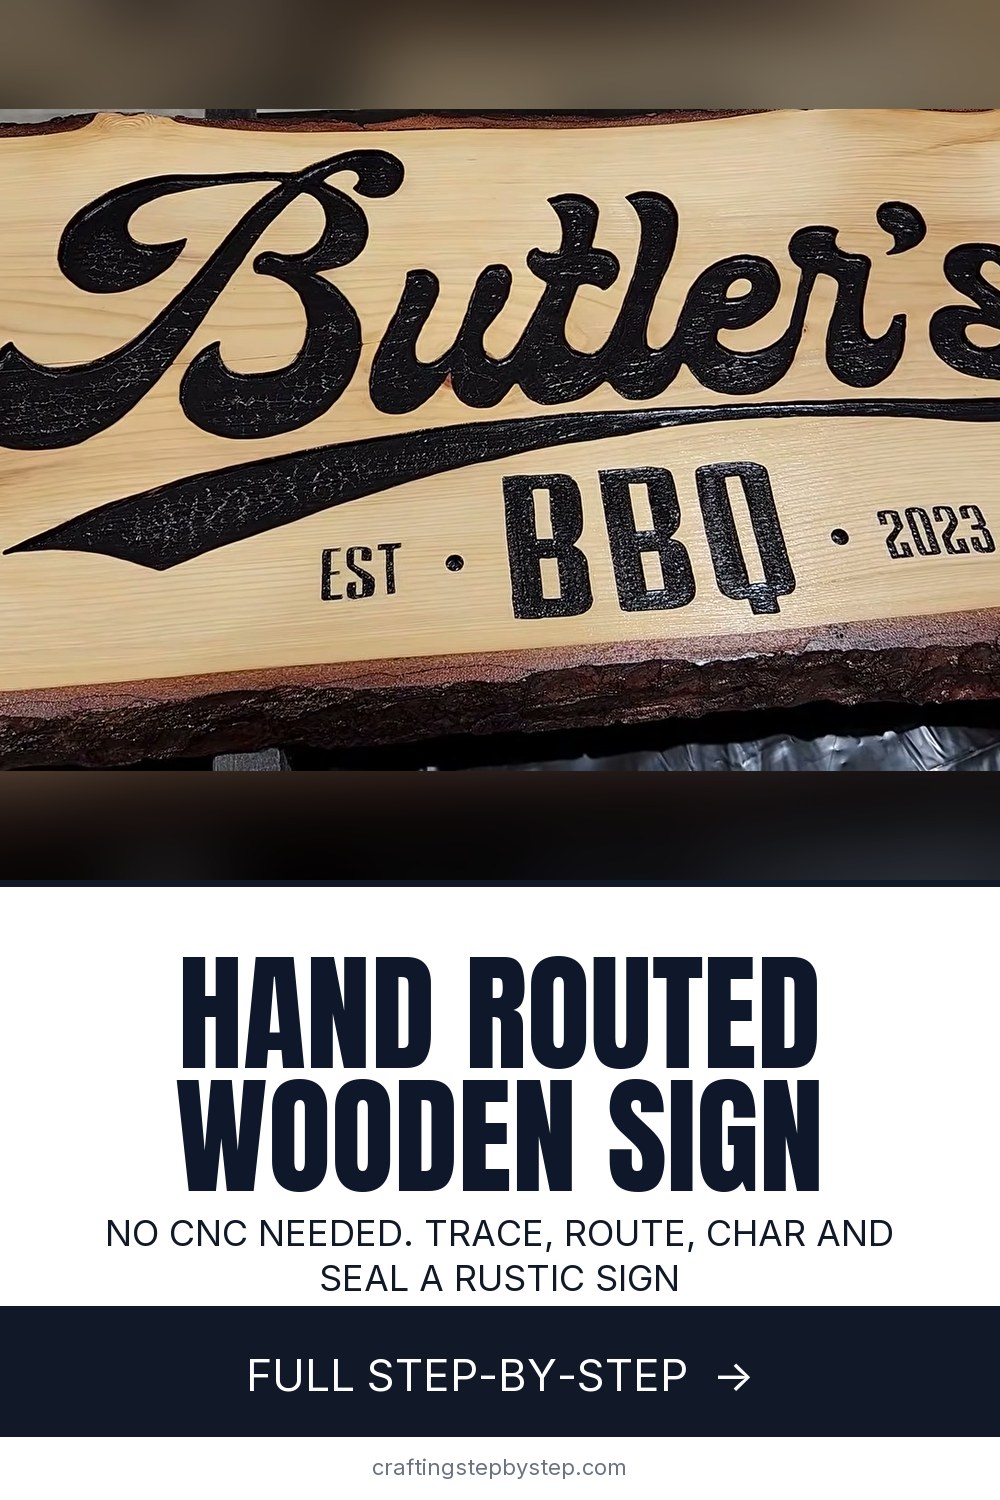
The finished result: How to Make a Wooden Sign (Hand Routed, No CNC)
  • Difficulty: Medium
  • About 3 hours, plus 4 hours to dry or set
  • 10 steps

You tapped Save

Save this project for later

We'll email you a link, no password.

How to Make a Wooden Sign (Hand Routed, No CNC)

  • Your saved projects in one list
  • Your ticked steps on any device

Check your inbox for an email from us. Not there? Look in your spam folder.

Print

Steps written out by Crafting Step by Step from PatriotDIY's video (opens YouTube) (12:18). Published .

A routed wooden sign looks like it came off a CNC machine, but you can make one with a hand router you may already own. In this project from PatriotDIY, a pine live edge slab becomes a sign for a friend's barbecue business. The letters are traced on with graphite paper, routed out, charred with a torch for texture, painted black and sanded back so they pop. Shellac and a clear coat finish it. The same method works for a family name, a house number or a farmhouse quote.

How to make a wooden sign: the short version

  • Print your lettering at full size and tape it to the board.
  • Trace the letters onto the wood with graphite paper.
  • Route the outlines, then clear the centres with a straight bit.
  • Char the letters with a torch (optional) and spray them black.
  • Sand the face so the black stays only in the letters.
  • Finish with shellac and a clear coat, then hang it.

What you need

Any board works. Pine is cheap and soft enough to route easily. A live edge slab with the bark on gives a rustic look. You need a router with a small engraving or V bit for outlines, a 1/4 inch straight bit for clearing, and a fine detail bit for small text. Add graphite paper, painter's tape, black spray paint, a sander and your finishes.

Making the lettering

Design the words in any program, from Word to Canva. Save it as a PDF and choose the poster option when you print. That tiles a big design across several sheets you can tape together. Pick a bold font with thick strokes. Thin, curly scripts are hard to route by hand and break off. Practise on a scrap board before you cut the real one.

Safety

Wear eye and ear protection when routing and sanding, and a dust mask too. Clamp the board so it cannot slide. When charring, work outside or in a ventilated space, in short bursts, with a spray bottle of water close by. Never leave the torch lit and unattended. If torch work is not for you, skip it. Black paint alone still looks sharp.

Ideas for your sign

  • A family name with an established date for a wedding gift.
  • House numbers for the porch. Use an exterior finish.
  • A short kitchen quote or a grandchild's name for a bedroom door.
  • Paint the letters white or a colour on a dark stained board.

Common problems

  • The router wanders off the line. Take light passes and go slow on curves. Outline first, then clear the middle.
  • Burn marks on the face. Light scorching sands off. Keep the flame inside the letters.
  • Milky clear coat. Water based poly looks white in the can and dries clear. Brush it thin.

More wood projects

New to the tool? Start with how to use a router. For letters without a router, try wood burning or stenciling on wood. Give your board a softer look with whitewash, or make wooden coasters to match.

Free printable

Print the steps and supply list for this project

One page you can take to the table. Free with a free account, no password.

Get the free printable

What you'll need

Free, for this project

Get this checklist by email

  • All 15 tools and materials, with tick boxes
  • A link to print all 10 steps on paper, to keep by you while you craft

No password. The whole tutorial stays free on this page.

Quick answer

Make a wooden sign with a hand router: trace the letters, route them out, char and paint them black, sand back and seal. A medium project: about 3 hours, plus 4 hours to dry or set. Materials cost about $25 to $50. You need 15 things, including graphite transfer paper, painter's tape and satin black spray paint. The 10 steps start with print and Position the Lettering on the Wooden Sign Board.

Step-by-step guide

10 steps, about 12 minutes. Tap a picture to jump to that step. Your progress saves automatically.

Tick each step off as you go.

  1. Step 1: Print and Position the Lettering on the Wooden Sign Board

    Watch this step · 2:15

    Design your lettering on the computer and save it as a PDF. Use the poster setting in the print options to print it at full size across several pages, then tape the pages together and trim them. Lay the paper on your board and measure from the edges so the words sit centred. Tape one edge down with painter's tape so it cannot shift.

    Tip:

    Leave at least an inch of margin around the words. Crowded edges look cramped.

    Back to all steps

  2. Step 2: Trace the Letters Onto the Wooden Sign With Graphite Paper

    Watch this step · 3:05

    Lift the loose side of the template and slide graphite transfer paper underneath, dark side down. Tape it down as you go so nothing moves. With a sharp pencil, trace around the outside of every letter. Press firmly. When you peel the paper back, the graphite leaves clean lines on the wood to follow with the router.

    Tip:

    Lift a corner partway through to check the lines are dark enough.

    Back to all steps

  3. Step 3: Route the Letter Outlines Into the Wooden Sign

    Watch this step · 4:10

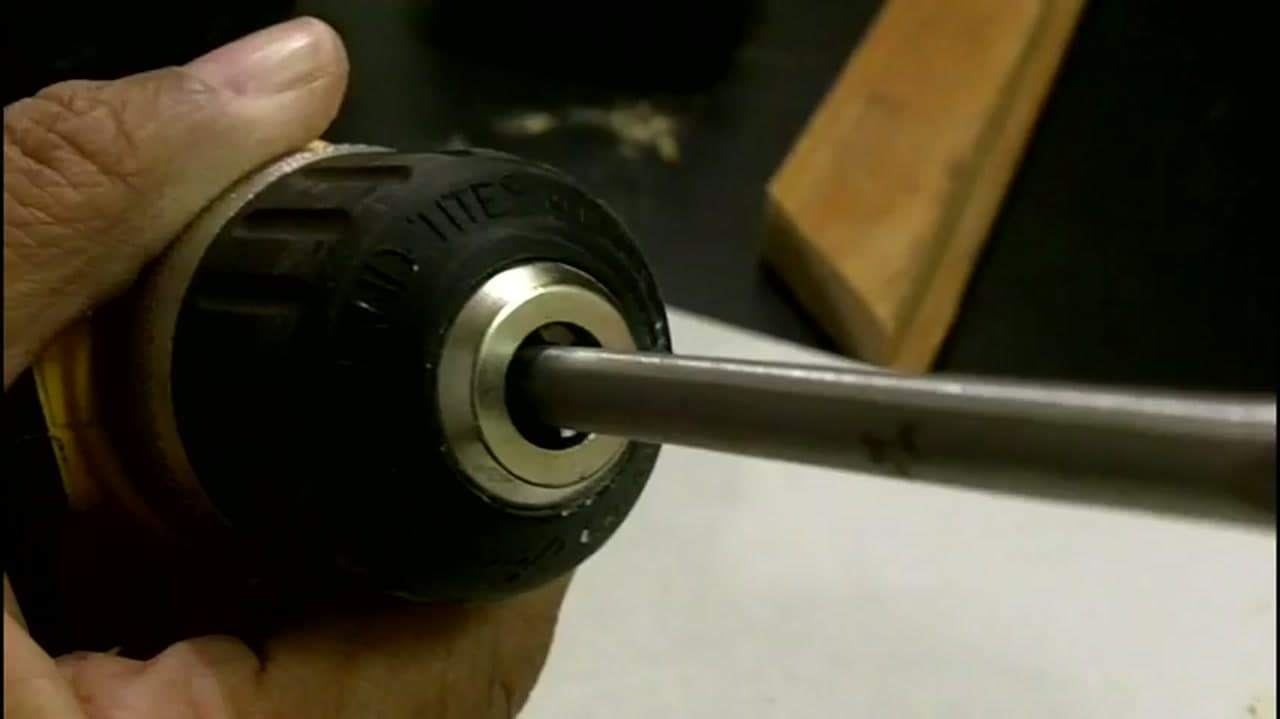
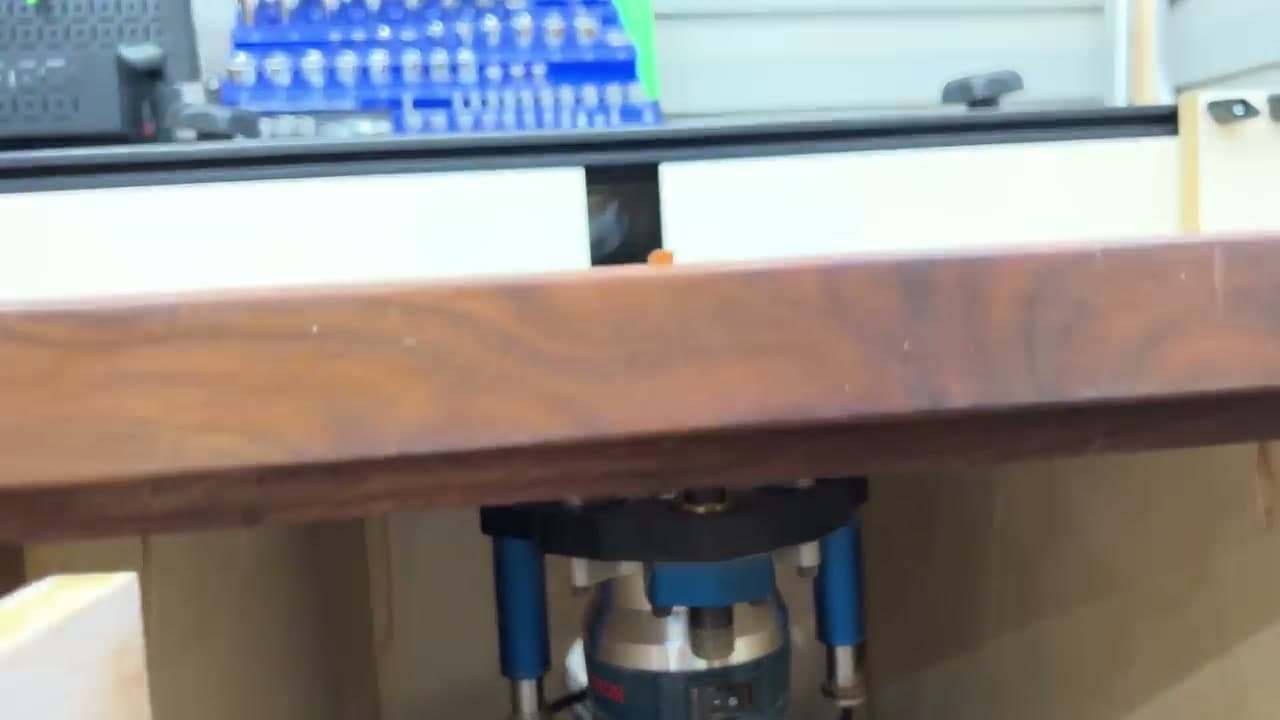
    Fit a small profile engraving bit in your router. Set the depth to about 1/4 inch. Line the bit up on a traced line, plunge down, and follow the outline of each letter slowly. This gives every letter a crisp edge before you clear the middle. A plunge router is easiest, but any router can do this job.

    Tip:

    Move slowly on tight curves. Several light passes beat one fast one.

    Back to all steps

  4. Step 4: Clear Out the Wooden Sign's Letters With a Straight Bit

    Watch this step · 4:38

    Swap to a 1/4 inch straight bit or a spiral up cut bit, set to the same depth. Route out all the wood inside each outline. Work from the middle toward your outline edges. The straight bit leaves a flat, even bottom in every letter, which matters later when you paint and sand.

    Tip:

    Keep both hands on the router and let the bit stop before you lift it.

    Back to all steps

  5. Step 5: Carve the Small Letters and Clean Up the Wooden Sign

    Watch this step · 4:55

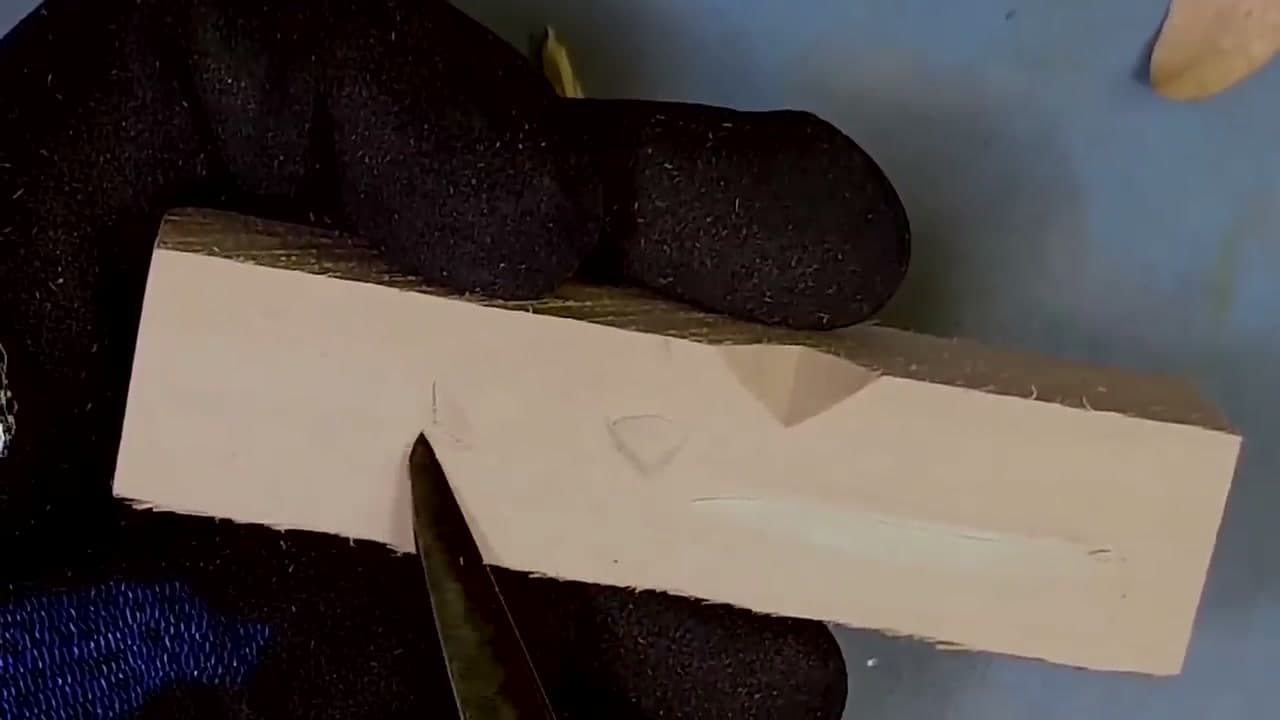
    For small text, switch to a detail carver bit. It has a finer tip that fits tight spaces. Route the small letters the same way. Then check every edge. Clean up any rough or fuzzy spots with a chisel, a rotary tool or folded sandpaper. Cut the board to its final length now if it needs trimming.

    Tip:

    Blow the dust out of the letters so you can see the edges clearly.

    Back to all steps

  6. Step 6: Char the Wooden Sign's Letters With a Torch

    Watch this step · 6:05

    This step is optional, but it gives a deep, textured look. Hold a propane or MAP gas torch close to the wood and char the inside of the letters until they turn black and crackly. Work in short bursts and stop to blow out any flame. Keep a spray bottle of water nearby. A little scorching on the face will sand off.

    Tip:

    Do this outdoors or with good ventilation, and never leave the torch lit.

    Back to all steps

  7. Step 7: Spray Paint Inside the Wooden Sign's Letters

    Watch this step · 7:20

    The torch will miss small letters and tight edges. To even it all out, tape off the bark and edges with painter's tape and paper. Spray satin black paint over the letters. Do not worry about paint landing on the face of the board. It all sands off in the next step, and the burned texture still shows through.

    Tip:

    Two light coats cover better than one heavy one and will not run.

    Back to all steps

  8. Step 8: Sand the Paint Off the Face of the Wooden Sign

    Watch this step · 8:20

    Once the paint is dry, sand the face of the sign. A belt sander with 80 grit removes the paint quickly. Follow with an orbital sander. Keep going until the top surface is clean, bare wood and the black stays only down in the letters. Blow off the dust and the letters will really pop.

    Tip:

    Keep the sander moving and flat so you do not round over the letter edges.

    Back to all steps

  9. Step 9: Brush Shellac Over the Wooden Sign

    Watch this step · 8:50

    Brush on a coat of clear shellac. It seals the wood and brings out a warm, rich colour in the pine. Let it dry, then add a second coat. You could stop here. For a tougher finish, sand lightly with 220 grit sandpaper before the next step so the clear coat grips.

    Tip:

    Shellac dries fast. Work in long strokes and do not go back over tacky spots.

    Back to all steps

  10. Step 10: Seal the Wooden Sign With Polycrylic

    Watch this step · 9:35

    Brush on a water-based polycrylic in semi-gloss. It looks milky in the can but dries crystal clear. Brush it thin and work it into the letters. Apply three coats, sanding lightly with 220 grit between each. Coat the bark too so it will not flake. Finish by screwing two D-ring hangers to the back, level with each other.

    Tip:

    A spray clear coat is easier to get down into the letters if you have it.

    Back to all steps

How to Make an Epoxy River Serving Board

Keep going

How to Make an Epoxy River Serving Board

Keep going with woodworking crafts

More on this topic, picked for this wooden sign.

You reached the last step

Save this project to come back to it

Your ticked steps, the free printable and your other saved makes, together in My Projects. Free, no password.

You tapped Save

Save this project for later

We'll email you a link, no password.

How to Make a Wooden Sign (Hand Routed, No CNC)

  • Your saved projects in one list
  • Your ticked steps on any device

Check your inbox for an email from us. Not there? Look in your spam folder.

Free printable

Printable sheet and shopping list for this project

The bonus is hidden until you sign up.

Free with a free account, no password. Every step above stays open to everyone.

Products Used

The Checklist

How to Make a Wooden Sign (Hand Routed, No CNC)

Tools
7
Materials
8
Steps
10
Video
12 min

Tools we recommend

As an Amazon Associate we earn from qualifying purchases. Links on this page may be affiliate links - clicking them and buying doesn't change your price, but helps support Crafting Step by Step.

Tags

The Crafter's Weekly

New woodworking crafts tutorials, every Sunday

One short email with the week's best step-by-step guides. Free, no spam, unsubscribe anytime.

Did this work for you?

What's next

Related collections

Curated theme pages that include this tutorial.

Similar tutorials

Hand-picked next reads based on the one you just finished.

Liked this woodworking crafts tutorial?

Pick the crafts you want to hear about. One email every Sunday with new step-by-step tutorials. No spam, easy to unsubscribe.

Get more like this in your inbox

Weekly digest. Pick the categories you want. Unsubscribe anytime.

Send me tutorials about

We only email about new tutorials. Easy unsubscribe anytime.