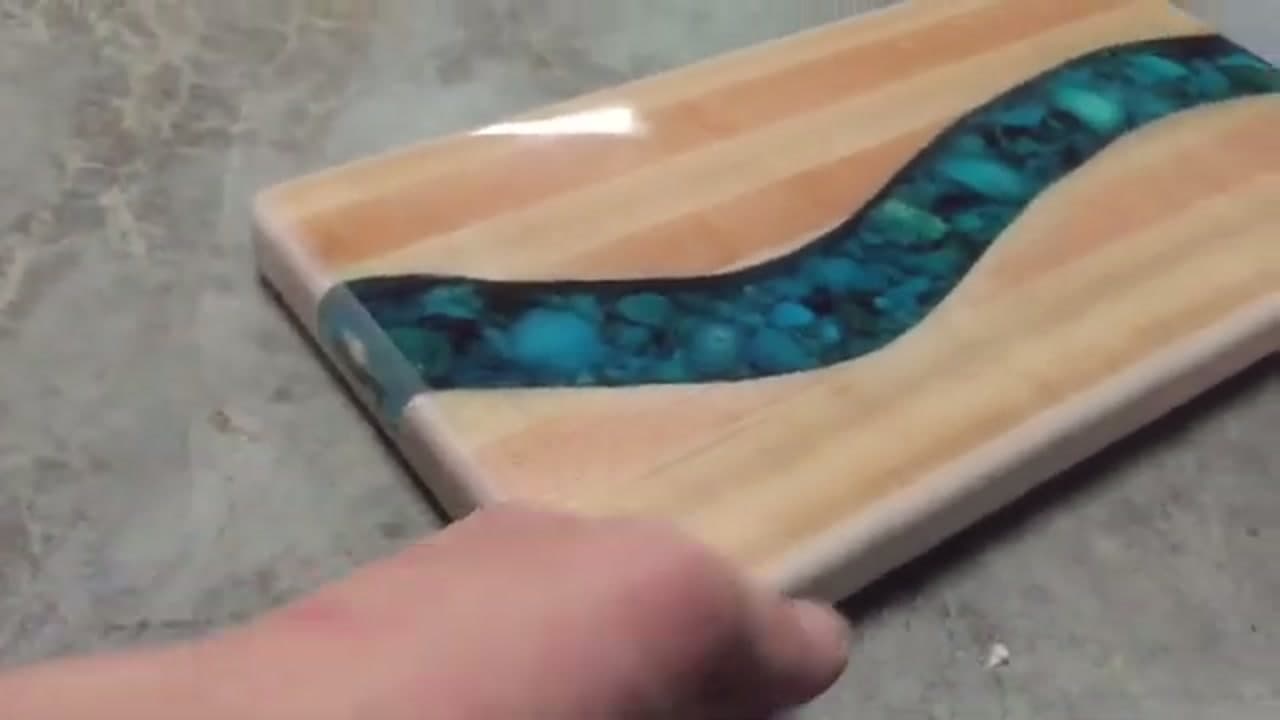
How to Make an Epoxy River Serving Board

Woodworking CraftsAdvanced6:339 stepsBrowse more →
Also in:Resin Art

By CraftingStepByStepPublished

Based on a video by Seth's Custom Creations.

This build turns a plain glued-up board into a serving piece with a teal resin river winding down the middle. The technique comes from Seth's Custom Creations, who walks through every stage in his shop, from milling the blank to the final sanding pass.

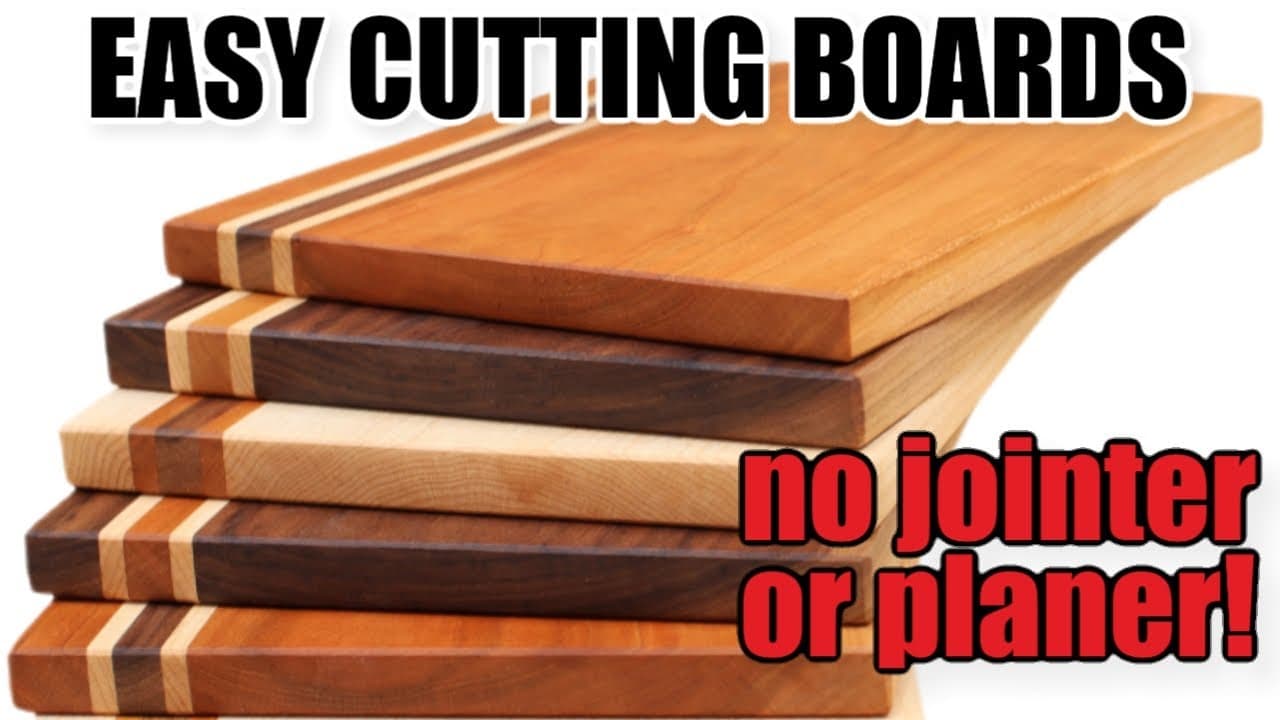
You cut an S-curve down the panel, rout out a shallow channel, then set white river stones and pour a teal-tinted epoxy over them. A clear flood coat and a food-safe finish bring out the gloss. If this is your first resin build, read up on how to use UV resin first, and if you want a version without the pour, try a plain cutting board build to get comfortable with the woodworking.

Take your time on the pour and the finish. Epoxy is forgiving once you understand the timing, and the payoff here is a board people will actually ask about.

Step-by-Step Guide

1

Step 1: Mill and Glue Up the Blank

0:20
Step 1: Step 1: Mill and Glue Up the Blank

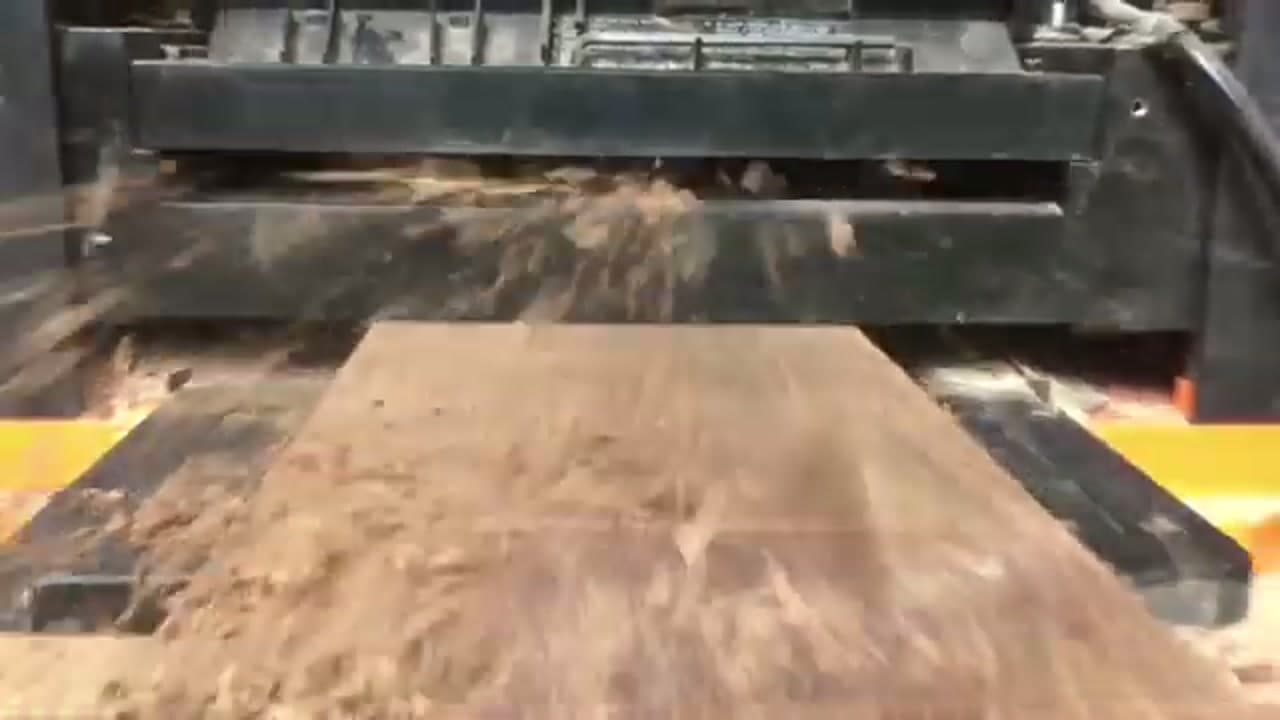
Start with your wood strips and run them through the planer and jointer so every face is flat and square. Glue the strips into one solid panel and clamp it up tight. This is the body of your serving board, so pick clean, dry stock. Let the glue cure fully before you touch it again. A flat, well-glued blank makes every step after this easier.

Tip

Alternate the grain direction on your strips to keep the finished panel from cupping over time.
2

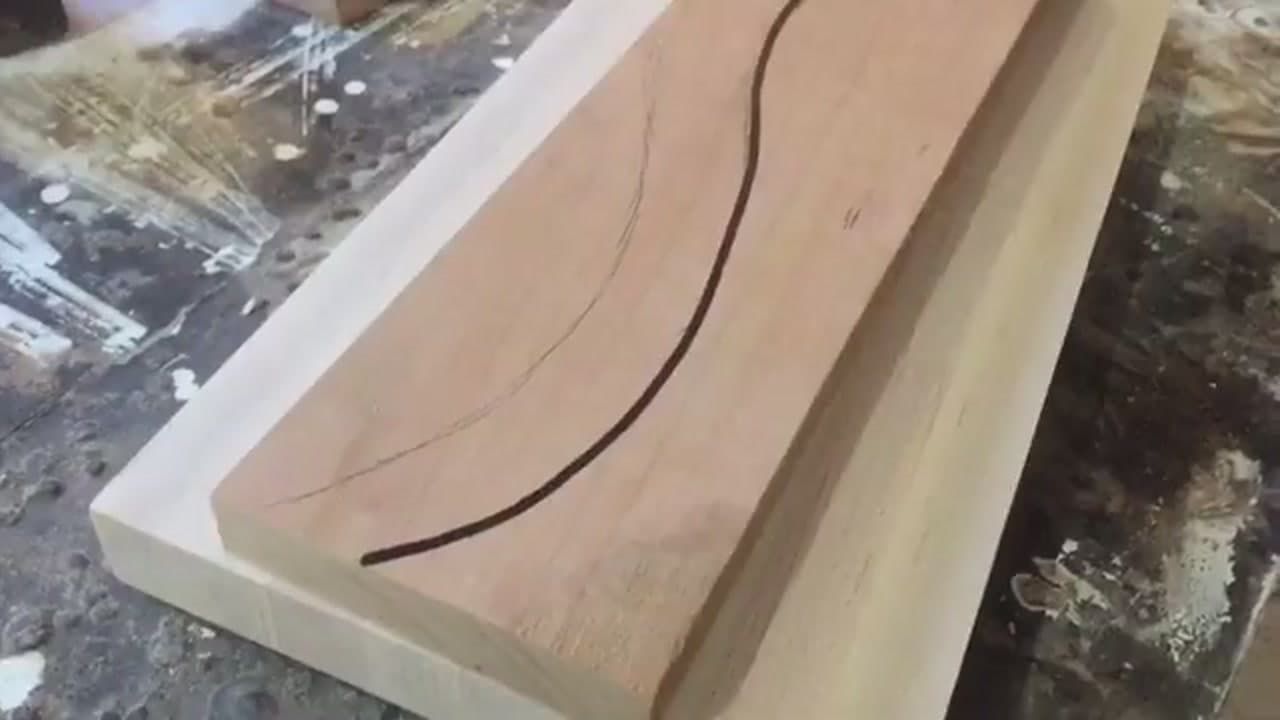
Step 2: Draw the River Curve

1:35
Step 2: Step 2: Draw the River Curve

Sketch an S-shaped line down the length of the panel. That line is where your resin river will run, so play with the curve until it looks right to you. A gentle, flowing bend reads more like a real river than a sharp zigzag. Draw it dark enough to follow at the saw. There is no wrong shape here, so trust your eye and commit to the line.

Tip

Keep the curve away from the very edges so you leave enough solid wood on both sides for strength.

Products used in this step

3

Step 3: Cut Along the River Line

1:50
Step 3: Step 3: Cut Along the River Line

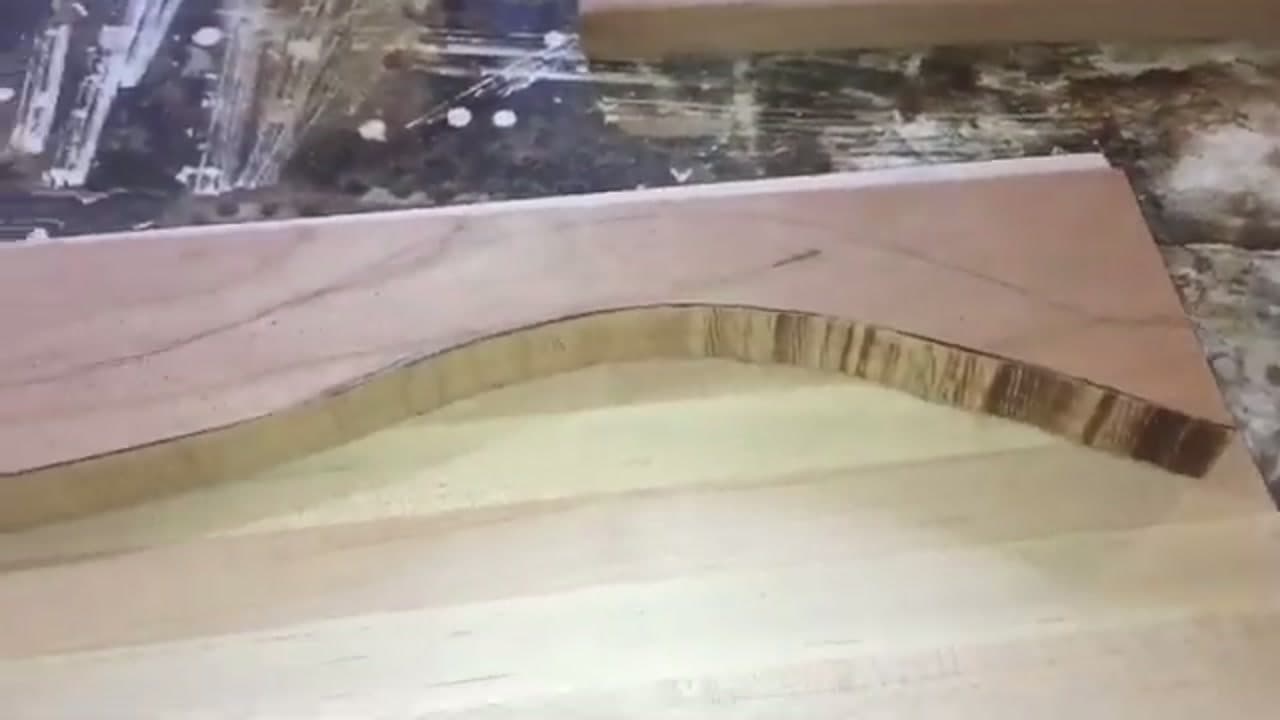
Take the panel to the bandsaw and cut right along your drawn curve. This splits the board into two halves that mirror each other. Go slow and let the blade track the line - a smooth cut here means the two pieces line up cleanly later. Once you are through, set the halves side by side so you can see the river gap take shape between them.

Tip

A narrow bandsaw blade turns a tight curve far better than a wide one.

4

Step 4: Rout the River Channel

3:05
Step 4: Step 4: Rout the River Channel

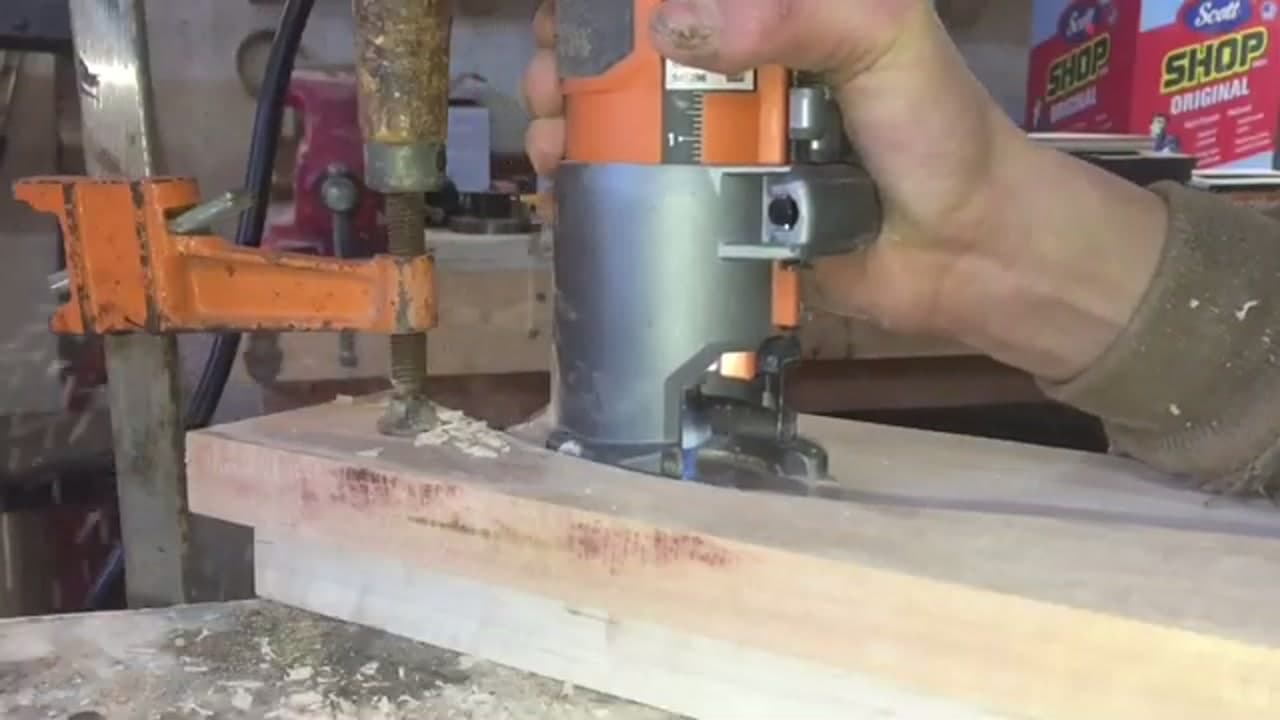
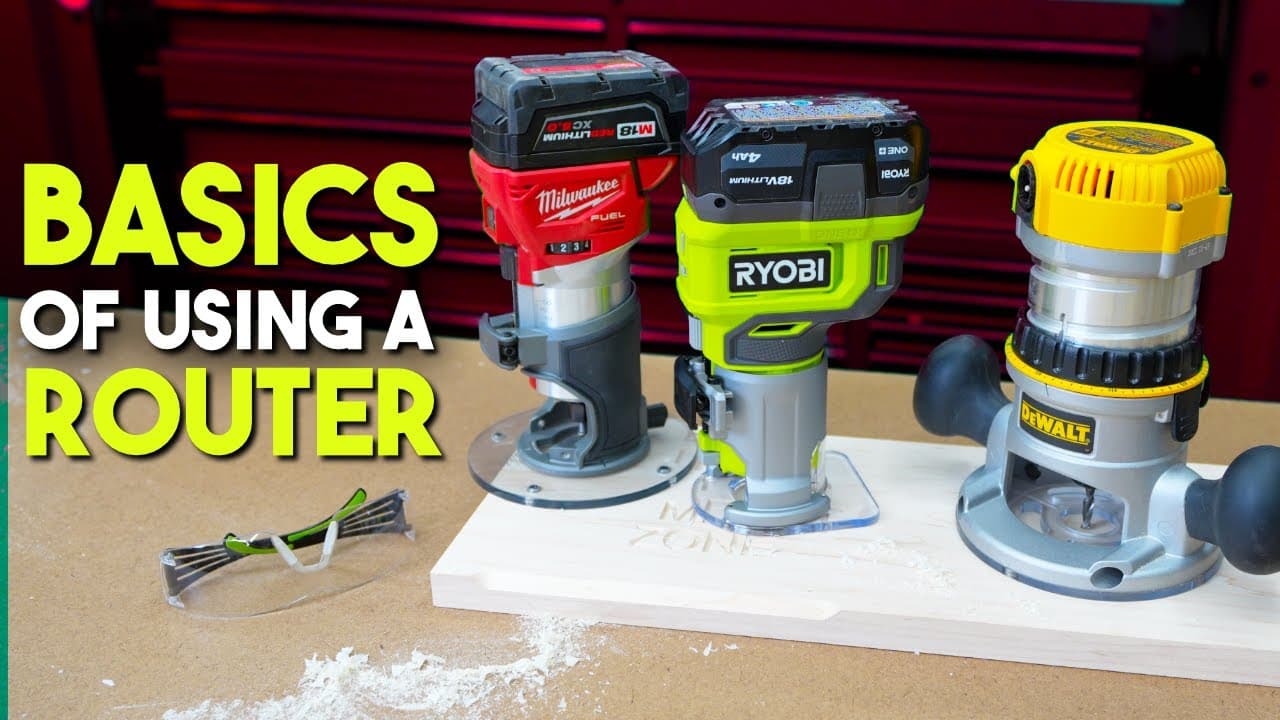
Clamp the two halves back together with a gap between them and rout out a recessed valley along the cut. This channel holds the stones and the resin, so keep the depth consistent as you work down the curve. A plunge router with a straight bit does the job well. Steady the base and take light passes rather than trying to hog it all out at once.

Tip

Clamp scrap on both sides of the board to give the router base extra surface to ride on.

5

Step 5: Fill the Channel with Stones

4:05
Step 5: Step 5: Fill the Channel with Stones

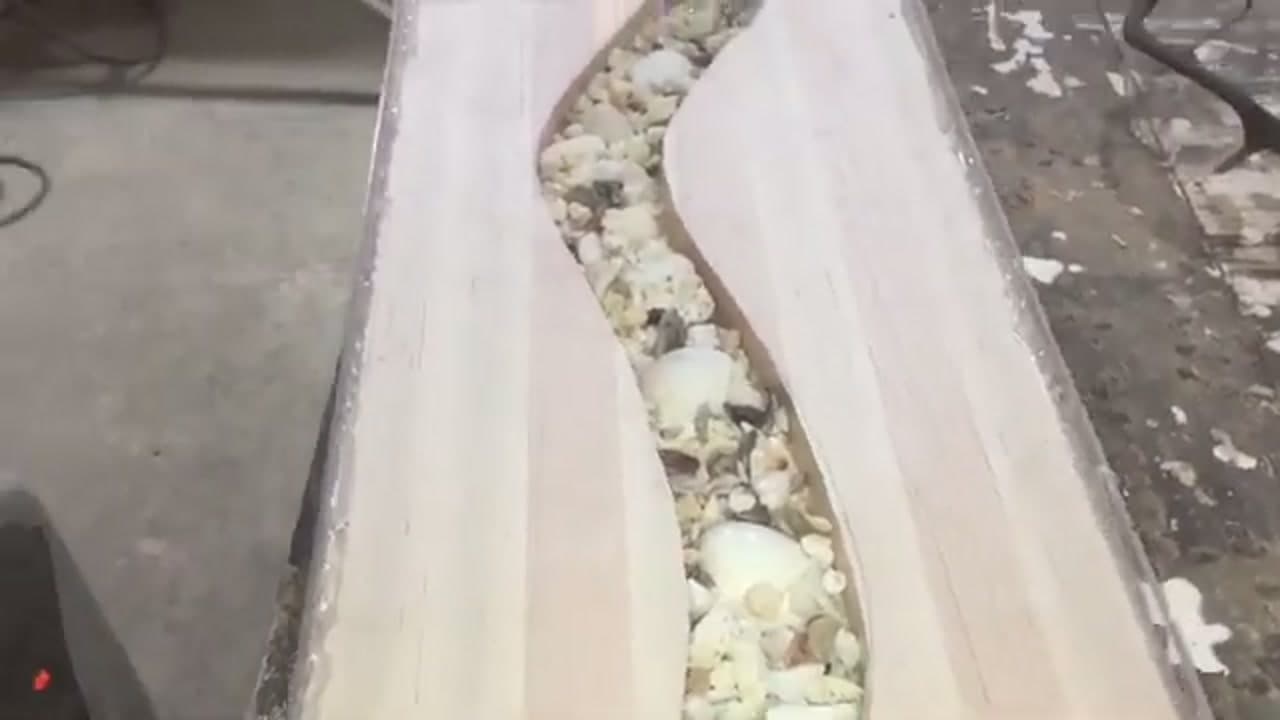
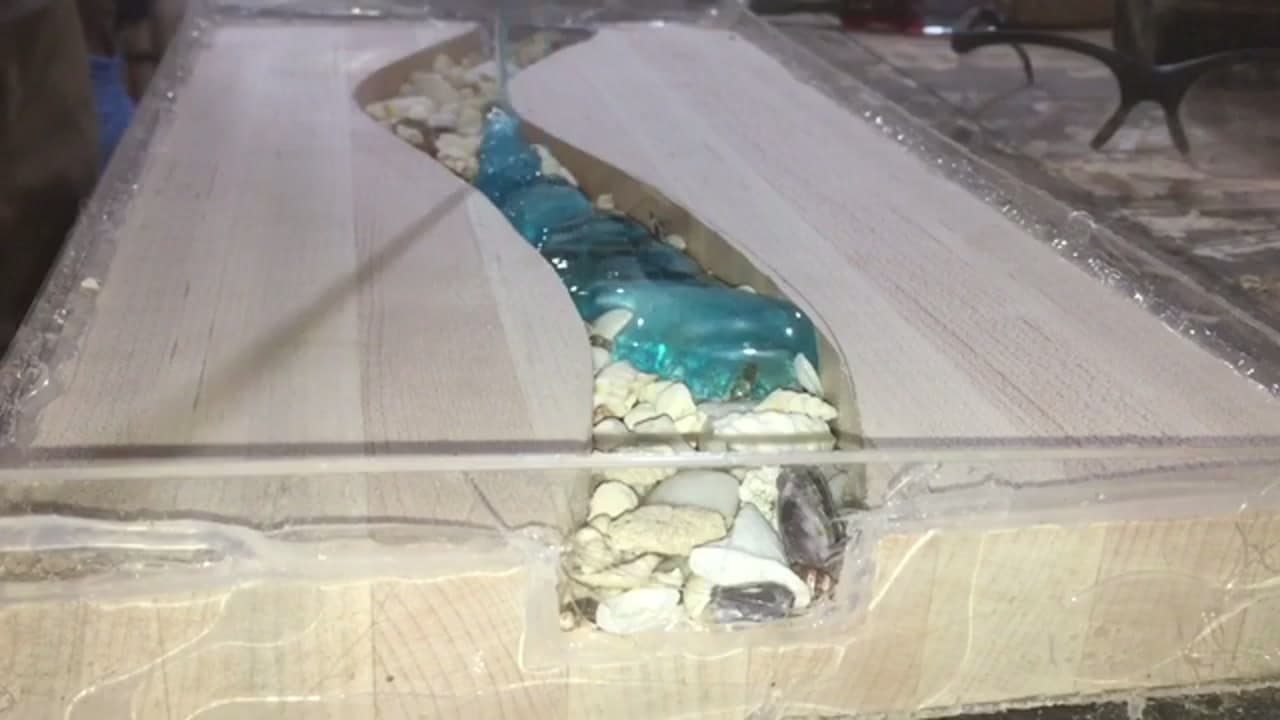
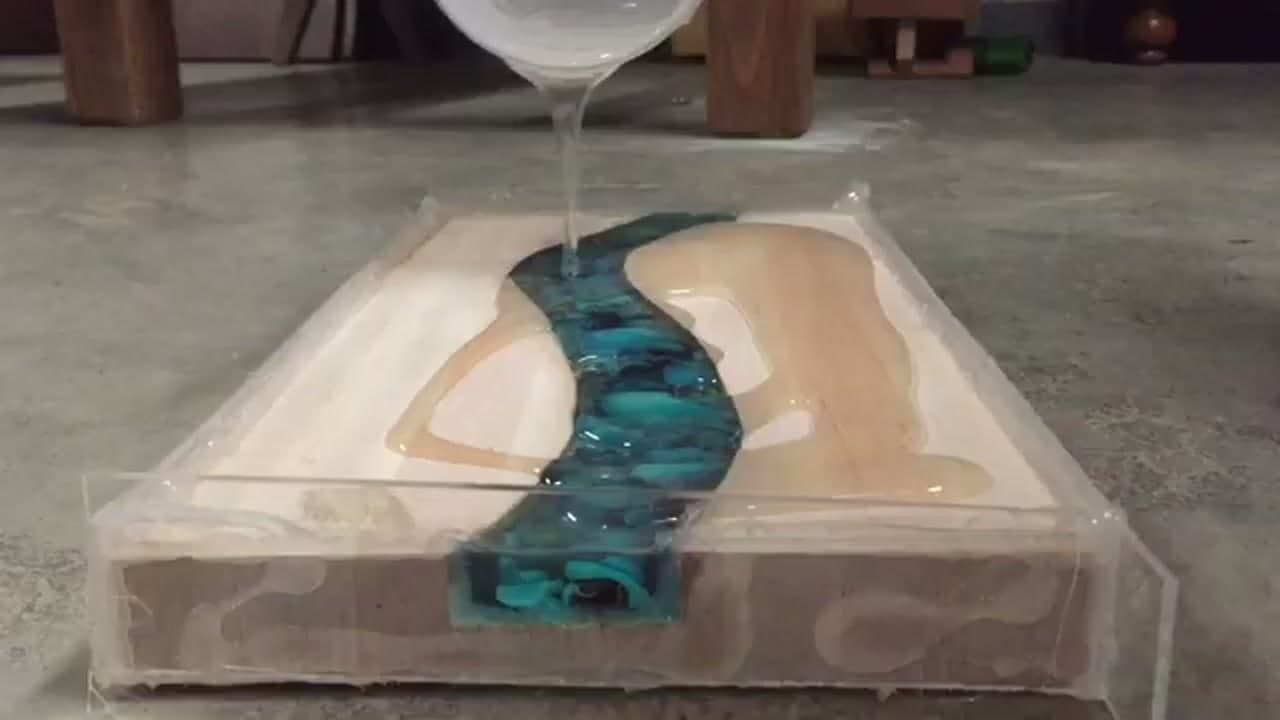
Seal the board into a form with painter's tape and a plastic dam so the resin can not leak out. Then lay white river pebbles into the routed channel. Arrange them so they sit below the top surface with room for resin to flow around and over them. The stones give the river depth and texture once the teal epoxy goes in. Pack them loosely, not wall to wall.

Tip

Press the tape hard into every seam. A tiny gap will let thin resin creep out and cure into a mess.

6

Step 6: Mix and Pour the Teal Epoxy

4:22
Step 6: Step 6: Mix and Pour the Teal Epoxy

Mix your epoxy by the ratio on the kit, then stir in teal pigment until the color looks right. Pour it slowly into the channel so it works down through the stones and fills every gap. The resin will find its own level and settle around the pebbles. Pour in stages if the channel is deep, letting each layer set up before adding more. That teal against the light wood is the whole point.

Tip

Warm resin flows and self-levels better, so keep your shop above 70 degrees while it cures.

7

Step 7: Pour the Clear Flood Coat

5:20
Step 7: Step 7: Pour the Clear Flood Coat

Once the river has set, mix a batch of clear epoxy and pour it across the whole board surface. This flood coat seals the wood and gives the top a glassy, level finish. Spread it to the edges so nothing stays dry. Pop any bubbles that rise with a quick pass of heat. Let this coat cure hard before you flip the board or start sanding.

Tip

A heat gun or torch held well back knocks out surface bubbles without scorching the resin.

Products used in this step

8

Step 8: Trim, Sand, and Finish

5:50
Step 8: Step 8: Trim, Sand, and Finish

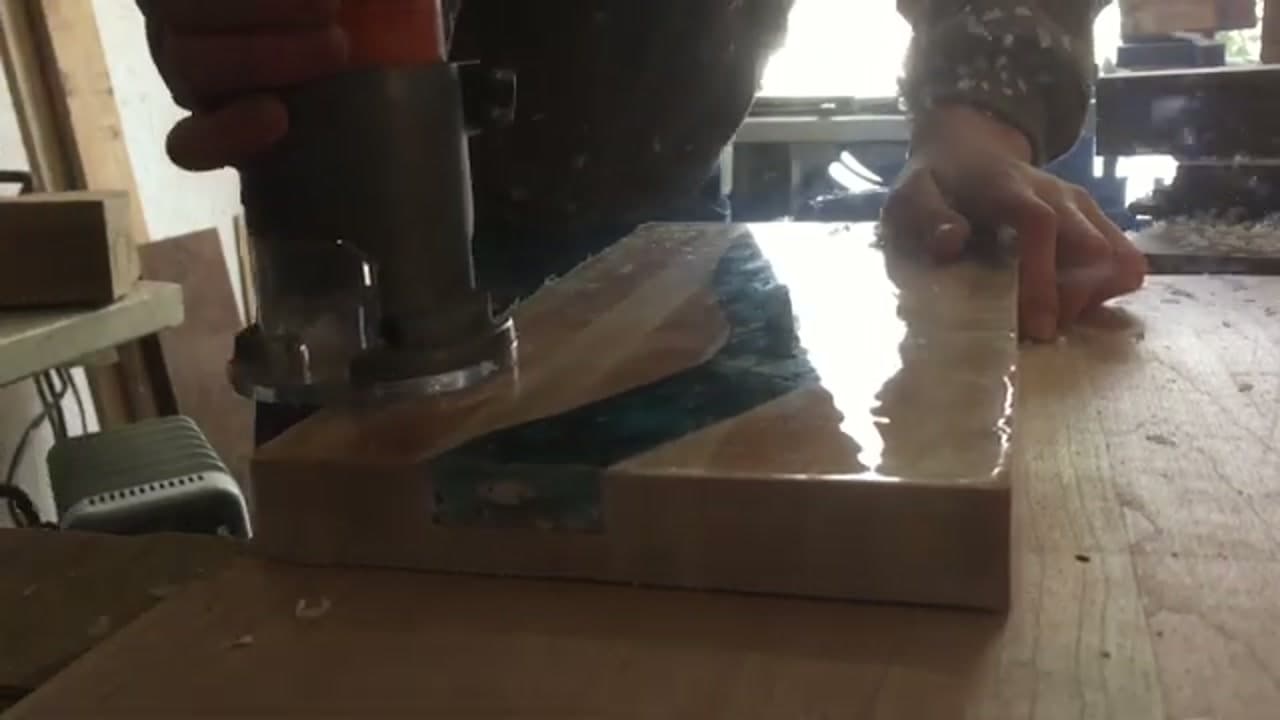
Rout the excess epoxy off the edges to square the board back up. Then work through the grits with an orbital sander until the whole surface is smooth and even, wood and resin alike. Knock down any sharp edges so the board feels good in the hand. Finish with a food-safe cutting board oil or wax. Wipe it on, let it soak, and buff off the excess.

Tip

Sanding dulls the resin gloss, so a final food-safe finish is what brings the shine back.

9

Step 9: The Finished River Board

5:59
Step 9: Step 9: The Finished River Board

Here is the payoff. The teal river winds through the light striped wood with the white stones frozen inside the glossy resin. Every board comes out one of a kind because no two curves or stone layouts are the same. Wipe it down, and it is ready to serve cheese, bread, or anything else you want to show off on it. Hand-wash only to protect the finish.

Tip

Re-oil the wood a few times a year to keep both the grain and the resin looking fresh.

Products Used

☐ The Checklist

How to Make an Epoxy River Serving Board

Tools
7
Materials
7
Steps
9
Video
7 min

Your Guide

Seth's Custom Creations

As an Amazon Associate we earn from qualifying purchases. Links on this page may be affiliate links - clicking them and buying doesn't change your price, but helps support ShowMeStepByStep.

Tags

Sunday How-To

New woodworking crafts tutorials, every Sunday

One short email with the week's best step-by-step guides. Free, no spam, unsubscribe anytime.

Did this work for you?

What's next

Related collections

Curated theme pages that include this tutorial.

Weekly Digest

Liked this woodworking crafts tutorial?

Pick the categories you want to hear about. Weekly digest of new step-by-step tutorials. No spam, easy unsubscribe.

Send me tutorials about

We only email about new tutorials. Easy unsubscribe anytime.