How to Make a Wood Slice Ornament With a Photo Transfer

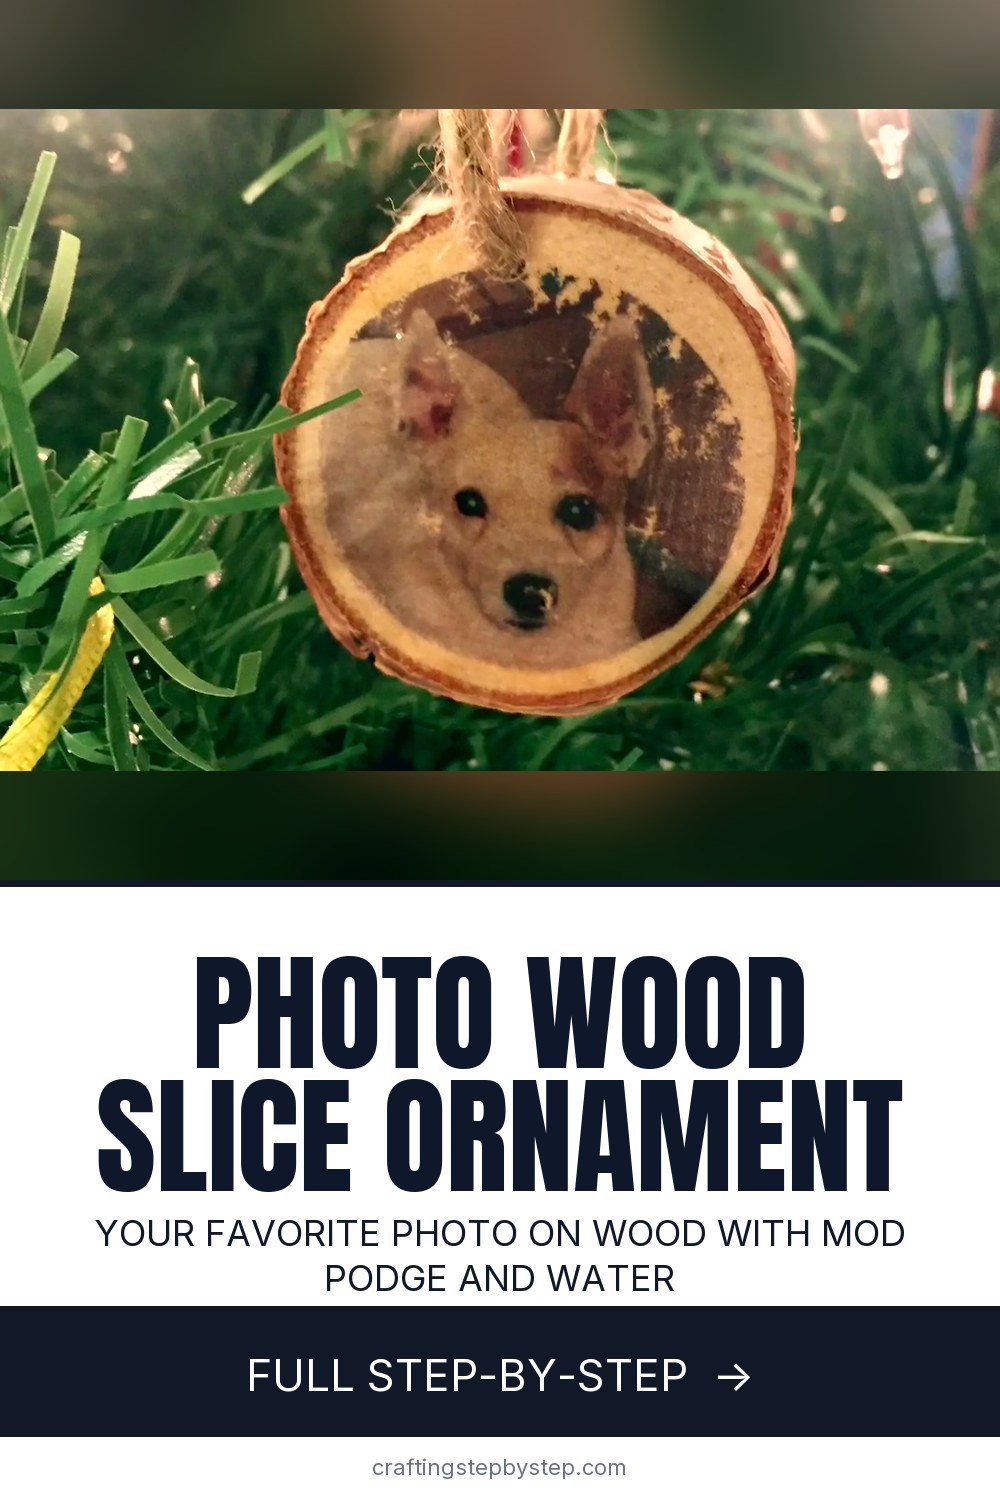
The finished result: How to Make a Wood Slice Ornament With a Photo Transfer
  • Difficulty: Easy
  • About 40 minutes, plus 25 hours to dry or set
  • 9 steps

You tapped Save

Save this project for later

We'll email you a link, no password.

How to Make a Wood Slice Ornament With a Photo Transfer

  • Your saved projects in one list
  • Your ticked steps on any device

Check your inbox for an email from us. Not there? Look in your spam folder.

Print

Steps written out by Crafting Step by Step from Cooking and Craft Chick's video (opens YouTube) (9:10). Published .

A wood slice ornament with a photo on it looks like something from a gift shop, and it costs a couple of dollars to make. The host of Cooking and Craft Chick transfers a laser printed photo of her dog onto a birch wood slice with nothing but Mod Podge and water. The paper rubs away and the ink stays behind in the wood grain, so the picture looks printed right onto the slice.

Plan for two days. The transfer has to dry overnight before you can rub the paper off, but the hands-on part takes well under an hour.

How to make a wood slice ornament: the short version

  • Print your photo in reverse on a laser printer.
  • Brush a thick coat of Mod Podge over the print.
  • Press it face down on the wood slice and let it dry 24 hours.
  • Wet the paper and rub it off with your fingers.
  • Seal with Mod Podge, drill a hole and add a twine loop.

Laser print, not inkjet

This is the rule that makes or breaks the project. Laser printers and photocopiers fuse toner onto the paper with heat, and that toner is what transfers to the wood. Inkjet ink is wet and water based, so it smears as soon as the Mod Podge touches it. If you only have an inkjet, print the photo and run it through a copy machine at a library or print shop. Use plain copy paper, not photo paper.

Always print in reverse, also called mirror. The photo goes on face down, so a normal print comes out backward. That matters most with words or names.

Choosing a wood slice and a photo

Pale wood like birch or basswood shows the image best. Dark wood swallows the picture. Pick slices that are smooth and flat on top, and sand any rough ones first. Photos with good contrast work better than soft or dark ones: pets, kids, a wedding shot or a favourite place. The wood tone shows through the light parts, which gives it that warm, vintage look.

Getting a clean transfer

  • Too little Mod Podge. Thin spots do not transfer. Coat it until you can hardly see the photo.
  • Air bubbles. Press from the center out, and press hard.
  • Rubbing too soon. Wait the full 24 hours. Early rubbing lifts the image.
  • White haze. That is leftover paper. Let it dry, wet it and rub again.
  • Worn edges. A little wear looks rustic. Go gently at the edges if you want them crisp.

Ideas beyond the tree

Write a name and year on the back with a fine paint pen for a keepsake. Make a set for each grandchild, or use a photo of a pet who has passed as a memorial ornament. A bigger slice works as a coaster or a small sign. Without a hole, the slice can sit on a mantel or tie onto a gift.

More ornaments to make

Want to add some decoration around the photo? Try a little wood burning on the border. For more Mod Podge projects, see how to use Mod Podge. Round out the tree with pinecone ornaments, clay ornaments and more homemade Christmas ornaments.

Free printable

Print the steps and supply list for this project

One page you can take to the table. Free with a free account, no password.

Get the free printable

What you'll need

Free, for this project

Get this checklist by email

  • All 10 tools and materials, with tick boxes
  • A link to print all 9 steps on paper, to keep by you while you craft

No password. The whole tutorial stays free on this page.

Quick answer

Put your own photo on a wood slice ornament with Mod Podge and a laser print. An easy project: about 40 minutes, plus 25 hours to dry or set. Materials cost about $2 to $5. You need 10 things, including birch wood slice, Mod Podge and jute twine. The 9 steps start with set Out the Wood Slice, a Reversed Laser Print and Mod Podge and coat the Laser Printed Photo Thickly With Mod Podge.

Step-by-step guide

9 steps, about 9 minutes. Tap a picture to jump to that step. Your progress saves automatically.

Tick each step off as you go.

  1. Step 1: Set Out the Wood Slice, a Reversed Laser Print and Mod Podge

    Watch this step · 1:30

    Gather a wood slice, your photo and some Mod Podge. The photo must be printed in reverse on plain copy paper with a laser printer or a photocopier, not an inkjet. Trim the print to fit the slice. Pour a little matte or gloss Mod Podge into a small container. You only need enough to cover the photo, plus a little more for the top coat later.

    Tip:

    Birch slices with the bark on the edge, like these from a craft store, give the most rustic look.

    Back to all steps

  2. Step 2: Coat the Laser Printed Photo Thickly With Mod Podge

    Watch this step · 2:08

    Load a foam brush and paint Mod Podge over the printed side of the photo. Be generous. Keep adding until you can barely see the picture through the white layer. This thick coat is what grabs the toner and carries it onto the wood. A laser print will not bleed. An inkjet print would already be smearing at this point.

    Tip:

    Cover right to the edges of the paper. Any dry patch will leave a gap in the image.

    Back to all steps

  3. Step 3: Press the Photo Face Down Onto the Wood Slice Ornament

    Watch this step · 2:56

    Pick up the wet print and lay it face down on the wood slice. Center it in one go, because sliding it around thins the Mod Podge underneath. Press it down firmly with your thumbs, working from the middle out to push out any air bubbles. A little Mod Podge squeezing out at the edges is fine. Then leave it alone to dry for a full 24 hours.

    Tip:

    Set a heavy book on it for the first hour to keep good contact with the wood.

    Back to all steps

  4. Step 4: Wet the Paper Back of the Wood Slice Photo Transfer

    Watch this step · 3:54

    Once it has dried overnight, set out a small cup of water and a towel. Dip your fingers and rub water over the paper back of the transfer. Keep wetting it until the whole surface is damp and you can start to see the picture through the paper. Do not soak the wood. Wet fingers are enough.

    Tip:

    Work over a paper towel. The rubbed-off paper makes little white crumbs.

    Back to all steps

  5. Step 5: Rub the Wet Paper Off the Wood Slice in Circles

    Watch this step · 4:24

    With the paper damp, rub it in small circles with your fingertip. The top layer of paper rolls up into little balls and the image appears underneath. That means it is working. Wipe the crumbs away as you go. After a decent amount of rubbing, stop. The Mod Podge gets tacky when wet and can tear if you keep going.

    Tip:

    Use the pad of your finger, not a fingernail, so you do not scratch the image.

    Back to all steps

  6. Step 6: Let the Wood Slice Dry and Rub Off the Last Paper Fuzz

    Watch this step · 5:16

    Let the slice dry for 10 to 15 minutes. A white haze shows up where paper is still stuck on top of the image. Wet your fingers again and rub very gently in circles to lift it. Go easy at the edges. A little wear there helps the photo blend into the wood. Dry it once more and repeat until the haze is gone.

    Tip:

    If the photo looks cloudy when dry, there is still paper on it. One more round fixes it.

    Back to all steps

  7. Step 7: Seal the Wood Slice Photo Ornament With Mod Podge

    Watch this step · 6:30

    Brush a thin, even layer of Mod Podge over the whole face of the slice. Go right out to the edge so you do not leave a visible line. This top coat protects the image from scratches and rubbing, and it brings back the color that looked faded when dry. Let it dry completely before you handle it.

    Tip:

    Gloss Mod Podge gives a shiny, photo-like finish. Matte looks more rustic.

    Back to all steps

  8. Step 8: Thread Jute Twine Through the Hole in the Wood Slice

    Watch this step · 7:32

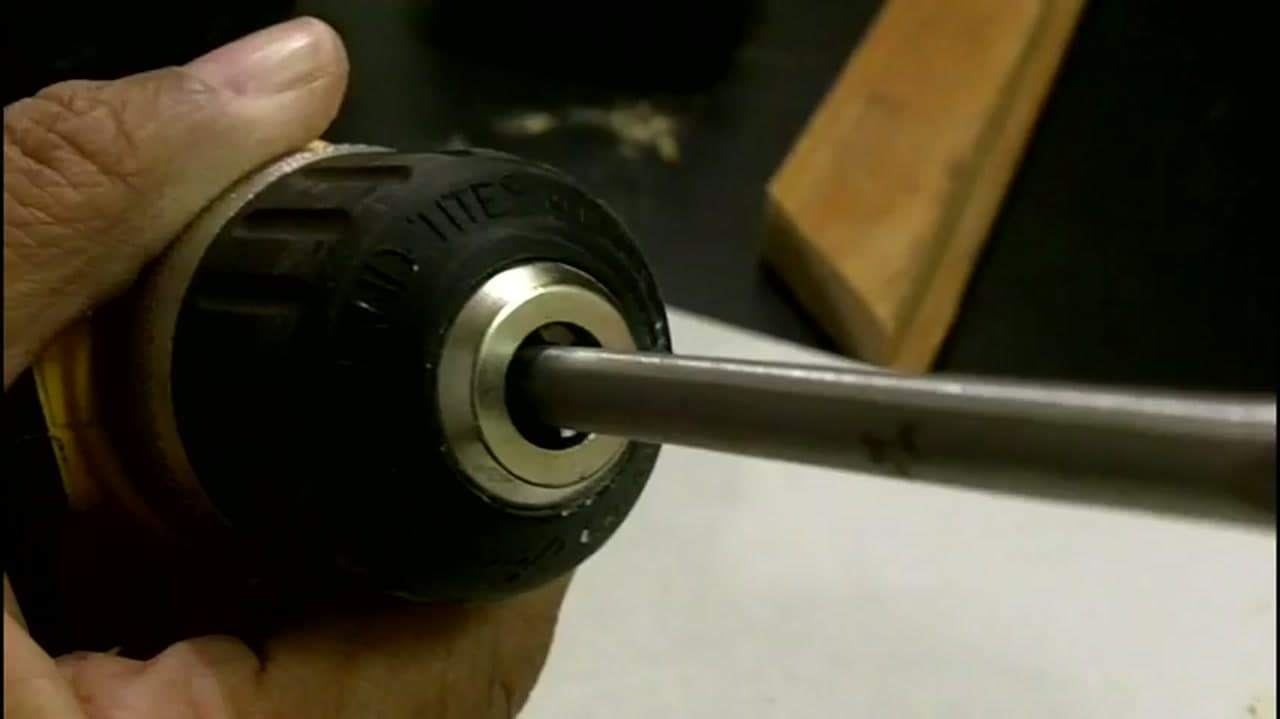
    Drill a small hole through the top edge of the slice. Jute twine frays, so wrap the cut end with a small piece of tape to make a stiff tip, like a shoelace. Twist and push the taped end into the hole and through to the other side. Pull a few inches through so you have enough to tie a loop.

    Tip:

    An adult should do the drilling. Clamp the slice or hold it on scrap wood.

    Back to all steps

  9. Step 9: Knot the Hanging Loop on the Wood Slice Photo Ornament

    Watch this step · 8:08

    Bring the two ends of the twine together above the slice and tie a firm knot to make a hanging loop. Trim the ends, which also cuts off the tape. Turn the knot so it sits at the back of the ornament. Hang it on the tree, or leave it out all year as a keepsake of someone you love.

    Tip:

    Write the name and year on the back with a fine paint pen before you gift it.

    Back to all steps

How to Use a Jigsaw

Keep going

How to Use a Jigsaw

Keep going with woodworking crafts

More on this topic, picked for this wood slice ornament with a photo transfer.

You reached the last step

Save this project to come back to it

Your ticked steps, the free printable and your other saved makes, together in My Projects. Free, no password.

You tapped Save

Save this project for later

We'll email you a link, no password.

How to Make a Wood Slice Ornament With a Photo Transfer

  • Your saved projects in one list
  • Your ticked steps on any device

Check your inbox for an email from us. Not there? Look in your spam folder.

Free printable

Printable sheet and shopping list for this project

The bonus is hidden until you sign up.

Free with a free account, no password. Every step above stays open to everyone.

Products Used

The Checklist

How to Make a Wood Slice Ornament With a Photo Transfer

Tools
6
Materials
4
Steps
9
Video
9 min

Tools we recommend

As an Amazon Associate we earn from qualifying purchases. Links on this page may be affiliate links - clicking them and buying doesn't change your price, but helps support Crafting Step by Step.

Tags

The Crafter's Weekly

New woodworking crafts tutorials, every Sunday

One short email with the week's best step-by-step guides. Free, no spam, unsubscribe anytime.

Did this work for you?

What's next

Related collections

Curated theme pages that include this tutorial.

Similar tutorials

Hand-picked next reads based on the one you just finished.

Liked this woodworking crafts tutorial?

Pick the crafts you want to hear about. One email every Sunday with new step-by-step tutorials. No spam, easy to unsubscribe.

Get more like this in your inbox

Weekly digest. Pick the categories you want. Unsubscribe anytime.

Send me tutorials about

We only email about new tutorials. Easy unsubscribe anytime.