How to Make Christmas Ornaments

CraftsEasy17:4210 stepsPart of DIY Crafts for BeginnersBrowse more →
The finished result: How to Make Christmas Ornaments

By CraftingStepByStepPublished

Based on a video by The Cozy Christmas Cottage.

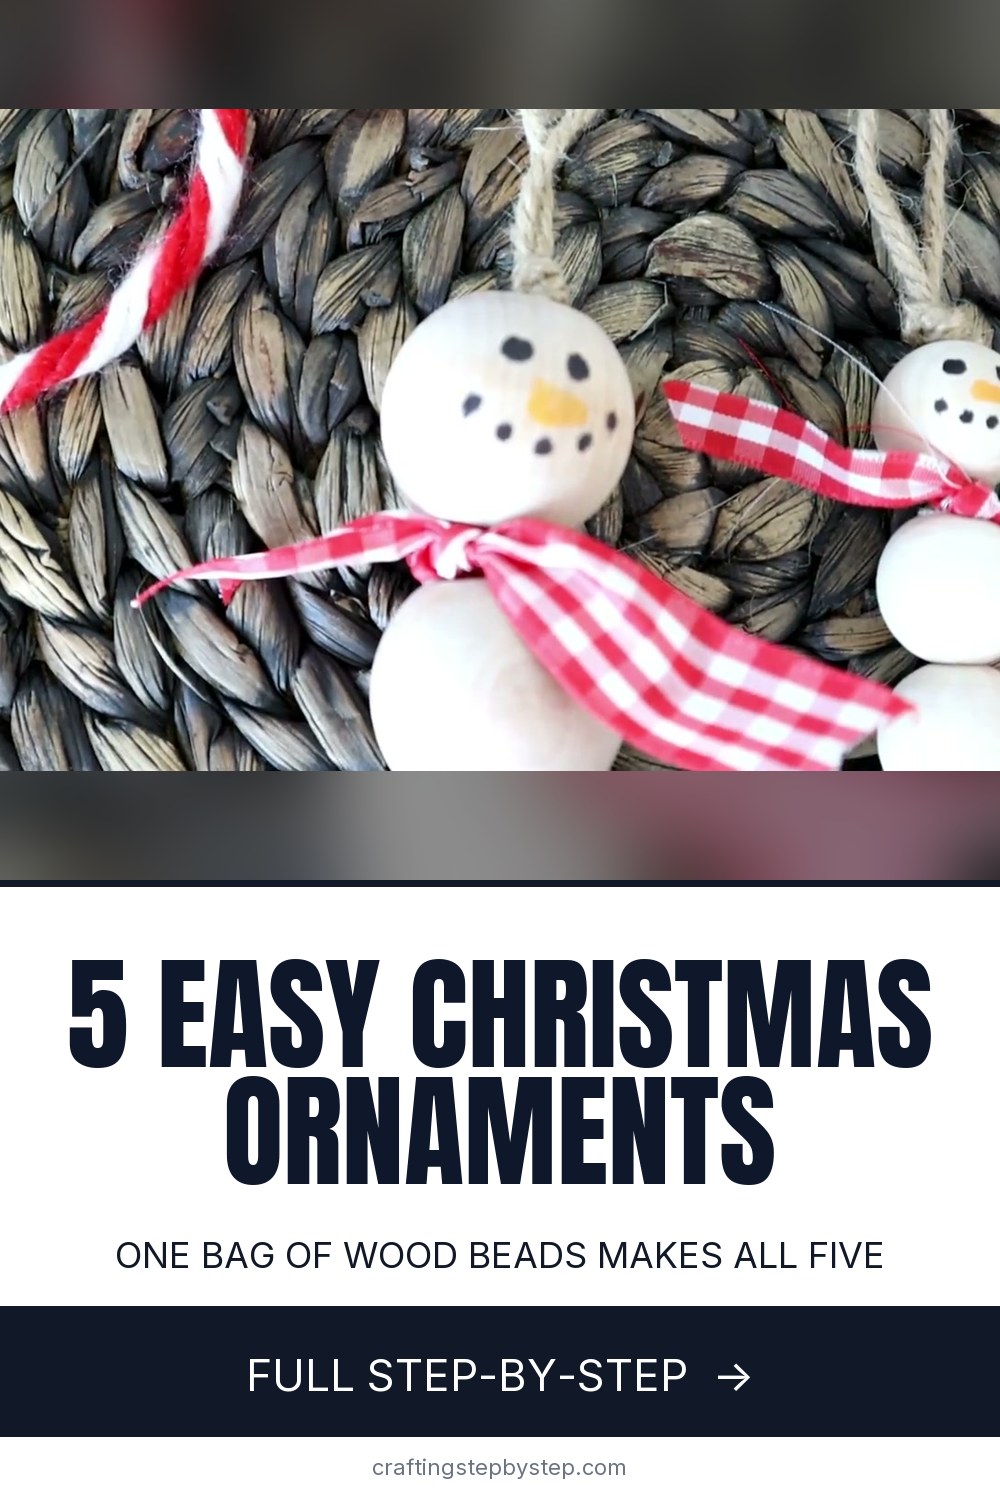
Five ornaments, one bag of wood beads, and nothing here takes longer than about ten minutes.

This walkthrough follows Shannon at The Cozy Christmas Cottage making a beaded wreath, a drop, a yarn tassel, a snowman and a burlap angel. They are worth doing as a set rather than picking one, because the same beads run through all five and that is what makes them look like they belong on the same tree.

None of it needs a craft room. Wood beads, jute, some yarn, a length of ribbon, a marker and a glue gun covers every project on this page.

What you need

Unfinished wood beads in a few sizes, jute twine, floral wire, yarn, wired ribbon, a black and an orange marker, a hot glue gun, scissors and a large-eye needle. White craft paint and a tassel maker are both optional.

More ornaments to make

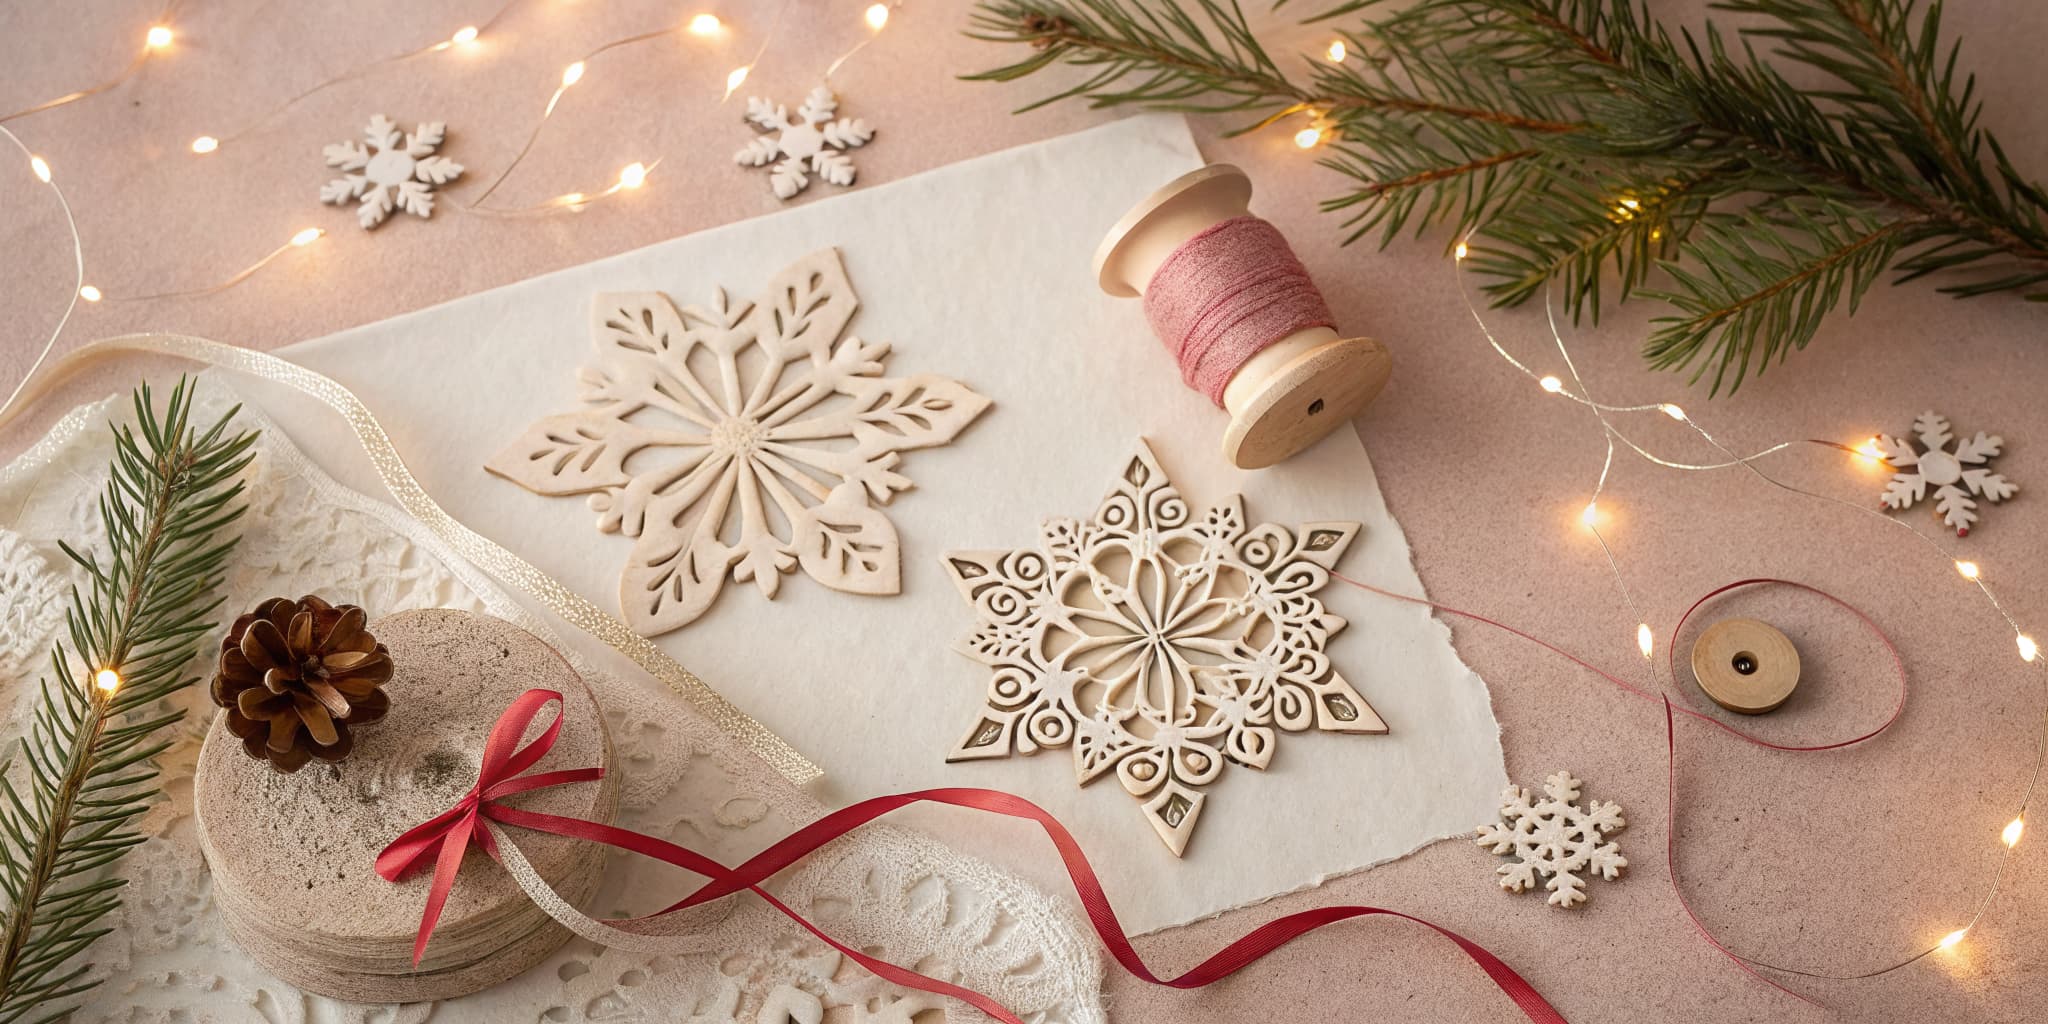
If you want ornaments that smell like Christmas, cinnamon ornaments are no-bake and take one afternoon. Salt dough ornaments are the ones you cut with cookie cutters and can hand-paint, and pinecone ornaments cost nothing if you have a tree nearby.

For the rest of the tree, there is how to make paper snowflakes and how to make a Christmas wreath for the door.

Step-by-Step Guide

10 steps · about 18 minutes.Check off each step as you go and your progress saves automatically.

1

Step 1: Buy Wood Beads in Three Sizes

1:15
Step 1: Buy Wood Beads in Three Sizes - How to Make Christmas Ornaments

All five ornaments are built from plain unfinished wood beads. Buying a mix of sizes is what makes them look like a set instead of five unrelated things.

A multi-size assortment covers the wreath and the drop. Get a bag of 1-inch on its own, because that is the size most projects call for, and a bag of 1.5-inch for the snowman.

Unfinished is the right choice even if you plan to paint. Sealed or waxed beads resist paint and glue.

Tip

Check the hole size before buying. Some craft beads have holes too narrow for jute, which is what most of these ornaments hang from.

2

Step 2: Tip the Beads Into a Shallow Pan

1:50
Step 2: Tip the Beads Into a Shallow Pan - How to Make Christmas Ornaments

Before anything else, empty the bags into a pie tin or a baking tray.

This sounds like a fussy extra step. It is the difference between picking the size you want in one second and chasing beads across the kitchen floor, which is what happens the moment you tip a bag straight onto a table.

A pan with a lip also lets you push beads around with one hand while the other holds wire or a needle.

Tip

Sort roughly by size as you tip them in. You will be reaching for a specific size over and over.

Used in this stepPie panCraft storage tray
3

Step 3: Thread the Wreath Onto Floral Wire

2:55
Step 3: Thread the Wreath Onto Floral Wire - How to Make Christmas Ornaments

Cut a length of floral wire and start threading beads on in a repeating pattern - one medium, one small, one medium, one small.

Silver wire disappears better than green, but either works, because the beads cover almost all of it. Whatever you have is fine.

Keep threading until the strand is long enough to bend into the ring size you want. Bigger beads and a longer strand make a bigger wreath, so decide roughly how big before you commit to a wire length.

Tip

Leave two or three inches of bare wire at each end. That is what you twist together, and it is very easy to leave yourself too little.

4

Step 4: Close the Ring and Tie a Jute Bow

3:25
Step 4: Close the Ring and Tie a Jute Bow - How to Make Christmas Ornaments

Bend the beaded strand into a circle, twist the two wire ends together two or three turns, and snip off the excess. Push the twist round so it sits behind a bead rather than out in the open.

Then tie a length of jute around that join in a bow, and leave a loop above it long enough to go over a branch.

The bow is not only decoration. The join is the one part of a bead wreath that ever looks unfinished, and the bow covers it.

Tip

Tie the bow before you trim the jute tails. It is much easier to even them up once the knot is set.

5

Step 5: String a Drop Ornament on Jute

5:00
Step 5: String a Drop Ornament on Jute - How to Make Christmas Ornaments

The drop is the same idea in a straight line, and it is the fastest of the five.

Thread a length of jute onto a large-eye needle and string beads down it. Smallest at the bottom building to largest at the top looks deliberate, but alternating sizes works too.

Knot the jute underneath the bottom bead so nothing slides off, then tie the top into a hanging loop. This is the one to hand to a child who wants to help.

Tip

A dab of glue on the bottom knot stops it working loose after a few seasons in a storage box.

6

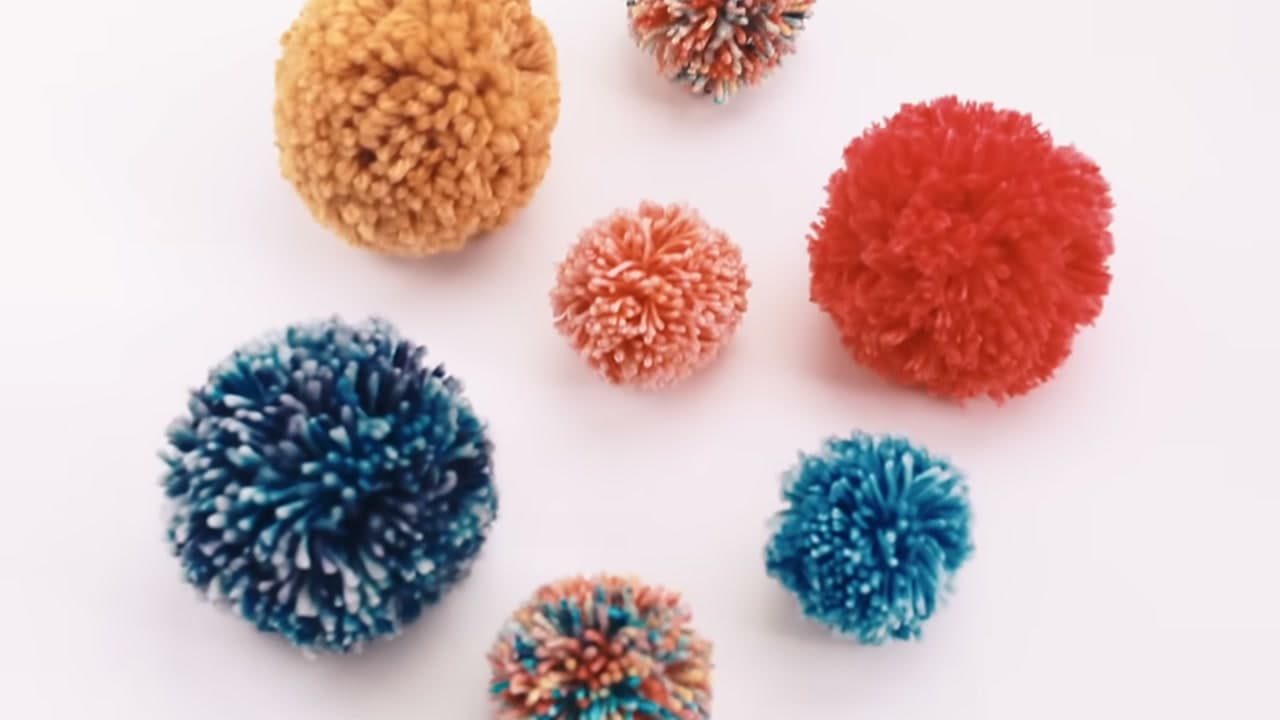
Step 6: Wrap Yarn Around a Tassel Maker

8:06
Step 6: Wrap Yarn Around a Tassel Maker - How to Make Christmas Ornaments

Wrap yarn around a tassel maker about 30 times. A stiff piece of cardboard cut to the length you want does exactly the same job, so do not buy a tool for this unless you want one.

Before you start wrapping, lay a separate length of yarn into the groove at the top. That piece becomes both the tie and the hanger, and threading it afterwards is much harder.

Thicker chunky yarn gives a fuller, softer tassel. Standard worsted gives a neater, skinnier one. Both look right on a tree.

Tip

Count your wraps on the first one and write the number down. It is the only way to get a matching set.

7

Step 7: Tie the Top, Tie the Neck, Cut the Bottom

8:50
Step 7: Tie the Top, Tie the Neck, Cut the Bottom - How to Make Christmas Ornaments

Pull the length you laid in the groove tight around the whole bundle and knot it, then slide the bundle off the frame.

Cut a second piece of yarn and wrap it around the tassel about an inch below the top, tying it off to form the neck. How far down you put the neck is the only real decision here, and lower gives a rounder head.

Then cut through the loops at the bottom and trim the ends level.

Tip

Hang the tassel up and let it settle for a minute before the final trim. The strands drop unevenly and cutting them flat while pinched gives a crooked hem.

Used in this stepCraft scissorsChunky yarn
8

Step 8: Add Beads to the Hanger, Then Paint

11:05
Step 8: Add Beads to the Hanger, Then Paint - How to Make Christmas Ornaments

Thread two or three wood beads onto the tassel's hanging cord with the needle so they sit just above the neck.

This small move is what pulls the whole set together. The same beads now appear on the wreath, the drop and the tassel, so on the tree they read as a collection rather than as separate crafts.

If you want the beads lighter, paint them white with a foam brush. One coat is plenty and the wood grain still shows through, which is the look you want. Let them dry fully before threading.

Tip

Paint the beads before threading them, not after. Paint on the cord stiffens it and the bead stops sliding.

9

Step 9: Build the Snowman and Draw His Face

12:50
Step 9: Build the Snowman and Draw His Face - How to Make Christmas Ornaments

Stack three beads on a length of jute, largest at the bottom. The 1.5-inch beads make a good-sized snowman; 1-inch makes a smaller one that suits a narrow tree.

Knot the jute underneath so the stack cannot slide off, then tie a loop at the top for hanging. Tie a thin strip of ribbon around the join between the top two beads for a scarf.

Draw the face with a black marker for the eyes and mouth and an orange one for the nose. Two dots for eyes, a short curve of dots for the mouth, a small triangle for the carrot. Keep it simple - the more you add the less like a snowman it looks.

Tip

Practise the face on a spare bead first. Marker on bare wood cannot be wiped off.

10

Step 10: Fold the Angel From Two Ribbon Loops

17:34
Step 10: Fold the Angel From Two Ribbon Loops - How to Make Christmas Ornaments

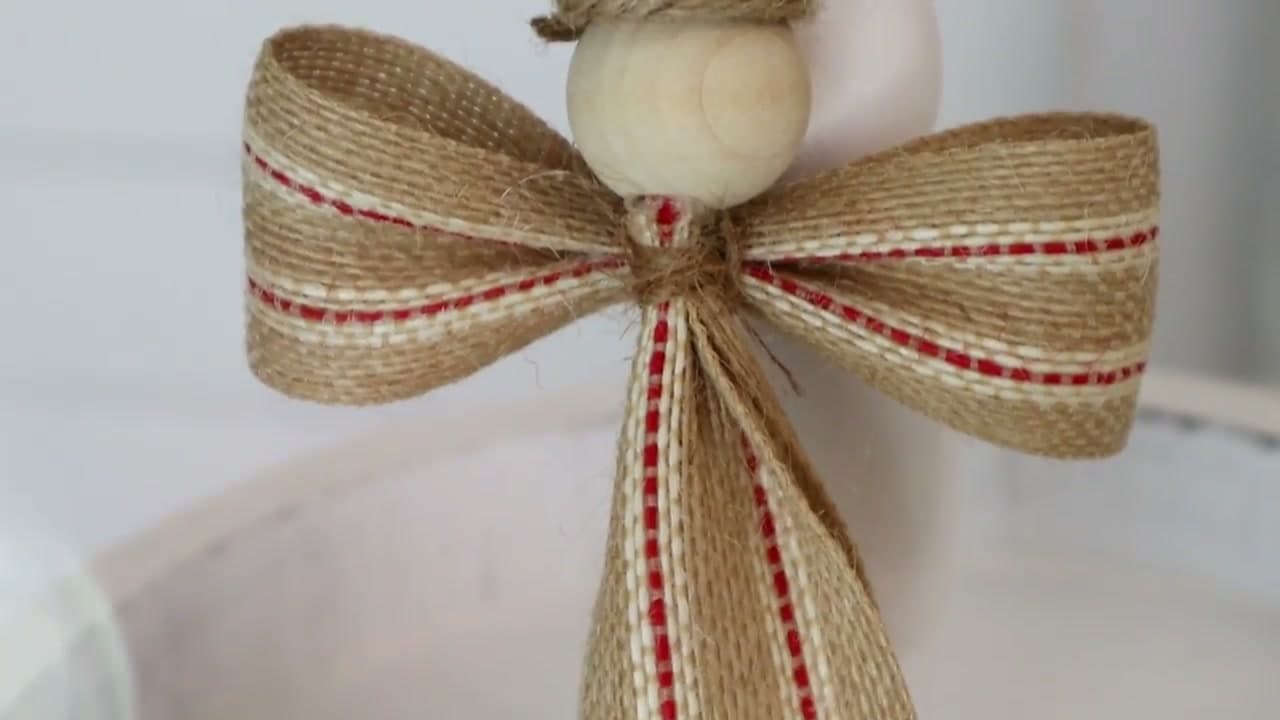
The angel is two loops of wired ribbon and one bead.

Fold a length of ribbon into a loop and glue the ends together for the body. Fold a second, wider loop for the wings and glue it across the back of the first. Push a length of jute up through a 1-inch bead, glue the bead on top of the ribbon as the head, and leave the jute long so it doubles as the hanger.

Finish with a small circle of jute glued flat above the head as a halo. Burlap ribbon with a red stitch down each edge keeps it Christmassy without shouting.

Tip

Wired ribbon holds the wing shape. Unwired ribbon goes limp as soon as you hang it.

Keep going

How to Make a Wreath

Products Used

The Checklist

How to Make Christmas Ornaments

Tools
6
Materials
12
Steps
10
Video
18 min

Tools we recommend

Your Guide

The Cozy Christmas Cottage

As an Amazon Associate we earn from qualifying purchases. Links on this page may be affiliate links - clicking them and buying doesn't change your price, but helps support CraftingStepByStep.

Tags

Sunday How-To

New crafts tutorials, every Sunday

One short email with the week's best step-by-step guides. Free, no spam, unsubscribe anytime.

Did this work for you?

What's next

Related collections

Curated theme pages that include this tutorial.

Weekly Digest

Liked this crafts tutorial?

Pick the categories you want to hear about. Weekly digest of new step-by-step tutorials. No spam, easy unsubscribe.

Send me tutorials about

We only email about new tutorials. Easy unsubscribe anytime.