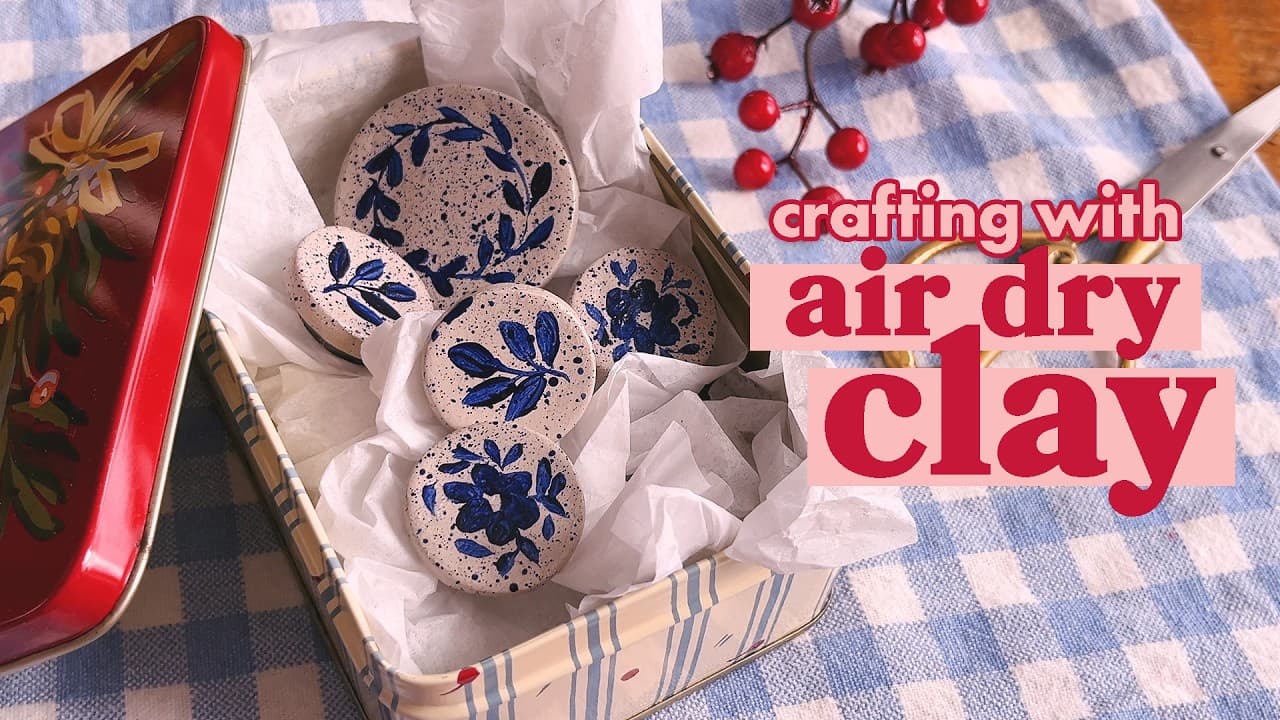
Air dry clay ornaments cost almost nothing and they come out looking like something you bought. Jane at Chalking Up Success! makes a tree's worth in an afternoon using a glass bottle for a rolling pin, two strips of an old wooden blind as thickness guides, and a cookie cutter shaped like a bauble. Nothing goes in an oven and nothing goes in a kiln. The clay looks gray while it is wet and turns chalky white as it dries.
The patterns are what make these worth the effort. She presses evergreen sprigs from the garden into the rolled clay, rolls lace ribbon over the next one, then pushes carved wooden shapes and an embossed rolling pin into the ones after that. One block of clay gives you six or seven ornaments and no two of them match. A cookie stamper adds words like JOY and PEACE, with the letters loaded back to front so they read the right way round once they are pressed in.
Two details separate an ornament you hang from one you throw out. The hanging hole has to go in while the clay is soft, and a metal straw cuts a rounder one than a skewer does. The cut edge needs a damp fingertip run around it before it dries, which saves you sanding a hard, brittle ornament later. Drying is the one stage Jane does not film. The ornaments go flat on a rack and come back white, and how long that takes depends on how thick you rolled them, so treat 24 to 72 hours as the range rather than a fixed number.
If you have not worked with this stuff before, start with how air dry clay behaves, because the same block also makes magnets and small dishes. For the rest of the tree, pinecone ornaments and dried orange slices hang well beside these, and the offcuts wire straight into a Christmas wreath.