How to Make Pinecone Christmas Ornaments

CraftsEasy7:4910 stepsBrowse more →
The finished result: How to Make Pinecone Christmas Ornaments
Also in:Other Crafts

By CraftingStepByStepPublished

Based on a video by Wren Haven HOME.

German glass glitter is the reason these look the way they do. It is coarser and more reflective than plastic craft glitter, so on a lit tree the ornaments throw light rather than just sitting there.

The method is two steps repeated: glue, then glitter. Use a cheap chip brush, because the jabbing motion needed to work Mod Podge between the scales will destroy a decent brush. And do not chase a perfect pinecone - a slightly crooked one looks better on a tree than a symmetrical one.

Step-by-Step Guide

10 steps · about 8 minutes.Check off each step as you go and your progress saves automatically.

1

Step 1: Fit the Eye Hook

0:58
Step 1: Fit the Eye Hook - How to Make Pinecone Christmas Ornaments

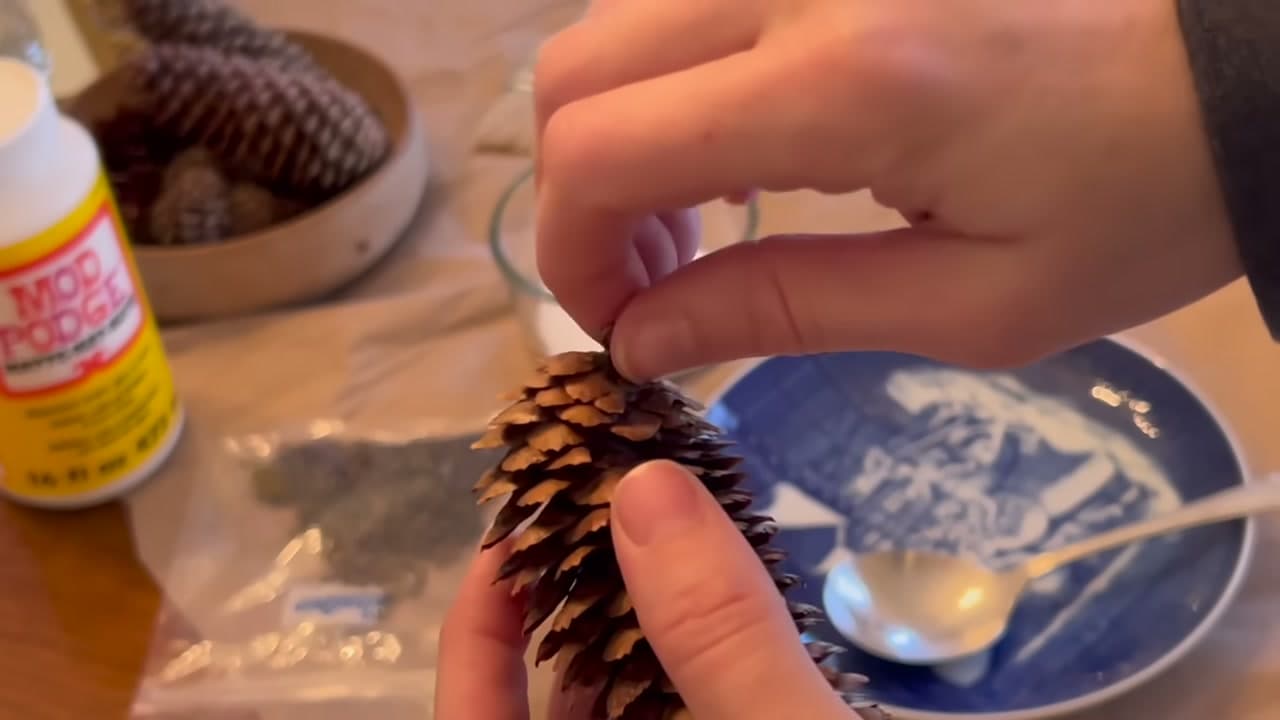
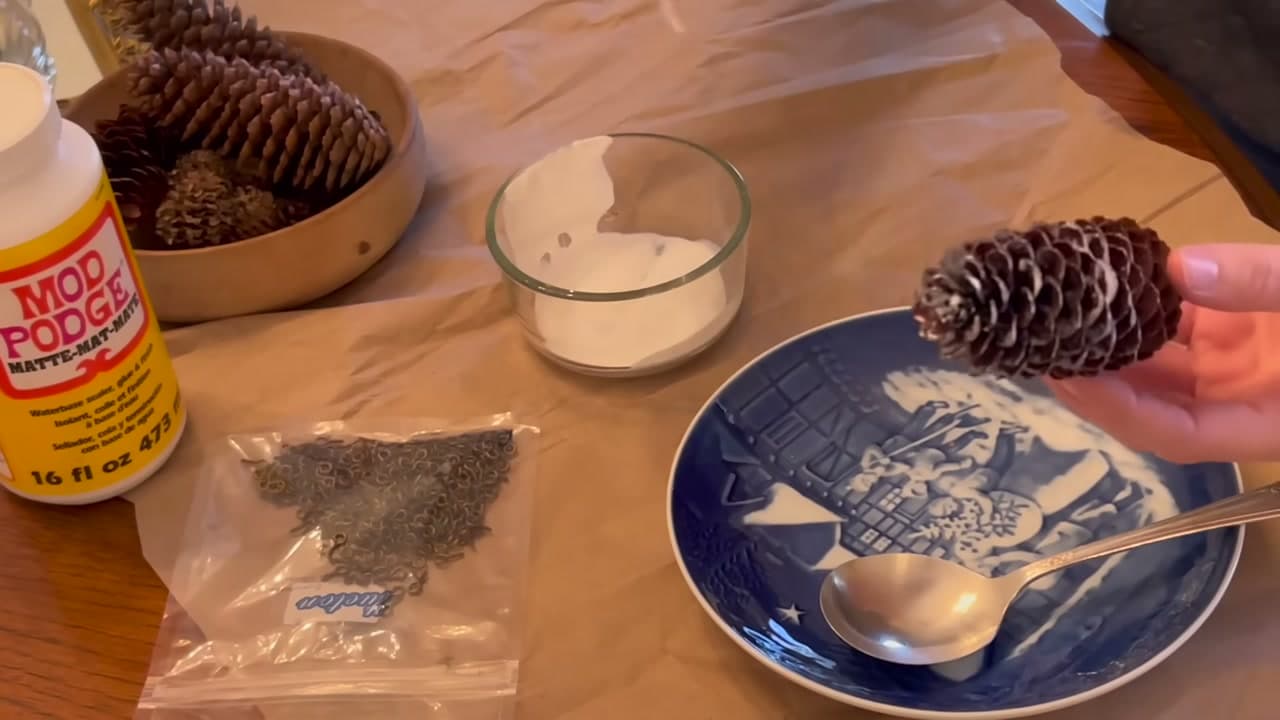
Twist a mini eye hook into the top of a properly dried pinecone, using your fingers to screw it down tight.

Give it a tug with the hanger before you go further. If it pulls out now it will pull out on the tree.

Tip

Any pinecone works. The one used here is uneven at the tip and it makes no difference to the result.
2

Step 2: Brush On the Mod Podge

1:20
Step 2: Brush On the Mod Podge - How to Make Pinecone Christmas Ornaments

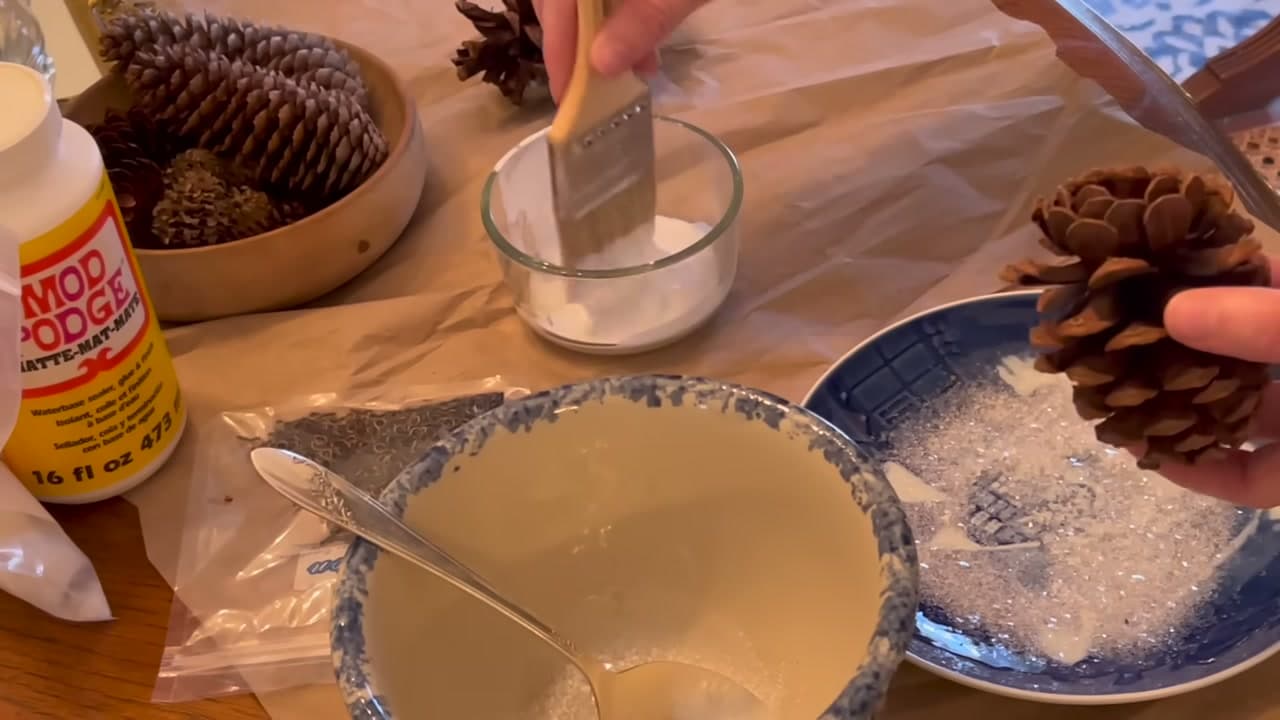
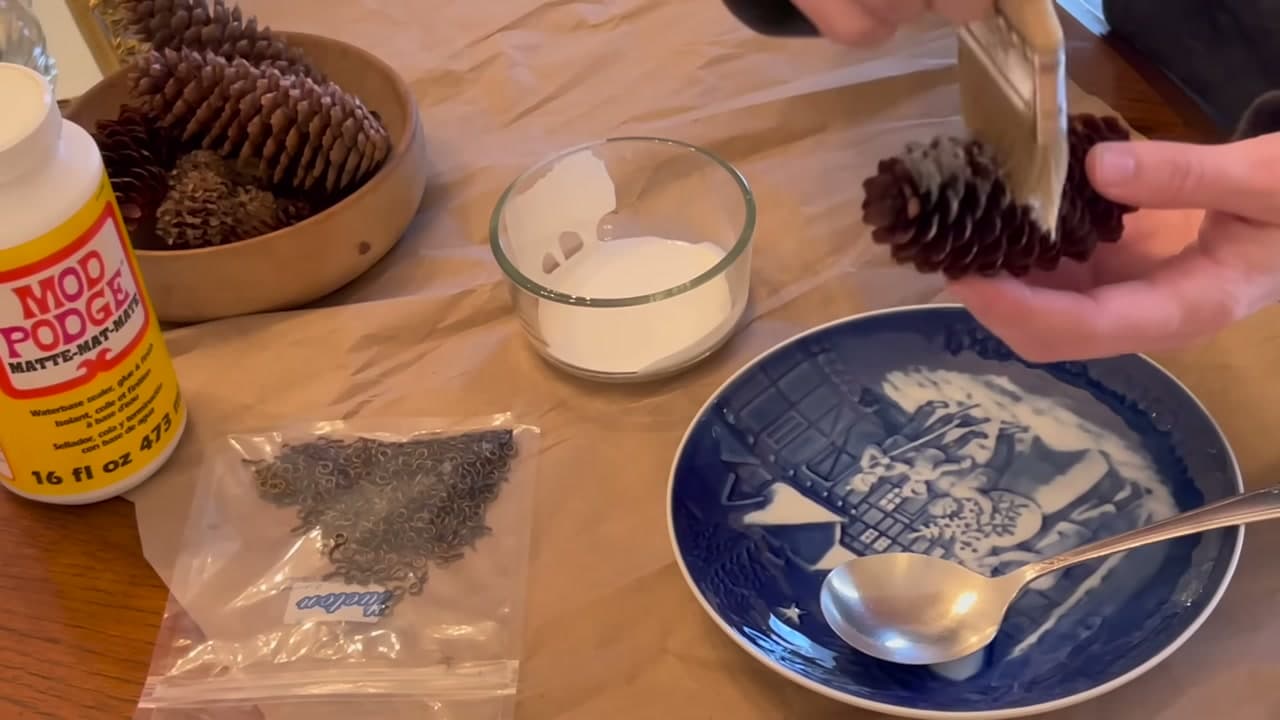
Load a chip brush with Mod Podge straight from the jar - no need to dilute it.

Work against the grain of the scales with a jabbing motion so the glue goes on evenly instead of pooling.

Tip

Use a brush you do not care about. This motion wrecks good brushes.

3

Step 3: Work the Glue In

1:48
Step 3: Work the Glue In - How to Make Pinecone Christmas Ornaments

Push the glue a little way down between the scales rather than only coating the tips.

Keep the layer thin. Too much and it gloops between the scales and stays visible after it dries.

Tip

Mod Podge dries clear, so a coat that looks milky now will disappear.

Products used in this step

4

Step 4: Spoon On the Glitter

2:54
Step 4: Spoon On the Glitter - How to Make Pinecone Christmas Ornaments

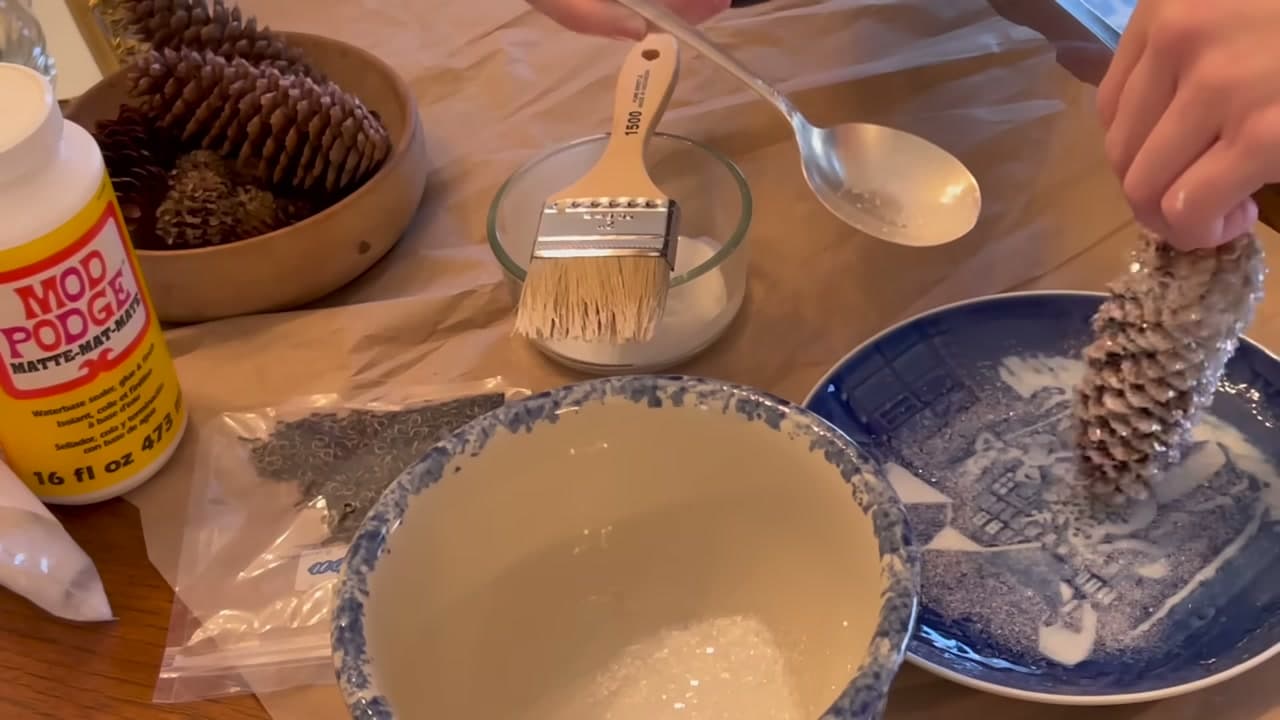
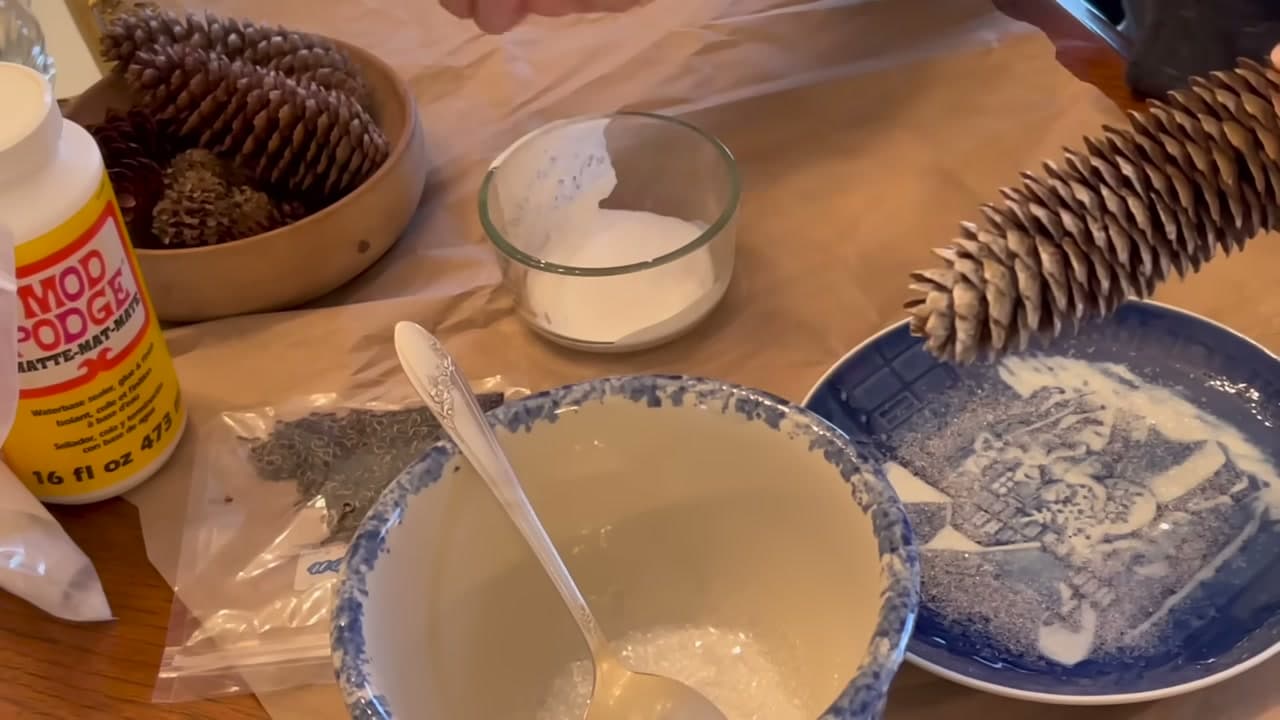
Hold the pinecone over a plate and spoon German glass glitter across it, shaking gently so it falls like snow.

Turn the cone as you go so it lands evenly on every side.

Tip

Nothing is wasted. Whatever misses lands on the plate and tips straight back into the jar.

5

Step 5: Tap and Dip

3:08
Step 5: Tap and Dip - How to Make Pinecone Christmas Ornaments

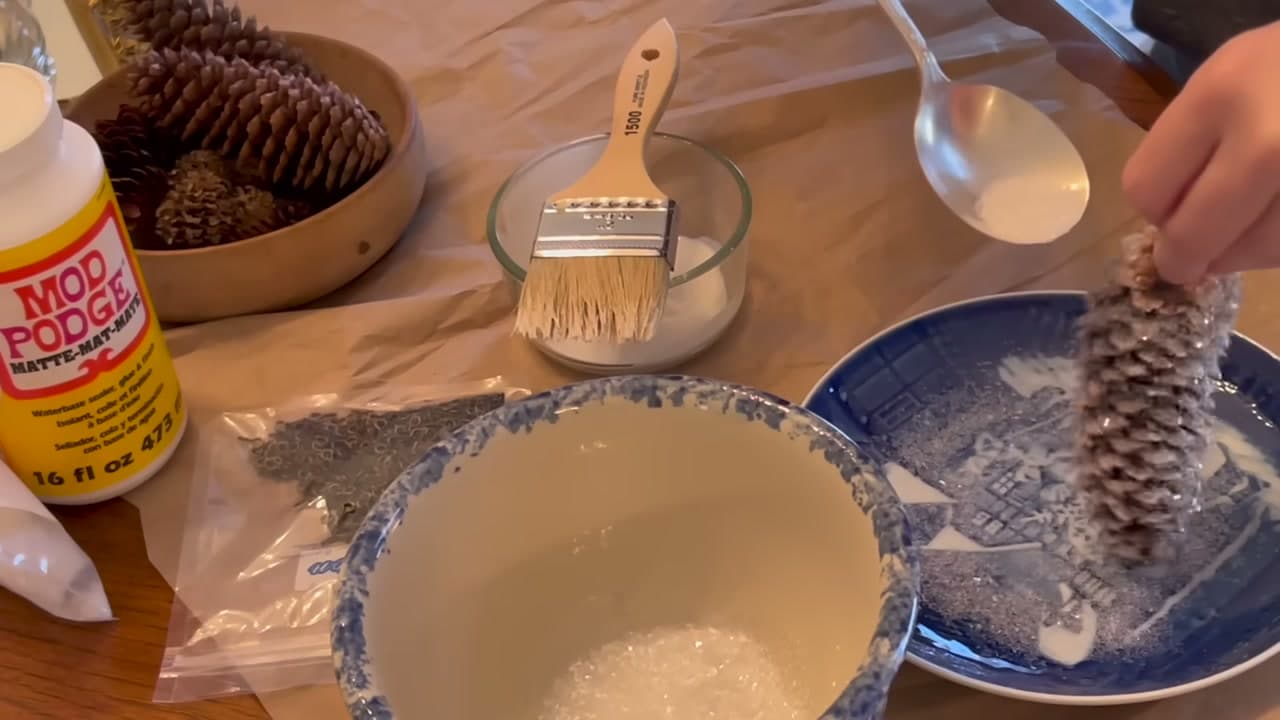
Tap the pinecone against your hand to knock off the loose excess.

Then dip the tip straight into the bowl of glitter to catch the spots the spoon missed.

Products used in this step

7

Step 7: Glue and Glitter the Gilded One

4:00
Step 7: Glue and Glitter the Gilded One - How to Make Pinecone Christmas Ornaments

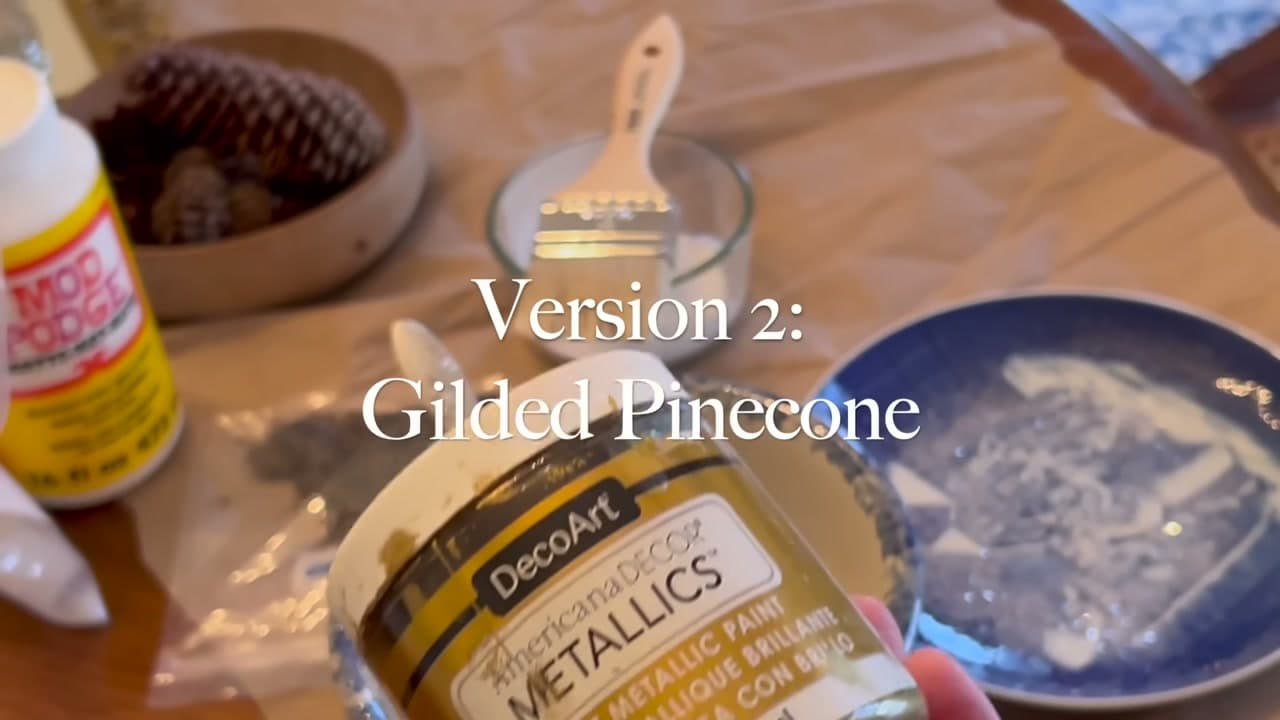
Treat the painted pinecone exactly like the natural one - chip brush, thin coat, then glitter.

Be generous. It looks far too thick while it is wet and settles down as it dries.

Tip

Missed a patch? Leave it. Once these are on a tree you will not find it.

Products used in this step

8

Step 8: Do Some Larger Cones

5:00
Step 8: Do Some Larger Cones - How to Make Pinecone Christmas Ornaments

Big sugar pinecones make good display pieces rather than hanging ornaments.

Go heavier with the glue and push it further in, since the scales are much larger and there is more gap to fill.

Tip

Mixing sizes across a display gives it more variation than a row of matching ones.

Products used in this step

9

Step 9: Let Them Dry

6:36
Step 9: Let Them Dry - How to Make Pinecone Christmas Ornaments

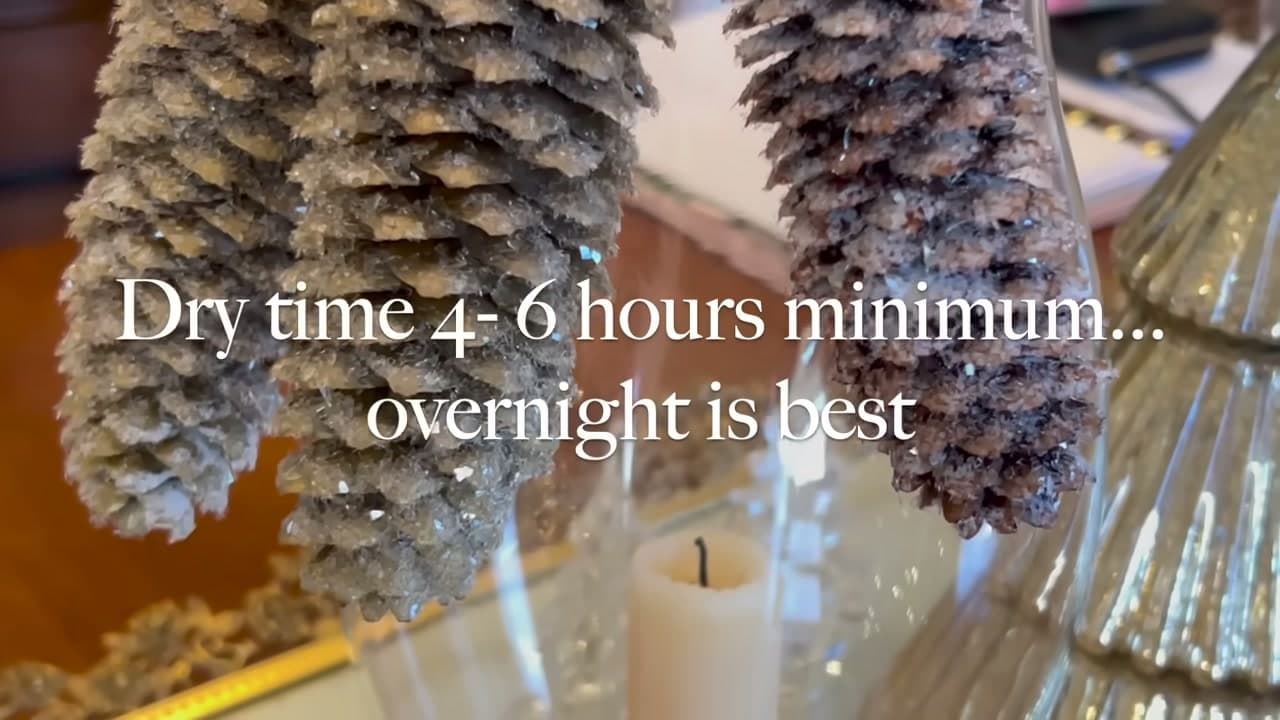
Hang the ornaments up and leave them four to six hours minimum.

Overnight is better. The thicker patches of glue need the extra time to harden all the way through.

Tip

These do shed a little glitter once dry. Not badly, but do not hang them over food.

10

Step 10: Hang Them on the Tree

6:52
Step 10: Hang Them on the Tree - How to Make Pinecone Christmas Ornaments

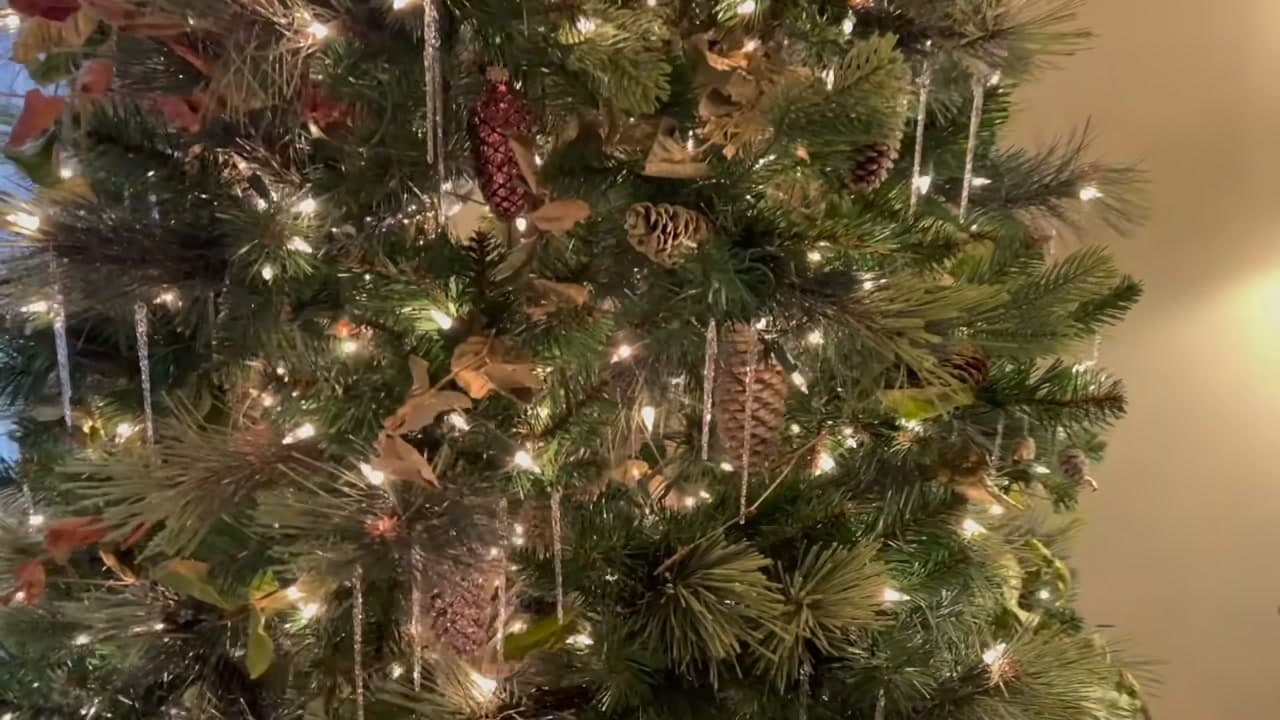
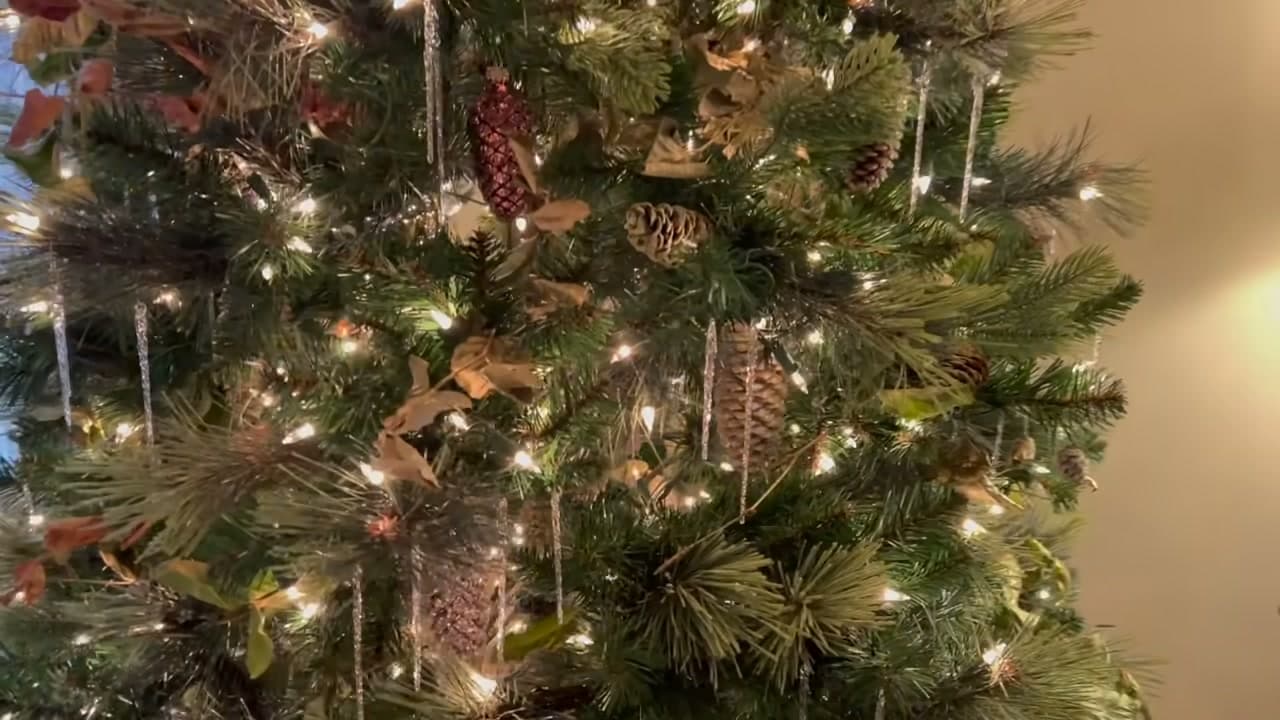
Hang the finished cones where the lights sit behind them so the glass glitter catches.

Put a natural one next to a gilded one and you can just about tell them apart. Both look good, so do not feel obliged to gild.

Products used in this step

Keep going

How to Use Tile Nippers to Cut Mosaic Glass

Products Used

☐ The Checklist

How to Make Pinecone Christmas Ornaments

Tools
3
Materials
6
Steps
10
Video
8 min

Tools we recommend

Your Guide

Wren Haven HOME

As an Amazon Associate we earn from qualifying purchases. Links on this page may be affiliate links - clicking them and buying doesn't change your price, but helps support ShowMeStepByStep.

Tags

Sunday How-To

New crafts tutorials, every Sunday

One short email with the week's best step-by-step guides. Free, no spam, unsubscribe anytime.

Did this work for you?

What's next

Related collections

Curated theme pages that include this tutorial.

Weekly Digest

Liked this crafts tutorial?

Pick the categories you want to hear about. Weekly digest of new step-by-step tutorials. No spam, easy unsubscribe.

Send me tutorials about

We only email about new tutorials. Easy unsubscribe anytime.