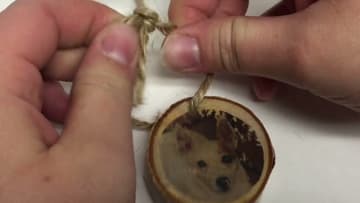
How to Make a Wood Slice Ornament With a Photo Transfer
Source: Cooking and Craft Chick • Full tutorial: www.craftingstepbystep.com/woodworking-crafts/how-to-make-a-wood-slice-ornament
- Difficulty
- Easy
- Hands-on time
- About 40 minutes
- Wait time
- 25 hours
- Cost
- About $2 to $5
- Makes
- 1 photo ornament

Tools
- foam brush
- small container
- cup of water
- drill with a small bit
- scissors
- tape
Materials
- birch wood slice
- photo printed in reverse on a laser printer
- Mod Podge (matte or gloss)
- jute twine
Steps
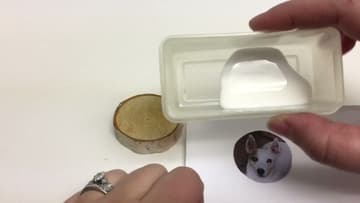
1. Set Out the Wood Slice, a Reversed Laser Print and Mod Podge
Gather a wood slice, your photo and some Mod Podge. The photo must be printed in reverse on plain copy paper with a laser printer or a photocopier, not an inkjet.
Tip: Birch slices with the bark on the edge, like these from a craft store, give the most rustic look.
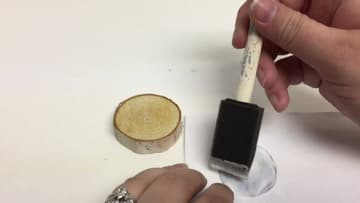
2. Coat the Laser Printed Photo Thickly With Mod Podge
Load a foam brush and paint Mod Podge over the printed side of the photo. Be generous.
Tip: Cover right to the edges of the paper. Any dry patch will leave a gap in the image.
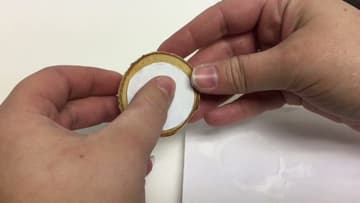
3. Press the Photo Face Down Onto the Wood Slice Ornament
Pick up the wet print and lay it face down on the wood slice. Center it in one go, because sliding it around thins the Mod Podge underneath.
Tip: Set a heavy book on it for the first hour to keep good contact with the wood.
4. Wet the Paper Back of the Wood Slice Photo Transfer
Once it has dried overnight, set out a small cup of water and a towel. Dip your fingers and rub water over the paper back of the transfer.
Tip: Work over a paper towel. The rubbed-off paper makes little white crumbs.
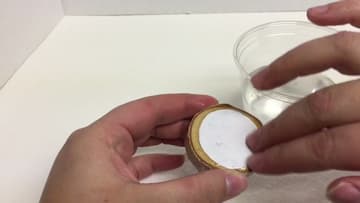
5. Rub the Wet Paper Off the Wood Slice in Circles
With the paper damp, rub it in small circles with your fingertip. The top layer of paper rolls up into little balls and the image appears underneath.
Tip: Use the pad of your finger, not a fingernail, so you do not scratch the image.
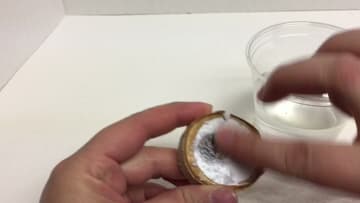
6. Let the Wood Slice Dry and Rub Off the Last Paper Fuzz
Let the slice dry for 10 to 15 minutes. A white haze shows up where paper is still stuck on top of the image.
Tip: If the photo looks cloudy when dry, there is still paper on it. One more round fixes it.
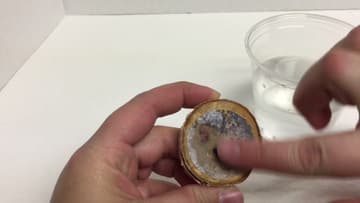
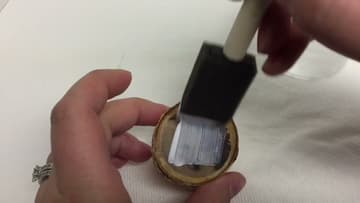
7. Seal the Wood Slice Photo Ornament With Mod Podge
Brush a thin, even layer of Mod Podge over the whole face of the slice. Go right out to the edge so you do not leave a visible line.
Tip: Gloss Mod Podge gives a shiny, photo-like finish. Matte looks more rustic.
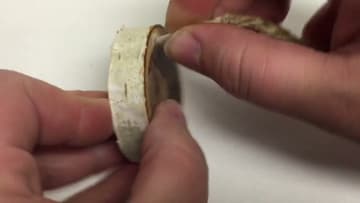
8. Thread Jute Twine Through the Hole in the Wood Slice
Drill a small hole through the top edge of the slice. Jute twine frays, so wrap the cut end with a small piece of tape to make a stiff tip, like a shoelace.
Tip: An adult should do the drilling. Clamp the slice or hold it on scrap wood.
9. Knot the Hanging Loop on the Wood Slice Photo Ornament
Bring the two ends of the twine together above the slice and tie a firm knot to make a hanging loop. Trim the ends, which also cuts off the tape.
Tip: Write the name and year on the back with a fine paint pen before you gift it.