How to Sew an Elastic Waistband Without a Casing
Source: Threads Sewing • Full tutorial: www.craftingstepbystep.com/sewing/how-to-sew-an-elastic-waistband
- Difficulty
- Medium
- Hands-on time
- About 45 minutes
- Cost
- About $3 to $6

Tools
- sewing machine
- fabric scissors
- tape measure
- sewing pins
- fabric marking pen
- steam iron
- ironing board
Materials
- knit elastic
- all-purpose polyester thread
- ballpoint machine needle
Steps
1. Pre-Stretch the Sewing Elastic Before You Measure It
Pull the length of elastic firmly between your hands a few times. Elastic straight off the roll is stiff, and if you measure it that way the waistband ends up tighter than you meant once it relaxes.
Tip: Choose non-roll elastic for anything wider than 1 inch. It keeps the waistband from folding over when you sit.
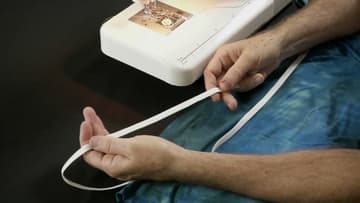
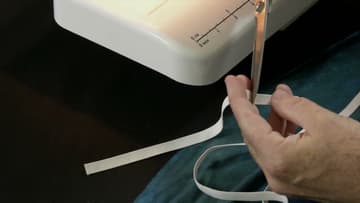
2. Measure the Elastic Around Your Waist and Cut It 2 Inches Short
Loop the elastic round your waist, snug but not tight. Mark where the end meets the other side of the loop.
Tip: Pull the loop over your hips before you sew anything. If it will not pass, add an inch back.
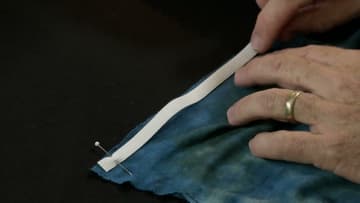
3. Pin the Elastic End Into the Waistband Seam Allowance
Working flat, lay the elastic on the wrong side of the fabric right at the raw top edge. Move the end of the elastic a little into the side seam allowance and pin it.
Tip: Keep the elastic edge flush with the fabric edge. Any gap here shows as a wobble on the finished waistband.
4. Divide the Elastic and Garment Waist Into Quarters and Match the Marks
Fold the elastic into quarters and mark each fold. Do the same on the garment waist.
Tip: Four pins is the whole point. More pins stop the elastic stretching evenly as you sew.
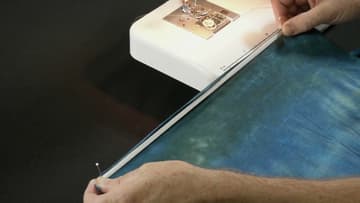
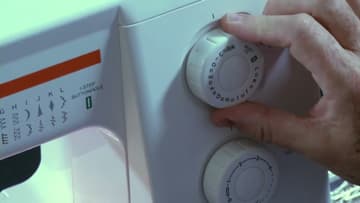
5. Set the Sewing Machine to a 2.5 mm Zigzag Stitch
Turn the stitch selector to zigzag and set the width to about 2.5, then nudge it up a touch. Put the elastic under the presser foot and turn the hand wheel toward you until the needle is down in the elastic.
Tip: Sewing a knit? Fit a ballpoint needle before you start. It stops skipped stitches on stretchy fabric.
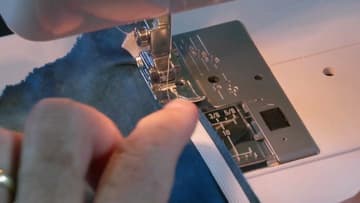
6. Zigzag the Elastic to the Raw Fabric Edge While Stretching It
Hold the thread tails behind the foot and grab the elastic halfway to the next pin with your left hand. Stretch it so the fabric lies flat, then sew.
Tip: Tension on the elastic, not the fabric. Let the feed dogs move the fabric along.
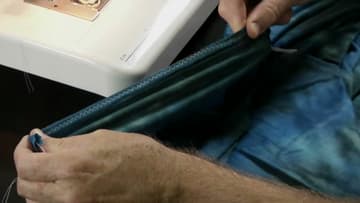
7. Fold the Elastic Over So the Fabric Wraps the Waistband Elastic
Take the waistband out from under the foot. It will be gathered on the right side and show the zigzag along the elastic on the wrong side.
Tip: Finger-press the fold as you go. There is no need to pin it.
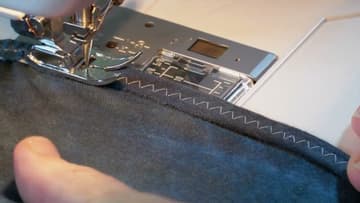
8. Straight-Stitch Down the Centre of the Zigzag to Finish the Waistband
Switch back to a straight stitch and lengthen it slightly. Hold the thread tails behind, pull the elastic in front, and stitch right down the middle of the zigzag row.
Tip: A straight stitch on elastic sounds wrong. It holds because you sew it stretched to the full length it will ever reach.
9. Tug Out Bumps and Steam the Elastic Waistband Back to Size
If a small bump forms near the top edge, give the fabric a firm tug and it will settle. Take the waistband to the ironing board.
Tip: Never press the iron down on elastic. Direct heat can melt the rubber and kill the stretch.