How to Sew a Zipper Pouch
Source: Sookie Sews • Full tutorial: www.craftingstepbystep.com/sewing/how-to-sew-a-zipper-pouch
- Difficulty
- Easy
- Hands-on time
- About 1 hour 15 minutes
- Cost
- About $8 to $18
- Makes
- 1 zipper pouch

Tools
- Sewing machine
- Zipper foot
- Standard presser foot
- Fabric scissors
- Rotary cutter
- Self-healing cutting mat
- Quilting ruler
- Iron
- Wool pressing mat
- Wonder clips
- Straight pins
- Water-soluble marking pen
- Point turner
- Tape measure
- Stiletto or awl
Materials
- Quilting cotton, two outer panels 10 x 8 inches
- Quilting cotton, two lining panels 10 x 8 inches
- Quilting cotton, two zipper end tabs 1-1/2 x 2 inches
- One nylon coil zipper, at least 12 inches
- All-purpose 50 wt cotton thread
- Universal sewing machine needle, 80/12
- Clear tape
Steps
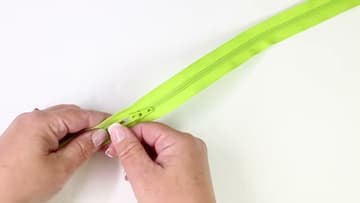
1. Pinch the Open Zipper Teeth Back Together by Hand
Slide the zipper pull down two or three inches so a length of teeth sits open above it. Pinch those open teeth back together with your fingers until they mesh, then wrap a piece of tape around that spot to hold them shut.
Tip: Nylon coil zippers cut like this with ordinary scissors. Metal-tooth zippers do not, and they will chew up a good pair of shears. Check which one you have before you cut.
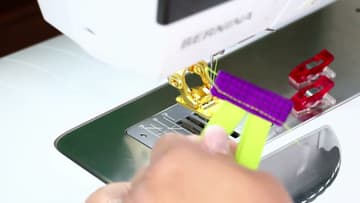
2. Topstitch a Folded Fabric Tab Onto the End of the Zipper
Take a 1-1/2 by 2 inch scrap and fold it in half along its length with the right side out, so the raw edges touch. Press it.
Tip: Clips beat pins here. Getting a pin through four layers of folded cotton plus zipper tape is a fight, and a clip holds the tab square while you feed it under the needle.
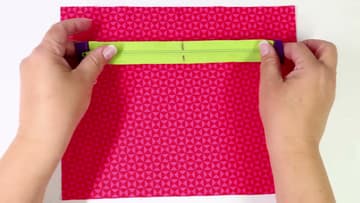
3. Lay the Zipper Face Down Along the Top of the Outer Panel
Fold the zipper in half with the wrong sides together and mark the centre of the tape. Fold one outer panel in half across the 10 inch width and mark the centre of its top edge.
Tip: Get the order wrong and the pouch still sews together, but the lining ends up on the outside. Check that both printed faces are turned toward the zipper before you clip anything.
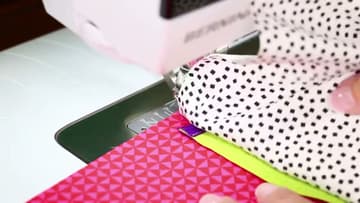
4. Stitch the Outer, Zipper and Lining Together in One Seam
Clip all three layers along the top edge, and make sure every clip catches the zipper tape. Swap to a zipper foot and shift the needle position so it runs alongside the teeth instead of over them.
Tip: If the seam wanders away from the teeth the zipper will not sit flat later.
5. Press the Lining and Outer Back Off the Zipper Teeth
Press the seam flat the way it was sewn to set the stitches. Then open the outer and the lining away from the zipper, fold both down to the same side, and press them there so the fabric sits back clear of the teeth.
Tip: The zipper pull is still hiding under all that fabric while you press. Feel for it and work around it, because an iron plate on a nylon coil pull will melt it.
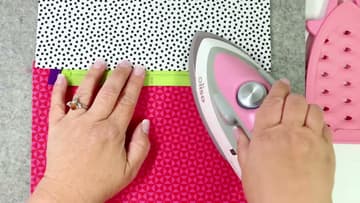
6. Sew the Side Seam From the Lining Edge to the Outer Edge
Open the zipper at least halfway before you touch anything else. Lay the piece out so outer meets outer and lining meets lining, with the two seam allowances at the zipper butted up against each other and pointing opposite ways.
Tip: Open that zipper.
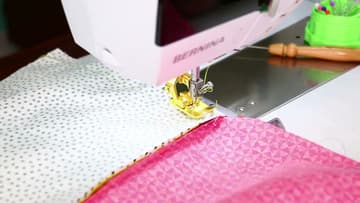
7. Sew the Bottom Seams and Stop Short on the Lining
Sew the bottom seam of the outer at half an inch, edge to edge, backstitching at both ends. Sew the lining bottom seam the same way, but stop about four inches in and backstitch there.
Tip: Three inches is about the width of a hand. Leave less and you will be dragging the fabric through a slot.
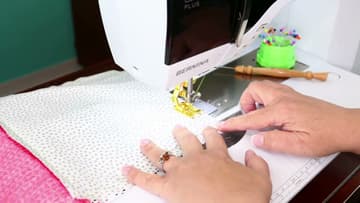
8. Pull the Outer Fabric Right Side Out Through the Lining
Reach through the gap in the lining, take hold of the outer fabric and draw the whole pouch out through it. A point turner saves your wrist and pushes each corner out square without poking through the seam.
Tip: Pop the folded zipper end tabs open with your fingers before the final press.