How to Sew an Apron From One Yard of Fabric

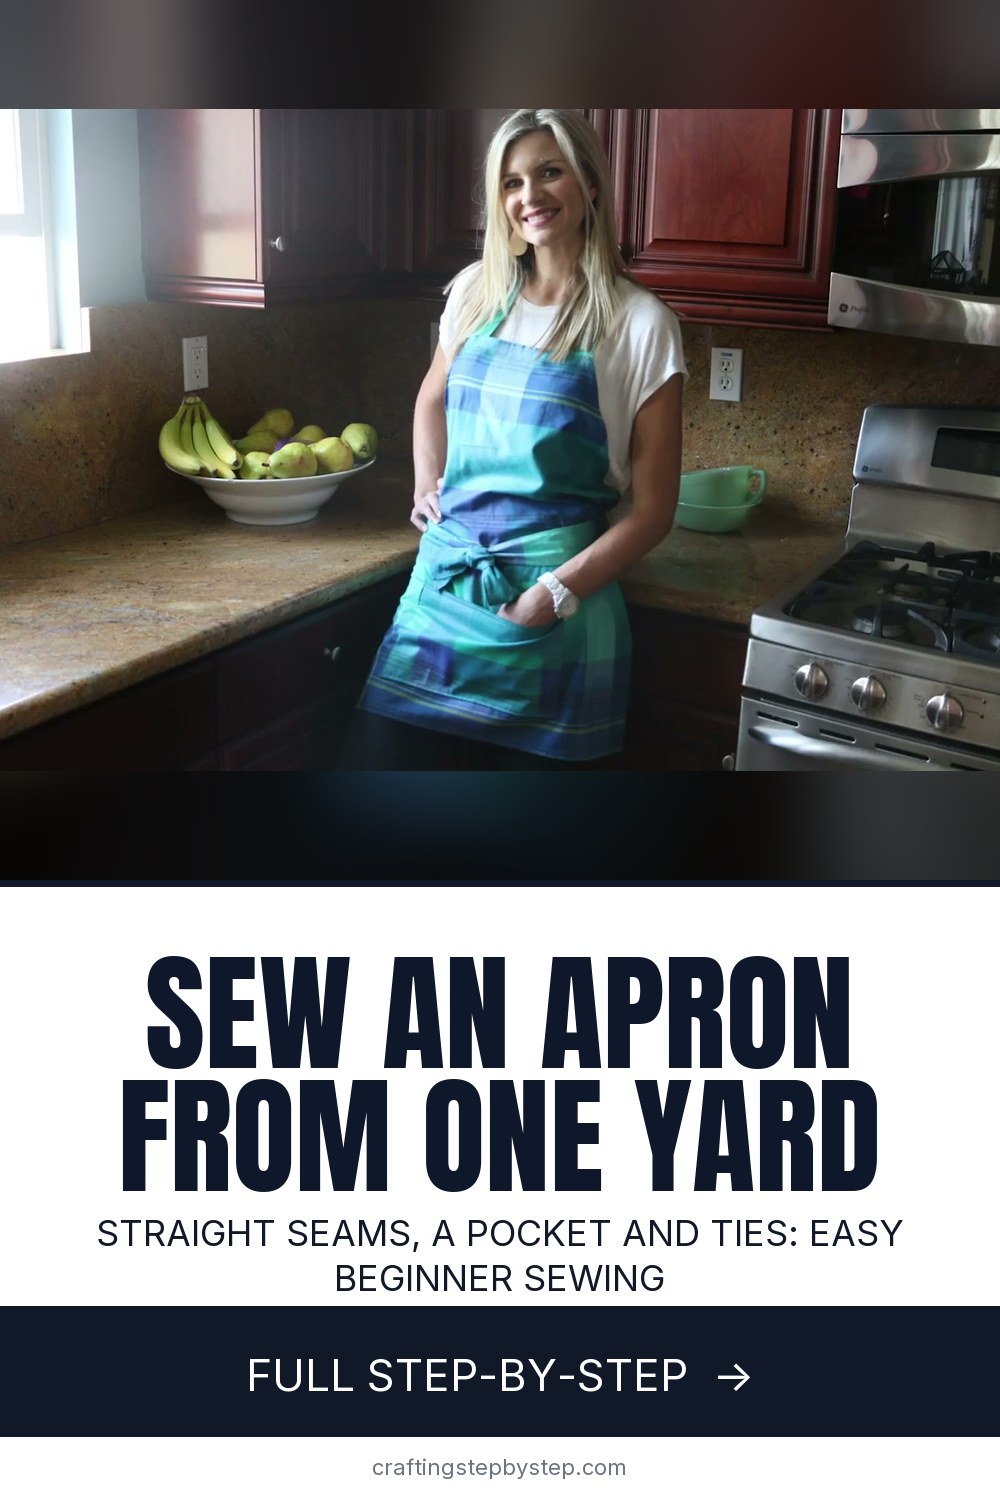
The finished result: How to Sew an Apron From One Yard of Fabric
  • Difficulty: Easy
  • About 2 hours
  • 10 steps

You tapped Save

Save this project for later

We'll email you a link, no password.

How to Sew an Apron From One Yard of Fabric

  • Your saved projects in one list
  • Your ticked steps on any device

Check your inbox for an email from us. Not there? Look in your spam folder.

Print

Steps written out by Crafting Step by Step from Melanie Ham's video (opens YouTube) (18:32). Published .

A simple apron is one of the best first sewing projects. It is all straight seams, it uses only one yard of fabric, and you finish with something you will wear every day. Melanie Ham makes this bib apron from a single yard of 44 inch quilting cotton, with an adjustable neck strap, long waist ties and a roomy front pocket.

How to sew an apron: the short version

  • Fold the fabric and cut a 13 inch wide body on the fold.
  • Cut an 8 inch strip off the bottom for the pocket, then cut the slanted sides.
  • Cut strips for the ties and neck strap, sew them, turn and press.
  • Press a double folded hem around the body and pin the straps in.
  • Stitch the hem, then sew the pocket on.

Choosing your fabric

Quilting cotton is easy to cut, presses crisp and washes well. Canvas, denim, linen or duck cloth make a sturdier apron for gardening, grilling or crafts. A plaid or stripe hides kitchen splashes and gives you lines to cut along, though you will want to match the pattern a little when you fold. Prewash your fabric on cold if you can, since cotton shrinks a little the first time.

Sizing it to fit you

Melanie is 5 foot 9, and her measurements suit an average adult. To check yours, hold the cut body up to your chest. The top edge should sit where you like the bib, and the bottom of the slanted cut should land at your side, near your waist. Move the side pins up or down before you cut. Because only one end of the neck strap is sewn in at first, you can adjust it after a try on.

How long does it take?

Plan on about two hours for your first apron, a little less once you know the steps. Cutting and pressing take as long as the sewing does. Cut everything in one session, then sew the straps and pocket together at the machine before you hem, so you are not jumping back and forth.

Make it your own

  • Use cotton webbing for the neck strap instead of a sewn strip.
  • Add a contrast pocket or a divided pocket for pens and a phone.
  • Make a child's apron by scaling every measurement down by about a third.
  • Sew a matching set as a gift with a cookbook or a set of wooden spoons.

Tips for a neat finish

Press at every step. A crisp fold sews straighter than a soft one. Turn straps with a point turner or a chopstick so the corners come out sharp. When you hem, do the top first, then the sides, and the bottom last. That order folds the corners neatly. Use a quarter inch seam throughout.

Common mistakes

  • Cutting the strap fabric short. Leave at least 15 inches of fabric after the body cut, or the ties come out too short.
  • Forgetting to leave a turning gap. Leave a few inches open on each strap and the pocket.
  • Pocket in the wrong spot. Try the apron on and pin the pocket where your hand falls before you stitch.

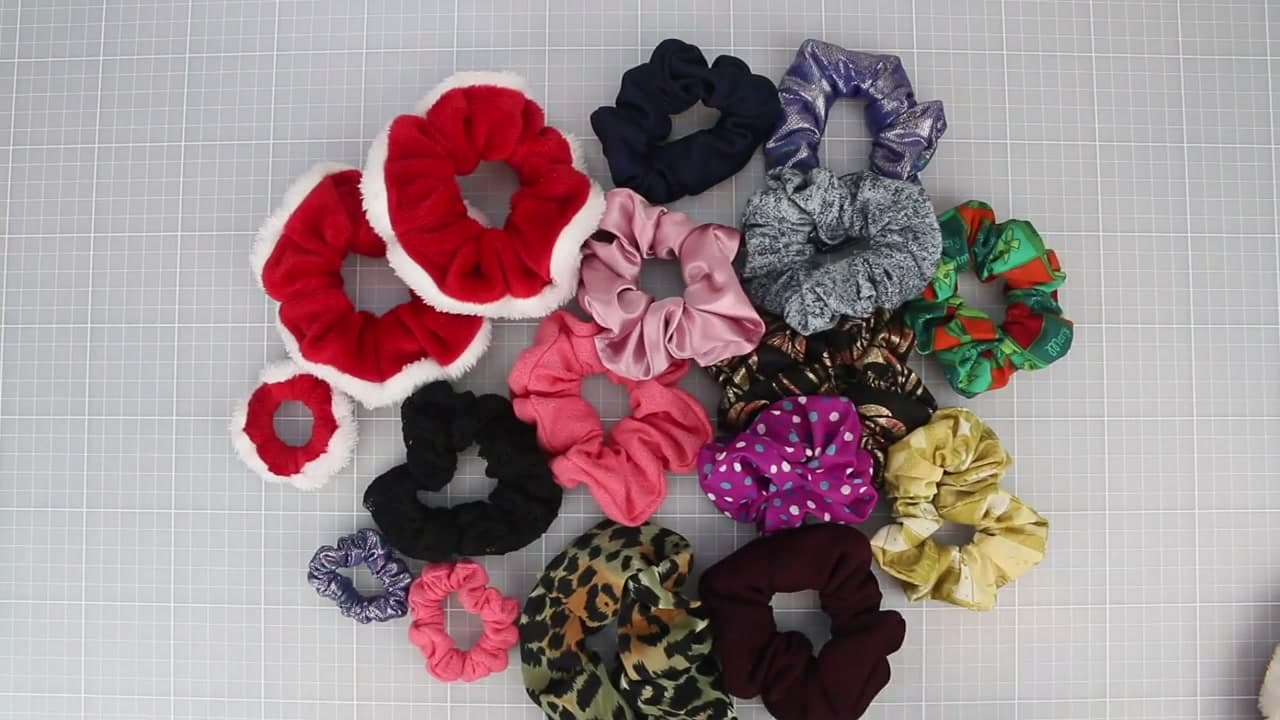
New to the machine? Start with sewing a straight line and threading your machine. Then use the scraps for a scrunchie or try a pillowcase next.

Free printable

Print the steps and supply list for this project

One page you can take to the table. Free with a free account, no password.

Get the free printable

What you'll need

Free, for this project

Get this checklist by email

  • All 10 tools and materials, with tick boxes
  • A link to print all 10 steps on paper, to keep by you while you craft

No password. The whole tutorial stays free on this page.

Quick answer

How to sew an apron from one yard of fabric: cut the bib, sew straps and a pocket, hem it and adjust the neck strap. An easy project: about 2 hours. Materials cost about $10 to $18. You need 10 things, including coordinating thread, sewing machine and rotary cutter. The 10 steps start with fold the Fabric and Cut the Apron Body, cut the Pocket and the Slanted Sides of the Apron and cut Strips for the Apron Ties and Neck Strap.

Step-by-step guide

10 steps, about 19 minutes. Tap a picture to jump to that step. Your progress saves automatically.

Tick each step off as you go.

  1. Step 1: Fold the Fabric and Cut the Apron Body

    Watch this step · 2:32

    You need one yard of 42 to 44 inch wide cotton. Lay it out with the selvage edges at the sides, then fold one selvage edge in so the folded piece measures about 13 1/2 inches. Trim off the selvage to leave 13 inches at the fold. Make sure at least 15 inches of fabric is left over for the straps. Square up the top and bottom with a ruler and rotary cutter.

    Tip:

    Line the fold up with a line on your mat so every cut is a true 90 degrees.

    Back to all steps

  2. Step 2: Cut the Pocket and the Slanted Sides of the Apron

    Watch this step · 5:20

    Keep the body folded and cut 8 inches off the bottom. That strip becomes the pocket. Now make the slanted sides. Measure 5 inches in from the fold at the top and mark it with a pin. Measure 13 inches down the open edge and pin again. Lay your ruler between the two pins and cut. Unfold and you have the classic bib shape.

    Tip:

    Hold the body up to you before cutting. Move the pins if you are taller or shorter.

    Back to all steps

  3. Step 3: Cut Strips for the Apron Ties and Neck Strap

    Watch this step · 6:24

    From the leftover fabric, cut four strips 3 inches wide for the waist ties and two strips 2 1/2 inches wide for the neck strap. Trim the neck strips to 24 inches. Trim the tie strips so they all match, about a yard long each. Stack each pair with right sides together, ready to sew. That uses nearly every inch of the yard.

    Tip:

    Cut the strips across the fabric with the ruler square to the fold for straight edges.

    Back to all steps

  4. Step 4: Sew the Apron Straps Right Sides Together

    Watch this step · 8:56

    Take the stacked strips to the machine. Sew all the way around each one with a quarter inch seam, leaving a gap of a few inches on one long side so you can turn it. Sew all three straps together in one sitting. Clip the corners close to the stitching so they turn out flat instead of bulky.

    Tip:

    Backstitch at both sides of the gap so it does not open while you turn the strap.

    Back to all steps

  5. Step 5: Turn and Press the Apron Straps

    Watch this step · 9:54

    Turn each strap right side out through the gap. Push the corners out with a point turner or a chopstick. Then press every strap flat with a hot iron, tucking the raw edges of the gap inside as you go. Topstitch close to the edge all the way around each strap. That closes the gap and gives a crisp, finished look.

    Tip:

    Roll the seam between your fingers before pressing so it sits right on the edge.

    Back to all steps

  6. Step 6: Sew and Turn the Apron Pocket

    Watch this step · 11:04

    Fold the 8 inch pocket strip in half with right sides together. Sew around the open sides with a quarter inch seam, leaving an opening at the bottom. Turn it right side out, push out the corners and press it flat. Run two rows of topstitching along the top edge. The other edges get stitched when you sew it onto the apron.

    Tip:

    Press the opening's raw edges inward now. They get caught when the pocket is sewn on.

    Back to all steps

  7. Step 7: Press a Double Folded Hem Around the Apron

    Watch this step · 12:48

    Lay the apron body wrong side up on the ironing board. Fold the top edge over a quarter inch and press. Fold it again and press, then pin. Repeat on the slanted sides and the long sides. Do the bottom last, and make it a little deeper if you like. Hemming in this order gives you neat, square corners.

    Tip:

    A small hem gauge or a ruler helps keep every fold the same width.

    Back to all steps

  8. Step 8: Pin the Apron Straps Into the Hem

    Watch this step · 14:00

    Pin one end of the neck strap into the top corner, lined up with the hem so it gets stitched in the same pass. Leave the other end free for now so you can adjust the fit later. Pin a waist tie at the bottom of each slanted side, again lined up with the hem fold. Check that nothing is twisted.

    Tip:

    Point the straps in toward the apron while you sew so they stay out of the needle's way.

    Back to all steps

  9. Step 9: Stitch the Apron Hem Close to the Fold

    Watch this step · 14:56

    Sew around the whole apron close to the inner folded edge of the hem. The neck strap and both ties get stitched in as you go. Go back and forth over each strap a couple of times for strength. Then try the apron on, mark where the free end of the neck strap should go, and stitch it in place.

    Tip:

    Leftover strap tail? Leave it if it is short. Trim and finish it if it is long.

    Back to all steps

  10. Step 10: Topstitch the Pocket Onto the Apron

    Watch this step · 17:36

    Try the apron on to decide where the pocket should sit, then lay it flat and pin the pocket in place. Topstitch down one side, across the bottom and up the other side, close to the edge, leaving the top open. A line down the middle makes two pockets. Give the finished apron a final press.

    Tip:

    Backstitch hard at both top corners. That is where pockets tear first.

    Back to all steps

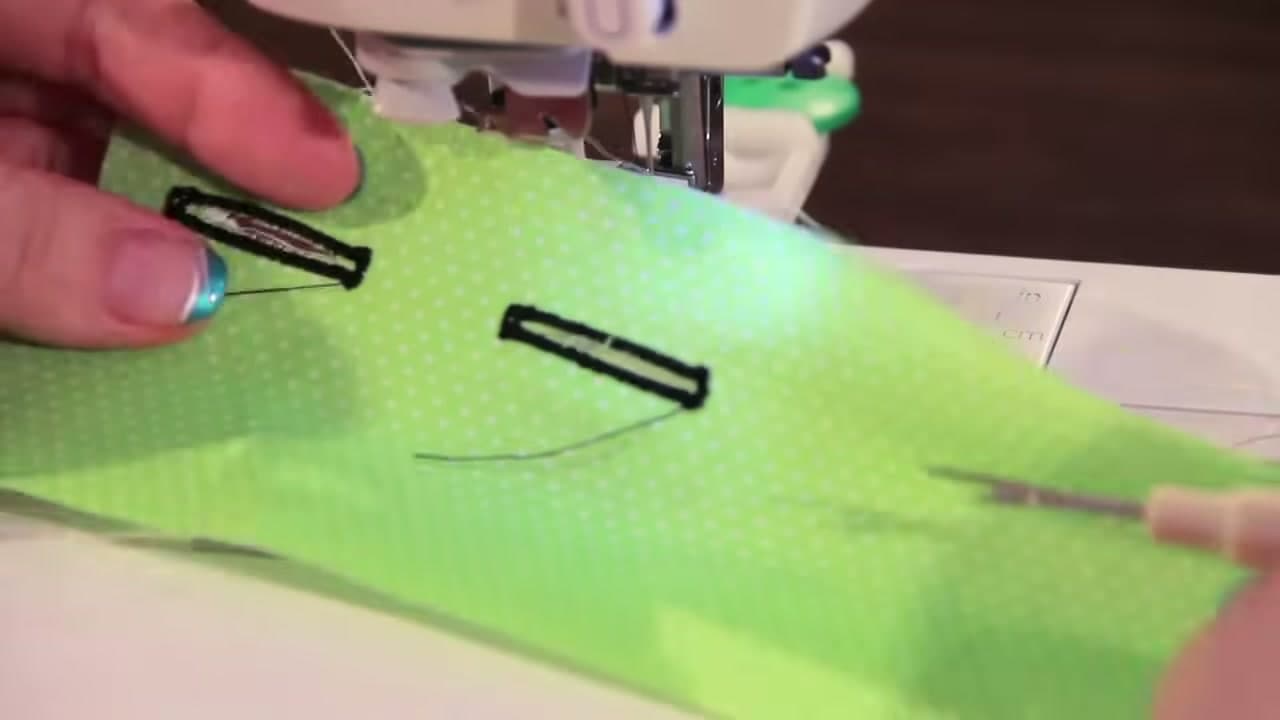
How to Sew a Buttonhole That Fits Your Button Exactly

Keep going

How to Sew a Buttonhole That Fits Your Button Exactly

8 steps · about 5 minutes

Keep going with sewing

More on this topic, picked for this apron from one yard of fabric.

You reached the last step

Save this project to come back to it

Your ticked steps, the free printable and your other saved makes, together in My Projects. Free, no password.

You tapped Save

Save this project for later

We'll email you a link, no password.

How to Sew an Apron From One Yard of Fabric

  • Your saved projects in one list
  • Your ticked steps on any device

Check your inbox for an email from us. Not there? Look in your spam folder.

Free printable

Printable sheet and shopping list for this project

The bonus is hidden until you sign up.

Free with a free account, no password. Every step above stays open to everyone.

Products Used

The Checklist

How to Sew an Apron From One Yard of Fabric

Tools
8
Materials
2
Steps
10
Video
19 min

Tools we recommend

As an Amazon Associate we earn from qualifying purchases. Links on this page may be affiliate links - clicking them and buying doesn't change your price, but helps support Crafting Step by Step.

Tags

The Crafter's Weekly

New sewing tutorials, every Sunday

One short email with the week's best step-by-step guides. Free, no spam, unsubscribe anytime.

Did this work for you?

What's next

Related collections

Curated theme pages that include this tutorial.

Similar tutorials

Hand-picked next reads based on the one you just finished.

Liked this sewing tutorial?

Pick the crafts you want to hear about. One email every Sunday with new step-by-step tutorials. No spam, easy to unsubscribe.

Get more like this in your inbox

Weekly digest. Pick the categories you want. Unsubscribe anytime.

Send me tutorials about

We only email about new tutorials. Easy unsubscribe anytime.