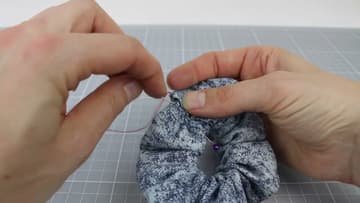
How to Sew a Scrunchie
Source: Easy Sewing for Beginners • Full tutorial: www.craftingstepbystep.com/sewing/how-to-sew-a-scrunchie
- Difficulty
- Easy
- Hands-on time
- About 30 minutes
- Cost
- About $3 to $8
- Makes
- 1 scrunchie

Tools
- Sewing machine
- Rotary cutter
- Quilting ruler
- Self-healing cutting mat
- Fabric scissors
- Hand sewing needle
- 2 safety pins
- Straight pins
- Iron (optional)
Materials
- Fabric strip 22 inches x 4 inches (56 cm x 10 cm) per scrunchie
- 1/4 inch wide elastic, cut 7 inches (18 cm) long
- All-purpose sewing thread to match the fabric
Steps
1. Cut a 22 by 4 Inch Strip of Fabric
Lay your fabric flat and cut one strip 22 inches by 4 inches, or 56 cm by 10 cm. That single measurement makes one standard scrunchie.
Tip: Quilting cotton holds the gathers best and is the most forgiving to sew.
2. Fold the Fabric Strip Right Sides Together and Pin the Long Edge
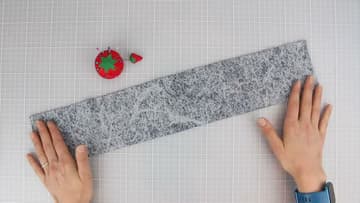
Fold the strip in half along its length so the two long raw edges meet and the printed side of the fabric faces inward. You are working inside out at this stage.
Tip: Give the fold a quick press with an iron before you pin. A crisp crease holds its own shape and takes half the fight out of feeding it through the machine.
3. Sew the Long Edge into a Fabric Tube
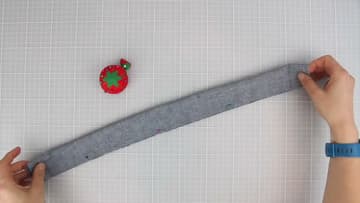
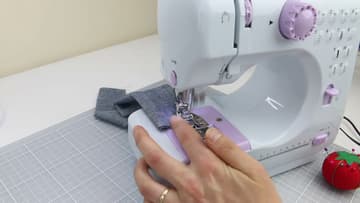
Slide the pinned raw edges under the presser foot and sew the full 22 inches with a 3/8 inch seam allowance. Reverse stitch a few stitches at the start, run the seam, then reverse stitch again at the end.
Tip: Keep the raw edge riding against the same mark on the throat plate the whole way.
4. Turn the Fabric Tube Right Side Out
Snip off the thread tails, then clip a safety pin through the seam allowance at one end of the tube. Pinning into the seam rather than the single layer of fabric matters, because a pin in the raw edge alone tears its way out halfway through and you start over.
Tip: A safety pin that keeps snagging usually means the pin is too big for the tube.
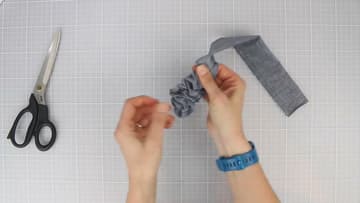
5. Thread the Elastic Through the Fabric Tube
Attach a safety pin to one end of the 7 inch elastic and pin the other end to the outside of the fabric near the opening. That second pin is the one everybody skips and then regrets, because a loose elastic end disappears into the tube and has to be fished back out.
Tip: The fabric wants to twist around the elastic while you feed it.
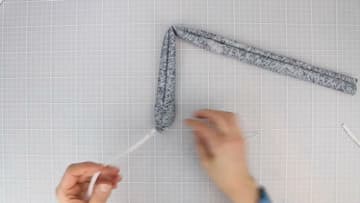
6. Join the Elastic Ends with a Zigzag Stitch
Take both safety pins off and overlap the two elastic ends by about half an inch. Hold the overlap with a straight pin on each side so it cannot slip while you sew.
Tip: The source shows two other joins if the machine feels like too much right now.
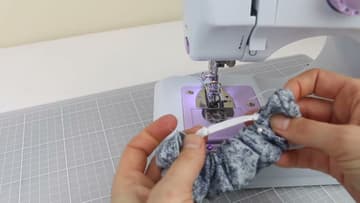
7. Trim the Excess Elastic and Loose Threads
Pull out the two straight pins holding the overlap. Snip the elastic tails sticking out past the stitched join, cutting close but not into the stitching itself, and cut away any thread hanging off the zigzag.
Tip: Trim the elastic before you close the gap, not after. Once the opening is stitched shut the tails are sealed inside and you can feel them as a hard lump every time you wear it.
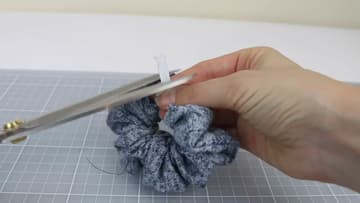
8. Close the Gap with a Ladder Stitch
Slide one raw end of the tube inside the other so they overlap, then fold the outer raw edge under itself by about an eighth of an inch and hold it with a pin. Thread a hand needle with doubled thread and knot the end.
Tip: The same ladder stitch closes a split seam in a cushion or a hole in a stuffed toy from the outside.