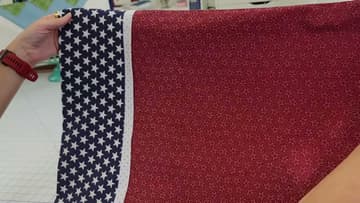
How to Sew a Pillowcase with the Burrito Method
Source: Pickin Stitches Kelly Aulson • Full tutorial: www.craftingstepbystep.com/sewing/how-to-sew-a-pillowcase
- Difficulty
- Easy
- Hands-on time
- About 1 hour 15 minutes
- Cost
- About $12 to $25
- Makes
- 1 pillowcase
Tools
- Rotary cutter
- Self-healing cutting mat
- 6 x 24 inch quilting ruler
- Wonder Clips or straight pins
- Sewing machine
- Iron and ironing board
Materials
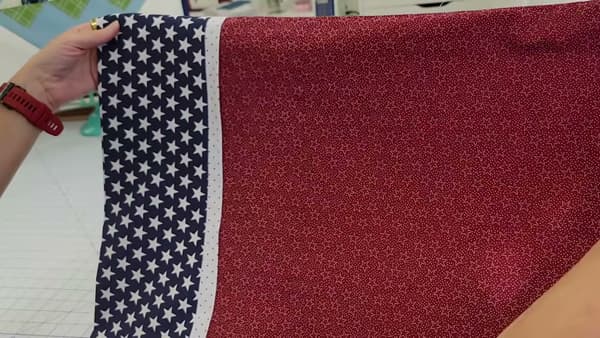
- Main body fabric, 24 inch strip x width of fabric
- Cuff fabric, 12 inch strip x width of fabric
- Accent strip fabric, 2 inch strip x width of fabric (optional)
- About 1 yard of quilting cotton total
- All-purpose sewing thread
Steps
1. Cut the Body, Cuff and Accent Strips from One Yard of Fabric
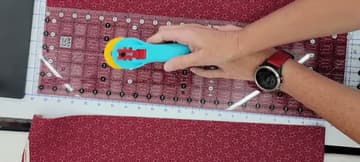
Fold the fabric the way it came off the bolt, selvage to selvage, and lay it on the cutting mat. Line the ruler up on the 24 inch mark and cut the main body straight across the full width of the fabric.
Tip: Cutting with your off hand is slower but it saves walking around the table.
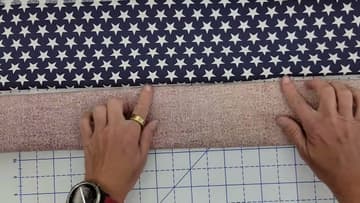
2. Stack the Body, Accent Strip and Cuff and Clip the Long Edge
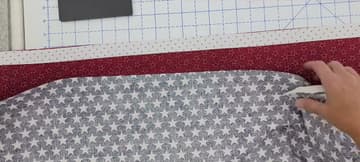
Fold the accent strip in half down its length, wrong sides together, and press it. Open the main body out on the table, pretty side up, a selvage at each end.
Tip: Wonder Clips hold four layers of quilting cotton flatter than pins do and nothing snags when you roll the fabric up. Straight pins work if that is what is in the drawer.
3. Roll the Body Into a Burrito and Wrap the Cuff Around It
Push the cuff away from you and start rolling the main body up toward the clipped edge. Roll it tight and stop when the roll reaches the seam line.
Tip: Check the tube before you clip. A pleat folded into the edge gets sewn into the cuff seam, and the only way out of that is a seam ripper.
4. Sew the Long Cuff Seam Through Every Layer
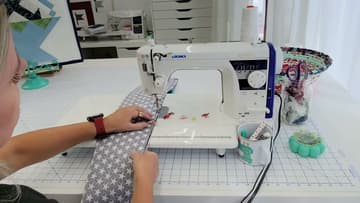
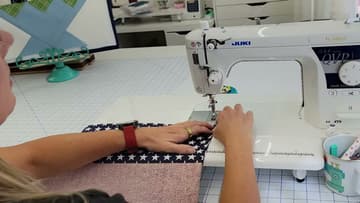
Carry the roll to the machine and sew a quarter inch seam down the clipped edge. You are stitching through the cuff, the accent strip, the body and the wrapped cuff again, so hold a steady speed and let the feed dogs pull instead of tugging the fabric along.
Tip: Backstitch at both ends. The cuff seam takes the strain every time somebody drags a pillow out of the case.
5. Pull the Body Back Out Through the Cuff
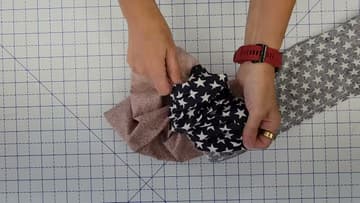
Reach into one open end of the tube, find the rolled body fabric and pull it back out through the cuff. It comes a few inches at a time with a bit of tugging, until the whole case is right side out.
Tip: If it feels stuck, the body was rolled too tight or caught in the seam. Work it loose from the other end rather than pulling harder.
6. Trim Both Sides Even with a Rotary Cutter and Ruler
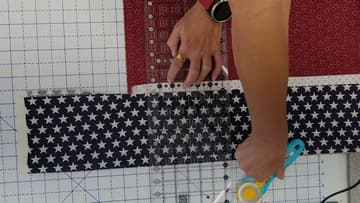
Lay the case out flat and press the whole length, cuff seam included. Fold it in half so the two sides stack, which makes it far easier to handle on the mat.
Tip: Cut inside the selvage, not along it. That printed white edge is woven tighter than the rest of the cotton and shrinks at its own rate.
7. Sew the French Seam Down the Side and Bottom
Fold the case wrong sides together, the way it would sit on a pillow. It feels backwards, and that is the point.
Tip: Slow right down where the two cuff seams meet. Four layers of cotton plus a pair of seam allowances is real bulk and the needle wants to walk off the line.
8. Turn the Pillowcase Right Side Out
Turn the case right side out one last time and press the cuff flat. Run a finger around the inside seams.
Tip: Press the cuff while it is still slightly damp out of the dryer if you want a crisp band. The rest of the case needs nothing.