How to Make a Coil Pot

PotteryEasy18:2310 stepsBrowse more →
The finished result: How to Make a Coil Pot
Also in:Crafts

By CraftingStepByStepPublished

Based on a video by Yvonne Ceramics.

Coil building is the oldest way to make a pot and still the most forgiving. No wheel, no centring, no getting three minutes in and watching the whole thing collapse. You roll ropes of clay, stack them, and smear them together. The trade-off is that a free-standing coil pot wants to lean outward as it grows, which is where the beginner version in this tutorial is smarter than the traditional one.

Yvonne from Yvonne Ceramics builds inside a large salad bowl lined with plastic. The bowl holds the profile for you, so the walls cannot slump, and the plastic means the whole thing lifts out cleanly once it firms up. It also lets you build much bigger than you could throw on a wheel, which is the reason plenty of experienced potters keep coming back to coils for large planters and vessels.

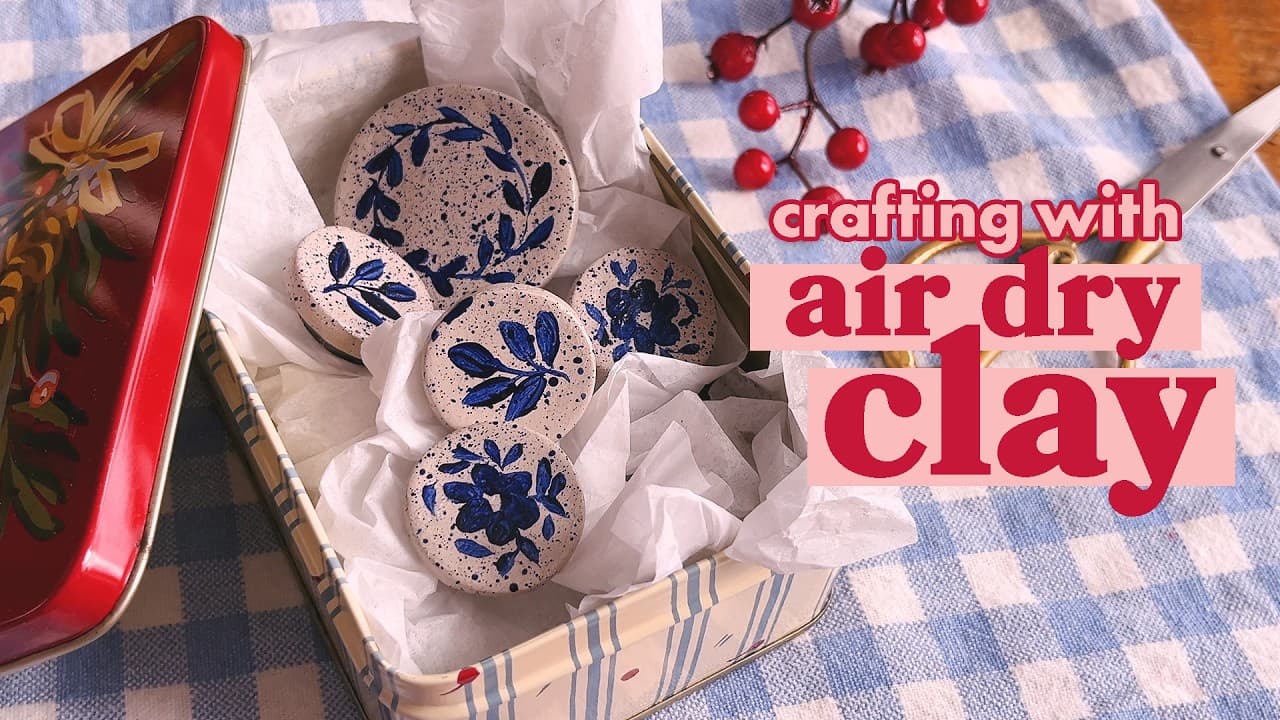
She shows both ways to make the coils too: rolling them by hand, and pushing them out of a handheld extruder. The extruder is faster and gives you a consistent thickness, but it is not necessary. If you are new to clay generally, the pinch pot is the simplest possible start and hand building pottery covers the three main methods. Working without a kiln? Air dry clay takes the same coils.

Step-by-Step Guide

10 steps · about 18 minutes.Check off each step as you go and your progress saves automatically.

1

Step 1: Line a Bowl With Plastic

1:48
Step 1: Step 1: Line a Bowl With Plastic

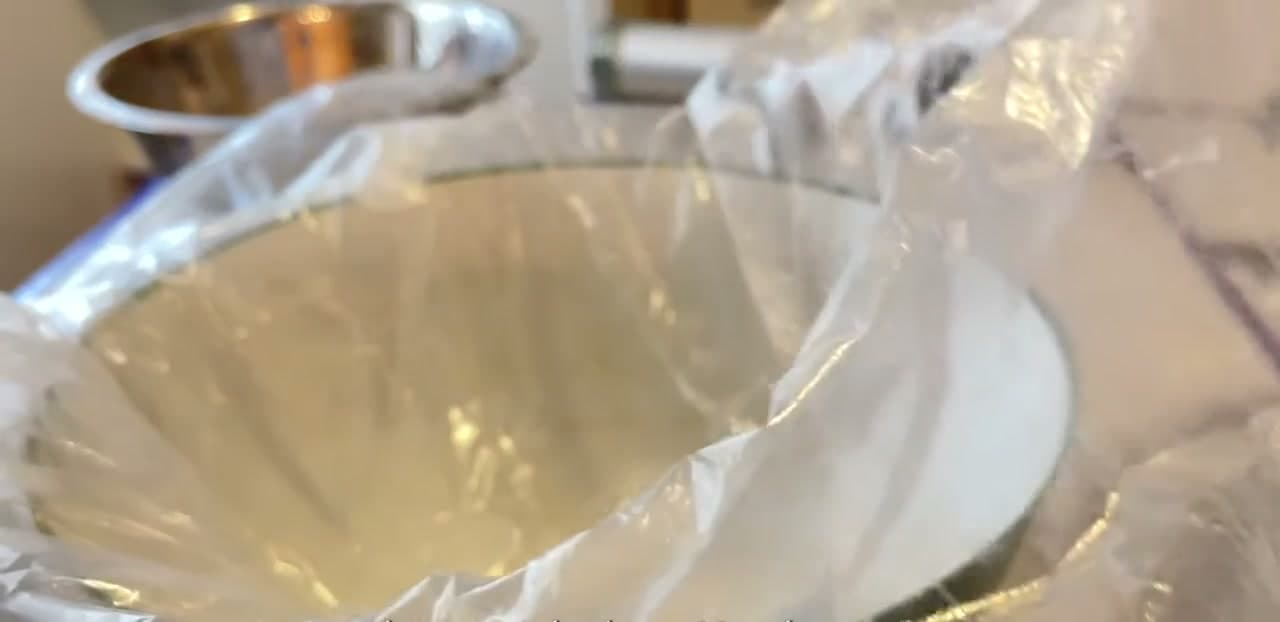
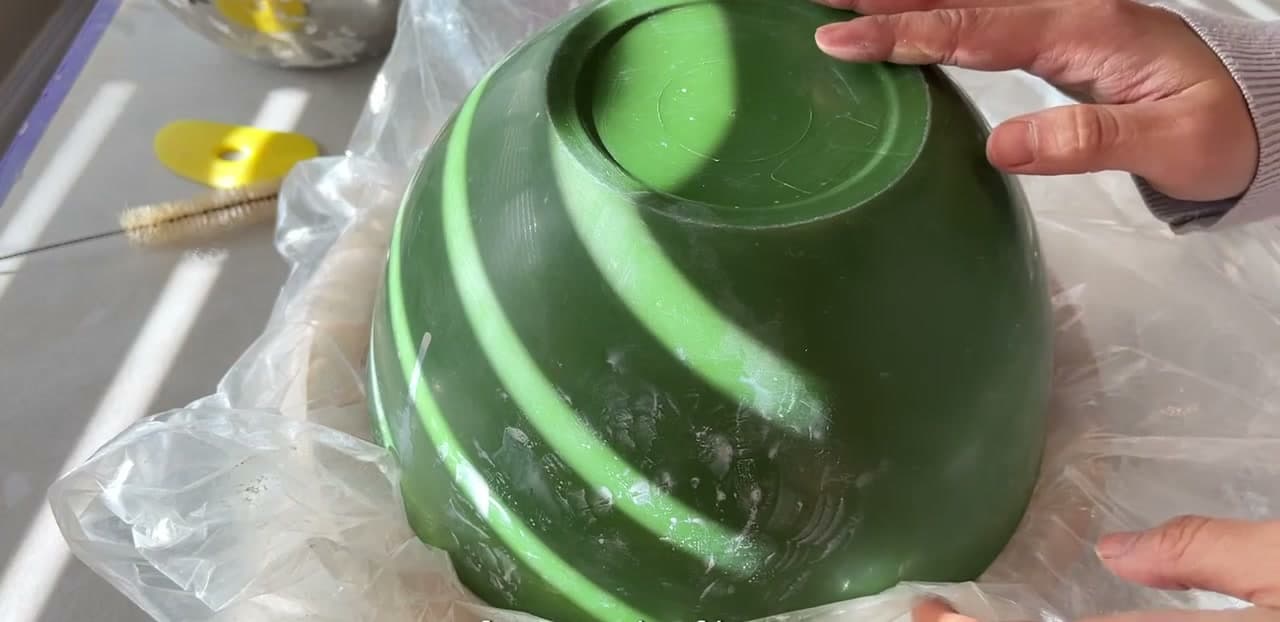
Find a bowl whose inside profile you like the look of, and make sure it is smooth inside. Any ridges or moulded pattern will print themselves into your pot. A large plastic salad bowl from a discount shop is ideal.

Line the whole inside with plastic sheeting, leaving plenty of overhang. That plastic is doing two jobs. It stops the clay sticking to the bowl, and the spare at the edges wraps over the top to keep everything damp if you have to stop halfway.

Tip

Dry cleaning bags and the plastic your clay came wrapped in both work well. Tape any tears before you start rather than discovering them later. Watch this step

2

Step 2: Roll Out the Coils

2:52
Step 2: Step 2: Roll Out the Coils

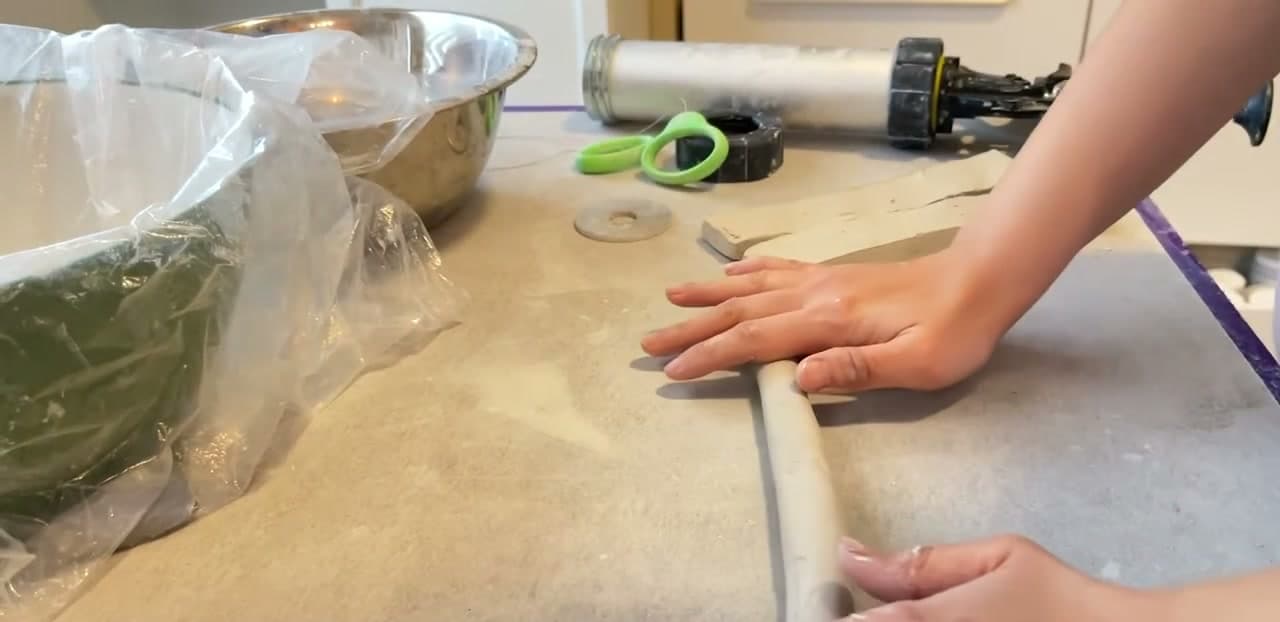
Cut a strip of clay off the block and squeeze it roughly into a sausage with your hands first. Then roll it, working from the middle outward with your fingers spread, letting your hands travel apart as the coil lengthens.

Light pressure. Leaning on a coil flattens it into a strap instead of a rope. If a bulge appears in the middle it means there is more clay there, so roll that section on its own until it evens out.

Tip

Roll with the flat of your fingers, not your palms. Palms give you a coil that is fat in the middle and thin at the ends every time. Watch this step

3

Step 3: Wind Each Coil Up and Cover It

5:18
Step 3: Step 3: Wind Each Coil Up and Cover It

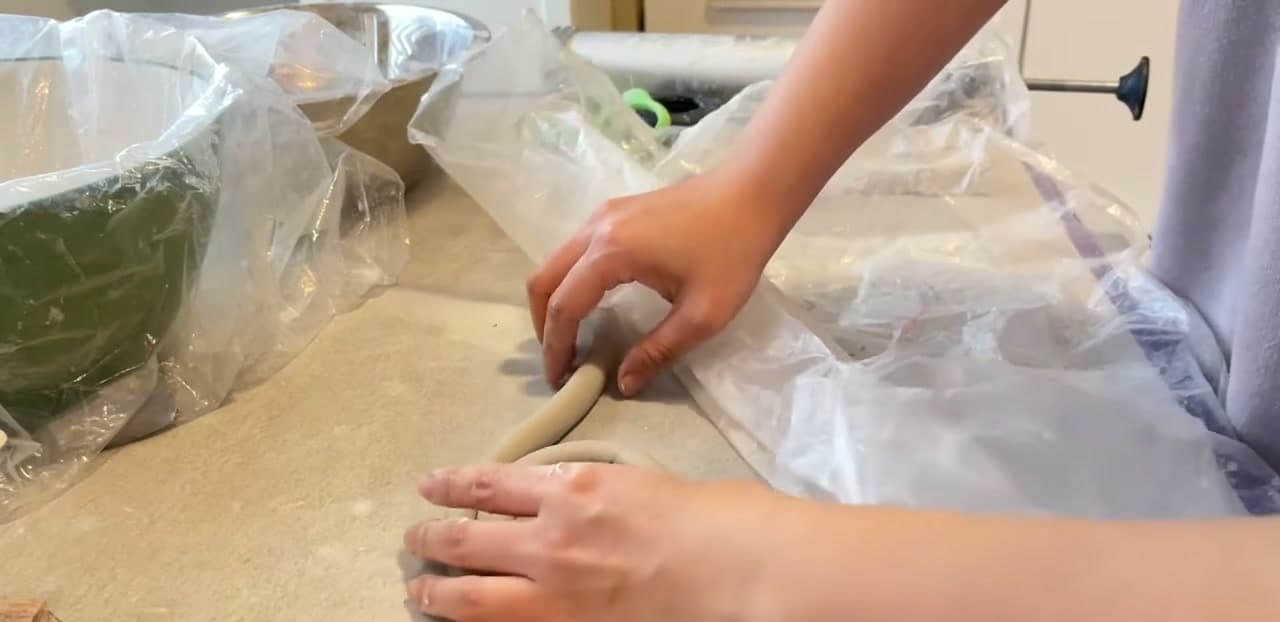
Roll all your coils before you start building. Once you have one finished, wind it into a flat spiral on the bench like a sleeping snake, which makes it easy to store and easy to pick back up.

Cover them as you go, with plastic or a damp cloth. Rolling twenty coils takes a while, and the first ones will have gone leather-hard before you get to them otherwise, at which point they crack instead of bending.

Tip

Aim for the same thickness on every coil. A pot built from coils of different diameters has walls of different thickness and dries unevenly. Watch this step

4

Step 4: Spiral the First Coil Into the Base

6:30
Step 4: Step 4: Spiral the First Coil Into the Base

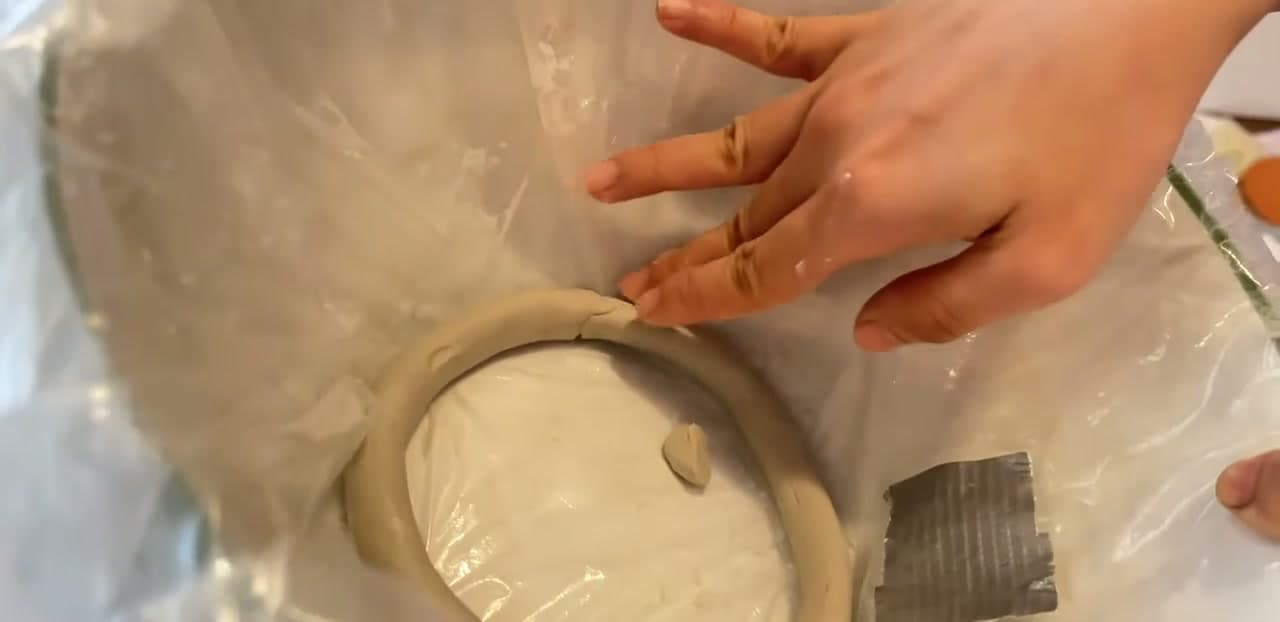
Start at the centre of the lined bowl and wind the first coil outward in a flat spiral, pressing it down against the plastic as you go. When you reach the end of a coil, cut it at an angle with a knife and join the next one on.

If the clay is still properly wet you can skip slip and scoring between coils and just press them together. Once the clay starts to stiffen you do need to score and slip, or the joins open up in the kiln.

Tip

Angled cuts on the coil ends give a much longer join than a straight cut, and long joins are stronger. Watch this step

5

Step 5: Build the Coils Up the Wall

8:50
Step 5: Step 5: Build the Coils Up the Wall

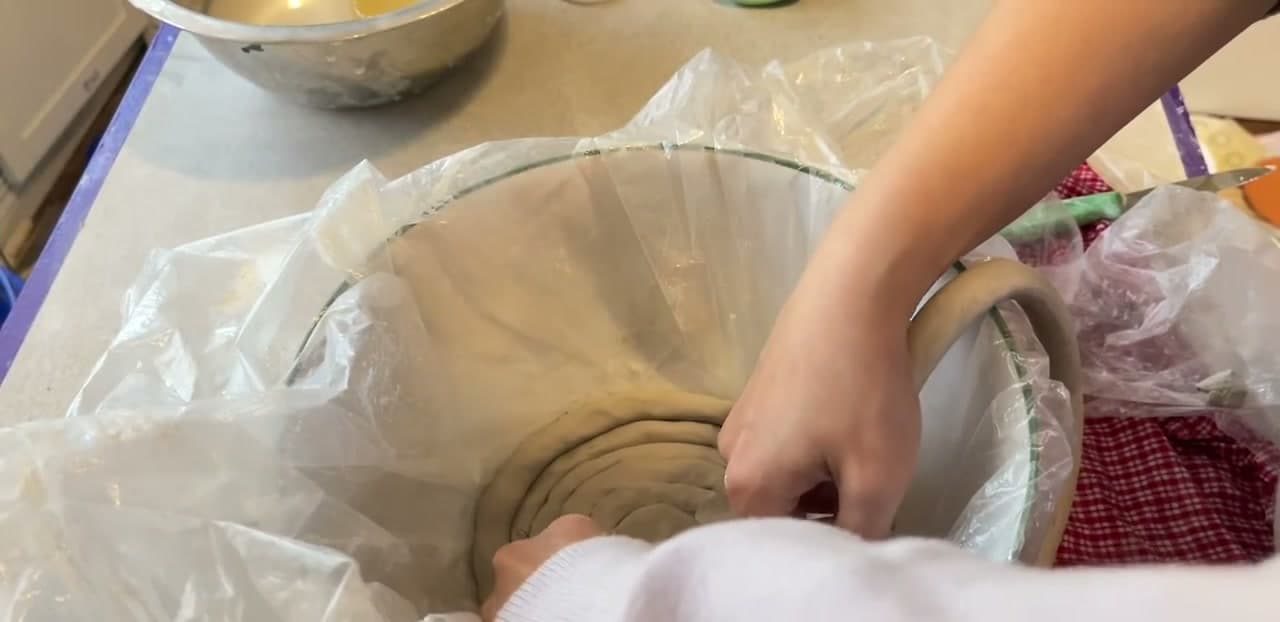
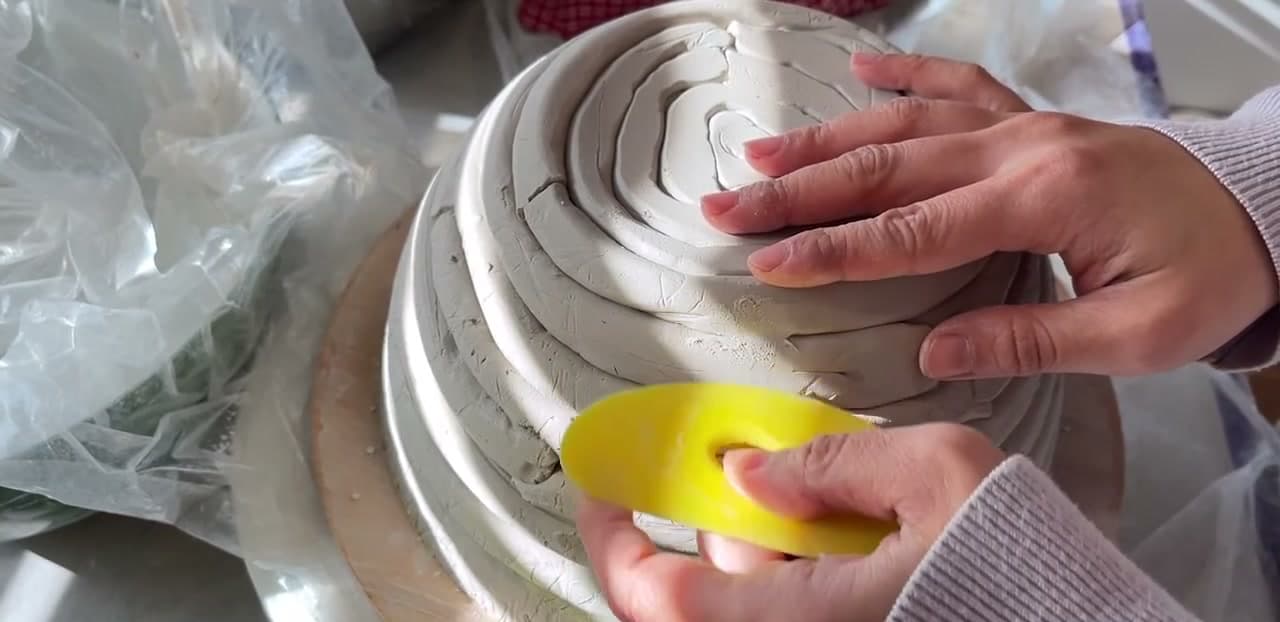
Once the base spiral is done, compress it flat so it is even, then start carrying coils up the wall of the bowl. Follow the curve of the mould and press each coil down and outward against the wall as you lay it.

Coils rarely come out exactly the right length. If one falls short, cut a small piece and add it in, then smear the join closed. Nobody will find it once the wall is smoothed.

Tip

Do two rows of wall at a time, then smooth. Building the whole wall first and smoothing at the end means reaching down into a deep vessel with no room to work. Watch this step

6

Step 6: Smooth the Inside With a Rib

10:00
Step 6: Step 6: Smooth the Inside With a Rib

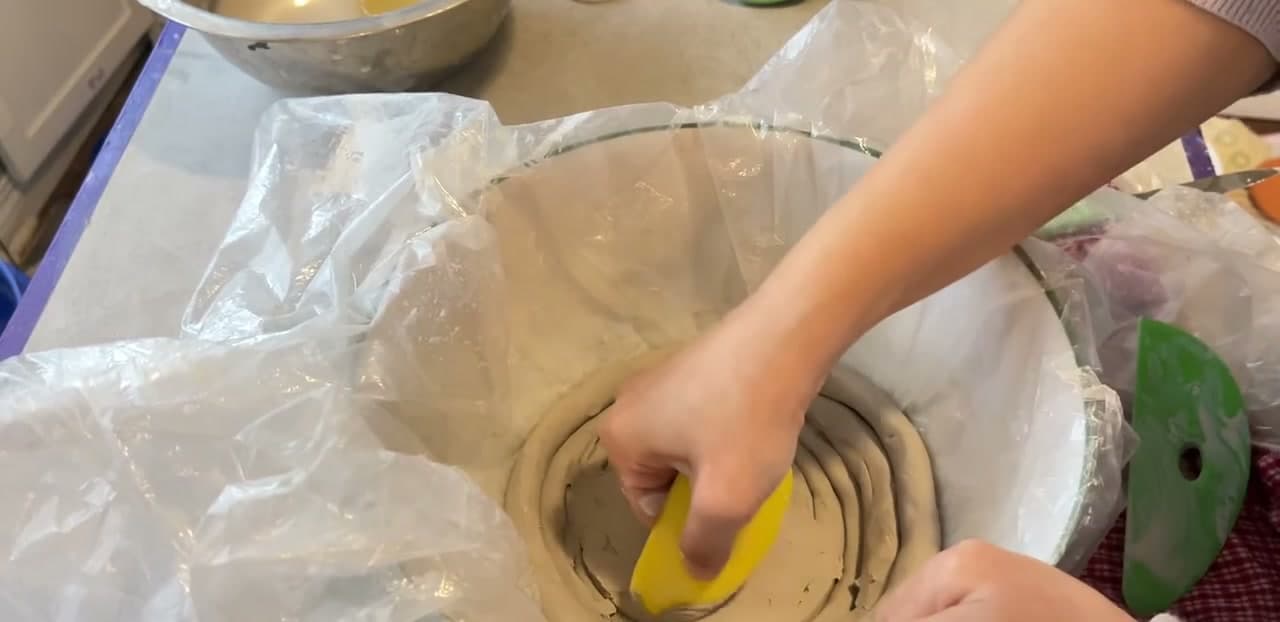
Work a rubber rib around the inside, dragging clay down from one coil into the next until you cannot see where one ends and the next begins. Be firm about it. This is the structural step, not a cosmetic one.

Every gap between coils that you leave is a weak point and a place for air to sit. Both cause cracks later. Keep the clay wet enough to move while you do this, which is why the coils were kept under plastic.

Tip

A turntable makes this dramatically easier. A cheap cake decorating turntable does the job for a fraction of a proper banding wheel. Watch this step

7

Step 7: Or Extrude the Coils Instead

13:20
Step 7: Step 7: Or Extrude the Coils Instead

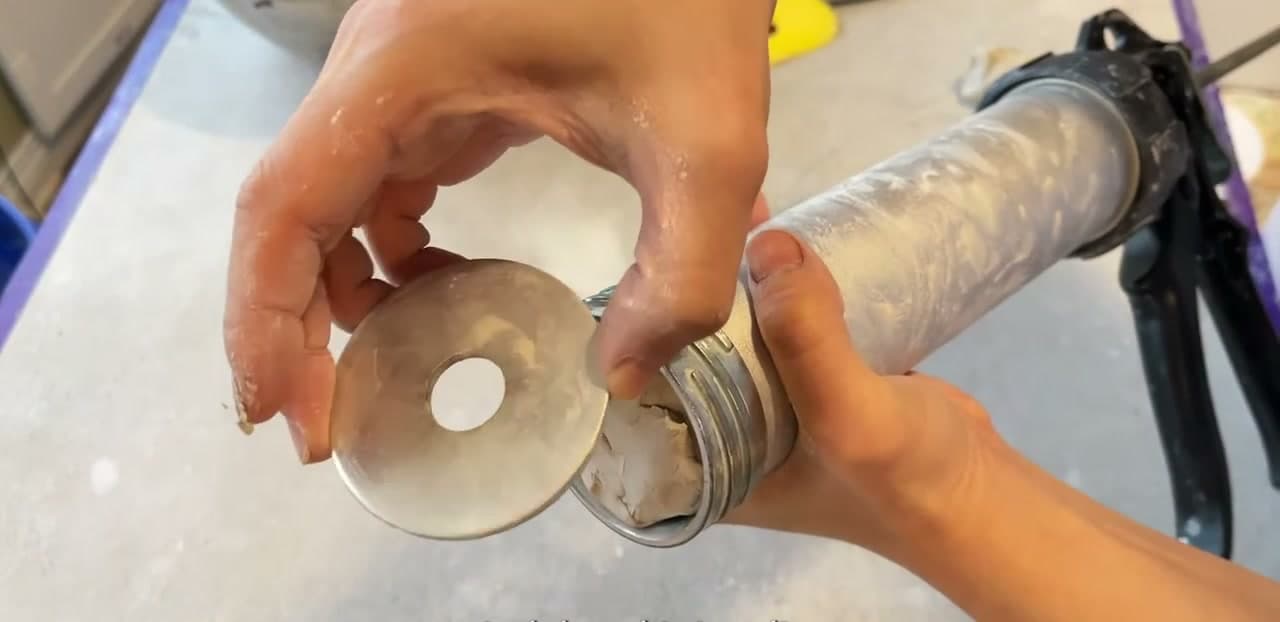
A handheld extruder is the shortcut. Load a chunk of clay into the barrel, screw a round die onto the end and squeeze. Out comes a coil at a consistent diameter, far faster than rolling.

Support the coil as it comes out rather than letting it hang, and curve it around as it emerges. Small air bubbles sometimes appear in extruded coils and they are not a problem here, because the smoothing step works them out.

Tip

Match your hand-rolled coils to the size of the extruder die and you can mix the two in one pot without the walls changing thickness. Watch this step

8

Step 8: Turn It Out of the Mould

16:02
Step 8: Step 8: Turn It Out of the Mould

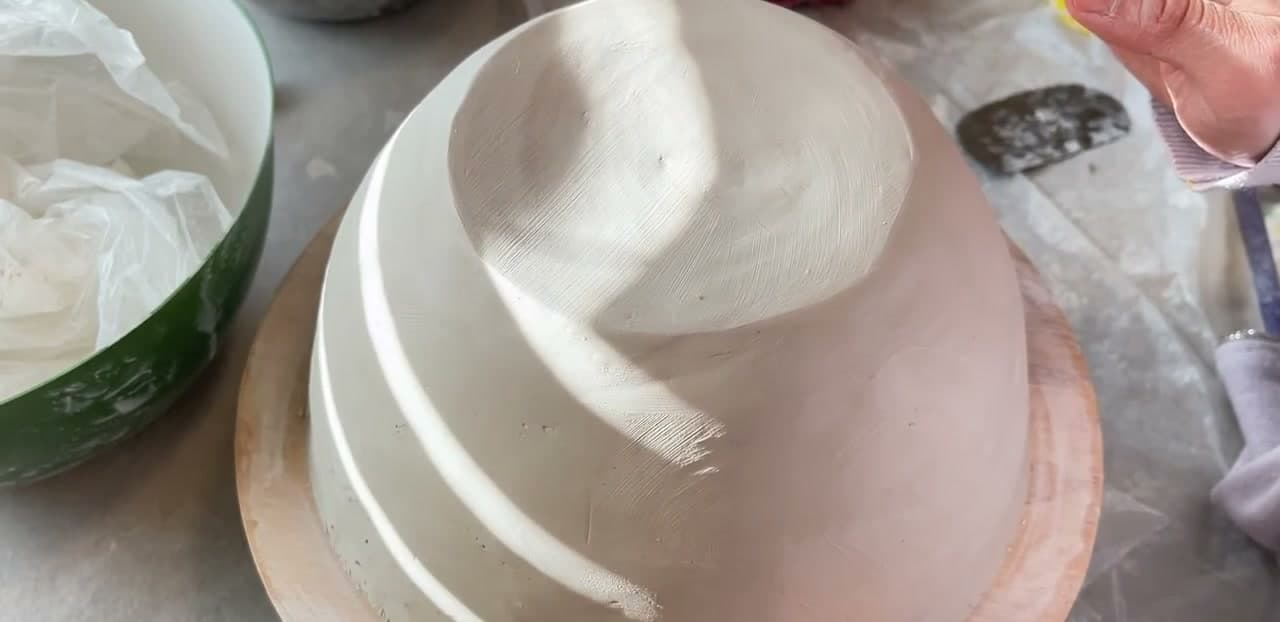
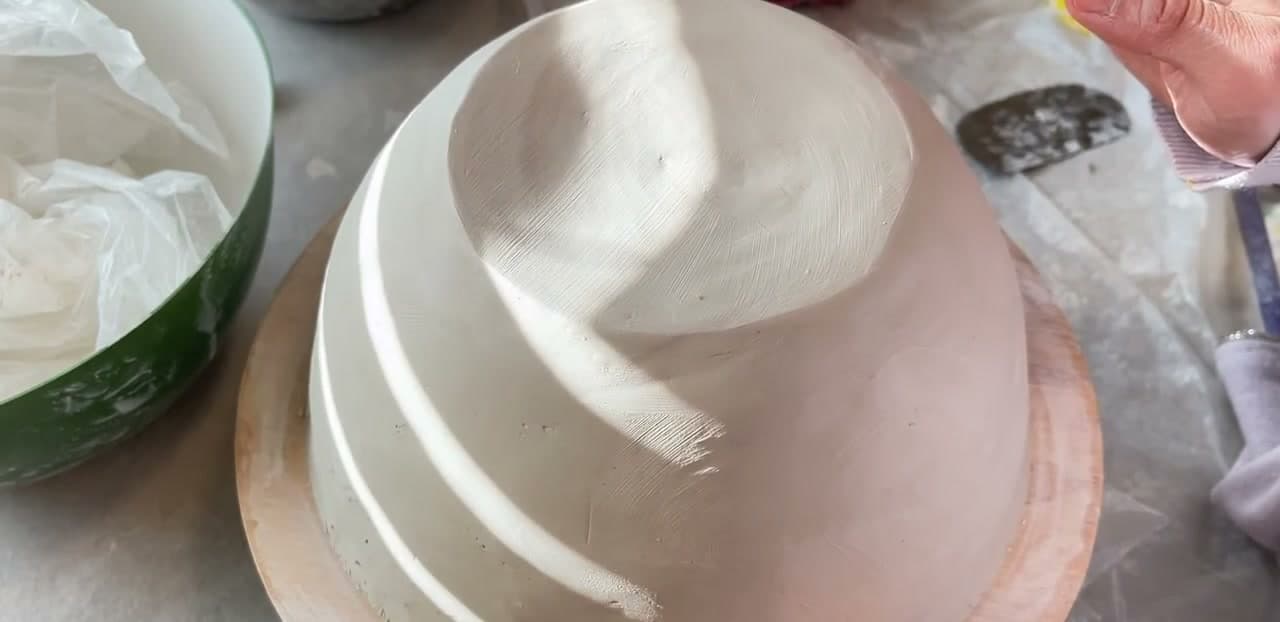
Leave the pot in the bowl for a couple of hours until the clay firms up enough to hold its own shape. Then put a bat or board over the top, flip the whole thing, and lift the bowl away.

Peel the plastic off carefully. This is the moment the plastic earns its place: without it the clay grips the bowl and there is no getting it out in one piece.

Tip

Do not rush the wait. Clay that is still soft distorts under its own weight the second the mould comes off. Watch this step

9

Step 9: Rib the Outside Smooth

16:54
Step 9: Step 9: Rib the Outside Smooth

The outside still shows every coil. Work the rib across the surface until the ridges flatten out, going gently because the clay is still soft and it is easy to change the shape of the pot while you are trying to smooth it.

Work slowly and in stages. This is the longest part of the whole build, and rushing it leaves flat spots where you leaned too hard.

Tip

Prefer the coil texture? Leave it. A visible coil surface is a legitimate finish and it shows the piece was hand built. Watch this step

10

Step 10: Finish Inside and Out and Let It Dry

18:19
Step 10: Step 10: Finish Inside and Out and Let It Dry

Go over the inside once more, then the outside with a damp sponge to take out the last of the rib marks. The surface will look wet at this stage, which is normal.

Then leave it alone. Dry it slowly under loose plastic for a few days so the rim does not dry ahead of the base and crack. After that it is ready for a bisque firing, and a coil-built pot like this makes an excellent garden planter left unglazed on the outside.

Tip

Punch a drainage hole while the clay is still soft if the pot is destined for a plant. Drilling a hole after firing is a job nobody enjoys. Watch this step

Keep going

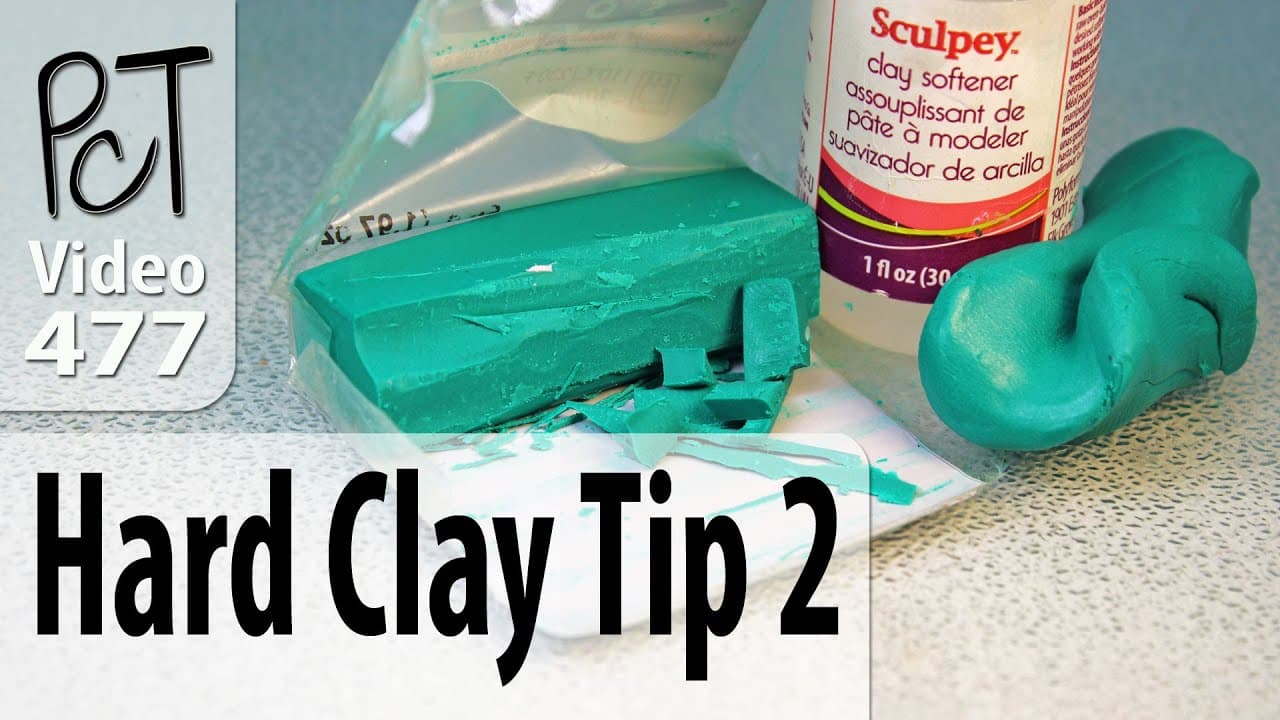
How to Soften Polymer Clay (Conditioning Hard or Crumbly Clay)

9 steps · about 5 minutes

Products Used

☐ The Checklist

How to Make a Coil Pot

Tools
8
Materials
5
Steps
10
Video
18 min

Tools we recommend

Your Guide

Yvonne Ceramics

As an Amazon Associate we earn from qualifying purchases. Links on this page may be affiliate links - clicking them and buying doesn't change your price, but helps support ShowMeStepByStep.

Tags

Sunday How-To

New pottery tutorials, every Sunday

One short email with the week's best step-by-step guides. Free, no spam, unsubscribe anytime.

Did this work for you?

What's next

Related collections

Curated theme pages that include this tutorial.

Weekly Digest

Liked this pottery tutorial?

Pick the categories you want to hear about. Weekly digest of new step-by-step tutorials. No spam, easy unsubscribe.

Send me tutorials about

We only email about new tutorials. Easy unsubscribe anytime.