How to Score and Slip Clay to Join Pieces

The finished result: How to Score and Slip Clay to Join Pieces
  • Difficulty: Easy
  • About 30 minutes, plus 24 hours to dry or set
  • 10 steps

You tapped Save

Save this project for later

We'll email you a link, no password.

How to Score and Slip Clay to Join Pieces

  • Your saved projects in one list
  • Your ticked steps on any device

Check your inbox for an email from us. Not there? Look in your spam folder.

Print

Steps written out by Crafting Step by Step from The Pottery Wheel's video (opens YouTube) (9:40). Published .

Clay does not glue itself. Press two pieces together and the join can look fine for a day, then split as the clay dries and shrinks. Scoring and slipping stops that. You rough up both surfaces, paint on a thick clay paste, and press them together so the clay knits. The potter behind The Pottery Wheel channel shows it on the walls of a slab box, then uses the same method to put a handle on a mug.

How to score and slip clay: why it works

Scoring cuts small grooves into the surface. Slip, which is clay mixed with water, fills those grooves on both pieces. When you press the two together, the slip locks into the texture on each side and dries as one piece of clay. Smooth surfaces with no slip have nothing to grip, so the join pulls apart as each piece shrinks on its own.

When to join: clay stages

Clay stageHow it feelsJoining
SoftBends, takes fingerprintsScore and a little water is often enough
Leather hardFirm, holds its shape, still cool and dampBest stage. Score deep and use thick slip
Bone dryPale, light, room temperatureToo late. Joins almost always crack

Both pieces should be at the same stage. A soft handle on a firm mug shrinks more than the mug and pulls away.

Making slip

Plain slip is the easy one. Drop bone dry scraps of the same clay into a lidded tub, cover with water, let them melt and stir to a smooth paste like thick yogurt. The video uses paper clay slip for firm leather hard slabs, from a recipe by potter Martha Grover: toilet paper blended into vinegar, then bone dry clay stirred in. It is stickier and holds stiff pieces well. Always use slip made from the clay body you are building with.

Scoring tools

A serrated rib is the fastest. It cuts many even grooves in one pass. A needle tool works too, scored in a cross hatch. A loop tool, a sharp modeling tool or a kitchen fork all do the job if that is what you have. The same method works on air dry clay, with slip made from the same air dry clay.

Common mistakes

  • Scoring one side only. Both surfaces need texture and slip.
  • Watery slip. It runs off and adds water without adding clay. Aim for paste.
  • Wiggling the piece. Line it up, then press once. Sliding it around breaks the bond.
  • Drying too fast. Cover a fresh join loosely with plastic for a day so both pieces dry together.

Drying a joined piece

Most joins fail while drying, not in the kiln. Keep the piece under loose plastic for a day or two, then open it a little at a time. Handles and thin walls dry faster than thick bases, so a scrap of plastic over a handle helps it keep pace with the body.

Where to use it next

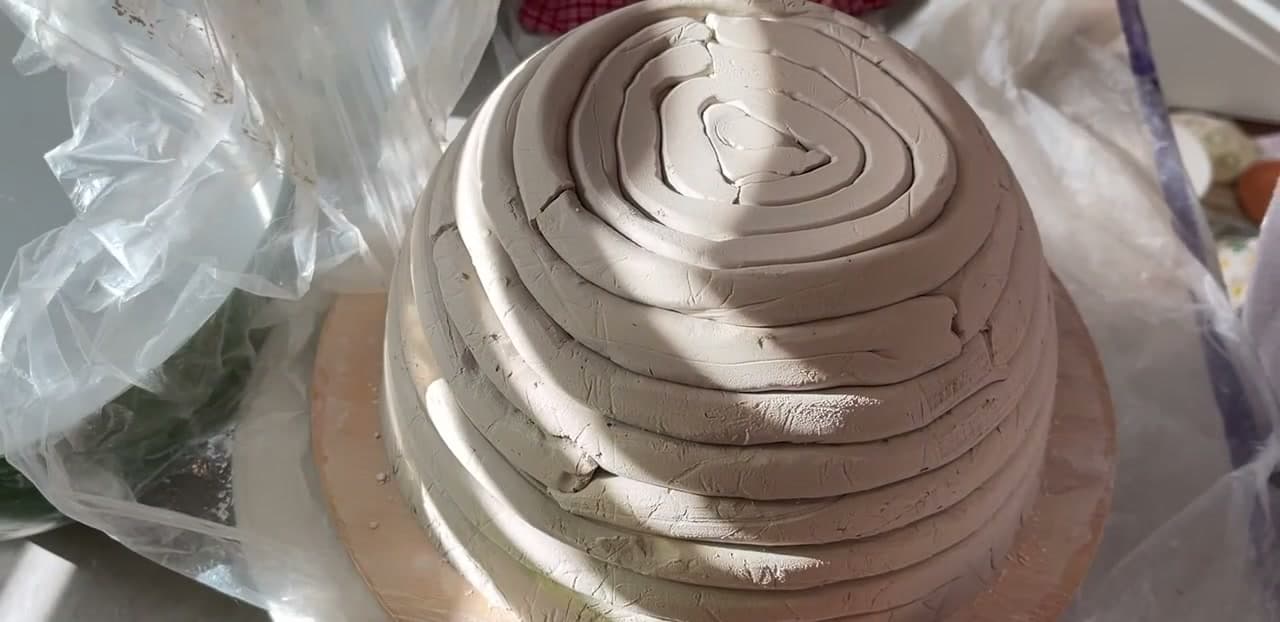
Slab work leans on this more than anything. Try it on a slab pottery dish, or read how to hand build pottery for the bigger picture. Stacking coils on a coil pot uses the same score and slip at every layer, and it is how you add feet or a handle to a pinch pot.

Free printable

Print the steps and supply list for this project

One page you can take to the table. Free with a free account, no password.

Get the free printable

What you'll need

Free, for this project

Get this checklist by email

  • All 9 tools and materials, with tick boxes
  • A link to print all 10 steps on paper, to keep by you while you craft

No password. The whole tutorial stays free on this page.

Quick answer

How to score and slip clay so slabs, walls and mug handles stay joined. An easy project: about 30 minutes, plus 24 hours to dry or set. You need 9 things, including leather hard clay, serrated metal rib and needle tool. The 10 steps start with mark Where to Score the Clay With a Roller Guide, score the Clay Slab Edge With a Serrated Rib and cross Hatch the Scored Clay With a Needle Tool.

Step-by-step guide

10 steps, about 10 minutes. Tap a picture to jump to that step. Your progress saves automatically.

Tick each step off as you go.

  1. Step 1: Mark Where to Score the Clay With a Roller Guide

    Watch this step · 0:40

    Plan the join before you cut anything. The slabs in the video are leather hard and 6 mm thick, rolled between 6 mm roller guides. Lay one of those guides along the edge of the base slab, the same width as the wall that will stand there. Then draw a faint line down the inside edge of the guide with a needle tool. That line shows exactly where the wall will sit and where to score.

    Tip:

    No guides? Stand the wall slab in place and trace around its foot instead.

    Back to all steps

  2. Step 2: Score the Clay Slab Edge With a Serrated Rib

    Watch this step · 1:19

    Drag a serrated metal rib along the marked strip, pressing enough to leave clear grooves. The teeth cut many even lines in one pass, so you can score a long edge quickly. Stay inside the line you drew. You only need texture where the wall will touch. Scoring the open floor of the box leaves marks you would have to smooth away later.

    Tip:

    Score a little deeper on firm leather hard clay than on soft clay.

    Back to all steps

  3. Step 3: Cross Hatch the Scored Clay With a Needle Tool

    Watch this step · 1:35

    Using a needle tool instead? Score one way along the strip, then score across those lines the other way. The cross hatch gives the slip more to grab onto than parallel lines alone. It takes a little longer than a rib but works as well. Brush away the little burrs of clay that come up, so they do not get stuck under the wall.

    Tip:

    A plain kitchen fork makes a decent scoring tool if you have nothing else.

    Back to all steps

  4. Step 4: Score the Bottom Edge of the Clay Wall Slab

    Watch this step · 1:48

    Pick up the wall slab and hold it on its side. Score along the whole edge that will sit on the base, using the same serrated rib. Both surfaces in a join need scoring. If only one side has texture, the slip grips that side and slides off the smooth one, and the wall pops off as the clay dries.

    Tip:

    Support the slab along its length so the thin edge does not crack while you score.

    Back to all steps

  5. Step 5: Paint Clay Slip Onto the Scored Base

    Watch this step · 3:16

    Load a brush with slip and paint it into the scored strip on the base. Work it into the grooves, not only over the top. For soft clay a little water can be enough. Leather hard slabs like these need a thick slip to bond well. The video uses paper clay slip, which is extra sticky and strong.

    Tip:

    Stir the slip before each use. It settles and the top turns watery.

    Back to all steps

  6. Step 6: Paint Slip Onto the Scored Edge of the Clay Wall

    Watch this step · 3:45

    Now slip the wall's scored edge the same way. Plan ahead and prepare each pair of surfaces right before you join them, so neither dries out. Score and slip the next wall while the first one settles. That keeps the box moving, and three joined walls soon make the whole thing sturdy.

    Tip:

    A firm, cheap paint brush works fine. Keep it only for slip.

    Back to all steps

  7. Step 7: Press the Clay Wall Onto the Slipped Base Join

    Watch this step · 4:08

    Set the wall upright on the slipped line and check it sits where you marked. Once it is lined up, press down with gentle but firm pressure so the two scored surfaces lock together. Avoid sliding it back and forth. In the video the slip tub props the first wall for a minute, in case it tips before the slip grabs.

    Tip:

    A little slip squeezing out along the seam is a good sign. Leave it for now.

    Back to all steps

  8. Step 8: Press a Reinforcing Clay Coil Into the Inside Join

    Watch this step · 6:05

    Score along the inside corner where the wall meets the base and add a little slip. Roll a thin, soft coil of the same clay and press it into the corner, supporting the wall from the other side. Blend it in with a stylus tool, then wipe over it with a damp chamois. Repeat on the outside. The coil fills gaps and stops cracks as the box dries.

    Tip:

    Soft clay joins may not need a coil. Hard leather hard slabs almost always do.

    Back to all steps

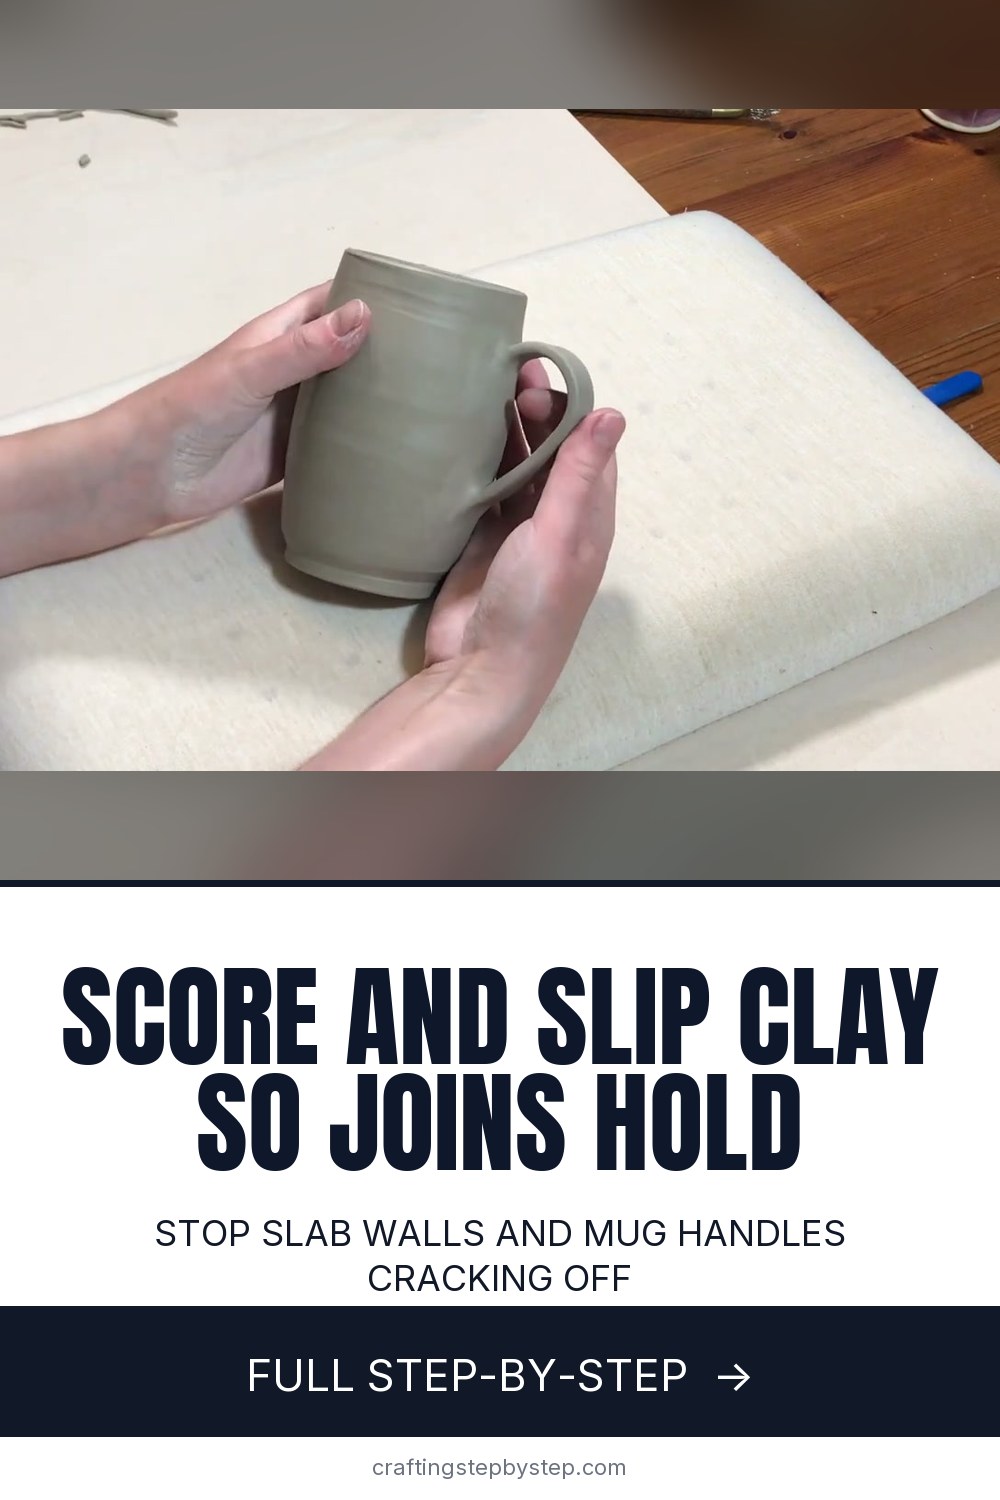
  9. Step 9: Score and Slip the Mug Where the Clay Handle Attaches

    Watch this step · 8:32

    The same method attaches a handle. Hold the handle against the mug and mark both ends with a needle tool. Score each marked patch with the serrated rib, then score the two ends of the handle too. Paint slip onto all four scored spots. The handle has to carry a mug of hot coffee, so do not skip any of them.

    Tip:

    Let a fresh pulled handle firm up to soft leather hard before you attach it.

    Back to all steps

  10. Step 10: Press the Slipped Clay Handle Onto the Mug

    Watch this step · 8:48

    Line the handle up and press each end firmly onto its slipped patch. Put one hand inside the mug to brace the wall, so the pressure does not dent or warp the shape. Add a small coil around the top join and blend it in for extra hold. Cover the mug loosely so the handle and body dry slowly together.

    Tip:

    Check the handle is straight from above and from the side before the slip sets.

    Back to all steps

How to Bake Polymer Clay

Keep going

How to Bake Polymer Clay

Keep going with pottery

More on this topic, picked for this project.

You reached the last step

Save this project to come back to it

Your ticked steps, the free printable and your other saved makes, together in My Projects. Free, no password.

You tapped Save

Save this project for later

We'll email you a link, no password.

How to Score and Slip Clay to Join Pieces

  • Your saved projects in one list
  • Your ticked steps on any device

Check your inbox for an email from us. Not there? Look in your spam folder.

Free printable

Printable sheet and shopping list for this project

The bonus is hidden until you sign up.

Free with a free account, no password. Every step above stays open to everyone.

Products Used

The Checklist

How to Score and Slip Clay to Join Pieces

Tools
7
Materials
2
Steps
10
Video
10 min

Tools we recommend

As an Amazon Associate we earn from qualifying purchases. Links on this page may be affiliate links - clicking them and buying doesn't change your price, but helps support Crafting Step by Step.

Tags

The Crafter's Weekly

New pottery tutorials, every Sunday

One short email with the week's best step-by-step guides. Free, no spam, unsubscribe anytime.

Did this work for you?

What's next

Related collections

Curated theme pages that include this tutorial.

Similar tutorials

Hand-picked next reads based on the one you just finished.

Liked this pottery tutorial?

Pick the crafts you want to hear about. One email every Sunday with new step-by-step tutorials. No spam, easy to unsubscribe.

Get more like this in your inbox

Weekly digest. Pick the categories you want. Unsubscribe anytime.

Send me tutorials about

We only email about new tutorials. Easy unsubscribe anytime.