Draping a clay slab over a mold is one of the easiest ways to make a dish that looks wheel-thrown, with no wheel at all. Karan Witham of KaransPotsAndGlass, a high school ceramics teacher, shows three versions here: a narrow oval tray, a rounded square dish and a large round platter. Each one gets a foot ring that lifts it off the table.
The method is the same for every shape. Only the mold changes.
What you need
A slab of clay about 1/4 inch thick, a rubber rib, a needle tool, a scoring tool, a soft brush, a block of thick foam and a hump mold. Karan uses an oval MDF mold from GR Pottery Forms, a wood mold from Bamboo Tools and a plaster dome she cast herself. An upturned bowl wrapped in a layer of newspaper works as a free mold for your first dish.
Drape mold vs slump mold
A drape (or hump) mold is convex; the clay goes over the outside, and the outside of the mold shapes the inside of your dish. A slump mold is concave; the clay sinks into it. Drape molds make it easy to add a foot ring, because the base faces up while you work.
Making your own mold
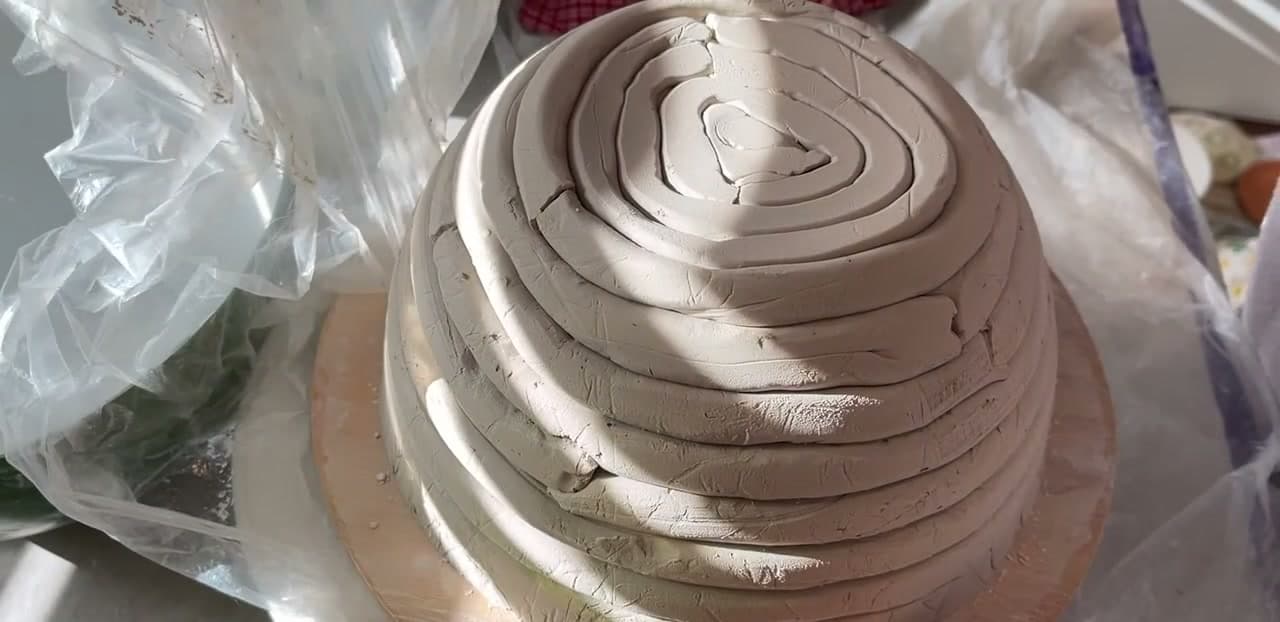
Bought molds are smooth and reusable, but you can start with things in your kitchen. A stainless mixing bowl, an upturned cake pan or a football-shaped lump of scrap clay wrapped in plastic all work. Cover anything non-porous with newspaper so the clay can release as it shrinks.
Timing matters
Drape the slab while it is soft and plastic. Then let it firm up on the mold to leather hard before you add the foot. Do not leave it there too long. Clay shrinks as it dries, and a slab left on a hump mold until bone dry can crack as it tightens around the form. Lift it off once the foot is on and holding.
Thickness and size
Roll the slab to an even 1/4 inch. Thinner slabs warp in the kiln; thicker ones get heavy and can crack while drying. Stoneware and earthenware clays shrink around 10 to 13 percent from wet to fired, so a dish that looks generous on the table comes out noticeably smaller.
Drying and firing
Dry the dish slowly under a loose sheet of plastic so the rim and the base dry at the same rate. Flip it rim-down on a board once it is stiff enough. Bisque fire, glaze, then glaze fire to your clay's cone. No kiln? Many community studios fire student work for a small fee.
Make it your own
Press lace, leaves or a texture mat into the slab before you drape it. Karan adds coil handles to the oval tray, textured with a thin towel. She fires those separately and fuses them on in the glaze firing, so each part can be glazed on its own. A small dish makes a ring holder or spoon rest; the big platter is a serving piece.
Troubleshooting
Foot ring cracking away? Score deeper, add more slip and compress the seam well. Dish warped? It dried unevenly; cover it longer. Rim lumpy? Shave it with a surform at leather hard and run a wet finger around it.
New to hand building? Start with a pinch pot or a coil pot, read our guide to hand building pottery, or try the same draping idea with air dry clay if you do not have a kiln.