How to Make a Pinch Pot - Beginner Pottery in 7 Steps

Also in:Crafts

By CraftingStepByStepPublished Updated

Based on a video by Benjamin Cahoon.

The pinch pot is the oldest pottery technique on earth. Archaeologists have found pinch pots dating back over 10,000 years, made on every continent. The reason it sticks around is simple: clay plus your thumb is all you need.

Benjamin Cahoon walks through the basics in this seven-minute tutorial. The form starts as a ball, gets a thumb-sized well in the center, and grows outward through small, consistent pinches. After that you can stop, or you can add tripod legs, texture, drainage holes - turn it into a planter, a mug, or a sculpture.

The two technique skills that carry forward into every other ceramic project you'll ever make are scoring (roughing up surfaces so two pieces of clay bond) and consistency (keeping wall thickness even all the way around). Get those right on a pinch pot and the rest of pottery gets easier.

Step-by-Step Guide

1

Roll the Clay Into a Ball

1:10
Step 1: Roll the Clay Into a Ball

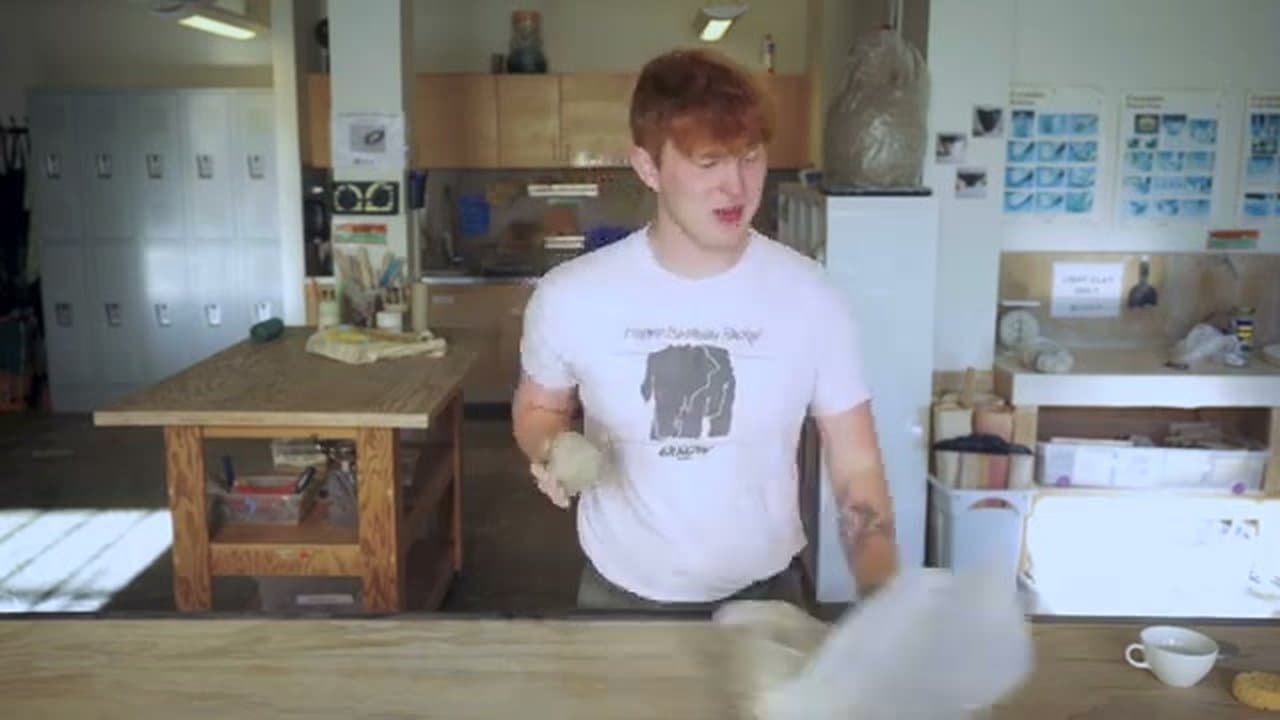
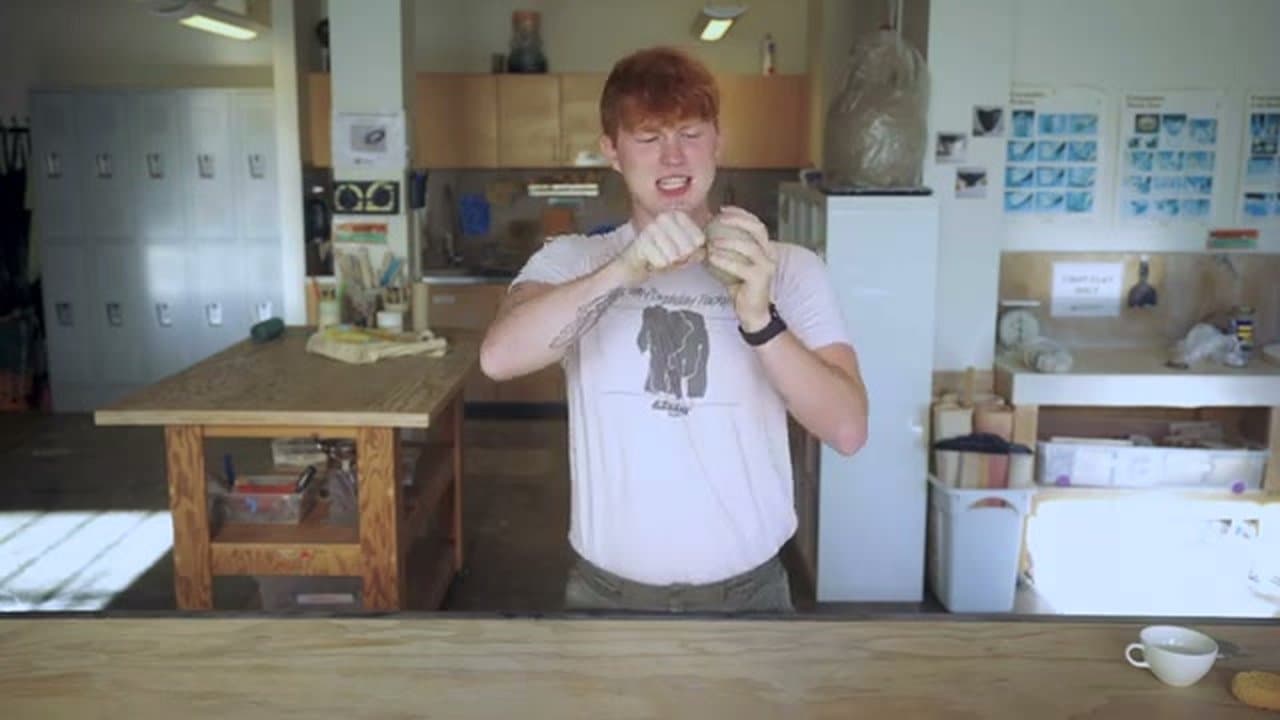
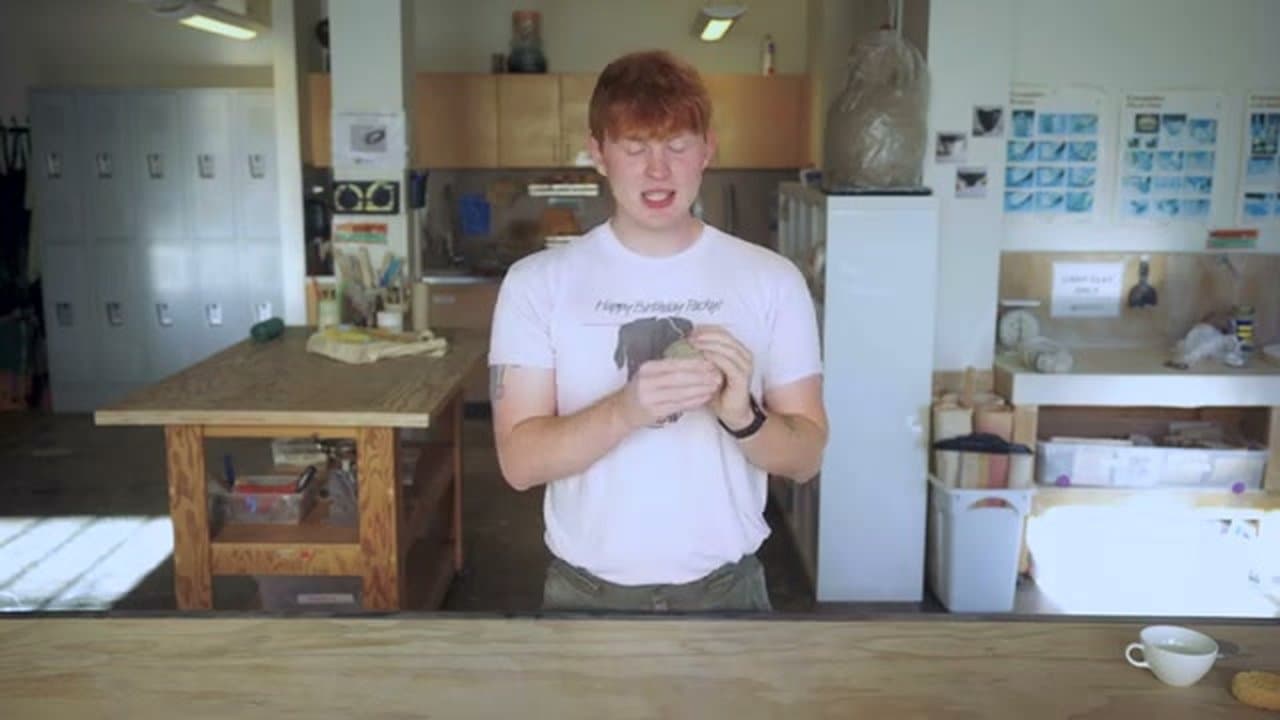
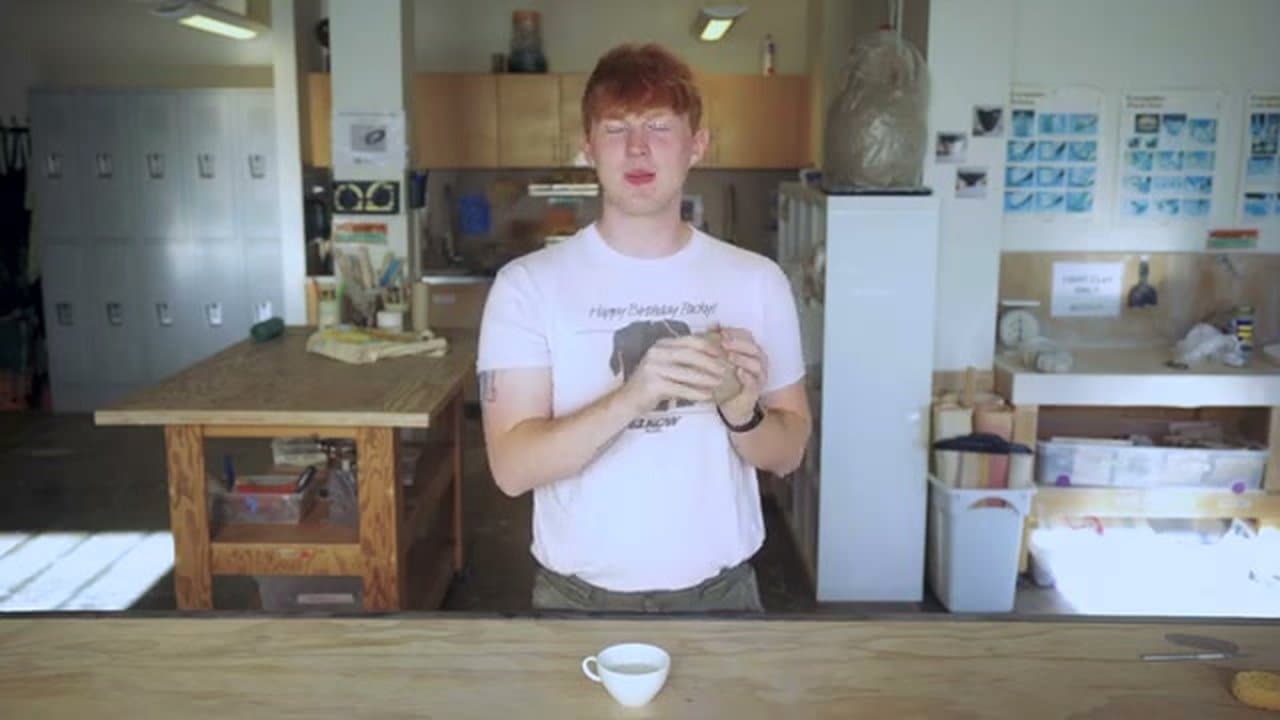
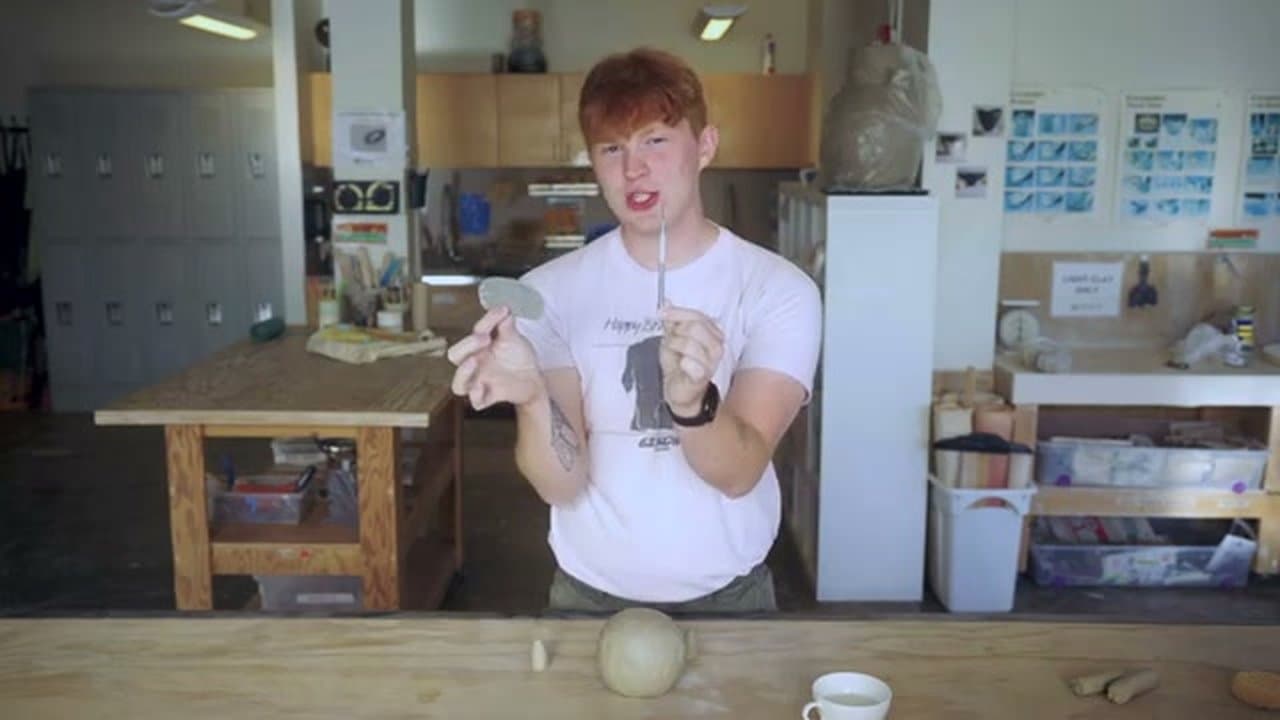
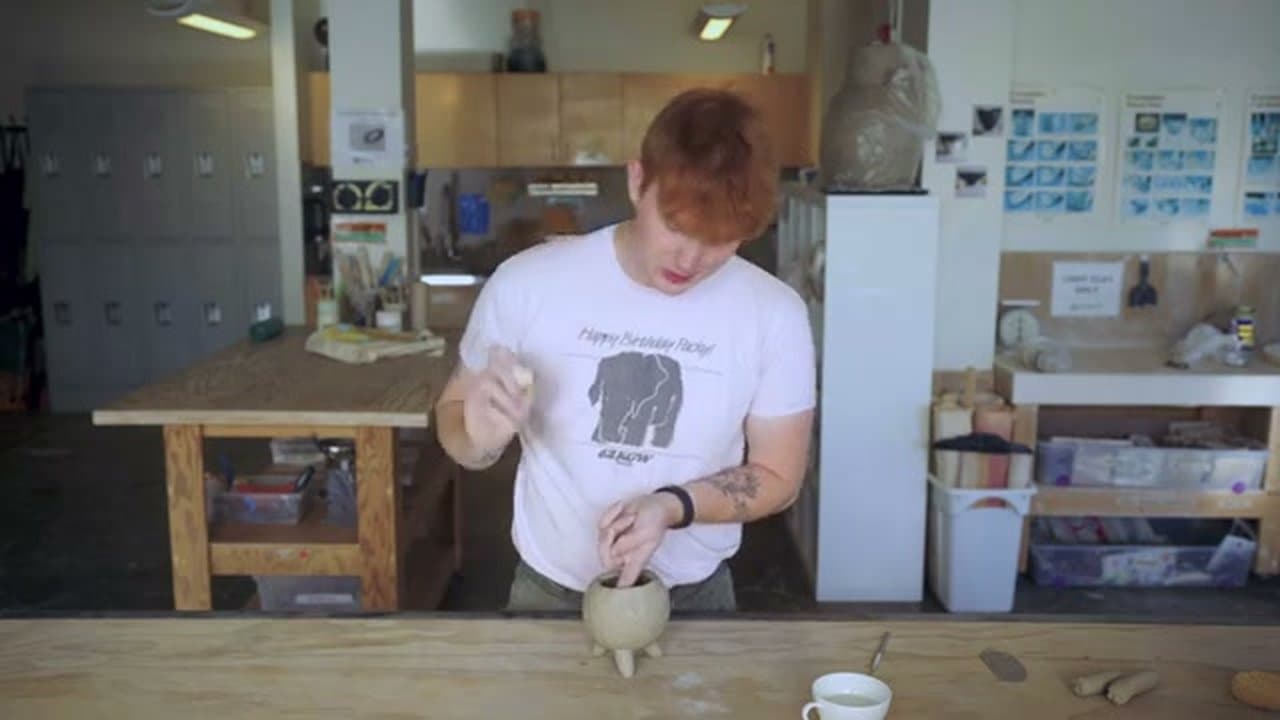
Tear off a piece of clay that fits comfortably in your palm. Smack it between your hands until it's a smooth round ball with no visible cracks.

Don't aim for a perfect sphere - this is just to consolidate the clay and get the air pockets out. A rough ball is fine.

Tip

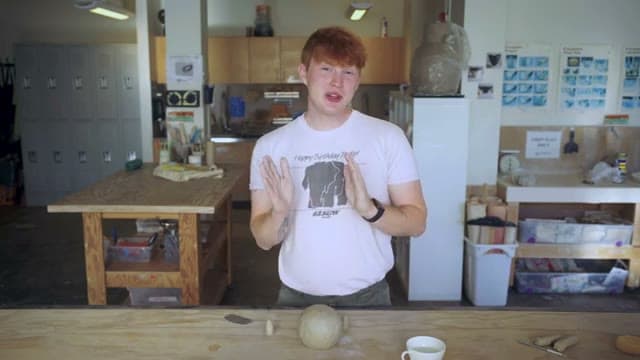
Bigger ball means thicker walls and more time to work. Beginners do well with about a tennis-ball size for the first few pots.

2

Push Your Thumb Into the Center

1:28
Step 2: Push Your Thumb Into the Center

Hold the ball in your non-dominant hand. Press your thumb straight down into the middle, stopping about a quarter inch before you'd punch through the bottom.

This well becomes the inside of the pot. The thickness from the bottom of the well to the bottom of the ball is your floor - keep it consistent for an even-baking pot.

Tip

If you push too far and your thumb pokes through, just smush a small piece of clay over the hole and smooth it down. No restart needed.

3

Pinch and Rotate

1:55
Step 3: Pinch and Rotate

Pinch the wall between your thumb (inside) and index finger (outside) while slowly rotating the pot in your other hand. Think of yourself as making a tiny puppet's mouth open and close - small, consistent squeezes.

Keep the pinches small. Big squishes warp the form. Small ones build the wall up smoothly with even thickness all the way around.

Tip

Keep the pot in your hands the whole time. Setting it down on the table flattens the bottom into an oval - one of the easiest mistakes to avoid.

4

Smooth Cracks With a Wet Finger

2:55
Step 4: Smooth Cracks With a Wet Finger

As you work, the clay in your hands dries out. Cracks usually show up first at the rim where the wall is thinnest.

Dab a finger in your cup of water and run it along any crack. The clay rehydrates and the crack disappears. Don't drown the pot - one fingertip of water at a time.

Tip

Pinch pots are meditative. You can spin one for half an hour and barely notice. If you start to see lots of cracks, slow down rather than push through - the clay is asking for water.

5

Roll a Coil and Cut Three Legs

4:25
Step 5: Roll a Coil and Cut Three Legs

Optional, but turns the pinch pot into a planter that won't wobble. Roll a thick coil of clay between your hand and the table - a Play-Doh snake. Cut it into three short, equal pieces.

Three legs always sit flat. Four would rock no matter how careful you are. Pinch one end of each leg flat (the bottom that touches the table) and leave the other end rounded (the top that attaches).

Tip

Make the legs short and stubby for a friendly look or long and thin for something more formal. The aesthetic is yours - just keep all three legs the same length.

6

Score and Wiggle-Squish to Attach

5:05
Step 6: Score and Wiggle-Squish to Attach

Scoring is non-negotiable. Use a needle tool, fork, or pencil to scratch a rough texture onto the bottom of the pot and the top of each leg. The scratches give the clay something to grab.

Add a single drop of water to the scored surface, press the leg into place, and wiggle-squish it on. Without scoring, the legs fall off as the clay dries. With scoring, they fuse permanently.

Tip

Support the inside of the pot with one hand while you press a leg on with the other. Otherwise you'll punch a divot into the wall instead of fusing the leg.

7

Stamp Texture and Let Dry

6:15
Step 7: Stamp Texture and Let Dry

Press a stamp, a leaf, the back of a spoon, or any textured object around the outside of the pot. Repetition is your friend - the same stamp pressed evenly around the form looks better than three different textures fighting each other.

Support the inside with one hand while you stamp so you don't dent the wall. Cover the finished pot loosely with a plastic bag and let it dry slowly for two to three days before firing or air-curing.

Tip

If you're making a planter, poke a drainage hole through the bottom now while the clay is still soft. Forgetting this step means a pot that holds water and rots roots.

Products used in this step

Products Used

☐ The Checklist

How to Make a Pinch Pot - Beginner Pottery in 7 Steps

Tools
3
Materials
2
Steps
7
Video
7 min

Your Guide

Benjamin Cahoon

As an Amazon Associate we earn from qualifying purchases. Links on this page may be affiliate links - clicking them and buying doesn't change your price, but helps support ShowMeStepByStep.

Tags

Test your knowledge

Did the lesson stick? Find out in 2 minutes.

5 quick questions covering what you just read. No signup, no score saved — just a gut check.

Quick reference

Key takeaways from How to Make a Pinch Pot - Beginner Pottery in 7 Steps

5 questions, answers, and one-line explanations. Tap to expand.

  1. 1.How far should your thumb go into the ball?

    Answer: Stop short of bottom

    Stop about a quarter inch before punching through. That remaining thickness becomes the floor of the pot.

  2. 2.Best size ball for a beginner's first pot?

    Answer: Tennis-ball size

    Tennis-ball size gives enough clay to work with and forgiving walls. Bigger ball means thicker walls and more working time.

  3. 3.How many legs for a stable tripod base?

    Answer: Three legs

    Three legs always sit flat. Four would rock no matter how carefully you cut them. Same physics as a camera tripod.

  4. 4.What is scoring in pottery?

    Answer: Roughing up surfaces

    Scratch a rough texture onto both surfaces with a needle tool or fork. The scratches give the clay something to grab when joining.

  5. 5.If a planter pot will hold a live plant, do what?

    Answer: Poke drainage hole

    Poke a drainage hole through the bottom while clay is still soft. Forgetting means a pot that holds water and rots roots.

What's next

Related collections

Curated theme pages that include this tutorial.

Weekly Digest

Liked this pottery tutorial?

Pick the categories you want to hear about. Weekly digest of new step-by-step tutorials. No spam, easy unsubscribe.

Send me tutorials about

We only email about new tutorials. Easy unsubscribe anytime.