1
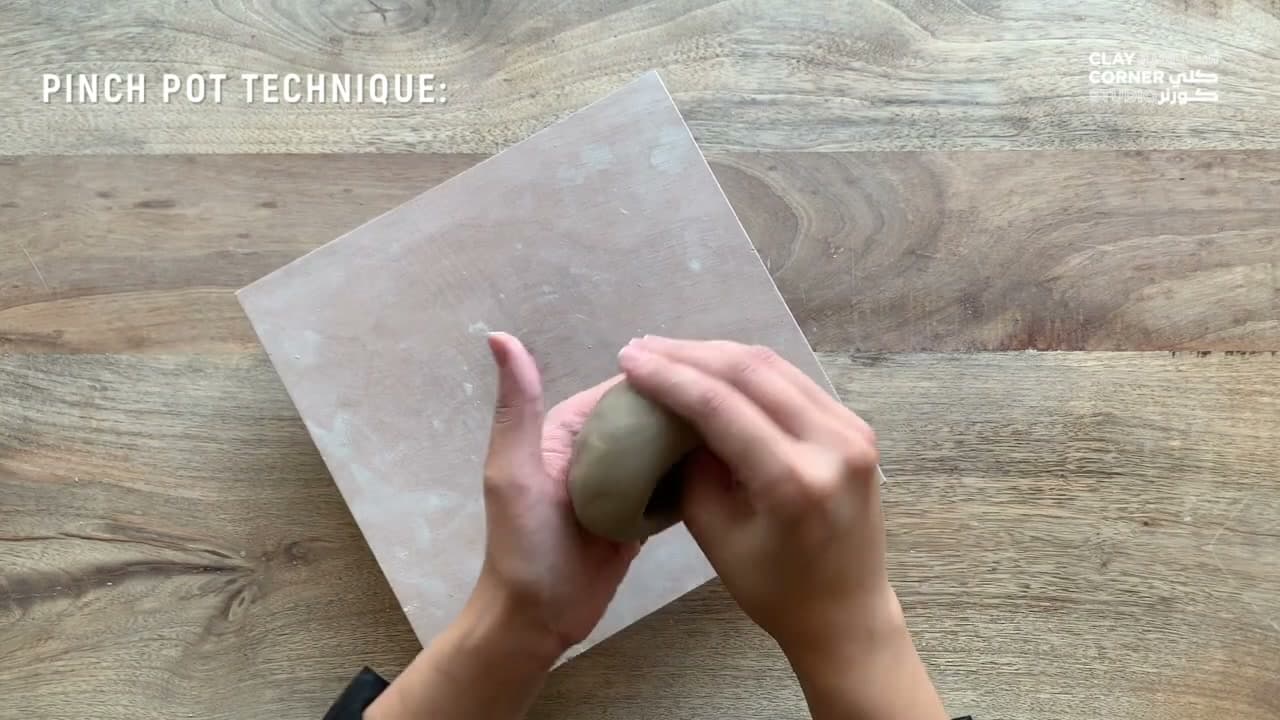
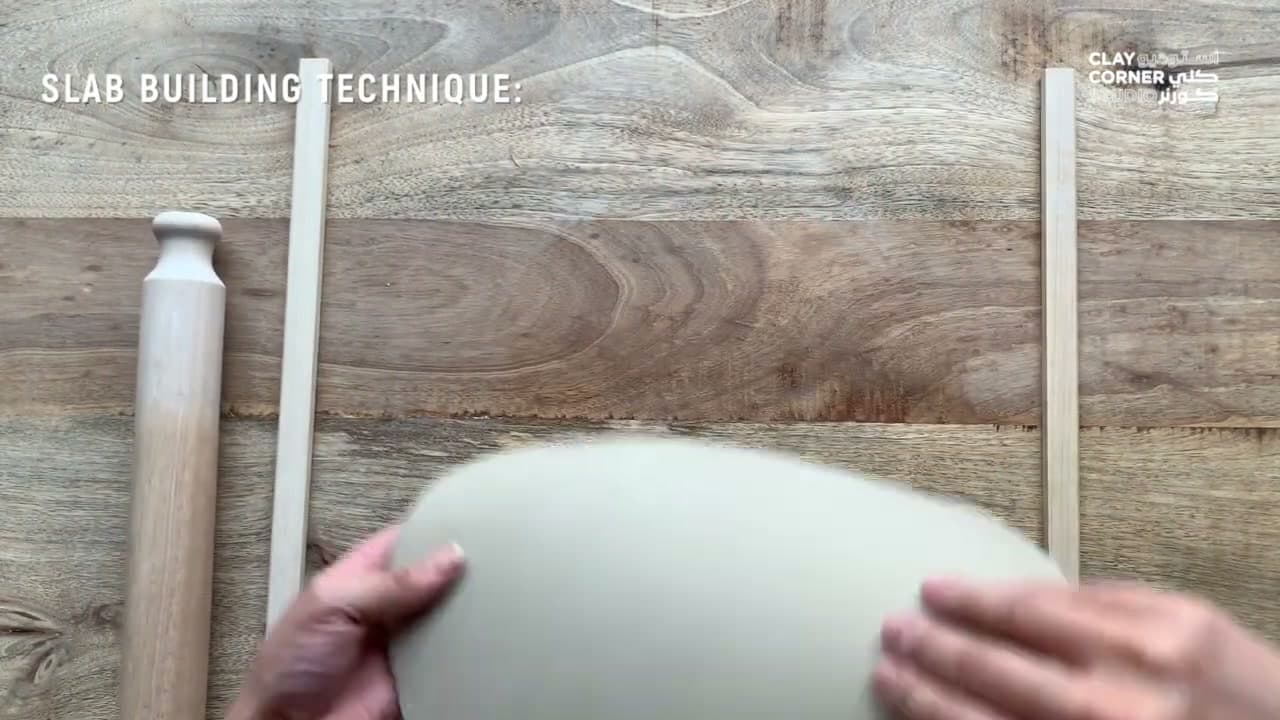
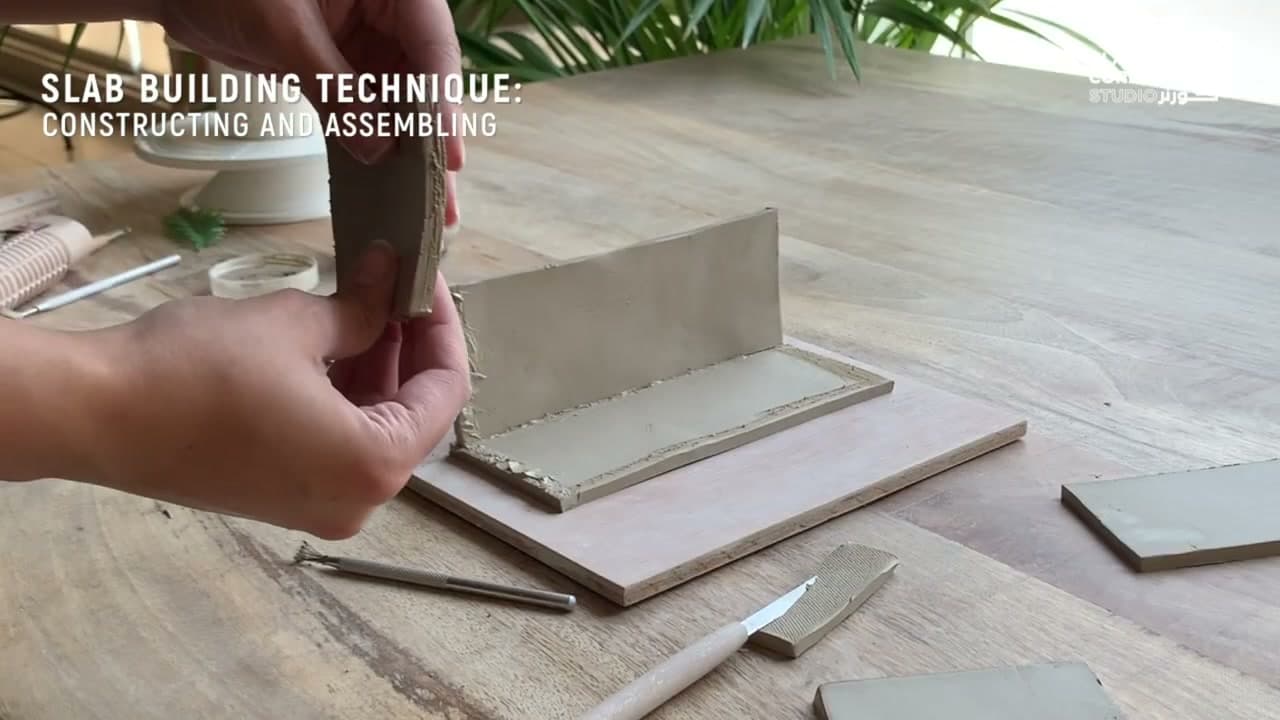
Step 1: Wedge the Clay First
0:33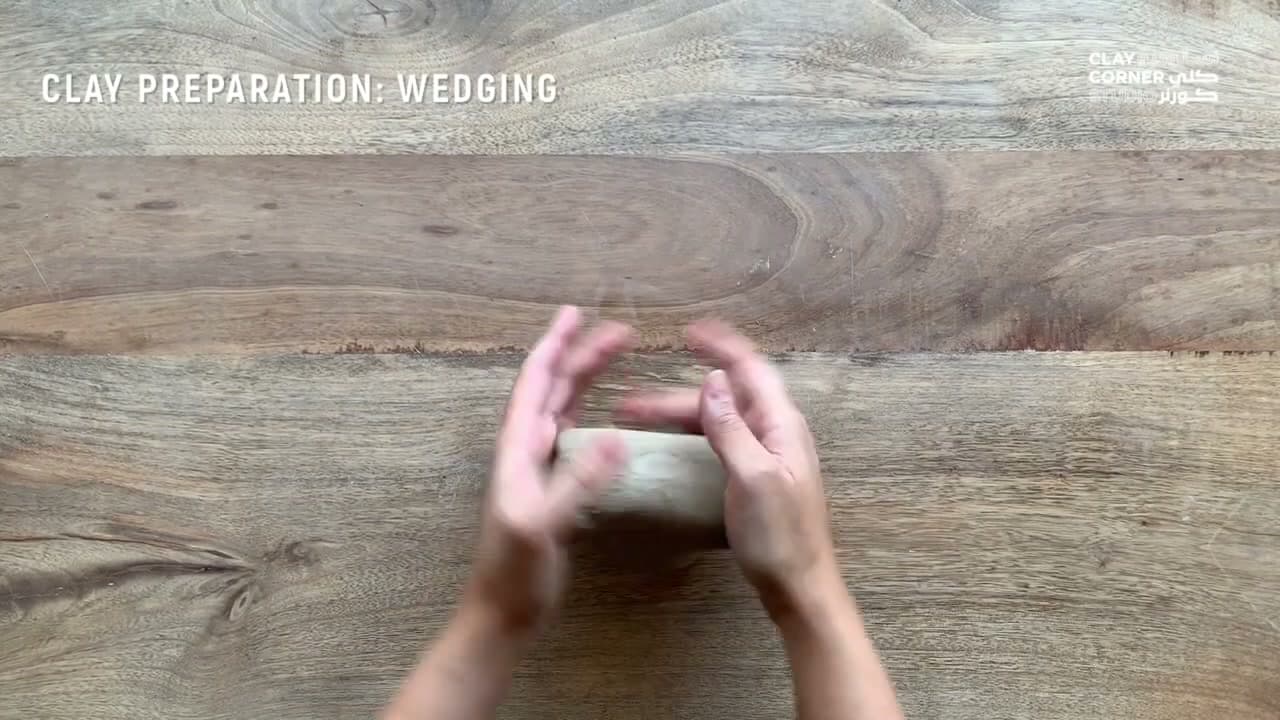
Wedging is a kneading technique that compresses the clay, removes trapped air bubbles, and makes the consistency uniform throughout. Skip this step and air pockets cause cracks during drying or firing - and uneven clay makes uneven pots.
Roll the clay forward with the heels of your palms, fold it back, and repeat 30-50 times. The motion looks like kneading bread dough. When the clay slices clean (using a wire cutter) with no visible air pockets, it's ready.