How to Make a Clay Bowl on a Pottery Wheel (Beginner's Guide)

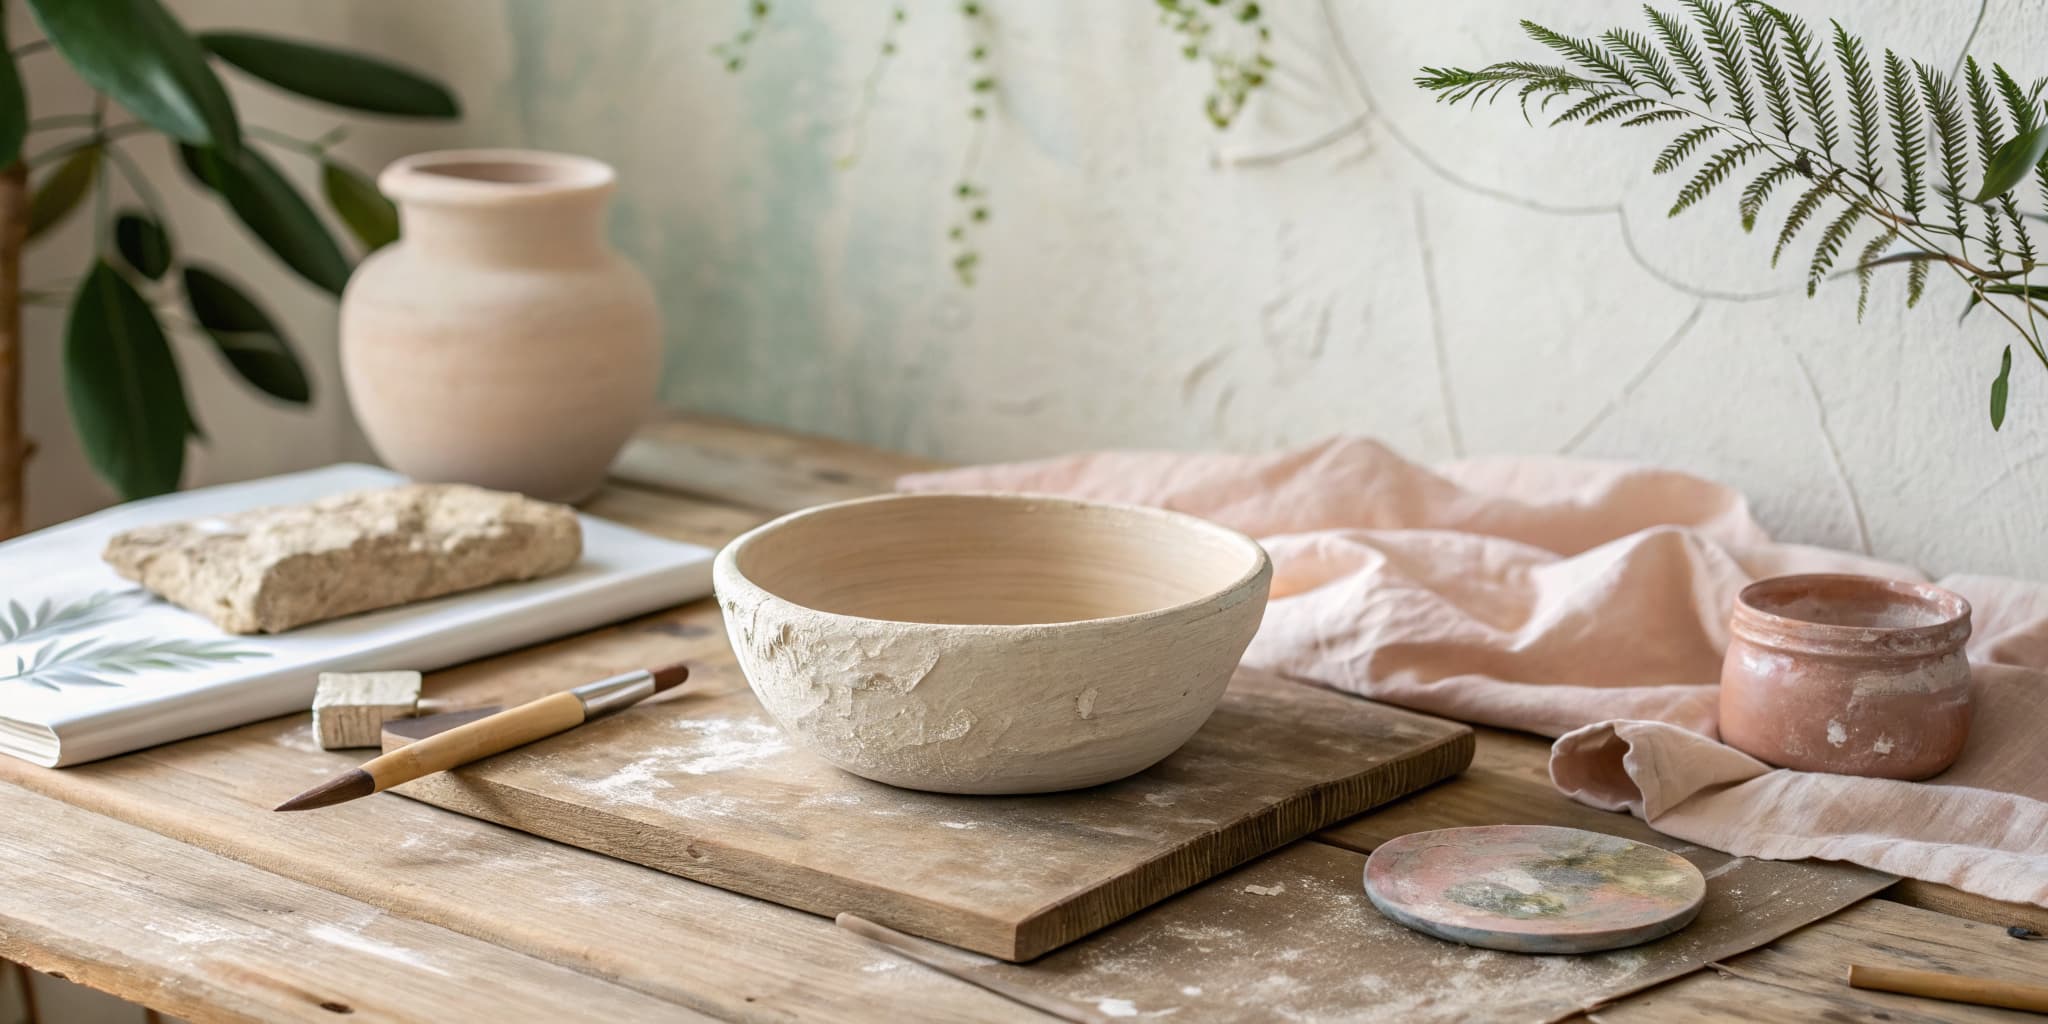
The finished result: How to Make a Clay Bowl on a Pottery Wheel (Beginner's Guide)
  • Difficulty: Medium
  • About 30 minutes
  • 10 steps

You tapped Save

Save this project for later

We'll email you a link, no password.

How to Make a Clay Bowl on a Pottery Wheel (Beginner's Guide)

  • Your saved projects in one list
  • Your ticked steps on any device

Check your inbox for an email from us. Not there? Look in your spam folder.

Print

Steps written out by Crafting Step by Step from Florian Gadsby's video (opens YouTube) (10:37). Published .

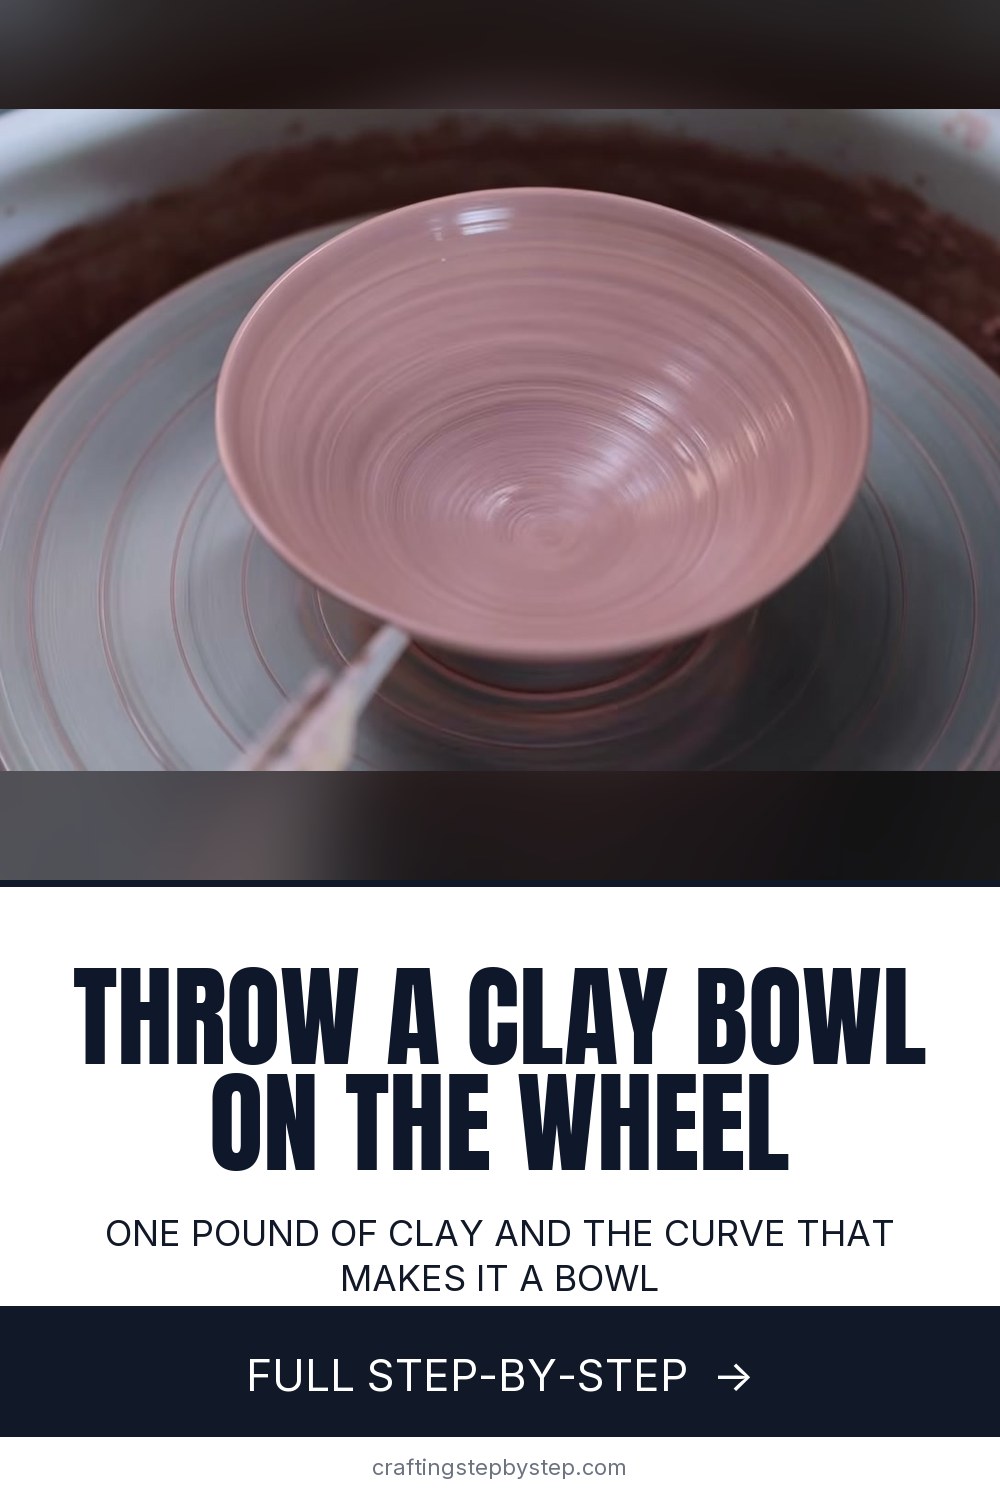
A clay bowl thrown on a pottery wheel starts as about a pound of soft clay and becomes a simple, curved bowl in a minute or two once you have the hang of it. This tutorial follows potter Florian Gadsby through one stoneware bowl, from weighing the clay to lifting it off the wheel. He explains the parts that trip up beginners: how wide to center, how much clay to leave in the base, and how to get a smooth curve inside instead of a flat floor.

How to make a clay bowl on the wheel: the short version

  • Weigh about one pound of clay and center it into a low, wide disc.
  • Open it in a gentle V, leaving about 1.5 cm of clay in the base.
  • Pull the walls up and out to the width and height you want.
  • Add the inside curve, sponge out the water and undercut the base.
  • Scrape the inside smooth, wire under the bowl and lift it off.

Two ways to throw a bowl

Florian shows two methods. In the first, every pull goes up and outward at once, straight toward the final shape. It is the most direct way, but you have to leave enough clay low in the wall or the sides can slump. In the second, you pull a thick cylinder first and then stretch it out into a bowl bit by bit. That route can give thinner walls, but a rim that is already thin will split as you open it. Neither is better. Pick one before you start.

No wheel? You can still make a bowl

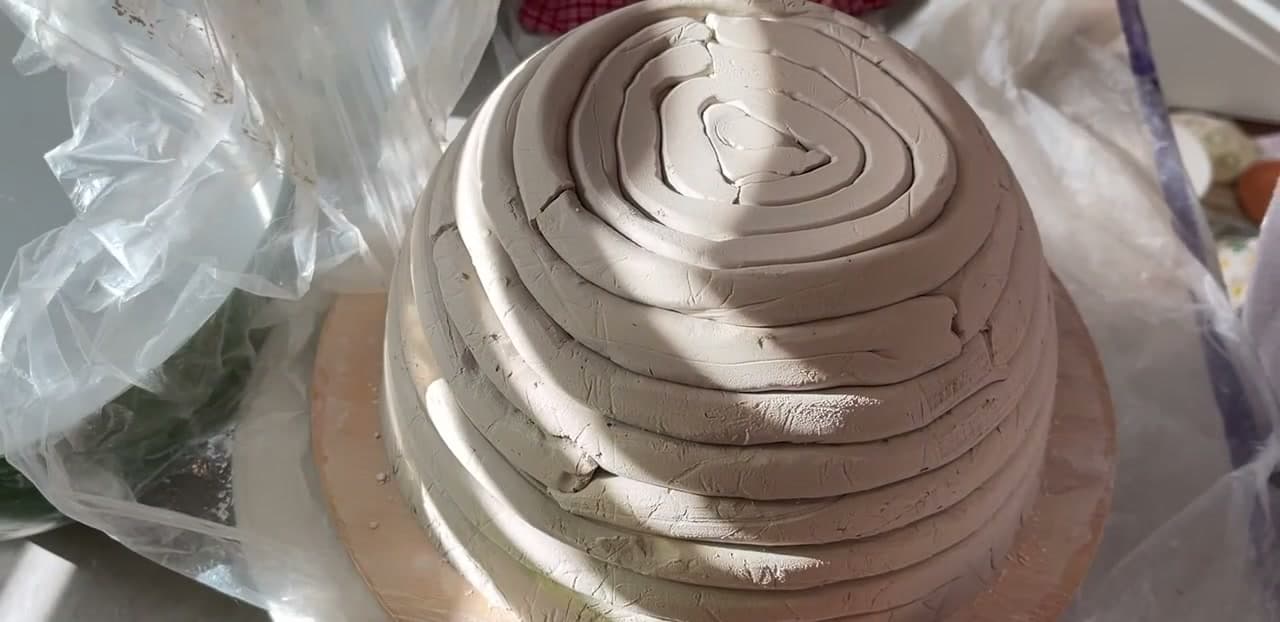
If you do not have a pottery wheel, a pinch pot is the simplest hand-built bowl, and a coil pot lets you build a bigger one. The hand building basics cover both. Many community studios rent wheel time by the hour, which is a good way to try throwing before you buy anything.

Water, speed and time

Use plenty of water inside the bowl during the big pulls so your fingers glide, but sponge it out as soon as the shape is there. Water sitting in the bottom soaks into the clay and weakens it, and a wide bowl with overhanging walls collapses fast when the clay gets soft. Work at an even, unhurried pace and release gently at the rim.

How big will it be?

Clay shrinks as it dries and again in the kiln, often by 10 to 15 percent. A bowl thrown at 18 centimeters across comes out of the glaze firing closer to 15 or 16. Throw a little bigger than the bowl you want, and note your clay's shrinkage on the bag.

Drying and trimming

A freshly thrown bowl is far too soft to handle. Leave it until it is leather hard, then flip it upside down and trim a foot ring from the extra clay you left in the base. Florian aims for walls, base and foot of about the same thickness so the bowl dries evenly and does not crack. After trimming, it gets a bisque firing, glaze and a second firing.

Common problems

  • The bottom is too thin. Check the depth with a needle before you pull.
  • The walls slump. Too much water, or too little clay left low in the wall.
  • The bowl warps when you lift it. Touch only the clay around the base. If the base has cracked, score and slip the repair while the clay is still soft.

Free printable

Print the steps and supply list for this project

One page you can take to the table. Free with a free account, no password.

Get the free printable

What you'll need

Free, for this project

Get this checklist by email

  • All 9 tools and materials, with tick boxes
  • A link to print all 10 steps on paper, to keep by you while you craft

No password. The whole tutorial stays free on this page.

Quick answer

Throw a clay bowl on the pottery wheel from one pound of stoneware. A medium project: about 30 minutes. Materials cost about $1 to $3. You need 9 things, including about 1 lb stoneware clay, pottery wheel and digital scale. The 10 steps start with weigh About One Pound of Clay for the Bowl, cone the Clay Up to Center It on the Pottery Wheel, open the Centered Clay Disc for the Bowl and pull the Clay Bowl Walls Up and Outward.

Step-by-step guide

10 steps, about 11 minutes. Tap a picture to jump to that step. Your progress saves automatically.

Tick each step off as you go.

  1. Step 1: Weigh About One Pound of Clay for the Bowl

    Watch this step · 0:20

    Weigh out about one pound of clay, around 454 grams. A scale keeps your bowls the same size from one to the next, which matters once you make a set. Wedge the clay before it goes on the wheel so there are no air bubbles. Then slap it down firmly in the middle of the wheel head so it sticks.

    Tip:

    Start with a pound. Bigger lumps are much harder to center.

    Back to all steps

  2. Step 2: Cone the Clay Up to Center It on the Pottery Wheel

    Watch this step · 3:30

    With the wheel spinning and your hands wet, squeeze the clay up into a tall cone, then push it back down. Repeat this a few times. Coning lines the clay up and helps it run true. For a bowl, finish with a low disc that is wider than it is tall, even a touch wider than you think. That width supports the walls later.

    Tip:

    Brace your elbows on your thighs so the clay moves, not your hands.

    Back to all steps

  3. Step 3: Open the Centered Clay Disc for the Bowl

    Watch this step · 3:48

    Wet your thumb and index finger and push them down into the middle of the disc. Stop with about 1.5 centimeters, or two thirds of an inch, of clay left in the base. You need that extra clay to trim a foot ring later. Open in a gentle V shape rather than a flat floor, since a bowl needs a curved inside.

    Tip:

    Poke a needle through the base to check the depth while you learn.

    Back to all steps

  4. Step 4: Pull the Clay Bowl Walls Up and Outward

    Watch this step · 5:22

    Push in at the base with your outside finger and follow with your fingers inside. Draw the clay up through your hands and let the spin carry the wall outward. Move at an even, gradual pace and release gently at the rim. Florian's bowl ends up 18 centimeters wide and 7 tall. Get the rim to size before worrying about the inside shape.

    Tip:

    Add plenty of water inside during these pulls so your fingers do not drag.

    Back to all steps

  5. Step 5: Shape a Smooth Curve Inside the Clay Bowl

    Watch this step · 6:12

    Once the width and height are right, do one or two gentle pulls from the inside to add more curve to the shape. Press out with your fingertips and keep your outside hand light. You want one continuous sweep from the center of the floor to the rim, with no flat spot or ridge in between.

    Tip:

    Slow the wheel a little for shaping. Fast spins push wide walls out too far.

    Back to all steps

  6. Step 6: Sponge the Water Out of the Clay Bowl

    Watch this step · 6:32

    Now mop out all the water and slip pooled in the bottom with a small sponge. Do it as soon as the shape is there. Water left sitting in a bowl soaks into the floor and softens it, and wide bowls with overhanging walls can slump fast. Work quickly and the clay stays strong.

    Tip:

    A sponge on a stick reaches the floor of deeper bowls.

    Back to all steps

  7. Step 7: Undercut the Base of the Clay Bowl With a Turning Tool

    Watch this step · 6:44

    Hold a blunt turning tool against the base of the bowl and trim away the wet clay there. This undercut gives you a clean, dry spot to lift from later. Do it before you clean the inside. Cutting the outside can push a small bump up into the floor, and doing it first means you never spoil a surface you already smoothed.

    Tip:

    An old, dull trimming tool works well here. It will not dig in.

    Back to all steps

  8. Step 8: Scrape the Inside of the Clay Bowl With a Kidney Rib

    Watch this step · 6:54

    Run a sharp metal kidney rib over the inside surface to remove most of the slip and true up the curve. You do not need to remove all of it. Then compress the rim with a piece of chamois leather so it is smooth and less likely to chip. These two passes give the bowl its clean, finished look.

    Tip:

    Hold the rib at a slight angle and let the wheel do the work.

    Back to all steps

  9. Step 9: Roll-Test the Inside Curve of the Clay Bowl

    Watch this step · 7:15

    Florian checks his curve with a roll test. Picture a small ball dropped inside the bowl. It should rock slowly back and forth and come to rest in the middle. If it would bump into a ridge or roll off in an odd line, the curve has a flat spot. Go back with the rib and smooth it.

    Tip:

    Not every bowl has to be curved, but a curved one should pass this test.

    Back to all steps

  10. Step 10: Lift the Clay Bowl Off the Pottery Wheel

    Watch this step · 8:50

    Drag a twisted wire under the bowl. It leaves a pattern that is less likely to stick than a smooth wire. Then dig four fingers horizontally into the extra clay around the base, evenly spaced, and lift. Spin the wheel a little as you lift to break the seal. Touch nothing but the base, and set the bowl down on a board.

    Tip:

    Let it dry to leather hard before you flip it to trim the foot.

    Back to all steps

How to Make Polymer Clay Earrings

Keep going

How to Make Polymer Clay Earrings

Keep going with pottery

More on this topic, picked for this clay bowl on a pottery wheel.

You reached the last step

Save this project to come back to it

Your ticked steps, the free printable and your other saved makes, together in My Projects. Free, no password.

You tapped Save

Save this project for later

We'll email you a link, no password.

How to Make a Clay Bowl on a Pottery Wheel (Beginner's Guide)

  • Your saved projects in one list
  • Your ticked steps on any device

Check your inbox for an email from us. Not there? Look in your spam folder.

Free printable

Printable sheet and shopping list for this project

The bonus is hidden until you sign up.

Free with a free account, no password. Every step above stays open to everyone.

Products Used

The Checklist

How to Make a Clay Bowl on a Pottery Wheel (Beginner's Guide)

Tools
8
Materials
1
Steps
10
Video
11 min

Tools we recommend

As an Amazon Associate we earn from qualifying purchases. Links on this page may be affiliate links - clicking them and buying doesn't change your price, but helps support Crafting Step by Step.

Tags

The Crafter's Weekly

New pottery tutorials, every Sunday

One short email with the week's best step-by-step guides. Free, no spam, unsubscribe anytime.

Did this work for you?

What's next

Related collections

Curated theme pages that include this tutorial.

Similar tutorials

Hand-picked next reads based on the one you just finished.

Liked this pottery tutorial?

Pick the crafts you want to hear about. One email every Sunday with new step-by-step tutorials. No spam, easy to unsubscribe.

Get more like this in your inbox

Weekly digest. Pick the categories you want. Unsubscribe anytime.

Send me tutorials about

We only email about new tutorials. Easy unsubscribe anytime.