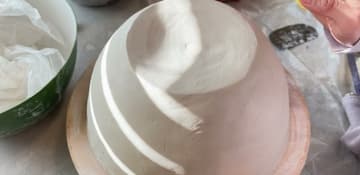
How to Make a Coil Pot
Source: Yvonne Ceramics • Full tutorial: www.craftingstepbystep.com/pottery/how-to-make-a-coil-pot
- Difficulty
- Easy
- Hands-on time
- About 1 hour 30 minutes
- Wait time
- 3 days
- Cost
- About $10 to $20
- Makes
- 1 hand built coil pottery pot

Tools
- large smooth bowl to use as a mould
- rolling surface or canvas
- rubber rib
- sponge
- knife or clay cutting tool
- turntable
- handheld clay extruder with round die
- bat or board
Materials
- stoneware clay
- plastic sheeting
- duct tape
- damp cloth
- water
Steps
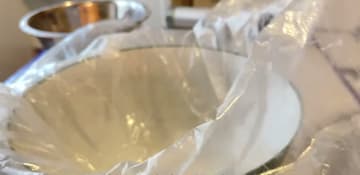
1. Line a Bowl With Plastic
Find a bowl whose inside profile you like the look of, and make sure it is smooth inside. Any ridges or moulded pattern will print themselves into your pot.
Tip: Dry cleaning bags and the plastic your clay came wrapped in both work well. Tape any tears before you start rather than discovering them later. Watch this step
2. Roll Out the Coils
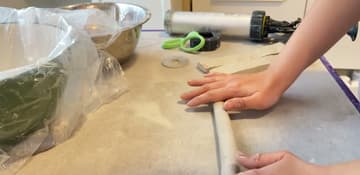
Cut a strip of clay off the block and squeeze it roughly into a sausage with your hands first. Then roll it, working from the middle outward with your fingers spread, letting your hands travel apart as the coil lengthens.
Tip: Roll with the flat of your fingers, not your palms. Palms give you a coil that is fat in the middle and thin at the ends every time. Watch this step
3. Wind Each Coil Up and Cover It
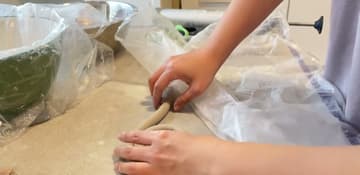
Roll all your coils before you start building. Once you have one finished, wind it into a flat spiral on the bench like a sleeping snake, which makes it easy to store and easy to pick back up.
Tip: Aim for the same thickness on every coil. A pot built from coils of different diameters has walls of different thickness and dries unevenly. Watch this step
4. Spiral the First Coil Into the Base
Start at the centre of the lined bowl and wind the first coil outward in a flat spiral, pressing it down against the plastic as you go. When you reach the end of a coil, cut it at an angle with a knife and join the next one on.
Tip: Angled cuts on the coil ends give a much longer join than a straight cut, and long joins are stronger. Watch this step
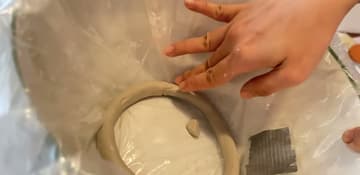
5. Build the Coils Up the Wall
Once the base spiral is done, compress it flat so it is even, then start carrying coils up the wall of the bowl. Follow the curve of the mould and press each coil down and outward against the wall as you lay it.
Tip: Do two rows of wall at a time, then smooth. Building the whole wall first and smoothing at the end means reaching down into a deep vessel with no room to work. Watch this step
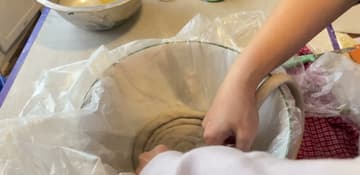
6. Smooth the Inside With a Rib
Work a rubber rib around the inside, dragging clay down from one coil into the next until you cannot see where one ends and the next begins. Be firm about it.
Tip: A turntable makes this dramatically easier. A cheap cake decorating turntable does the job for a fraction of a proper banding wheel. Watch this step
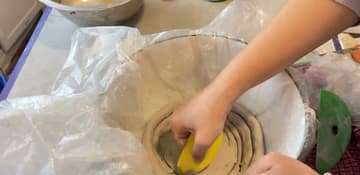
7. Or Extrude the Coils Instead
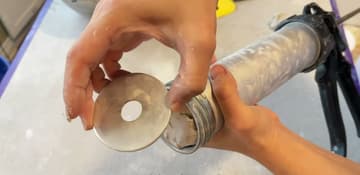
A handheld extruder is the shortcut. Load a chunk of clay into the barrel, screw a round die onto the end and squeeze.
Tip: Match your hand-rolled coils to the size of the extruder die and you can mix the two in one pot without the walls changing thickness. Watch this step
8. Turn It Out of the Mould
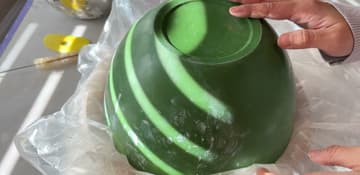
Leave the pot in the bowl for a couple of hours until the clay firms up enough to hold its own shape. Then put a bat or board over the top, flip the whole thing, and lift the bowl away.
Tip: Do not rush the wait. Clay that is still soft distorts under its own weight the second the mould comes off. Watch this step
9. Rib the Outside Smooth
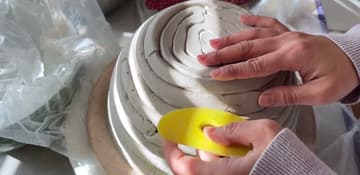
The outside still shows every coil. Work the rib across the surface until the ridges flatten out, going gently because the clay is still soft and it is easy to change the shape of the pot while you are trying to smooth it.
Tip: Prefer the coil texture? Leave it. A visible coil surface is a legitimate finish and it shows the piece was hand built. Watch this step
10. Finish Inside and Out and Let It Dry
Go over the inside once more, then the outside with a damp sponge to take out the last of the rib marks. The surface will look wet at this stage, which is normal.
Tip: Punch a drainage hole while the clay is still soft if the pot is destined for a plant. Drilling a hole after firing is a job nobody enjoys. Watch this step