How to Make a Paper Heart Garland

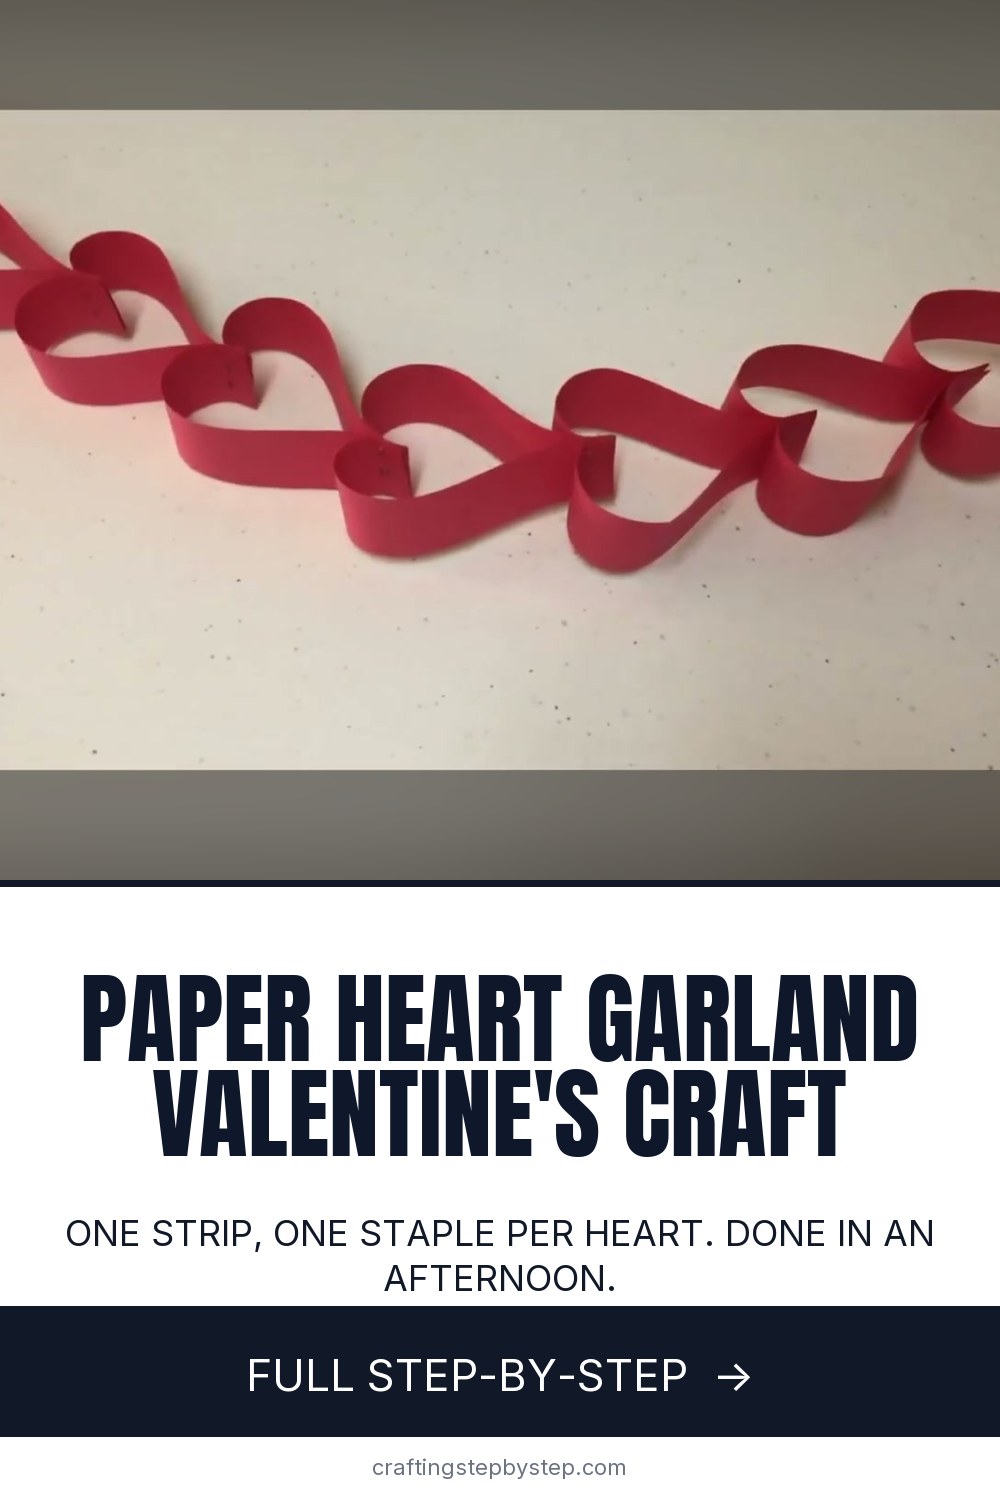
The finished result: How to Make a Paper Heart Garland
  • Difficulty: Easy
  • 6 steps

You tapped Save

Save this project for later

We'll email you a link, no password.

How to Make a Paper Heart Garland

  • Your saved projects in one list
  • Your ticked steps on any device

Check your inbox for an email from us. Not there? Look in your spam folder.

Print

Steps written out by Crafting Step by Step from Needlepointers' video (opens YouTube) (2:44). Published .

Also in:Crafts

A paper heart garland is the sort of Valentine's craft you can finish over one cup of coffee. Each heart is a single strip of paper, folded and bent back on itself, and the strips staple together into a chain. No glue, no templates, no drawing. This version comes from the Needlepointers channel on YouTube, where an experienced crafter makes the whole chain on a kitchen table in under three minutes. The channel also keeps written instructions with photos on needlepointers.com.

Paper heart garland: what you are making

Every strip is folded in half. The fold becomes the point at the bottom of the heart, and the two cut ends curl down inside to make the rounded tops. The next strip's fold slides in between those ends, and one staple holds three layers at once. So each staple closes one heart and starts the next. Some people call it a heart chain garland, because it goes together like the paper chains you made in school.

Materials and swaps from around the house

She uses construction paper or cardstock. Cardstock (65 lb) keeps a rounder heart and lasts longer. Construction paper is cheaper and fine for a one-season decoration, though it fades in a sunny window. Gift wrap backed with printer paper, old greeting cards, or pages from a seed catalogue all work. A paper trimmer cuts the straightest strips, but a ruler, a pencil and good scissors do the job.

Strip size and how long it takes

The strips in the video are 1 inch wide. The video does not give a length, so treat this as a range: strips about 8 to 12 inches long make hearts roughly 3 to 5 inches tall. Cut one strip across the long side of a letter sheet (11 inches) for a good everyday size. Each heart adds about 3 inches of garland. A 6 foot swag needs around 24 strips and takes about 45 minutes, including the cutting.

Who it suits

It is an easy project to do with grandchildren. Children of five or six can fold and curl the strips while you handle the stapler. It also dresses a mantel, a doorway, a classroom party table, or a mirror where your spouse will see it on Valentine's morning.

Valentine's variations

  • Two tones. Alternate red and pink strips, as in the finished garland in the video.
  • Messages. Write a short note or a name on the inside of each strip before you fold it.
  • Kid-friendly. Use a glue stick or double-sided tape in place of staples for small hands.
  • Other seasons. Orange and gold strips make a fall chain. For more garlands, see how to make a Christmas garland.

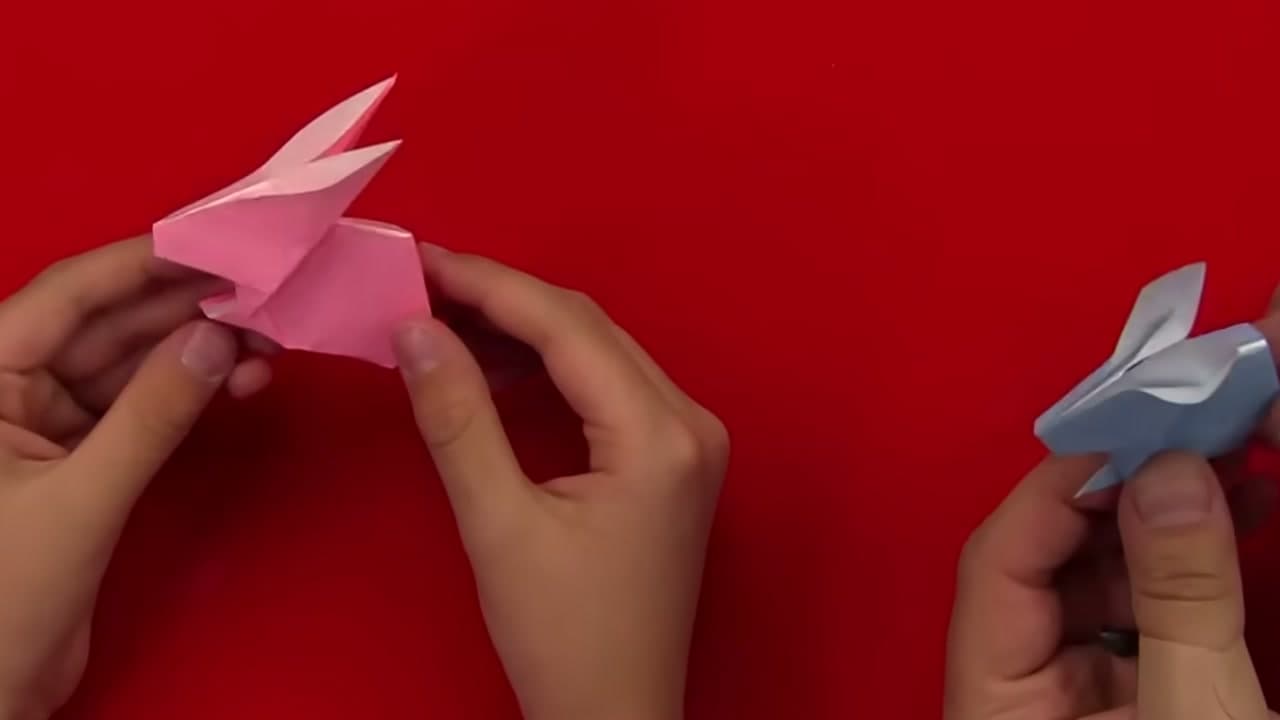
Want single hearts too? Try an origami heart, or a crochet heart for a softer keepsake. A paper wreath pairs well on the door.

Troubleshooting

  • Lopsided hearts. The cut ends were uneven. Line them up before you staple.
  • Flat hearts. The paper is too thin. Move to cardstock.
  • Staples pull out. Staple closer to the fold, through all three layers.

Storing it for next year

Fold the garland back and forth like an accordion and lay it flat in a shirt box with tissue on top. Do not wind it into a ball, or the hearts crush. Kept dry, it will come out ready next February.

Free printable

Print the steps and supply list for this project

One page you can take to the table. Free with a free account, no password.

Get the free printable

What you'll need

Free, for this project

Get this checklist by email

  • All 7 tools and materials, with tick boxes
  • A link to print all 6 steps on paper, to keep by you while you craft

No password. The whole tutorial stays free on this page.

Quick answer

Make a paper heart garland from folded cardstock strips and a stapler. An easy project. You need 7 things, including red cardstock, pink cardstock and staples. The 6 steps start with cut Paper Strips for the Heart Garland on a Paper Trimmer, fold Each Paper Garland Strip in Half, bend the Cut Ends Inward to Shape the First Paper Heart and line Up the Next Folded Strip Against the Paper Heart Ends.

Step-by-step guide

6 steps, about 3 minutes. Tap a picture to jump to that step. Your progress saves automatically.

Tick each step off as you go.

  1. Step 1: Cut Paper Strips for the Heart Garland on a Paper Trimmer

    Watch this step · 0:34

    Lay a sheet of red or pink cardstock on your paper trimmer and line up the 1 inch mark. Hold the sheet flat with one hand and pull the cutting head down with the other. Slide the sheet over and cut again until you have a pile of strips. Cut more than you think you need. Two colours of paper make the finished chain more fun to look at.

    Tip:

    No trimmer? Mark 1 inch lines with a ruler and pencil and cut with sharp scissors.

    Back to all steps

  2. Step 2: Fold Each Paper Garland Strip in Half

    Watch this step · 0:38

    Take a strip and bring the two short ends together. Press down the middle to make a sharp crease. Do the same with every strip in your pile before you start building, so the rest goes quickly. The fold you make here becomes the point at the bottom of each heart, so keep the ends even when you crease it.

    Tip:

    Run a bone folder or the back of a spoon over the crease for a crisp point.

    Back to all steps

  3. Step 3: Bend the Cut Ends Inward to Shape the First Paper Heart

    Watch this step · 1:00

    Hold your first folded strip with the fold pointing down and the two cut ends pointing up. Curl each cut end down and in, toward the fold, so the paper rolls over into two round bumps. You will see the heart appear in your hands. Keep the ends tucked together at the fold and hold them there for the next step.

    Tip:

    Curl the paper over a pencil first if your cardstock is stiff and fights the bend.

    Back to all steps

  4. Step 4: Line Up the Next Folded Strip Against the Paper Heart Ends

    Watch this step · 1:06

    Pick up a second folded strip. Slide its fold in so it sits against the tucked cut ends of the first heart. Now curl the cut ends of the new strip down and in, the same way as before, so all the ends line up in one neat bundle. Pinch them together so nothing slips while you reach for the stapler.

    Tip:

    Swap colours on every strip so red and pink hearts alternate along the chain.

    Back to all steps

  5. Step 5: Staple the Strips to Lock the First Paper Heart in Place

    Watch this step · 1:27

    Push one staple through the bundle of ends, close to the fold. That single staple holds the first heart closed and fixes the second strip to it. Check the front. You should see one complete heart with a half-made heart hanging below it. If the staple missed a layer, add another one beside it.

    Tip:

    A full-size desk stapler goes through three layers of cardstock more easily than a mini one.

    Back to all steps

  6. Step 6: Keep Adding Paper Hearts Until the Garland Is Long Enough

    Watch this step · 1:49

    Keep going. Slide the fold of a new strip against the open ends, curl its ends in, line everything up and staple. Each round finishes one heart and starts another. Stop when the garland reaches the length you want, then curl and staple the last strip on its own to close the final heart. Hang it with tape or small hooks.

    Tip:

    Lay the chain out on the floor as it grows so you can judge the length against your wall.

    Back to all steps

How to Make a Paper Easter Bunny

Keep going

How to Make a Paper Easter Bunny

Keep going with paper crafts

More on this topic, picked for this paper heart garland.

You reached the last step

Save this project to come back to it

Your ticked steps, the free printable and your other saved makes, together in My Projects. Free, no password.

You tapped Save

Save this project for later

We'll email you a link, no password.

How to Make a Paper Heart Garland

  • Your saved projects in one list
  • Your ticked steps on any device

Check your inbox for an email from us. Not there? Look in your spam folder.

Free printable

Printable sheet and shopping list for this project

The bonus is hidden until you sign up.

Free with a free account, no password. Every step above stays open to everyone.

Products Used

The Checklist

How to Make a Paper Heart Garland

Tools
4
Materials
3
Steps
6
Video
3 min

Tools we recommend

As an Amazon Associate we earn from qualifying purchases. Links on this page may be affiliate links - clicking them and buying doesn't change your price, but helps support Crafting Step by Step.

Tags

The Crafter's Weekly

New paper crafts tutorials, every Sunday

One short email with the week's best step-by-step guides. Free, no spam, unsubscribe anytime.

Did this work for you?

What's next

Related collections

Curated theme pages that include this tutorial.

Similar tutorials

Hand-picked next reads based on the one you just finished.

Liked this paper crafts tutorial?

Pick the crafts you want to hear about. One email every Sunday with new step-by-step tutorials. No spam, easy to unsubscribe.

Get more like this in your inbox

Weekly digest. Pick the categories you want. Unsubscribe anytime.

Send me tutorials about

We only email about new tutorials. Easy unsubscribe anytime.