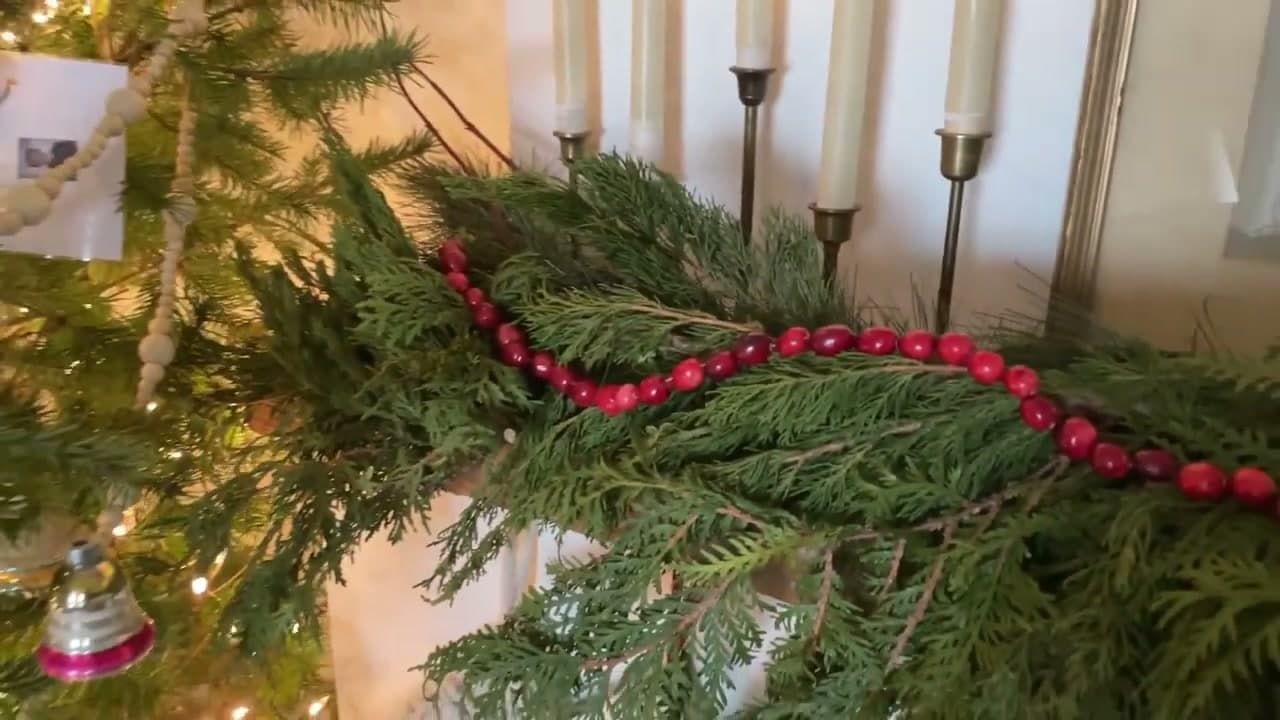
How to Make a Christmas Garland

Based on a video by The Merrythought

Opens their YouTube channel

Steps written out by CraftingStepByStep · Published · Updated

Watch the original video (opens YouTube)
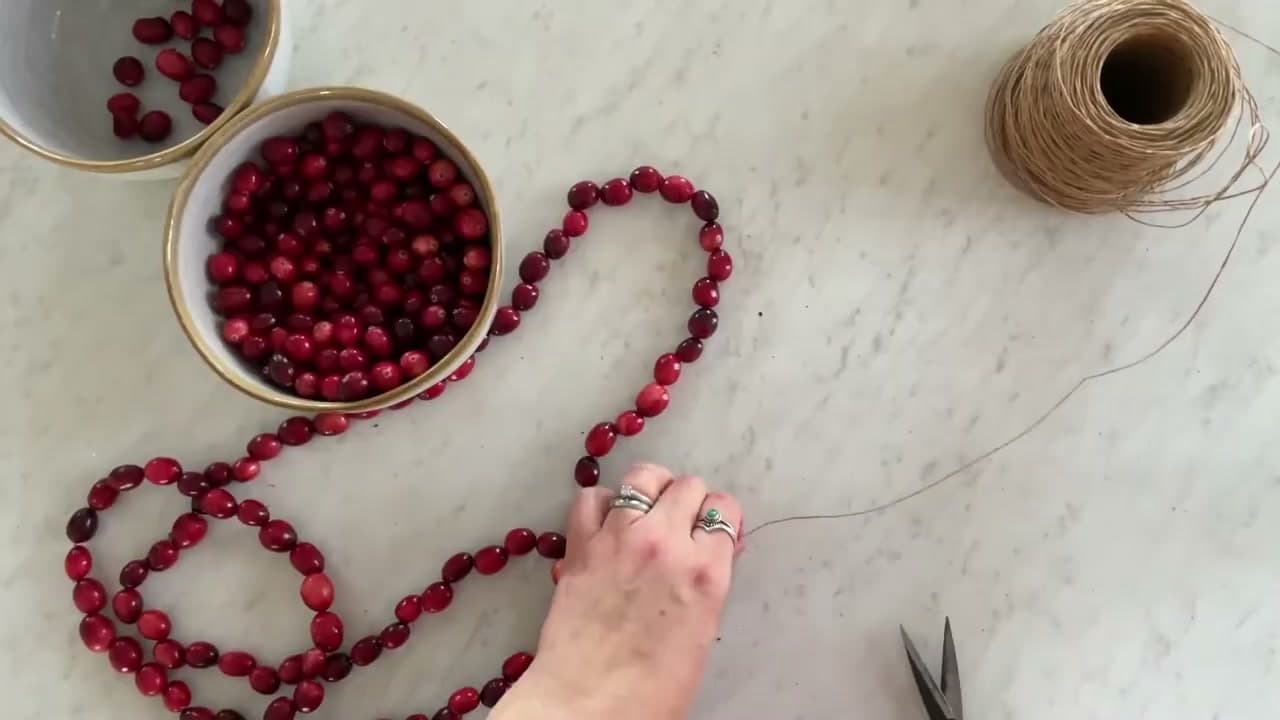
The finished result: How to Make a Christmas Garland

A cranberry garland is one of those decorations that costs about six dollars and looks like it came from a florist. Three bags of fresh cranberries, a needle and a length of twine. That is the whole supply list.

This walkthrough follows The Merrythought, who strings hers on camera and then does something more useful than most: she runs the same garland four different ways and says which one she would reach for again. Bright overhead shots on a marble counter, no talking head, no hurry.

Which stringing material to use

  • Floral binding wire - her favorite. It holds enough shape to sit up on top of greenery and still drapes. The paper wrapping goes soggy near the needle and starts to tear, so cut that inch off and re-thread when it does.
  • Jute twine - the easiest to find and the most forgiving. Soft drape, no shape of its own, and you probably have some in a drawer already.
  • 20-gauge floral wire - no needle needed, and the berries slide along it freely. Too stiff to swag. Use it where you want a straight run.
  • Bakers twine - the softest drape of the four, and a nuisance to thread. The twist separates at the needle eye every few feet.

Popcorn garland strings the same way

The video covers cranberries only, so treat this part as guidance rather than something you can watch happen. Popcorn goes on the same thread with the same motion, with two changes. Use a blunt-tipped needle so it pushes between the kernels instead of shattering them, and pop the corn the day before. Fresh popcorn is brittle and crumbles on the needle, while day-old popcorn has pulled in enough moisture from the air to bend a little, which is what you want. No butter, no salt. Alternate popcorn with cranberries and the red-and-white pattern does the work for you.

How long a fresh garland lasts

The berries start to shrivel after about a week. They hold their color as they go, so the garland still reads as red from across a room, and The Merrythought says she is happy with it fresh or dried. If it is for a party, string it one or two days ahead.

Cranberries sit well next to dried orange slices, which hang on the same needle-and-twine method. For the rest of the mantel there is a Christmas wreath and a set of pinecone ornaments. Come October the same stringing trick becomes a ghost garland.

What you'll need

Step-by-step guide

8 steps, about 5 minutes. Tap a picture to jump to that step. Your progress saves automatically.

Tick each step off as you go.

  1. Step 1: Lay Out Cranberries, a Large-Eye Needle and Your Stringing Material

    Watch this step · 0:50
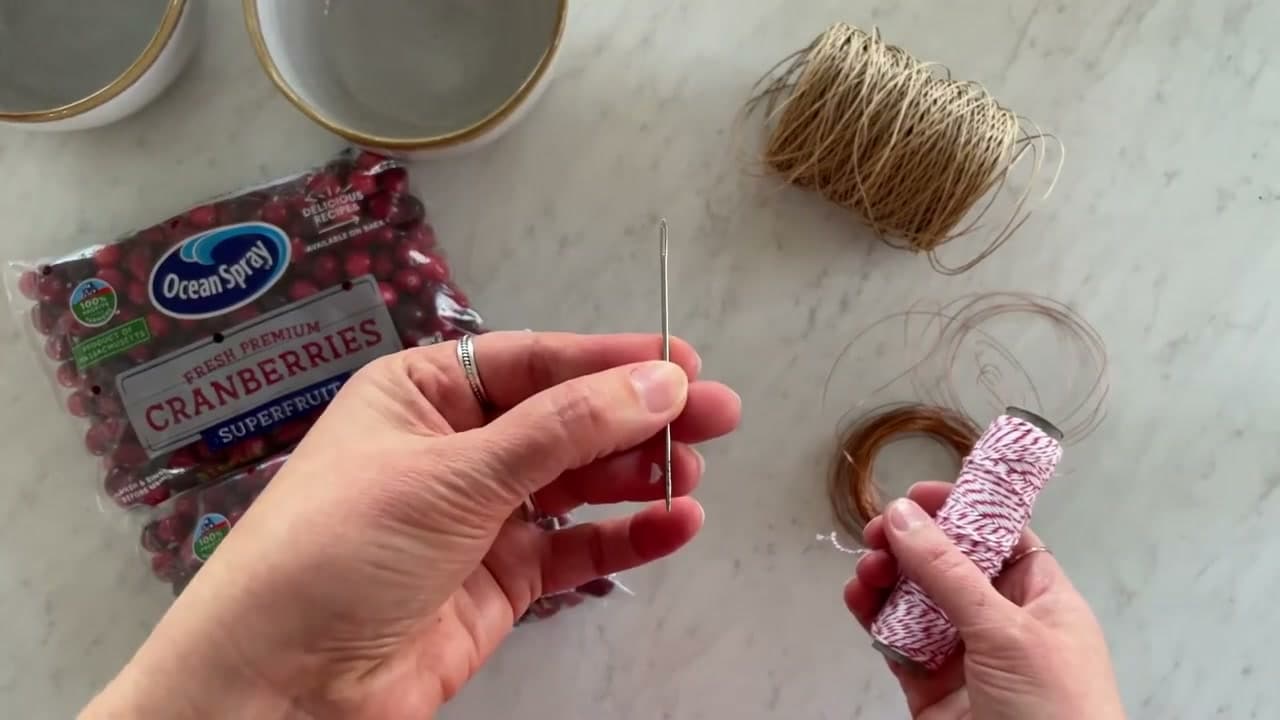
    Set out two to three bags of fresh cranberries, a needle with an eye big enough to thread without squinting, and whatever you plan to string them on. The Merrythought puts four options on the counter side by side: jute twine, paper-wrapped floral binding wire, 20-gauge floral wire and red and white bakers twine.

    All four work. They hang differently, so choose based on where the garland is going. Twine and binding wire drape. Bare floral wire holds a line.

    Tip:

    A large eye matters more than a sharp point here. Cranberry skin gives easily, and a bigger eye means you are not re-threading the needle every time the end of the twine frays.
    Back to all steps

  2. Step 2: Empty the Cranberry Bags Into a Bowl

    Watch this step · 1:10

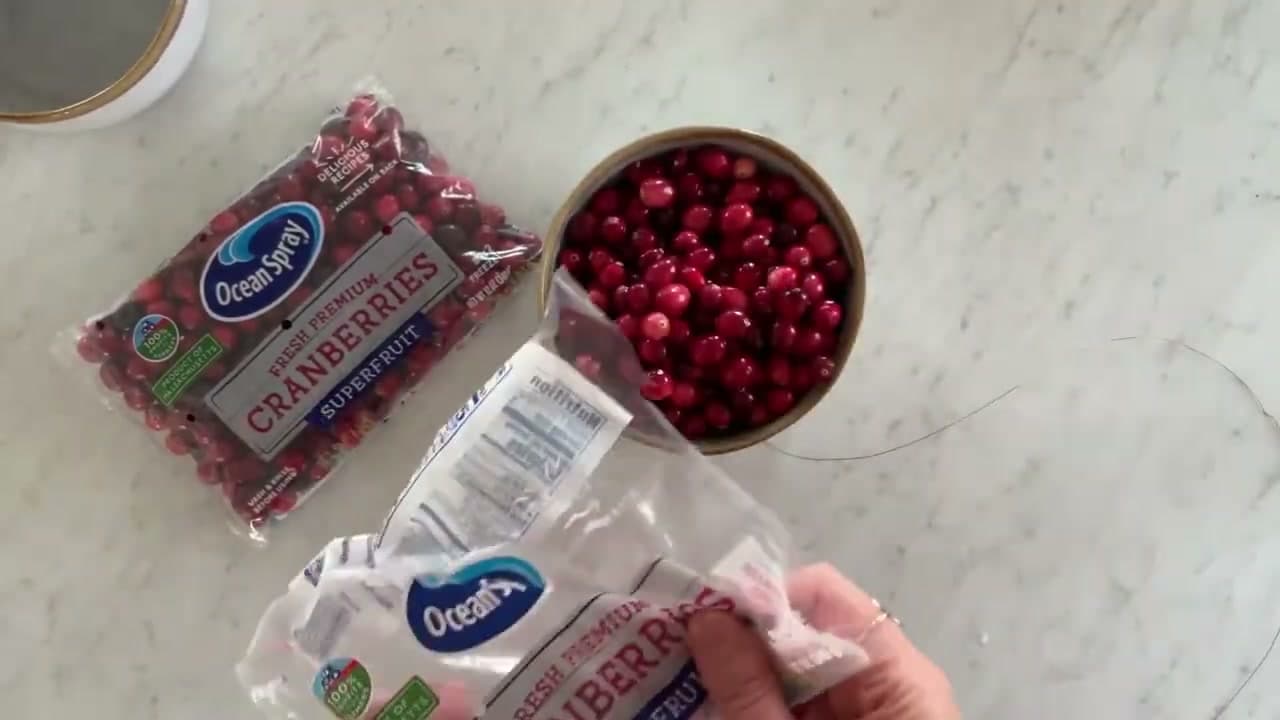
    Tip the bags out into a bowl and keep a second bowl beside it. Any berry that feels soft, or has gone dark and wrinkled, goes in the discard bowl. Mushy ones split when the needle goes through and they leak onto the twine.

    Two bags give you a strand long enough for a mantel. Three gets you around a tree. Buy an extra bag if you are stringing with kids, because the reject pile grows faster than you expect.

    Tip:

    Cold berries straight from the fridge are firmer and split less. Leave the bags in there until you are ready to sit down and string.

    Back to all steps

  3. Step 3: Push the Needle Through Each Cranberry the Long Way

    Watch this step · 1:28

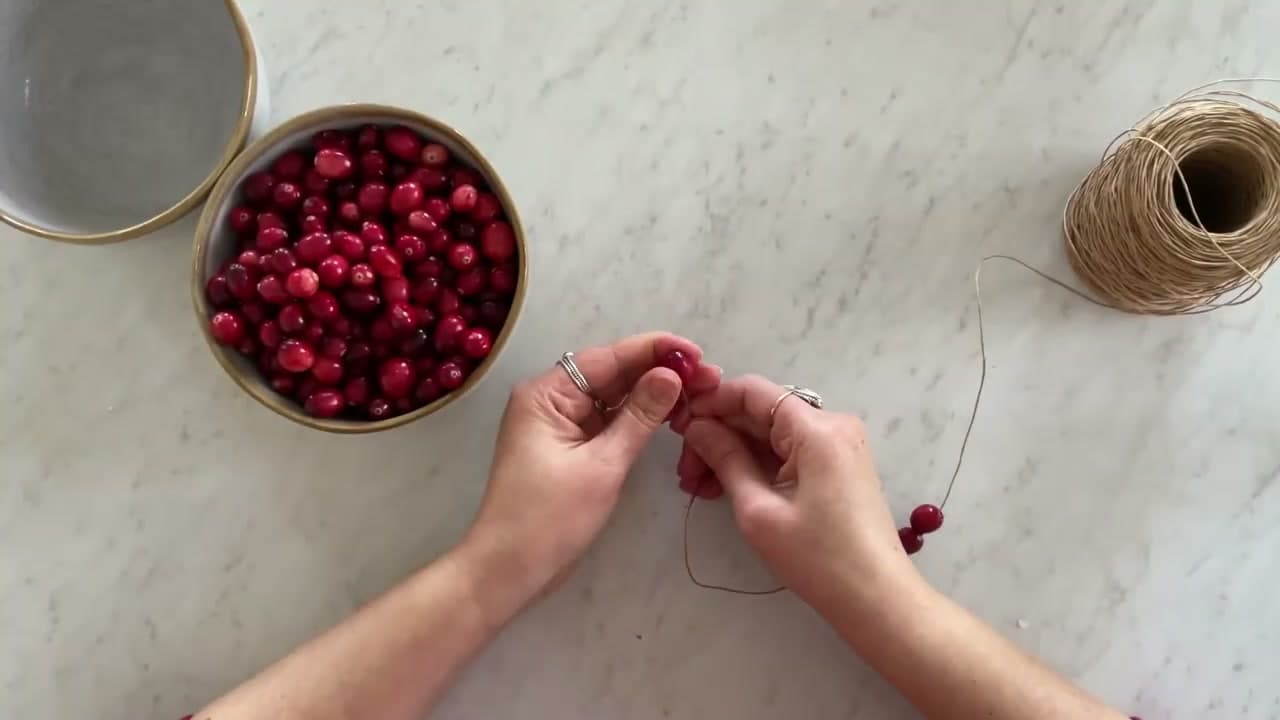
    Thread the twine through the needle, then push the point into one end of a cranberry and out the other, going the long way through the berry. It takes very little pressure. Slide the berry down the thread and pick up the next one.

    You can go through the short way for a chunkier look. The long way uses fewer berries per foot and gives you the classic strung-cranberry line.

    Tip:

    Leave six inches of bare twine at the start so you have something to knot later. Losing a whole strand off the open end is the one mistake that costs you the evening.

    Back to all steps

  4. Step 4: Slide the Cranberries Down the Twine and Keep the Spool Attached

    Watch this step · 2:17

    Leave the spool connected instead of cutting a working length first. Every few inches, push the strung berries down toward the far end so the needle always has bare twine ahead of it. The strand grows without tangling and you never run out mid-berry.

    Once it reaches the length you want, cut it off the spool and leave a few extra inches for the knot.

    Tip:

    Measure the mantel or the tree before you cut. A garland that lands two feet short is hard to fix once both ends are knotted.

    Back to all steps

  5. Step 5: String Cranberries on 20-Gauge Floral Wire Without a Needle

    Watch this step · 2:30

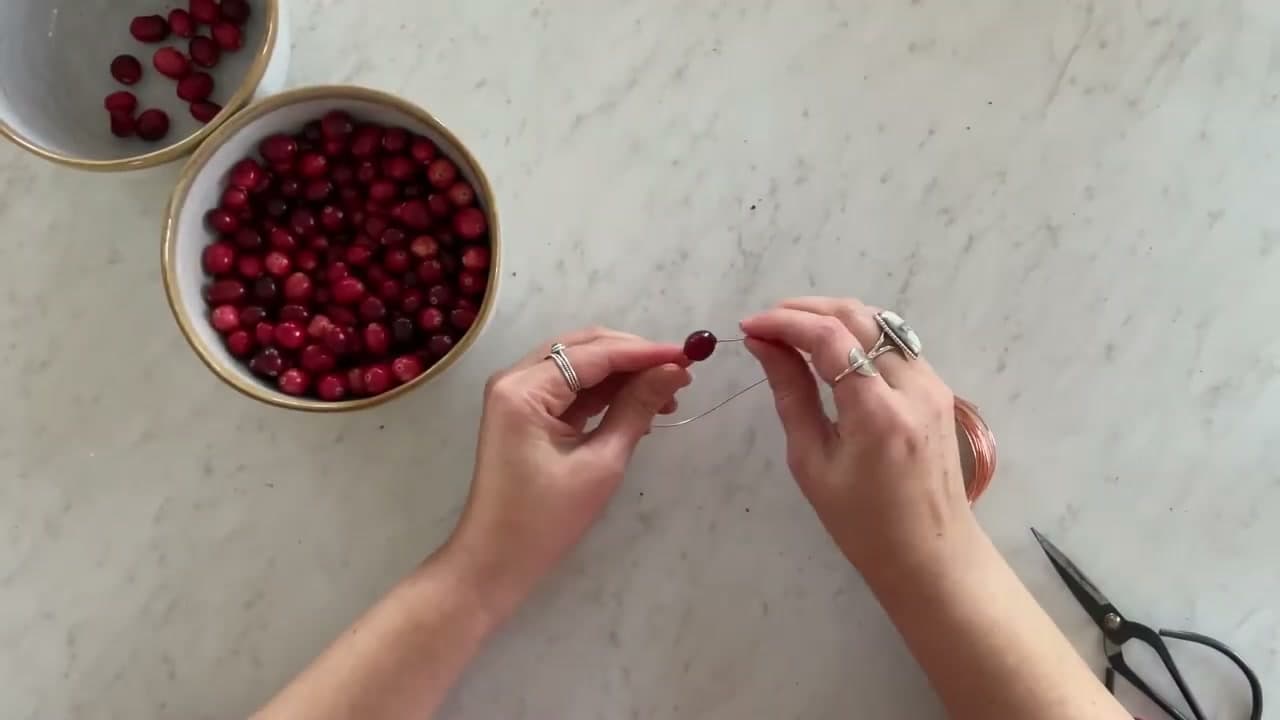
    Swap the twine for 20-gauge floral wire and put the needle away. The wire is stiff enough to push through a cranberry on its own, which makes this the version to hand a child. The berries slide along it easily, so you can space them out however you like.

    Anything thinner bends before it pierces the skin. The trade-off is that this garland keeps whatever shape you bend into it and will not drape.

    Tip:

    Use the wire version where you want a straight run, along a shelf edge or a window frame. For a swag that dips between two hooks, go back to twine.

    Back to all steps

  6. Step 6: Try Red and White Bakers Twine for a Garland That Drapes

    Watch this step · 3:16

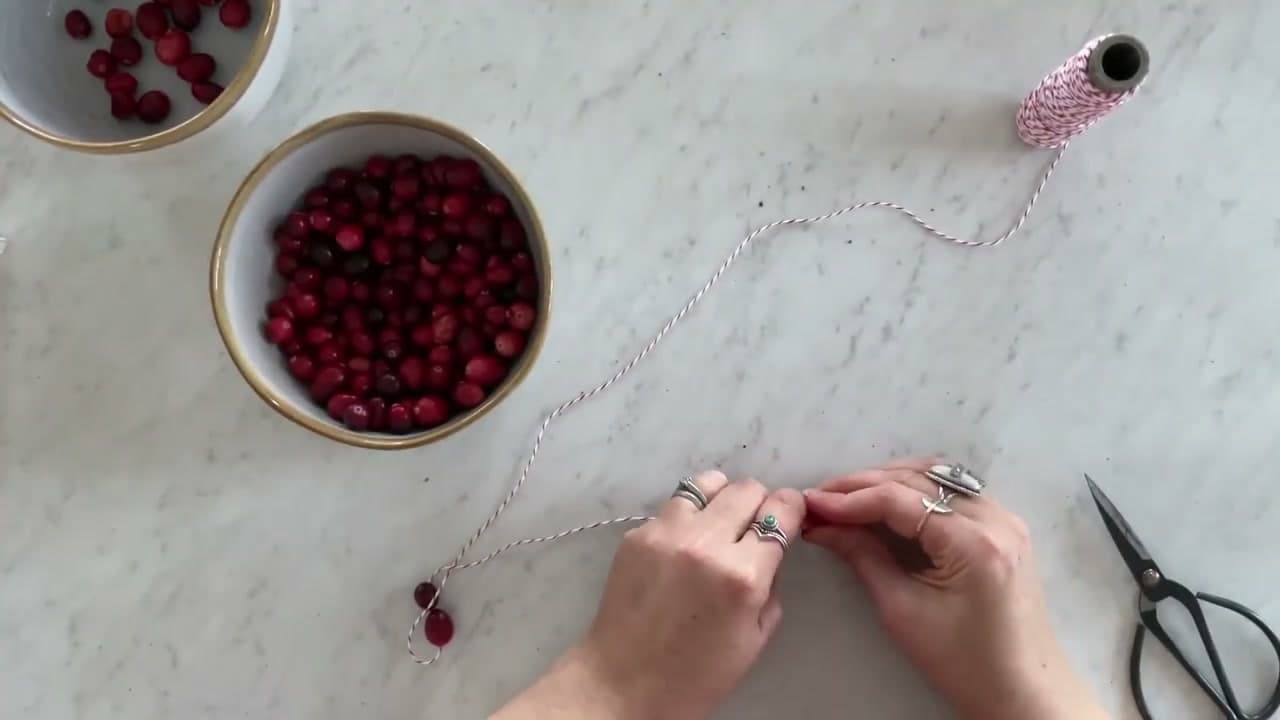
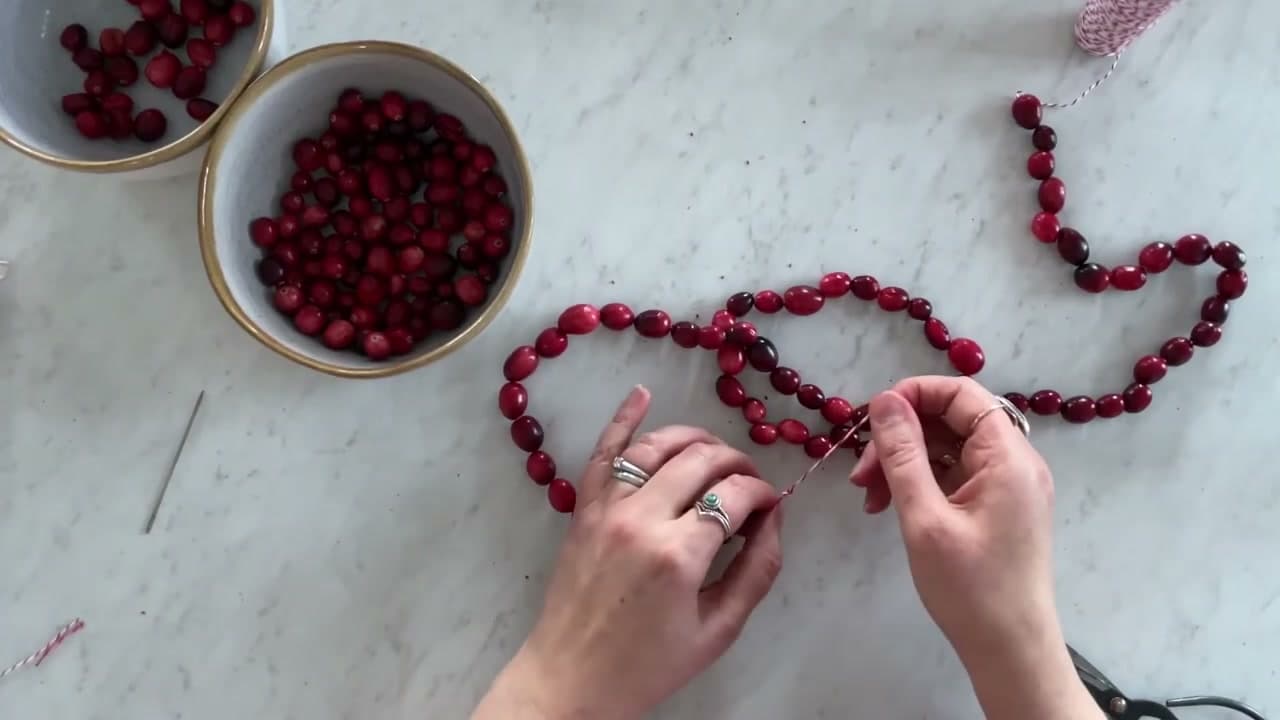
    Bakers twine strings the same way and gives the softest drape of the four. The red and white stripe mostly disappears between the berries, so you get the color without a cord showing.

    The catch is threading it. The twist separates as soon as you push the end at the needle eye, and you end up trimming it back every few feet. Worth knowing before you commit a whole evening to it.

    Tip:

    Dab the cut end with a little clear glue and let it dry hard before you thread it. A stiffened tip feeds through the eye without splitting.

    Back to all steps

  7. Step 7: Knot Both Ends of the Cranberry Garland

    Watch this step · 3:36

    Tie a knot in each end once the strand is the length you want. Cranberries slide freely on twine and on wire, and one open end empties the whole garland onto the floor.

    An overhand knot pulled tight against the last berry is enough. Trim the tail to about an inch so it tucks out of sight in the greenery.

    Tip:

    On floral wire, bend the last quarter inch back on itself with pliers instead of knotting it. Wire will not hold a knot the way twine does.

    Back to all steps

  8. Step 8: Drape the Cranberry Garland Along a Mantel or Tree

    Watch this step · 3:58

    The Merrythought weaves hers in and out of a fresh cedar garland on the mantel, so the red sits on top of the green instead of sinking into it. On a tree, lay it along the branch tips rather than pressing it back into the depth of the branches.

    A stair rail, a window frame and a doorway all take it. Fresh cranberries weigh almost nothing, so a few small hooks or a loop of twine at each end will hold the whole strand.

    Tip:

    Keep it away from a radiator or a lit fireplace. Direct heat shrivels the berries in a couple of days instead of a week.

    Back to all steps

Keep going

How to Make a Paper Pumpkin

Products Used

The Checklist

How to Make a Christmas Garland

Tools
3
Materials
5
Steps
8
Video
5 min

Tools we recommend

As an Amazon Associate we earn from qualifying purchases. Links on this page may be affiliate links - clicking them and buying doesn't change your price, but helps support CraftingStepByStep.

Tags

The Crafter's Weekly

New crafts tutorials, every Sunday

One short email with the week's best step-by-step guides. Free, no spam, unsubscribe anytime.

Test your knowledge

Did the lesson stick? Start with this one.

5 questions covering what you just read. No signup, no score saved, and you can stop after this one.

Question 1 of 5

Which cranberries go in the discard bowl?

Quick reference

Key takeaways from How to Make a Christmas Garland

5 questions, answers, and one-line explanations. Tap to expand.

  1. 1.Which cranberries go in the discard bowl?

    Answer: Any that feel soft, dark or wrinkled

    Mushy berries split on the needle and leak onto the twine.

  2. 2.What does threading a berry the long way change?

    Answer: It uses fewer berries per foot of garland

    The long way stretches each berry further, so a strand covers more length.

  3. 3.Why stay attached to the spool instead of cutting a working length?

    Answer: The strand grows without tangling or running out

    Pushing berries down toward the far end keeps bare twine ahead of the needle.

  4. 4.Which stringing material is the one to hand a child?

    Answer: 20-gauge floral wire, stiff enough to skip the needle

    The wire pierces a berry on its own, so no sharp needle is involved.

  5. 5.Why does each end of the finished garland need a knot?

    Answer: Berries slide freely and one open end empties it

    Nothing grips the twine, so an unknotted end drops the whole lot on the floor.

Did this work for you?

What's next

Similar tutorials

Hand-picked next reads based on the one you just finished.

Liked this crafts tutorial?

Pick the crafts you want to hear about. One email every Sunday with new step-by-step tutorials. No spam, easy to unsubscribe.

Get more like this in your inbox

Weekly digest. Pick the categories you want. Unsubscribe anytime.

Send me tutorials about

We only email about new tutorials. Easy unsubscribe anytime.