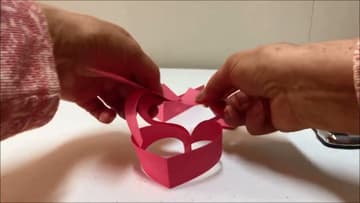
How to Make a Paper Heart Garland
Source: Needlepointers • Full tutorial: www.craftingstepbystep.com/paper-crafts/how-to-make-a-paper-heart-garland
- Difficulty
- Easy

Tools
- paper trimmer or scissors
- ruler
- stapler
- bone folder
Materials
- red cardstock
- pink cardstock
- staples
Steps
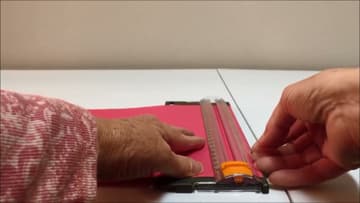
1. Cut Paper Strips for the Heart Garland on a Paper Trimmer
Lay a sheet of red or pink cardstock on your paper trimmer and line up the 1 inch mark. Hold the sheet flat with one hand and pull the cutting head down with the other.
Tip: No trimmer? Mark 1 inch lines with a ruler and pencil and cut with sharp scissors.
2. Fold Each Paper Garland Strip in Half
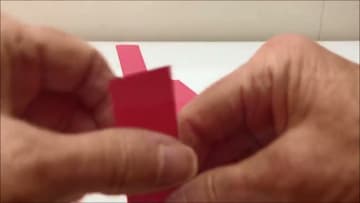
Take a strip and bring the two short ends together. Press down the middle to make a sharp crease.
Tip: Run a bone folder or the back of a spoon over the crease for a crisp point.
3. Bend the Cut Ends Inward to Shape the First Paper Heart
Hold your first folded strip with the fold pointing down and the two cut ends pointing up. Curl each cut end down and in, toward the fold, so the paper rolls over into two round bumps.
Tip: Curl the paper over a pencil first if your cardstock is stiff and fights the bend.
4. Line Up the Next Folded Strip Against the Paper Heart Ends
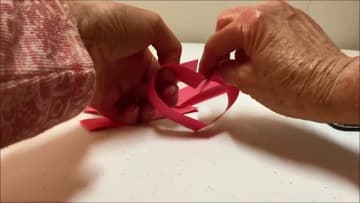
Pick up a second folded strip. Slide its fold in so it sits against the tucked cut ends of the first heart.
Tip: Swap colours on every strip so red and pink hearts alternate along the chain.
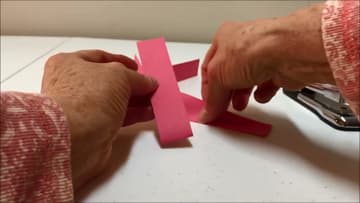
5. Staple the Strips to Lock the First Paper Heart in Place
Push one staple through the bundle of ends, close to the fold. That single staple holds the first heart closed and fixes the second strip to it.
Tip: A full-size desk stapler goes through three layers of cardstock more easily than a mini one.
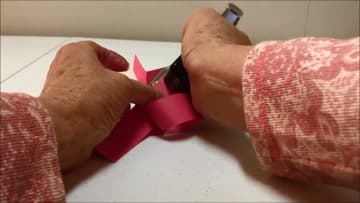
6. Keep Adding Paper Hearts Until the Garland Is Long Enough
Keep going. Slide the fold of a new strip against the open ends, curl its ends in, line everything up and staple.
Tip: Lay the chain out on the floor as it grows so you can judge the length against your wall.