How to Crochet a Heart (in About 2 Minutes)

CrochetEasy4:597 steps
Also in:Crafts

By CraftingStepByStepPublished Updated

Based on a video by Hooked by Robin.

A crochet heart is the kind of small project that's perfect for using up a few yards of yarn left over from something bigger. The whole heart is one round of stitches worked into a magic ring, then shaped with slip stitches at the bottom. About two minutes of crocheting once you've got the rhythm.

This walkthrough is from Hooked by Robin on YouTube. The pattern uses USA stitch terminology - if you're used to UK terms, the same stitches go by different names (US double crochet = UK treble crochet, etc.). Stay consistent with whichever set you use.

Use these hearts as appliques on hats, sweaters, headbands, gift wrap, or strung on a garland. They're also perfect Valentine's-card embellishments.

Step-by-Step Guide

1

Gather Yarn, Hook, and Notions

0:15
Step 1: Gather Yarn, Hook, and Notions

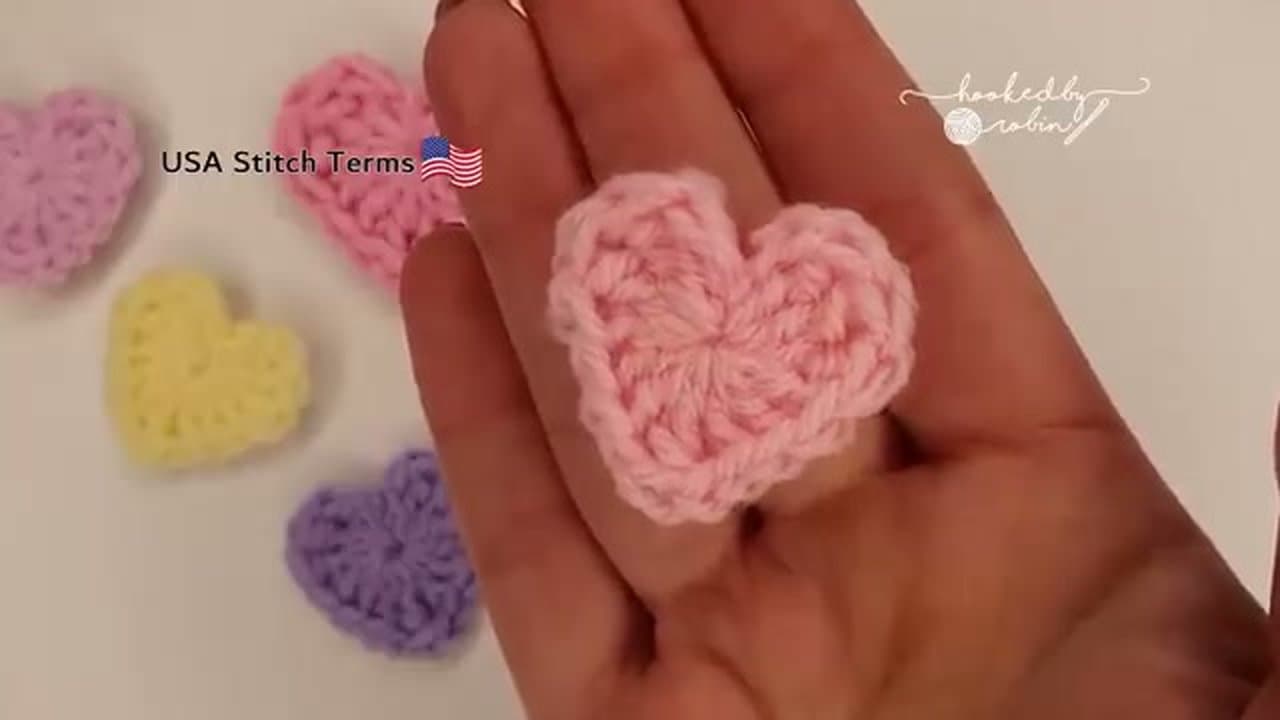
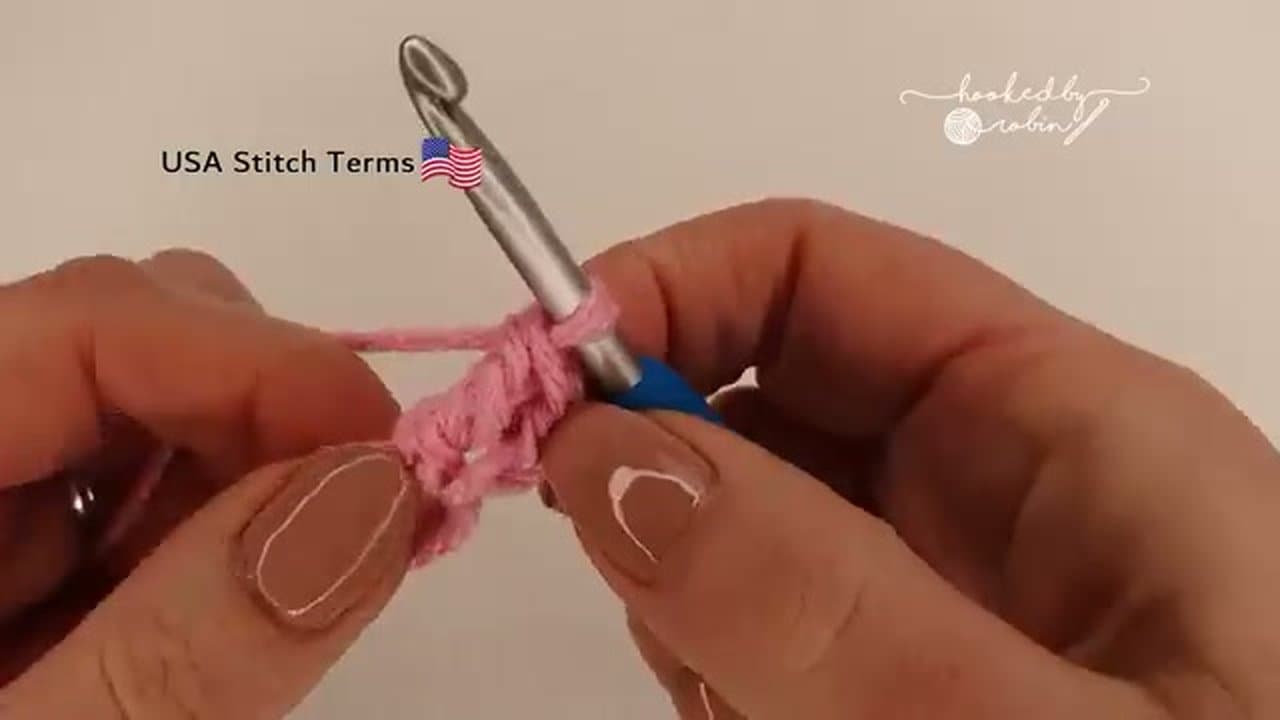
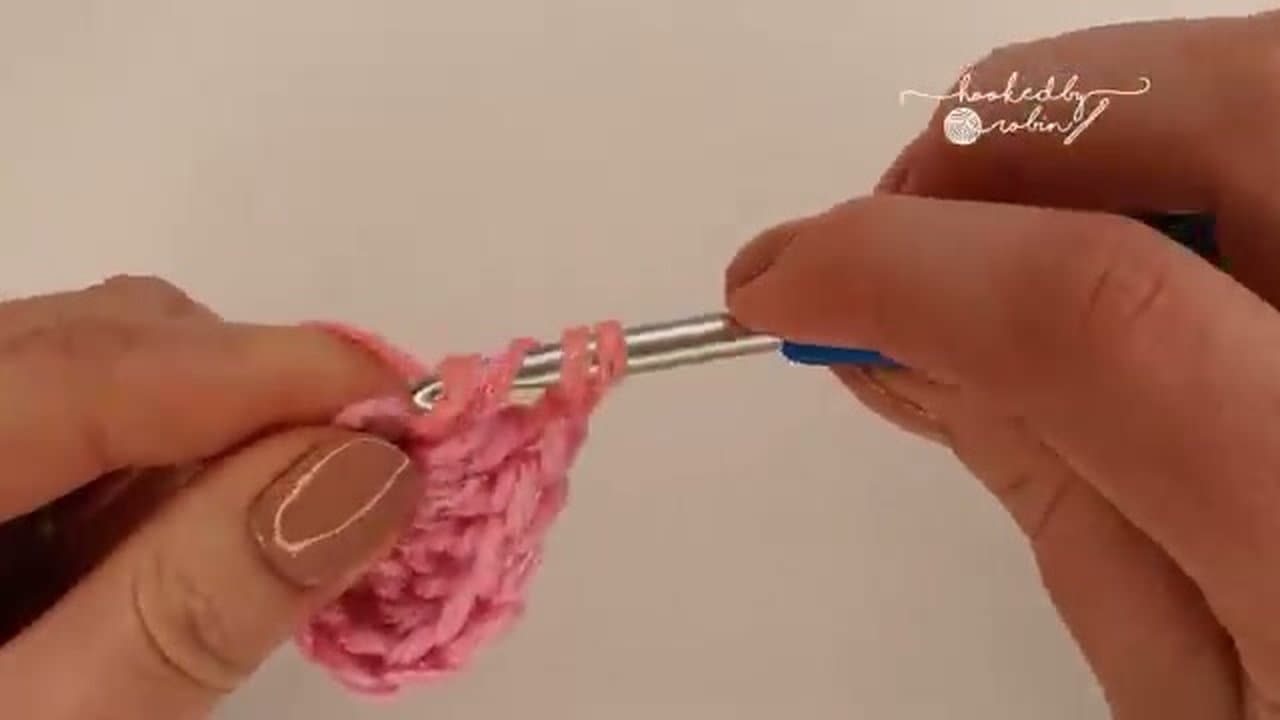
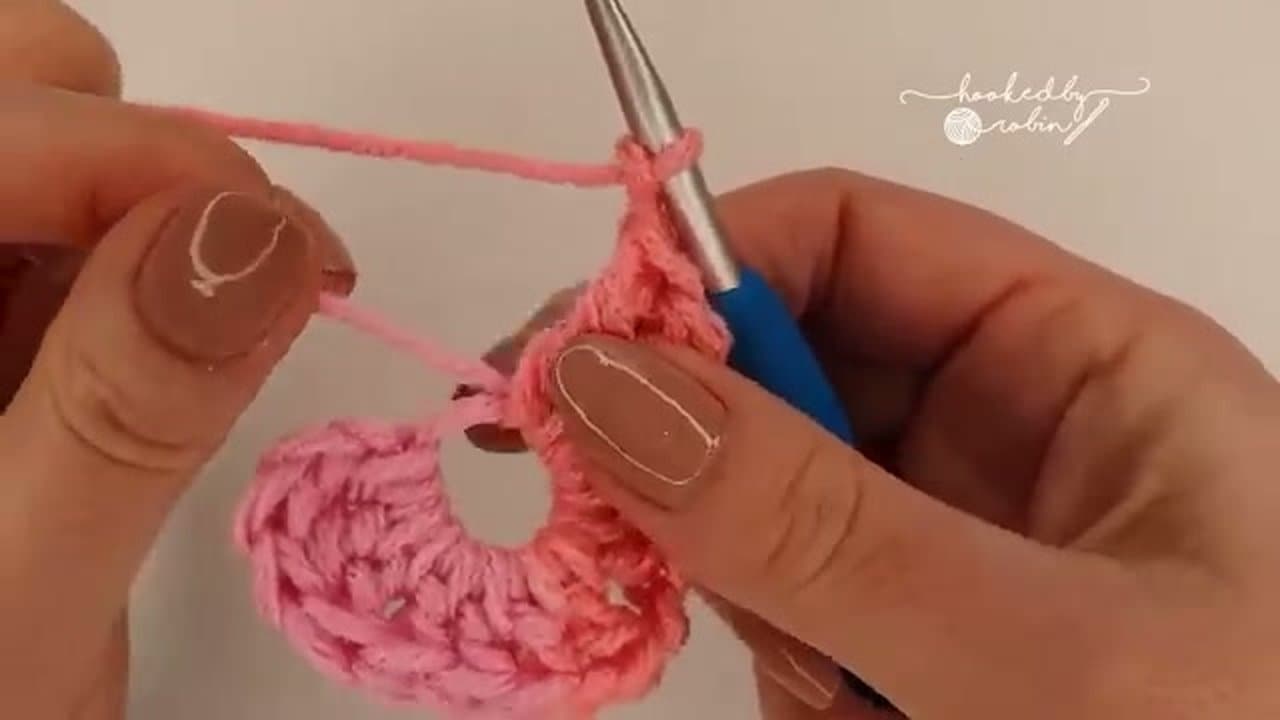
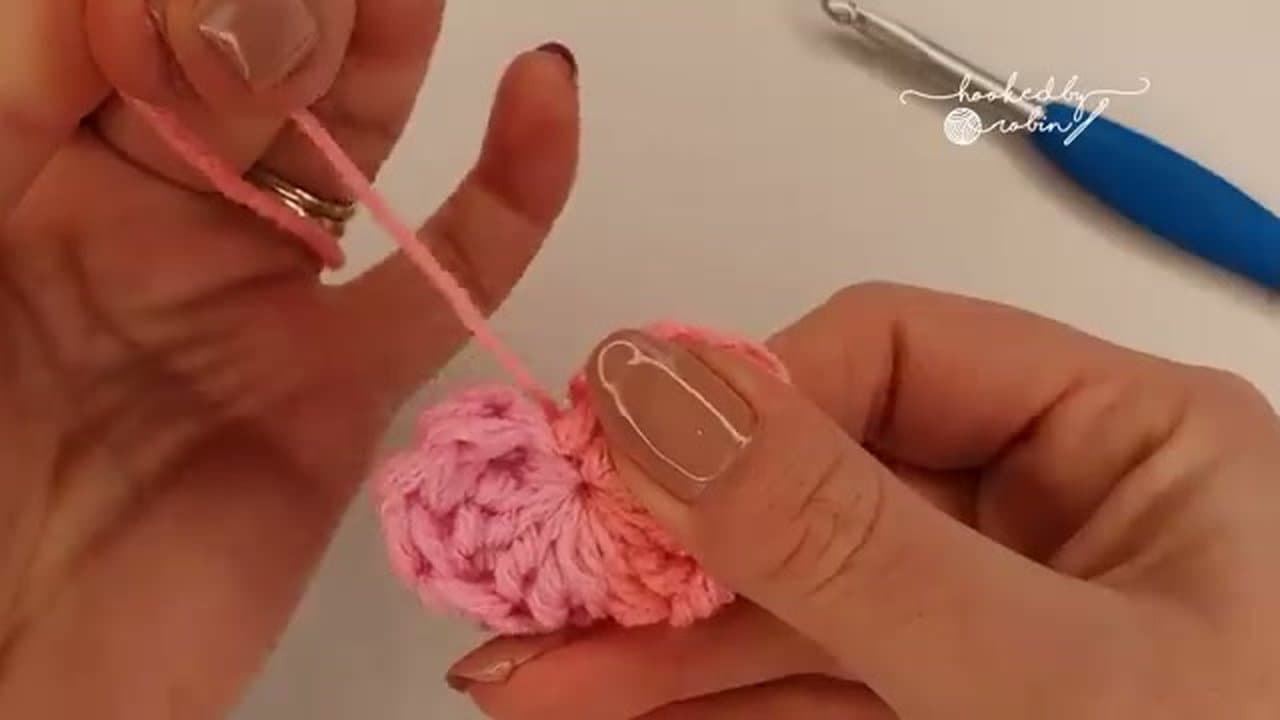
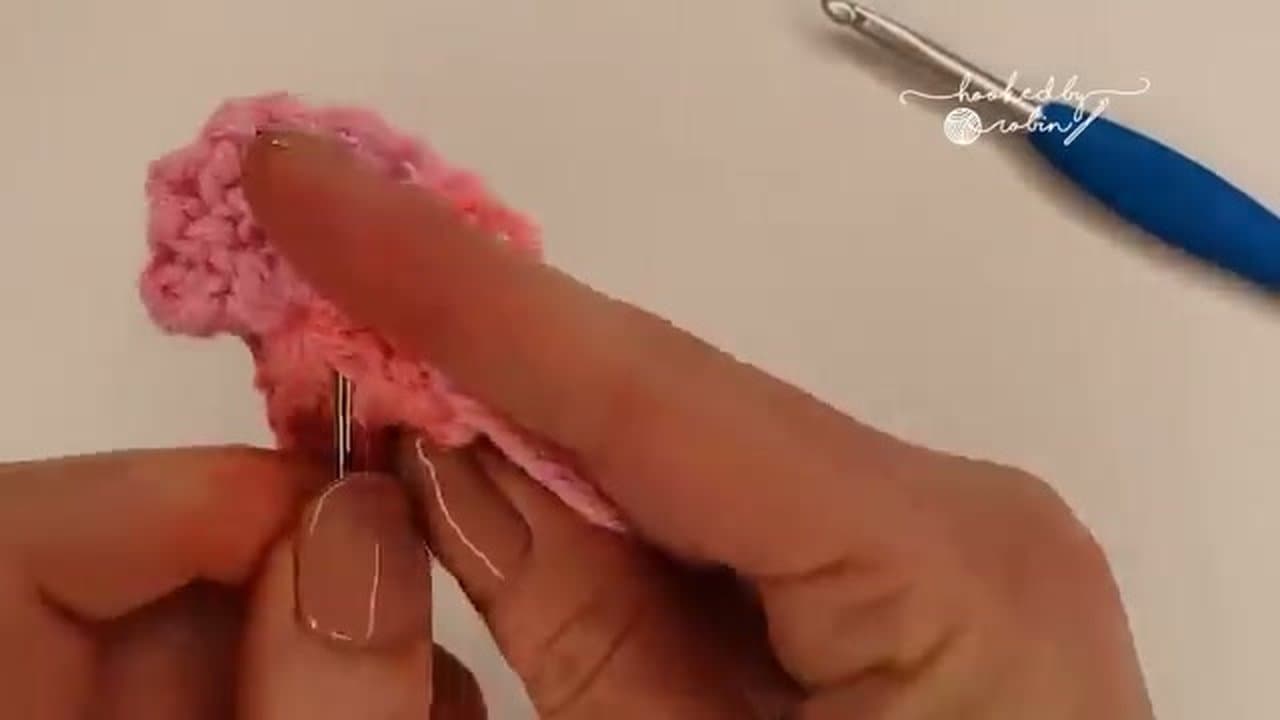
Pick up a small amount of worsted-weight (medium, category 4) yarn, a 5mm crochet hook, sharp scissors, and a yarn needle. Any color works - red, pink, and white are classic for hearts.

The whole project uses about three yards of yarn so it's a great way to use up scraps from another project.

Tip

If you only have a different hook size, that's fine. Smaller hook gives a tighter, smaller heart; larger hook gives a softer, bigger heart. The pattern still works.

2

Start With a Magic Ring

0:30
Step 2: Start With a Magic Ring

Make a magic ring (sometimes called a magic loop). Wrap the yarn around your finger, slide the hook under the working strand, pull up a loop, and chain one to anchor it.

Leave the ring open and slightly loose - you'll cinch it closed at the end. The magic ring is what creates the closed top center of the heart.

Tip

If magic rings feel awkward, you can substitute by chaining 4 and slip stitching to the first chain to form a small ring. Stitch into the ring exactly the same way.

3

Work the Heart Cluster Into the Ring

1:15
Step 3: Work the Heart Cluster Into the Ring

Chain 3 to count as your first double crochet. Then work directly into the magic ring: 3 double crochets, 3 trebles, chain 1, 3 trebles, 3 double crochets. End with a slip stitch into the top of the starting chain to close the round.

Don't worry about the heart shape yet - at this point your work looks like a fan or a half circle.

Tip

Use a stitch marker on the starting chain so you can find it again to slip stitch when you finish the round.

Products used in this step

4

Pull the Magic Ring Tail to Cinch

2:10
Step 4: Pull the Magic Ring Tail to Cinch

Find the loose tail from the magic ring and pull it firmly. The center of your fan will draw together as the magic ring cinches closed.

The flat half-circle of stitches now collapses into the heart silhouette: two rounded humps at the top (the dc/tr clusters) with a small dip between them (the chain-1 space).

Tip

Pull the tail until the center is fully closed but don't yank - too aggressive and the stitches at the start of the round can distort. Snug is enough.

5

Shape the Bottom Point

3:20
Step 5: Shape the Bottom Point

Work along the bottom edge of the heart with slip stitches to draw the lower half together into a sharp V. Skip across the chain-1 space at the top dip to set the heart's V-curve at the top center as well.

The slip stitches define the heart's bottom point. Without them, the bottom looks more rounded; with them, you get the classic heart silhouette.

Tip

Adjust the slip stitch tension to control the point - tighter slip stitches make a sharper point.

6

Fasten Off

4:00
Step 6: Fasten Off

Cut the working yarn about 6 inches from your last stitch. Pull the tail through the loop on the hook and tug to lock the stitch.

You now have a finished heart with two yarn tails sticking out - one from the magic-ring center, one from the fastened off slip stitch.

7

Weave In the Ends

4:30
Step 7: Weave In the Ends

Thread one tail onto a yarn needle. Weave the needle back and forth through the back of three or four stitches, changing direction once or twice so the tail locks in. Snip the excess close to the work.

Repeat with the second tail. The heart is now finished and ready to use as an applique on a hat, headband, gift wrap, or sewn into a card.

Tip

For a felted, denser look, gently steam-block the finished heart with an iron held just above (don't touch). The heat relaxes the stitches and makes the shape more defined.

Products used in this step

Products Used

☐ The Checklist

How to Crochet a Heart (in About 2 Minutes)

Tools
3
Materials
2
Steps
7
Video
5 min

Your Guide

Hooked by Robin

As an Amazon Associate we earn from qualifying purchases. Links on this page may be affiliate links - clicking them and buying doesn't change your price, but helps support ShowMeStepByStep.

Tags

Related Tutorials