How to Use Watercolor Pencils

PaintingEasy16:1612 stepsBrowse more →
The finished result: How to Use Watercolor Pencils
Also in:Crafts

By CraftingStepByStepPublished

Based on a video by In the Studio with Michele Webber.

Watercolor pencils confuse people because they look like colouring pencils and behave like paint. Shade with one and nothing much happens. Touch it with a wet brush and the colour dissolves and floods.

Michele Webber runs through the core techniques here on a single grid of test boxes, which is the sensible way to learn them - draw yourself the same grid and work down it rather than trying any of this on a painting you care about.

The one thing that causes most bad results

Not enough water. Almost every disappointing watercolor pencil wash is a pencil mark that never fully dissolved, so it sits there as a visible line under the colour. If a wash looks scruffy, the answer is usually more water and a bigger brush, not more pigment.

You need fewer pencils than you think

Because the colour mixes on the paper, a small set goes a long way. Yellow laid over blue gives you a citrus green you will not find in any tin, and it will be a better green than the one that comes ready-made.

Two habits worth building early

Shade lightly. Pressing hard dents the paper, pigment collects in the dent, and that dark line will not wash out afterwards.

Let layers dry. Going back in too soon lifts the colour underneath and the two turn muddy rather than stacking.

Step-by-Step Guide

12 steps · about 16 minutes.Check off each step as you go and your progress saves automatically.

1

Step 1: Turn the Pencil into Paint on a Palette

1:56
Step 1: Turn the Pencil into Paint on a Palette - How to Use Watercolor Pencils

Scribble the pencil hard into a palette well until you have a small pile of loose pigment. Wet a brush, lift the colour off, and paint with it.

You now have a pan of watercolour paint that happens to live in a pencil. It is the fastest way to get strong, even colour without dragging a pencil across the paper at all.

2

Step 2: No Palette? Use a Scrap of Paper

2:20
Step 2: No Palette? Use a Scrap of Paper - How to Use Watercolor Pencils

A spare piece of textured watercolour paper does the same job. Scrub the pencil onto it, then lift the pigment with a wet brush.

The paper drinks a little of the colour so you get slightly less off it than you would from a palette well. For something already on your desk, that is a fair trade.

3

Step 3: Shade Lightly for Flat Colour

3:10
Step 3: Shade Lightly for Flat Colour - How to Use Watercolor Pencils

For an even block of colour, shade gently and evenly across the whole shape first.

Resist bearing down. A hard pencil dents the paper, pigment settles into the dent, and it dries as a dark line you cannot lift out later.

Tip

Keep the pencil tip blunt rather than sharp. A sharp point digs in exactly where you do not want it to.

4

Step 4: Move the Water in One Direction

3:30
Step 4: Move the Water in One Direction - How to Use Watercolor Pencils

Bring a wet brush across the shading in a single consistent direction rather than scrubbing back and forth. One clean pass pulls the pigment into an even wash.

Scrubbing lifts colour off the paper as fast as it spreads it, which is how you end up with a patchy middle.

Used in this stepwatercolor brush set
5

Step 5: Use a Flat Brush for Bigger Areas

5:00
Step 5: Use a Flat Brush for Bigger Areas - How to Use Watercolor Pencils

Anything larger than a thumbnail wants a flat brush. It carries far more water than a round one, and running dry halfway across a square is what leaves a streak down the middle.

On a large painting, sweep straight off the edge of the paper rather than stopping short.

Used in this stepflat watercolor brush
6

Step 6: Work a Graduated Wash from Both Ends

5:40
Step 6: Work a Graduated Wash from Both Ends - How to Use Watercolor Pencils

For a sky that fades out, shade the colour along the top only. Wash it downward, then rinse the brush, come up from the bottom with clean water, and meet in the middle.

Without that clean-water pass from below, the colour keeps creeping all the way down and you lose the gradient entirely.

Tip

Blot the brush on kitchen paper between passes. A dripping brush leaves puddles, and puddles dry as hard edges.

7

Step 7: Soften a Single Edge into Clean Water

6:30
Step 7: Soften a Single Edge into Clean Water - How to Use Watercolor Pencils

Sometimes you only want one edge to disappear. Shade the shape, then brush outward from that edge into clean water and keep going until the colour runs out.

Work slightly outside the pencil outline. Trying to stay perfectly inside it gives you a hard rim, which is the opposite of what you are after.

8

Step 8: Layer Colours Instead of Buying More

7:30
Step 8: Layer Colours Instead of Buying More - How to Use Watercolor Pencils

A small tin goes much further than you would expect, because watercolor pencils mix on the paper rather than in a palette. Lay one colour over another and you have made a third.

Used in this stepwatercolor paper pad
9

Step 9: Mix Green from Yellow and Blue on the Paper

9:30
Step 9: Mix Green from Yellow and Blue on the Paper - How to Use Watercolor Pencils

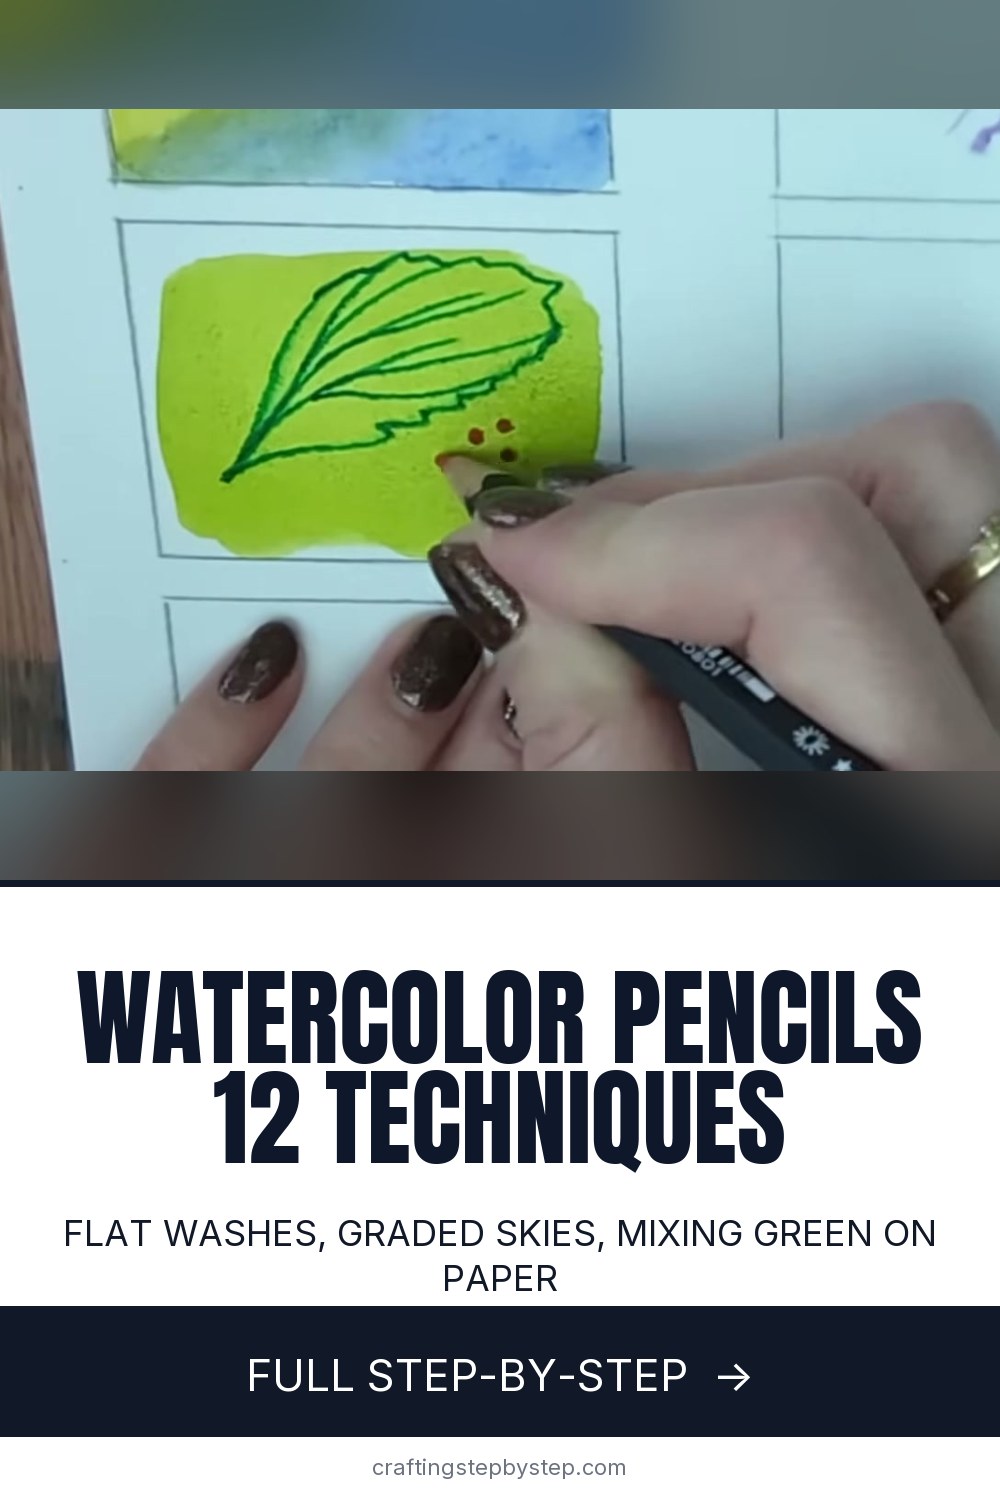
Shade a warm yellow into one corner and a blue in from the other, letting them overlap along a diagonal. Wet the join and a citrus green appears where the two meet.

It is a livelier green than anything premixed, and you can push it warmer or cooler just by adding more of one pencil.

10

Step 10: Let Each Layer Dry Before the Next

9:50
Step 10: Let Each Layer Dry Before the Next - How to Use Watercolor Pencils

Give a layer time to dry before you work over it. Go back in too soon and the wet brush lifts the colour underneath, so instead of two clean layers you get one muddy one.

Tip

Impatient? A hairdryer on a low setting is fine, held well back so it does not blow the wash around.

11

Step 11: Draw Straight onto Wet Paper

11:50
Step 11: Draw Straight onto Wet Paper - How to Use Watercolor Pencils

Wet the paper first with clean water, then draw into the damp surface with the pencil tip. The marks bloom and feather out on their own.

You get soft, spreading lines that you simply cannot make on dry paper, and every one comes out slightly different.

12

Step 12: Scrape Shavings onto a Wet Wash

15:15
Step 12: Scrape Shavings onto a Wet Wash - How to Use Watercolor Pencils

Hold a blade against the pencil tip and scrape a few shavings onto a wash while it is still wet. Each fleck bursts where it lands.

It is a quick way to suggest foliage, grit or distant texture, and because you cannot control exactly where the specks fall it never looks laboured.

Used in this stepcraft knife

Keep going

How to Blend Acrylic Paint

8 steps · about 18 minutes

Products Used

The Checklist

How to Use Watercolor Pencils

Tools
6
Materials
2
Steps
12
Video
16 min

Tools we recommend

Your Guide

In the Studio with Michele Webber

As an Amazon Associate we earn from qualifying purchases. Links on this page may be affiliate links - clicking them and buying doesn't change your price, but helps support CraftingStepByStep.

Tags

Sunday How-To

New painting tutorials, every Sunday

One short email with the week's best step-by-step guides. Free, no spam, unsubscribe anytime.

Did this work for you?

What's next

Related collections

Curated theme pages that include this tutorial.

Weekly Digest

Liked this painting tutorial?

Pick the categories you want to hear about. Weekly digest of new step-by-step tutorials. No spam, easy unsubscribe.

Send me tutorials about

We only email about new tutorials. Easy unsubscribe anytime.